If your Chevy Silverado’s center console won’t lower, you’re dealing with a common frustration shared by thousands of owners. The mechanism feels stuck, the lever won’t budge, and you start wondering if something is broken. Whether you drive a 1995 regular cab or a 2004 extended cab, the technique for lowering your center console or middle seat depends entirely on your model year and cab configuration.
This guide breaks down exactly how to lower center console Chevy Silverado setups across different generations. You’ll learn the correct lever operation for newer models, proven troubleshooting methods for stuck armrests, and maintenance tips to prevent future issues.
Identify Your Silverado’s Seat Configuration First

Before pulling levers or applying force, confirm what type of center section your truck has. Using the wrong technique can damage the mechanism or waste hours of frustration.
Bench Seat With Fold-Down Armrest (1995–1998 Regular Cabs)
- Common in regular cab models of this era
- Center section is a small armrest, not a full seat
- Prone to seizing after months of inactivity
- Operates via internal latch with no visible side lever
Fold-Flat Middle Seat (1999–2006 Extended and Crew Cabs)
- Full middle seat that folds forward into the cargo floor
- Features a side-mounted release lever near the rear edge
- Locks with a distinct audible click when fully flat
- Often includes hidden under-seat storage
Knowing your exact configuration prevents the most common mistake: forcing a mechanism that simply needs a different motion.
Operate the Side Release Lever on 2000+ Models
If your Silverado has a full middle row seat that converts to cargo mode, you’re working with a lever-based system designed for smooth operation.
Pull the Lever and Fold the Seat Forward
- Locate the release lever on the side of the middle seat, typically near the rear edge of the cushion
- Pull the lever upward firmly with steady pressure rather than a sudden yank
- Guide the seat forward and downward in one smooth motion
- Listen for the click that confirms the seat has locked in the flat position
Pro Tip: Clear all items from the seatback pocket before folding. Loose objects obstruct the full lowering motion and can damage the latch.
Lift From the Front Edge to Return to Upright
- Stand directly in front of the folded seat
- Grip the front edge of the cushion, not the backrest
- Lift upward steadily until the seat reaches a vertical position
- Push back gently until you hear the safety lock engage
Warning: Never carry passengers in the middle seat unless it’s fully locked. Test stability by pushing firmly on the backrest. Zero movement means it’s safe.
Free a Stuck Armrest on 1995–1998 Models
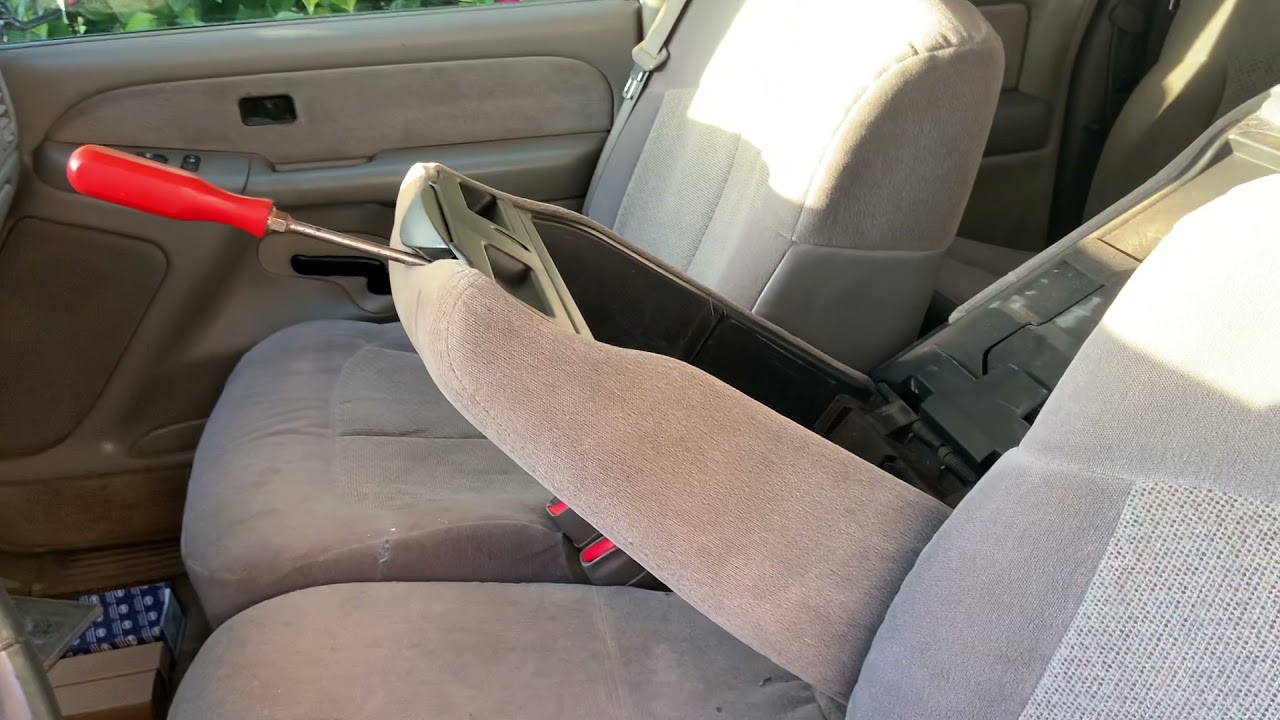
Older regular cab trucks frequently develop seized armrest mechanisms. The good news is that most “broken” armrests simply need the right motion to release.
Try the Lift and Fold Technique
Many owners assume their console is broken when it actually just needs a counterintuitive motion:
- Pull the armrest upward slightly to release tension on the hinge pins
- While maintaining that upward lift, push down to fold the armrest into the console
- Repeat the motion two or three times if needed to loosen stiff joints
This method is confirmed effective on 1995 Suburbans and Silverados and represents normal operation for vintage mechanisms.
Tap the Right-Side Hinge to Loosen Seized Pins
If the armrest feels completely frozen:
- Sit in the driver’s seat facing the center console
- Tap the right-side hinge firmly with your palm or a soft mallet
- Apply folding pressure simultaneously as you tap
The vibration helps free stuck hinge pins, and the right side is the primary pivot point where seizing most commonly occurs.
Check for Seatbelt Tangles Behind the Seat
A hidden cause of non-folding seats is the third-row seatbelt strap catching in the hinge path. This issue mimics mechanical failure but requires only manual inspection.
Inspect and Reposition the Seatbelt
- Reach behind the backrest of the middle seat
- Feel for the latch mechanism or any twisted strap material
- Manually reposition the seatbelt so it clears the hinge path completely
- Attempt to fold the seat again after clearing the obstruction
This fix requires no tools and takes less than two minutes once you know where to look.
Adjust Internal Gears With a Flat-Edge Screwdriver

For persistent sticking in older models, internal gear misalignment may be preventing the latch from releasing properly.
Access and Realign the Locking Mechanism
- Open the armrest partially if possible to expose the right-side gap
- Insert a flat-edge screwdriver into the gap near the hinge
- Twist gently to widen the locking pieces inside the housing
- Attempt to fold down while applying slight upward pressure
Caution: Wrap the screwdriver tip in tape or use a plastic tool to avoid scratching metal surfaces or cracking plastic housings.
Apply Controlled Force as a Last Resort
When all other methods fail, some owners report success with targeted physical impact to break seized components.
Use a Sharp, Controlled Motion
- Place your hand flat on the center of the armrest
- Deliver a sharp downward punch with controlled force
- Immediately try the lift and fold technique
This breaks rust or debris bonds inside the hinge assembly. Use this method sparingly to avoid tearing upholstery or cracking internal plastic components.
Access the Hidden Under-Seat Storage Compartment
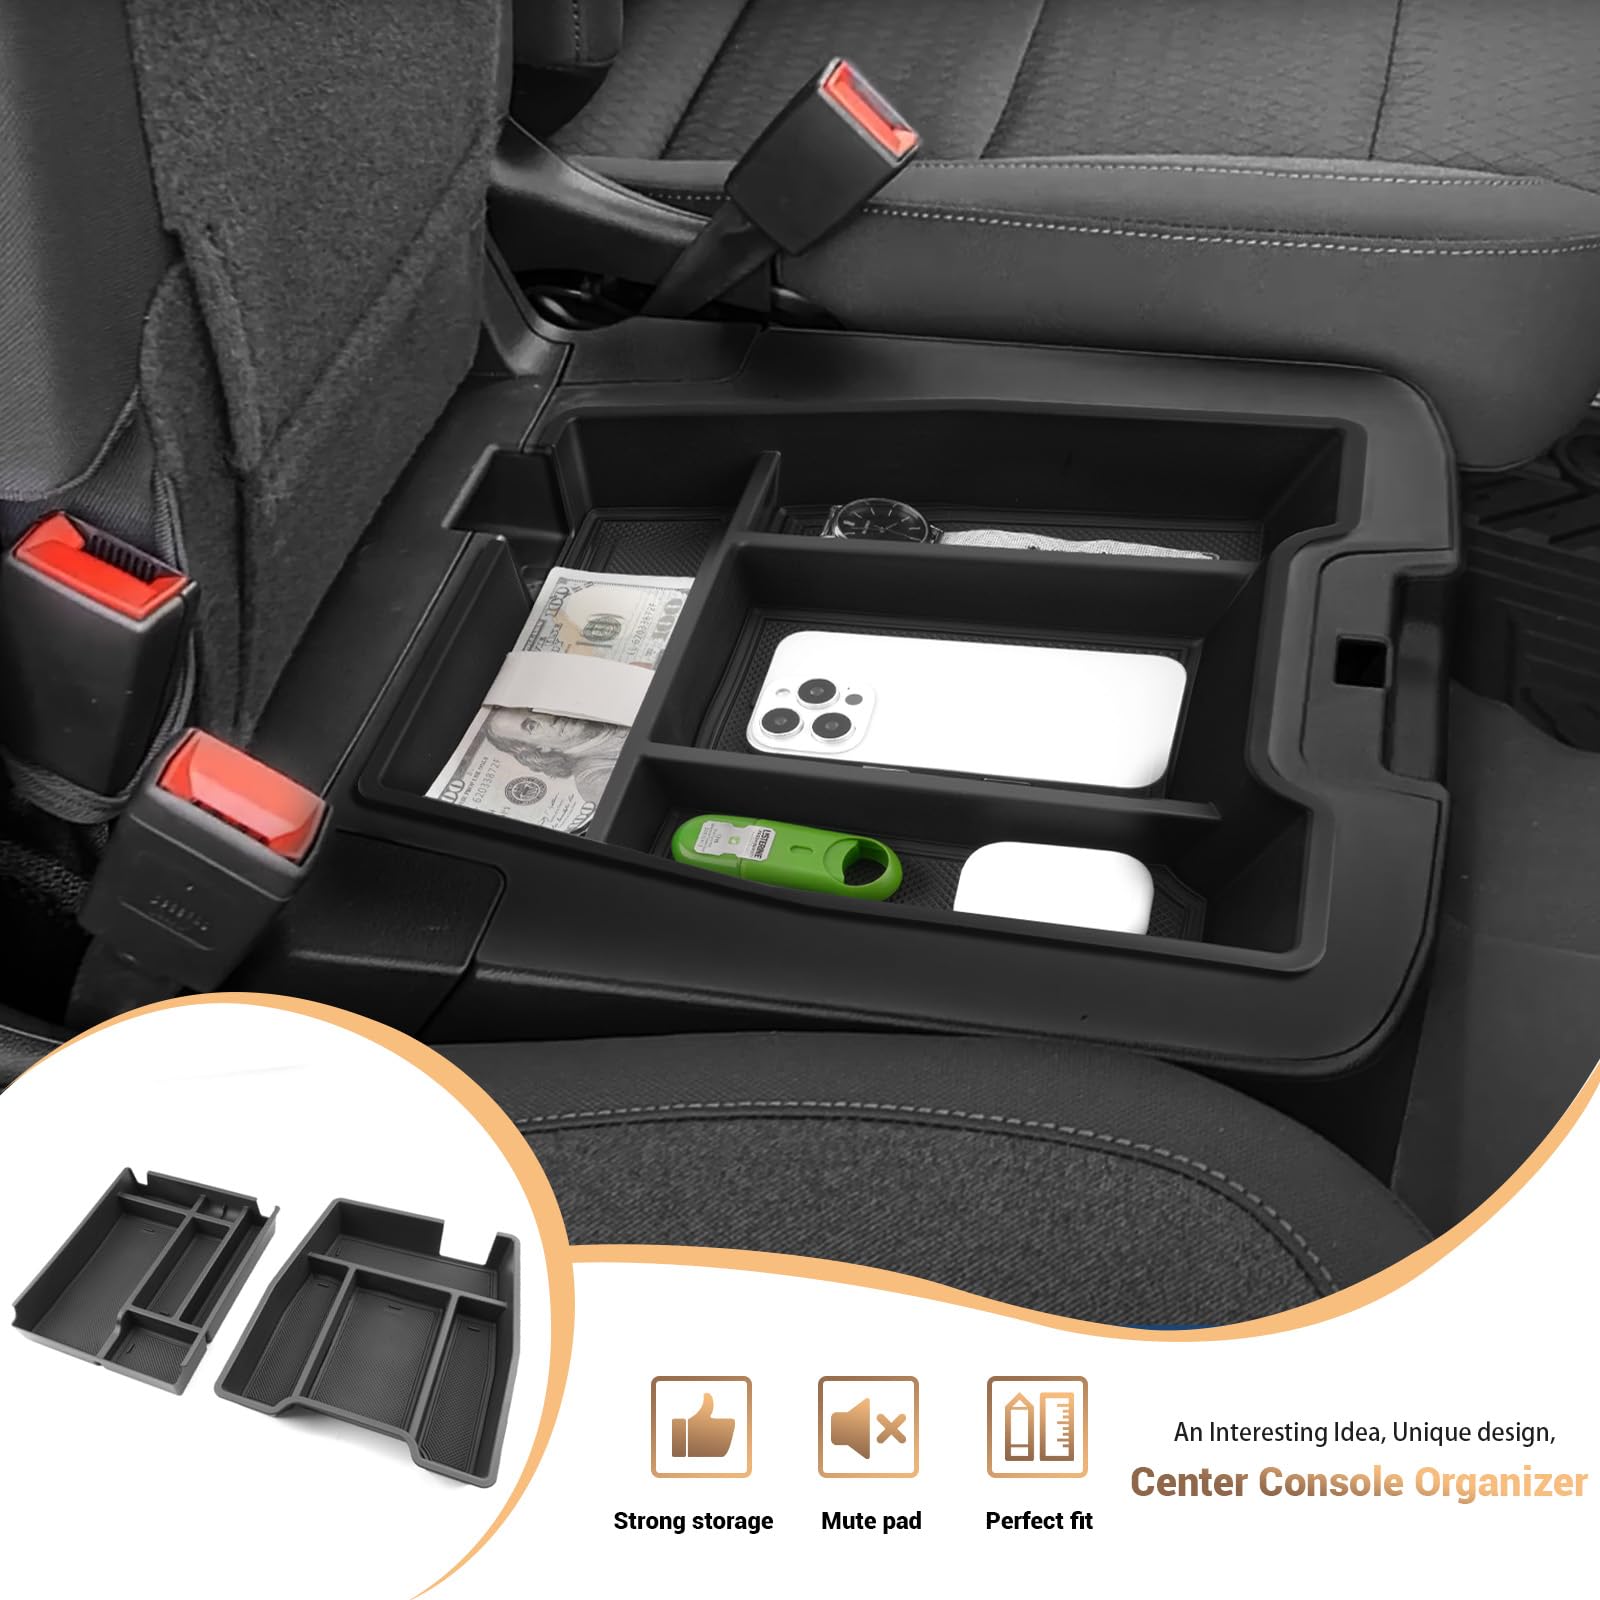
Many fold-flat middle seats include a storage bin beneath the cushion, adding practical utility to your truck’s interior.
Open and Utilize the Storage Space
- Fold the middle seat fully flat using the side lever
- Lift the under-seat tray or flip open the hidden bin
- Store phones, tools, documents, snacks, or charging cables
- Close the compartment securely before raising the seat
This feature keeps valuables out of sight and protects fragile items during transport.
Prevent Future Sticking With Regular Maintenance
A small amount of preventive care dramatically extends the life of your folding mechanism.
Exercise the Mechanism Monthly
- Fold the armrest or middle seat up and down once per month
- This prevents hinge seizing even if you rarely use the feature
- Combine with routine maintenance like oil changes for consistency
Lubricate Hinges and Latches Periodically
- Apply silicone spray or white lithium grease lightly to pivot points
- Target the right-side hinge, internal latch points, and seatbelt guide paths
- Work the mechanism several times to distribute lubricant evenly
Avoid WD-40 for long-term lubrication. It attracts dust and evaporates quickly, often making seizing worse over time.
Consider Upgrade Options for a Permanent Solution
If the stock mechanism continues to frustrate you, replacing the bench with bucket seats eliminates folding issues entirely.
Install Bucket Seats With an Integrated Console
- Replace the bench with bucket seats and a fixed center console
- Popular aftermarket options include SRT4-style seats
- Gains storage space, armrest function, and subwoofer room
- Requires seat rail modification and wiring adjustments
This option works best for enthusiasts comfortable with interior modifications or those working with a professional installer.
Quick Diagnosis Table

| Symptom | Likely Cause | Recommended Solution |
|---|---|---|
| No movement when pulling down | Seized hinge | Apply lift and fold technique plus hinge tapping |
| Lever pulls but seat won’t move | Seatbelt tangle | Inspect and clear behind seat back |
| Seat folds but won’t lock | Misaligned internal gears | Adjust with flat-edge screwdriver |
| Armrest feels loose but won’t stay down | Worn latch components | Lubricate or replace mechanism |
| Click sound missing after folding | Failed lock engagement | Stop use and repair before riding |
Frequently Asked Questions About Lowering a Chevy Silverado Center Console
Why won’t my Silverado center console fold down?
The most common causes are seized hinge pins from inactivity, tangled seatbelt straps behind the seat, or misaligned internal gears. Try the lift and fold technique first, then check for seatbelt obstructions before attempting mechanical adjustments.
Where is the release lever on a 2000–2006 Silverado middle seat?
The release lever is located on the side of the middle seat, typically near the rear edge of the cushion. Pull it upward firmly to disengage the locking mechanism, then guide the seat forward and down until you hear the locking click.
How do I lower the center armrest on a 1995–1998 Silverado regular cab?
Pull the armrest upward slightly to release hinge tension, then push down to fold it into the console position. If it feels stuck, tap the right-side hinge while applying folding pressure. This lift and fold motion is normal operation for these vintage mechanisms.
Is it safe to ride in the middle seat after lowering and raising it?
Only if the seat locks fully in the upright position. Test by pushing firmly on the backrest. If there’s any movement, the lock hasn’t engaged properly. Never transport passengers or child safety seats in an unsecured middle seat.
What lubricant works best for a sticking Silverado seat mechanism?
Silicone spray or white lithium grease applied to the right-side hinge and internal latch points provides the best long-term results. Avoid WD-40 as a primary lubricant because it attracts dust and dries quickly, often worsening the seizing problem.
Can I replace my bench seat with bucket seats and a console?
Yes, many Silverado owners swap bench seats for bucket seats with an integrated center console. This upgrade requires seat rail modification, potential wiring adjustments for seat controls, and proper installation to maintain safety standards.
Key Takeaways for Lowering Your Silverado Center Console
The lift and fold technique resolves the majority of stuck armrest issues on 1995–1998 models without any tools or part replacement. For 1999–2006 trucks with fold-flat middle seats, always use the side release lever correctly and listen for the locking click to confirm proper engagement.
Regular monthly exercise of the folding mechanism prevents the seizing that causes most problems in the first place. If your truck has been sitting with an unused armrest or middle seat, expect some initial resistance and work through the troubleshooting steps in order.
Start by identifying your seat type, then apply the appropriate technique for your model year. Most owners resolve their issues within minutes using the methods outlined above, without costly repairs or unnecessary part replacements.