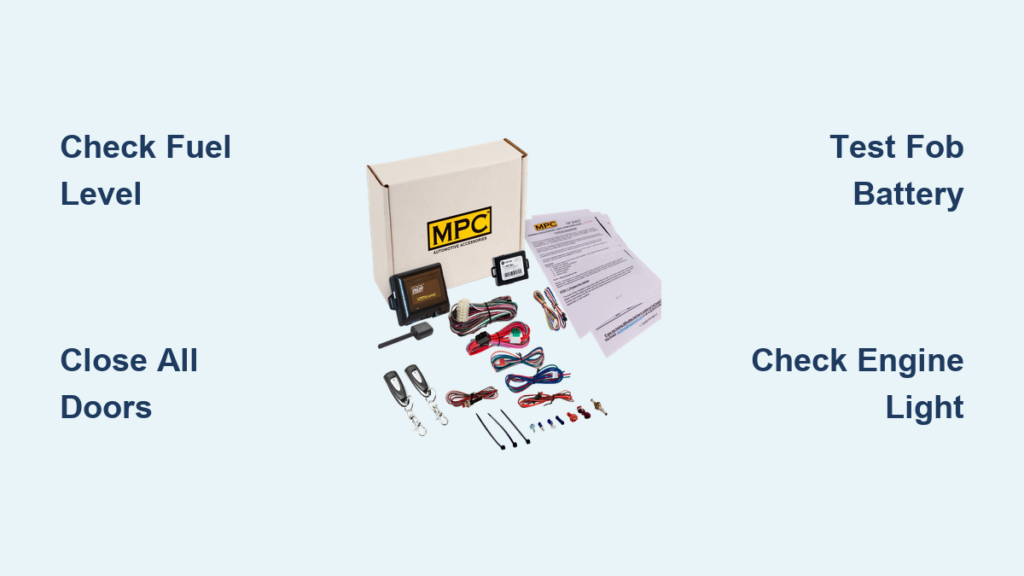
Your Chevy Silverado can warm up in the driveway before you even step outside. Whether your truck came with factory remote start or you’re adding an aftermarket system like Start-X, knowing how to auto start Chevy Silverado makes every drive more comfortable—especially in freezing winters or scorching summers. This guide covers both factory and aftermarket setups for model years 2015 through 2025, giving you clear steps for activation, installation, and troubleshooting.
If your Silverado already has remote start built in, the process takes seconds. If not, a plug-and-play kit like Start-X adds the feature without cutting any wires. Either way, you’ll learn exactly what to do, what to avoid, and how to fix common problems when the engine refuses to fire up.
Confirm Remote Start Compatibility
Before pressing buttons or buying parts, verify that your Silverado supports auto start. Not every trim or model year includes this feature from the factory.
Check Your Trim and Model Year
Remote start typically appears on LT, LTZ, Z71, High Country, and Denali (Sierra) trims from 2015 onward. By 2025, most configurations include it as standard or optional equipment. Base WT models often lack factory integration.
To confirm your setup:
– Review your owner’s manual for remote start details.
– Look at your key fob for a circular arrow button.
– Use the GM Owner Center app or website with your VIN.
If no factory option exists, an aftermarket solution like Start-X (compatible with 2015–2023 models) fills the gap.
Identify Factory vs. Aftermarket Setup
Factory systems use your original key fob and integrate with OnStar or the infotainment screen. Aftermarket systems like Start-X require programming but add remote start to trucks that never had it.
Spot a circular arrow on your fob? You likely have factory remote start. No symbol? You’ll need an aftermarket kit or a smartphone-enabled remote.
Install Start-X for Non-Remote Models
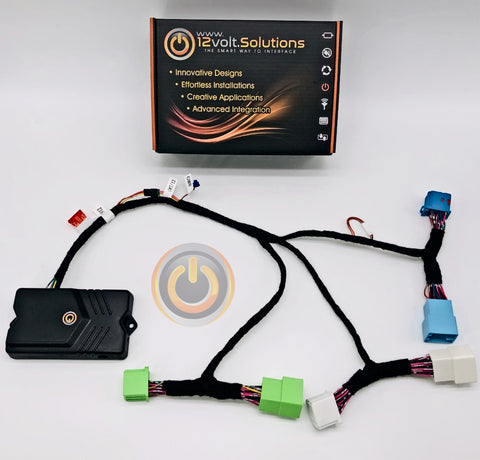
If your Silverado lacks factory remote start, the Start-X plug-and-play system adds it without wire cutting.
Access and Disconnect the BCM
- Turn off the truck and remove the key.
- Locate the negative battery terminal under the hood.
- Use a 10 mm wrench to disconnect it and prevent electrical shorts.
- Move to the driver-side footwell beneath the dashboard.
- Find the Body Control Module (BCM), a black or gray box with multiple connectors.
- Using the included pry tool, release the latches on the blue, teal, and white connectors. Some models also have a gray connector—disconnect it if present.
Connect the T-Harnesses
The Start-X system uses T-harnesses that plug between factory connectors and the BCM.
- Plug the factory BCM connectors into the female ends of the main T-harness.
- Reconnect the male ends of the harness back into the BCM.
- For 2019–2023 models without OnStar: Connect the two-pin port on the gray harness to the main harness.
- For 2014–2018 models without OnStar: Connect the two loose wires on the main harness together.
- Reconnect the negative battery terminal.
Program the Start-X Module
Programming prepares the module to bypass the immobilizer system.
Initialize the Module:
1. Plug the red connector into the module.
2. Start the engine manually, turn it off, and remove the key.
3. Wait 15 seconds.
Start Programming Sequence:
1. Press and hold the programming button.
2. While holding, insert the black connector.
3. Watch the LEDs cycle. After one full cycle, only the yellow LED should stay lit.
4. Release the button. If yellow doesn’t stay solid, restart the process.
Advanced Setup:
1. With yellow solid, insert the five-pin and 20-pin connectors.
2. Press the programming button five times.
3. Wait for the yellow LED to flash five times, pause, then turn solid.
Ignition Cycle:
1. Turn the key to “On/Run” without starting the engine. Red LED lights up; yellow turns off.
2. Turn key to “Off” and remove it.
3. Wait 15 seconds.
4. Turn key back to “On/Run”. Blue LED turns on.
5. Wait for blue and red to turn off, yellow to flash, then blue to flash rapidly, confirming success.
OnStar Note:
– No OnStar button? Press the programming button once.
– Has OnStar? Skip the button press.
Decrypt Immobilizer Codes via Software
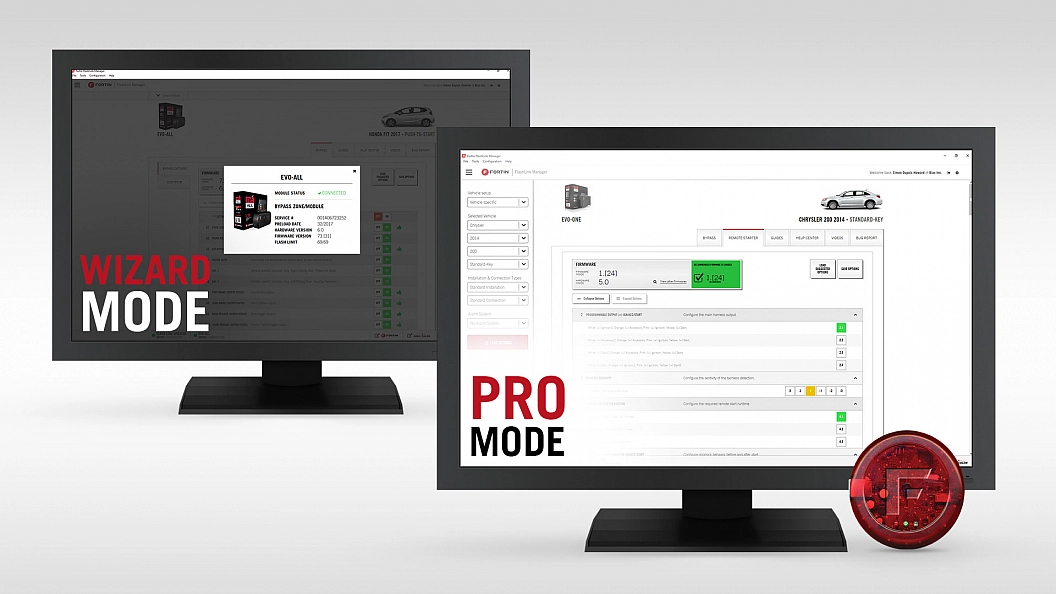
The final step downloads vehicle-specific codes to bypass the security system.
Install Flash Link Manager:
1. Go to fton.ca and download Flash Link Manager.
2. Install on a Windows PC or Mac with admin rights.
3. Launch the app and create an account.
4. Verify your email and log in.
Connect and Decrypt:
1. Disconnect all module connectors—remove black last.
2. Connect the programmer cable to the module and USB to your computer.
3. Click “Retry Detection” if needed.
4. Go to the “Decryptor” tab and click “Send Data”.
5. Wait 3–5 minutes without unplugging or shutting down.
6. When “Decryptor Process Complete” appears, disconnect the module.
Finalize Installation:
1. Reinstall the module in a secure spot under the dash.
2. Reconnect all harnesses—insert black connector first.
3. Test: Turn ignition to “On”—yellow LED should light.
4. Turn off—all LEDs should go dark.
5. Secure wires with zip ties and trim excess.
Activate Remote Start: Factory Method

Once confirmed or installed, use the factory key fob to start your truck.
Use the Circular Arrow Button
- Press Lock once to secure the truck.
- Immediately press and hold the circular arrow button.
- Hold for 2–3 seconds until headlights flash and the engine starts.
- Release. The truck runs for 10–20 minutes unless driven.
✅ Pro Tip: Stand within 150 feet of the truck for best signal strength.
Alternative: Triple-Press Lock (Start-X Default)
Some Start-X configurations use a different trigger:
– Press the lock button three times slowly.
– Each press should be distinct—don’t rapid-fire.
– Watch for flashing lights confirming start initiation.
If one method fails, try the other—it depends on your programming setup.
Set Climate Control Before Remote Start

Maximize comfort by pre-setting the cabin temperature.
Save HVAC Preferences
- Before exiting, set your desired temperature, fan speed, and airflow direction.
- The system remembers the last settings used.
- When remote start activates, HVAC turns on automatically with those settings.
❄️ Example: On a cold morning, set defrost at 75°F. Remote start warms the windshield and cabin before you get in.
Use Remote Start for Defrosting
- Start the truck 5–10 minutes before driving.
- Windows de-ice, mirrors clear, and heated seats warm up.
- In summer, AC cools the interior before you enter.
This feature pairs well with remote start timers or smartphone apps when supported.
Troubleshoot Failed Remote Starts
If the engine doesn’t start, most issues have quick fixes.
Check Fuel Level
- Remote start won’t activate if fuel is below 1/4 tank.
- This safety feature prevents stalling during unattended runs.
- Fix: Refuel and try again.
Ensure All Doors Are Closed
- Any open door, hood, or tailgate disables remote start.
- Even a slightly ajar tailgate latch triggers the sensor.
- Fix: Close all access points firmly. Listen for the latch click.
Test Key Fob Battery
- Weak battery means weak signal.
- If lock/unlock is slow or fails, replace the CR2032 battery.
- Test: Stand close to the truck and retry remote start.
Look for Check Engine Light
- If the “Check Engine” light is on, remote start may be disabled.
- The system detects potential mechanical issues.
- Fix: Diagnose and resolve the underlying problem first.
Verify LED Status (Start-X Only)
- Yellow LED not solid? Programming failed—restart the sequence.
- Blue flashing rapidly? Success—module is active.
- No lights at all? Check power connections and battery.
Safety Rules and Auto Start Limits
Remote start is convenient, but built-in safeguards protect your truck.
Automatic Shutdown
- Engine runs for 10–20 minutes depending on the model.
- This prevents fuel waste and overheating.
- Some systems allow a second remote start after shutdown to extend runtime.
Driveaway Protocol
To drive after remote start:
1. Enter the truck with the key fob.
2. Press the brake pedal.
3. Press start button or turn key to “On”.
4. Shift into gear.
Without this sequence, the truck shuts off when shifted.
Carbon Monoxide Warning
Never remote start in an enclosed garage.
– Even with the door open, CO builds up quickly.
– Use only in open or ventilated areas.
Upgrade to Smartphone Remote Start
For 2020–2025 models with Connected Vehicle Services, use the myChevrolet App.
Enable App-Based Start
- Activate OnStar and Connected Services.
- Download the myChevrolet App on iOS or Android.
- Log in with your account.
- Add your vehicle using the VIN.
- Accept terms and enable Remote Start.
Use the App to Start
- Open the app and select your Silverado.
- Tap “Remote Start”.
- Confirm climate settings.
- Wait for the push notification: “Engine Running.”
📱 Benefit: Start from anywhere with cell service—no line-of-sight needed.
App Limitations
- Requires active OnStar subscription (trial may expire).
- Needs GPS and cellular signal.
- Geofencing may restrict use in certain areas.
Frequently Asked Questions About Auto Starting a Chevy Silverado
Why won’t my Chevy Silverado remote start?
The most common reasons include low fuel (below 1/4 tank), an open door, hood, or tailgate, a weak key fob battery, or an illuminated Check Engine light. Start by closing all access points and replacing the fob battery if needed.
How do I know if my Silverado has factory remote start?
Check your key fob for a circular arrow button. You can also review your owner’s manual or enter your VIN on the GM Owner Center website to confirm the feature.
Can I add remote start to a Silverado that didn’t come with it?
Yes. The Start-X plug-and-play kit works with 2015–2023 Silverado and Sierra models. It uses T-harnesses that connect to the BCM without cutting wires, and programming requires a computer with Flash Link Manager software.
How long does the engine run after remote start?
Factory and aftermarket systems typically run the engine for 10–20 minutes before automatically shutting off. Some systems allow a second remote start command to extend runtime.
Is it safe to remote start my Silverado in a garage?
No. Never remote start in an enclosed or partially enclosed garage, even with the door open. Carbon monoxide can accumulate quickly and creates a serious health hazard.
Do I need OnStar to use remote start on my Silverado?
Not for basic key fob remote start. However, smartphone-based remote start through the myChevrolet App requires an active OnStar Connected Services subscription.
Key Takeaways for Auto Starting Your Chevy Silverado
Learning how to auto start Chevy Silverado comes down to three essentials: confirming compatibility, choosing the right activation method, and troubleshooting smartly when things go wrong. Factory systems work straight from the key fob, while aftermarket kits like Start-X add the feature to older or base-model trucks without wire cutting.
Always check fuel level, door status, and fob battery before assuming a system failure. For 2020 and newer trucks, the myChevrolet App adds smartphone control when paired with an active OnStar subscription. With proper setup and a quick mental checklist, your Silverado will fire up on command—ready and comfortable no matter the weather.