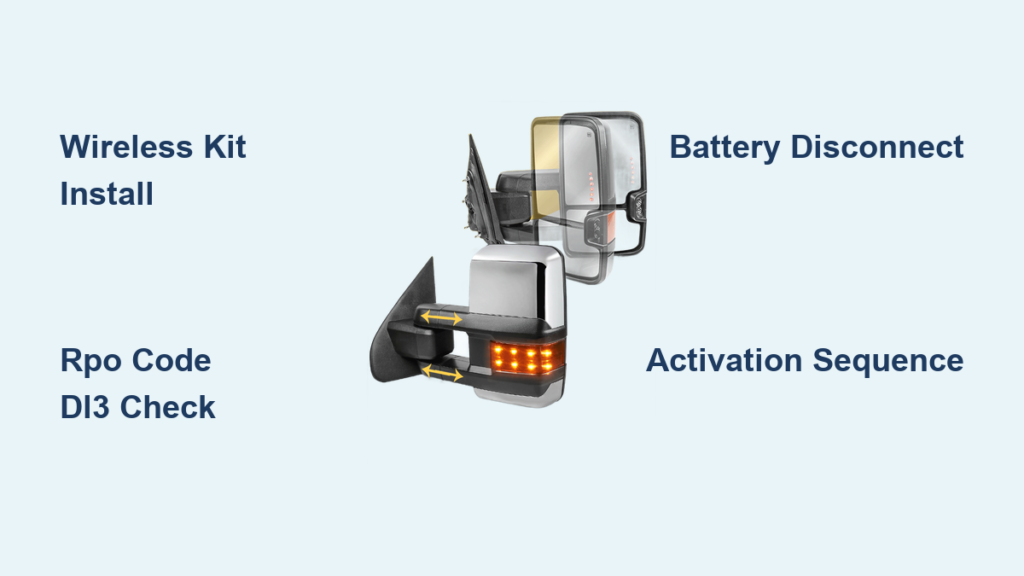
If your Silverado still has manual folding mirrors, you’ve probably wished for power folding at least once. Maybe it was during a snowstorm when you had to scrape ice off the housing. Maybe it was in a tight parking garage where you held your breath folding them in by hand. Whatever the moment, you’re not alone in wanting this upgrade.
The good news is that adding power folding mirrors to your Silverado is more achievable than ever. Modern wireless kits let you install the feature in a single afternoon without dealer programming. Older trucks can even get a true factory retrofit using OEM parts. This guide covers both paths, including compatibility, tools, wiring, and the activation sequence that brings your mirrors to life.
Pick the Right Upgrade Path for Your Truck
Aftermarket vs. OEM: Which Works Best?
Your Silverado’s model year determines which approach makes sense. Both options deliver power folding, but they differ dramatically in cost, complexity, and risk.
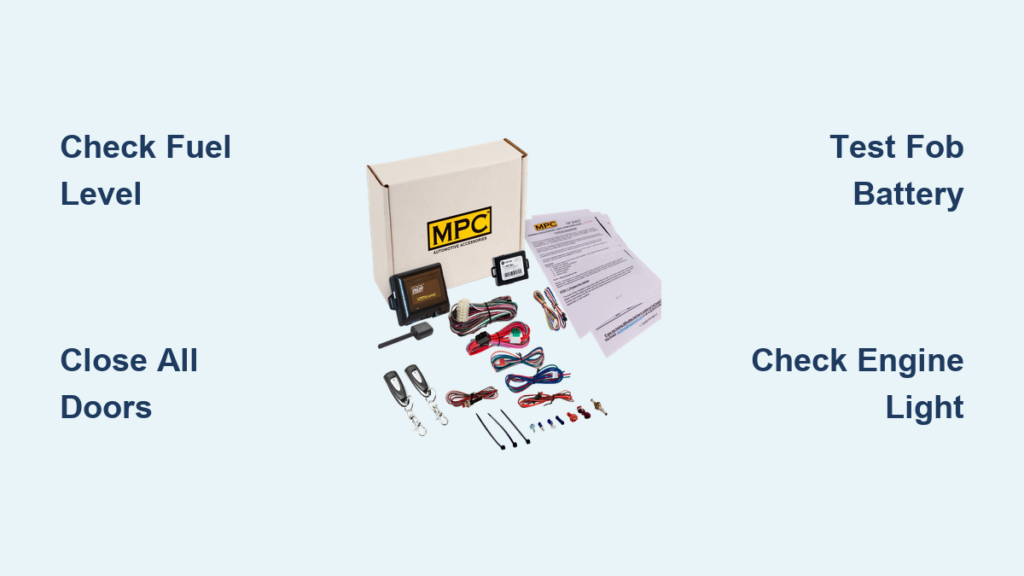
Aftermarket wireless kits are the modern solution for 2019–2026 trucks. They use small ECU modules inside each door that communicate wirelessly. You tap into existing wiring, keep your factory controls, and skip the dealer entirely.
OEM retrofits use genuine GM mirrors, switches, and harnesses. For 2007–2018 trucks with the right RPO code, this is a true factory integration. For 2019+ models, it requires replacing seats, HVAC panels, and multiple modules, which is rarely worth the effort.
2019–2026 Silverado: Go Wireless
If you own a 2019 or newer Silverado 1500, skip the OEM route. The Global B electrical architecture ties mirror functions to seat modules, HVAC panels, and the body control module. A successful retrofit requires:
- Replacement of both front seats
- A new HVAC control panel
- Multiple control modules
- Dealer-level software to reprogram the VIN
Labor and parts can exceed $2,000, with no guarantee of success. Instead, wireless aftermarket kits cost $515–$600, install in 2–4 hours, and require no programming. They’re the only realistic upgrade for modern Silverados.
2007–2018 Silverado: OEM Retrofit Is Viable
Older Silverados are perfect candidates for a true OEM retrofit. If you can source parts from a donor truck with RPO Code DL3, the swap is often plug-and-play.
You’ll need:
– Power folding mirrors (left and right)
– Driver and passenger window/mirror switch (DL3-coded)
– Door harnesses (if puddle light wires are missing)
Junkyard switches usually work without programming. New GM switches must be coded to your VIN, which some dealers can handle.
Pro Tip: Upgrade the plastic gears inside the mirror mechanism to steel spur gears during install. The factory plastic gears are notorious for breaking.
Find the Right Kit for Your Model Year
2019–2026: Order a Year-Specific Kit
Aftermarket kits (such as those from Boost Auto Parts) are designed specifically for 2019–2026 Silverado 1500 and Sierra 1500 models. They replace stock “small sport” mirrors and integrate via wireless ECU modules.
When ordering, you’ll need to provide:
– VIN (for proper mirror fitment)
– Paint code (found on the driver-side door jamb sticker)
– Feature checklist (BSM, spotlights, power fold)
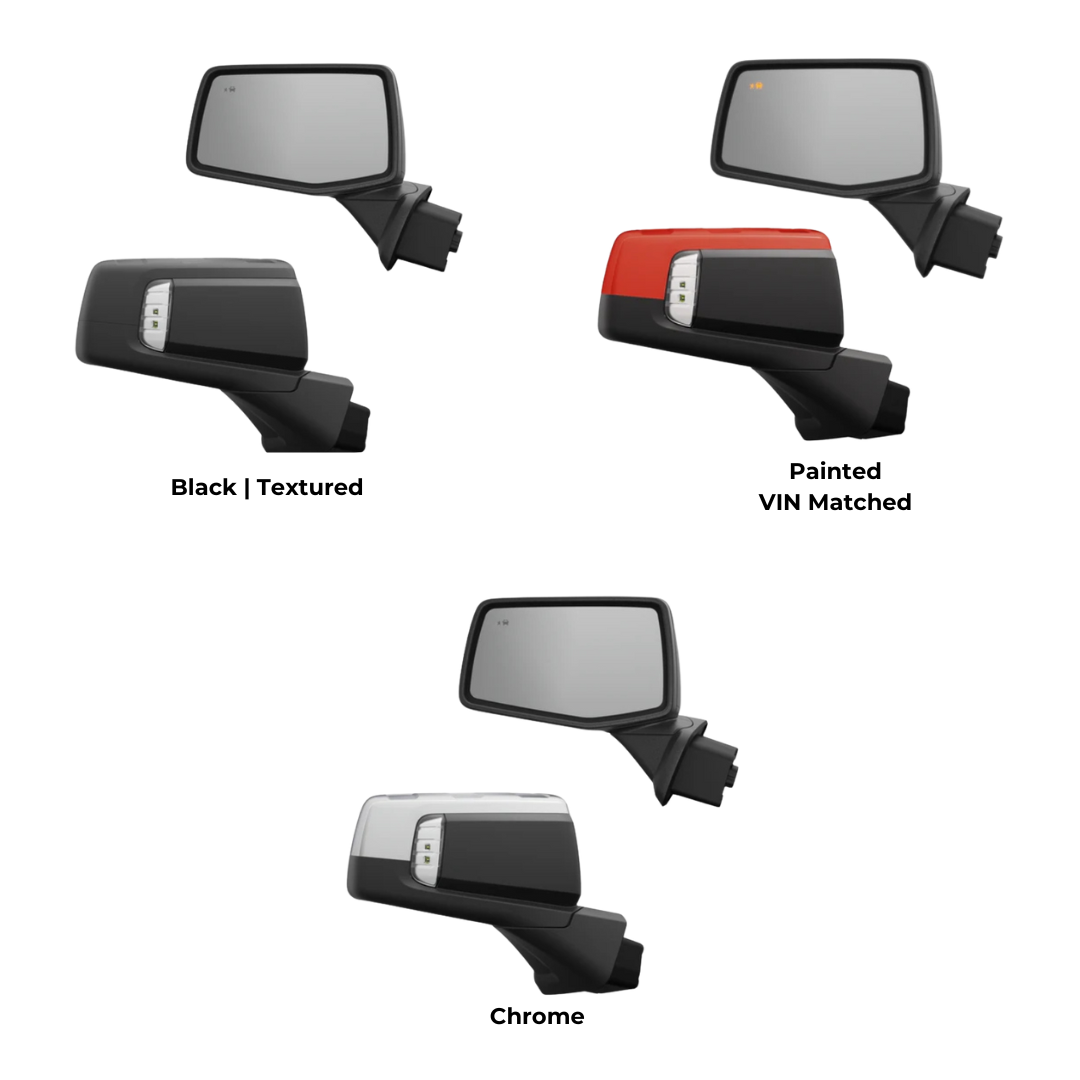
Finish options include textured black, VIN-matched paint, and chrome. Lens options are clear or smoked. LED spotlights come in white or amber.
2007–2018: Verify RPO Code DL3
Before buying OEM parts, check your glove box for RPO Code DL3:
DL3: OSRV MIRROR W/DRIVER SIDE AUTO DIMMING, PWR FOLD & ADJ, HEAT, TURN SIGNAL
If present, your truck likely has the necessary wiring. If not, you may need to run new harnesses.
Key part numbers:
– Mirrors: 84656350 (Left), 84656351 (Right)
– Switches: 20835553 (Driver), 20835554 (Passenger)
Know What Features You’ll Keep and Gain
Retained Factory Functions
Aftermarket kits preserve critical OEM features without losing convenience.
You keep:
– Power mirror adjustment (glass movement)
– Heated mirrors (works if your truck has rear defrost)
– Blind Spot Monitoring (if originally equipped)
– Temperature sensor (prevents dashboard warnings)
– Puddle lights (if wiring exists)
Even if your original mirrors lacked heating, the new ones will heat up as long as your truck has rear defrost.
Added Benefits
The kit doesn’t just add folding. It enhances your truck’s overall functionality.
You gain:
– Power folding mirrors (controlled via the mirror stalk)
– Forward-facing spotlights (if not already equipped)
– Wireless sync between driver and passenger mirrors
Spotlights stay on for 20 minutes unless manually turned off.
Features Not Supported
Be aware of these limitations before purchasing.
Missing:
– Memory seat/mirror recall: Sport mirrors don’t support position memory.
– Curb View Assist: Not activated on most kits.
– 360-degree camera: Side mirror cameras aren’t supported.
If you rely on memory profiles, this upgrade may not suit your needs.
Prepare Your Workspace and Tools
Disconnect the Battery First
Always disconnect the battery before starting any electrical work.
- Open the hood.
- Disconnect the main battery (passenger side).
- If equipped, disconnect the auxiliary battery (driver side).
This prevents short circuits, airbag triggers, and error codes.
Gather Your Tools
You’ll need:
– Trim removal tools (plastic pry bars)
– 7mm socket and ratchet
– Allen key set
– Wire strippers and crimpers
– Zip ties
– Flashlight or work light
No soldering is required since tap connectors are included.
Roll Down the Windows
Roll down both front windows fully. This prevents binding when removing door panels and gives clearance for mirror wiring.
Remove the Door Panels Without Damage
2019–2022 Models: Access Hidden Screws
- Pull back the door handle to remove trim behind it.
- Remove the 7mm bolt underneath.
- Remove the door grab trim.
- Unscrew two screws behind the trim.
- Remove two bottom screws.
2022+ Refresh Models: New Screw Layout
- Remove the door grab cover.
- Unscrew two screws under the grab.
- Remove two lower screws.
Extract the Panel Safely
- Use trim tools to gently pop clips around the edge.
- Slide the panel upward and outward.
- Press down on the door lock tab at the top. It’s a common snag point.
- Disconnect the door release cable (hook off).
- Unplug the main door connector:
– Pull back the red locking tab
– Press the gray latch
– Lift straight out - Remove the harness clip from the door frame.
Set the panel aside carefully. Don’t lay it on glass.
Replace the Factory Mirrors
Remove the Old Mirrors
- Pry off the mirror cover (if applicable).
- Disconnect the mirror harness (press the red locking tab).
- Remove four 10mm nuts with a socket.
- Support the mirror from inside the door and pull straight out.
Have a helper catch it since mirrors are heavy and fragile.
Install the New Mirrors
- Route the new mirror wires through the door frame opening.
- Align the mounting plate with the holes.
- Insert the mirror and secure with factory bolts/nuts.
- Tighten evenly to avoid misalignment.
Ensure wiring isn’t pinched and route excess through the grommet.
Wire the Wireless Modules
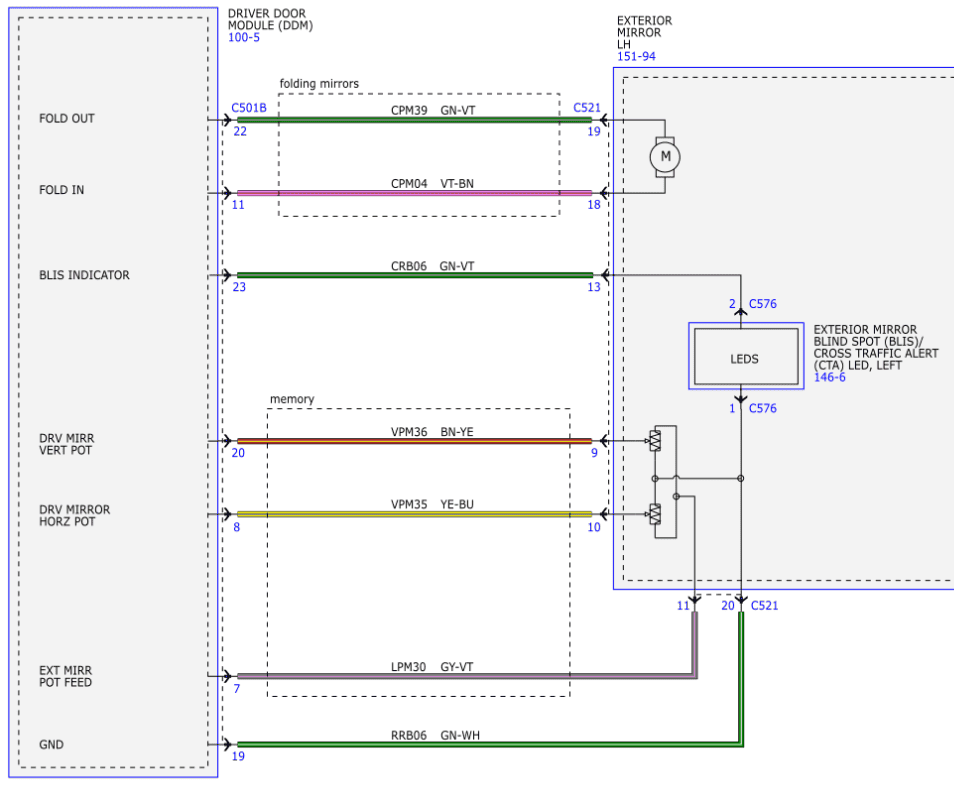
Tap Power and Ground Correctly
The wireless ECU needs power and ground from the door harness.
2019–2022 Models:
– Power: Pin 17 (middle row, 5th from left)
– Ground: Pin 30 (middle row, 7th from right)
2022+ Models:
– Power: Pin 1 (top-left, blue strip)
– Ground: Pin 27 (second row, 10th from right)
Use the included Red or Blue TS tap connectors. Do not cut wires.
Connect the Driver Side Harness
- Plug two white connectors into the new mirror.
- Connect the large black connector to the wireless module.
- Tap red (power) and black (ground) wires to the correct pins.
- Secure the inline fuse to a clean metal ground point.
Wire the Passenger Side
- Plug the single harness into the mirror.
- Connect to the wireless module.
- Tap power and ground (pins differ, so check the guide).
- Mount the module near the top of the door, away from water.
Use zip ties to secure loose wires. No cabin wiring is needed since the modules sync wirelessly.
Reassemble and Test Everything
Reinstall the Door Panels
- Feed wiring through the grommet.
- Align the panel with the door.
- Slide down and snap into place.
- Reconnect the door harness.
- Reattach the release cable.
- Reinstall all screws and trim.
Ensure the lock tab is fully seated and test the door handle before closing.
Reconnect the Battery
- Reconnect the auxiliary battery (if removed).
- Reconnect the main battery.
- Wait 30 seconds for modules to initialize.
Do not start the truck yet.
Test All Mirror Functions
- Turn ignition to ON (do not start).
- Test power adjustment (left, right, up, down).
- Turn on defrost and confirm the mirrors heat up.
- If BSM-equipped, check for blind spot icons.
- Activate spotlights (if equipped).
All factory features should work normally.
Activate Power Folding Mode
Enter the Activation Sequence
To enable folding, use the mirror stalk sequence:
- Select Left Mirror on the stalk.
- Press: Left – Left – Right – Right.
- Listen for two beeps confirming success.
Now the stalk controls folding instead of adjustment.
Fold and Unfold Your Mirrors
- Fold: Press Down on the stalk
- Unfold: Press Up on the stalk
The passenger side may lag slightly due to wireless sync.
Turn Off Folding Mode
To return to normal adjustment:
– Repeat the Left-Left-Right-Right sequence
– Three beeps confirms deactivation
– Or wait 10 seconds of inactivity for automatic timeout
Troubleshoot Common Issues
Mirrors Won’t Fold
Check these items:
– Mirror selector is in the neutral (middle) position
– Battery was disconnected before install
– Power and ground taps are secure
– Wireless modules are mounted high in the door
If folding still doesn’t work, re-enter the activation code.
Spotlights Not Working
Try these fixes:
– Ensure Right on the stalk is pressed after activation
– Check tap connections
– Verify LED polarity (flip the bulb if needed)
– Some kits require original spotlight wiring
Puddle Lights Not Turning On
This is common on OEM retrofits. Fix by:
– Checking orange wire continuity
– Ensuring correct polarity (LEDs are directional)
– Covering the ambient light sensor (activates at night)
– Wiring to the interior light circuit if the factory path is missing
Maintain Your New Mirrors for the Long Run
Prevent Gear Failure on OEM Mirrors
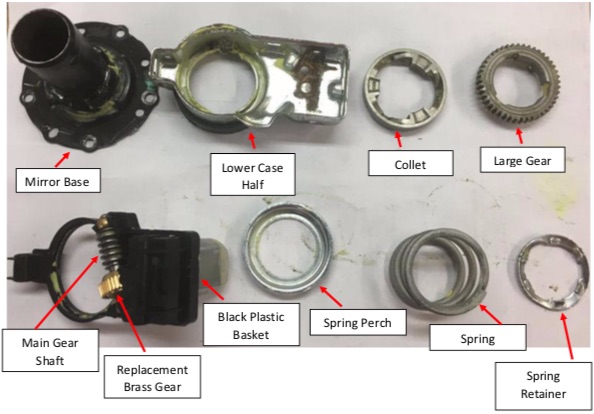
Plastic gears inside OEM folding mechanisms break frequently. The solution is to replace them with steel spur gears (aftermarket kits are available). Install them during the retrofit to avoid future disassembly. The cost is roughly $50 and saves $300+ in future mirror replacement.
Clean Chrome and Painted Caps Properly
- Use non-abrasive automotive cleaner
- Avoid wax on chrome to prevent oxidation
- VIN-matched paint is cured like OEM and is safe for car washes
Check Wiring Seals Annually
Inspect rubber grommets once a year. Cut a small “X” for wires, but ensure the seal compresses when the panel is on. This prevents water intrusion and corrosion.
Frequently Asked Questions About Power Folding Mirrors on Silverado
Can I add power folding mirrors to a base-model Silverado?
Yes. Base-model Silverados without power folding can be upgraded using aftermarket wireless kits for 2019–2026 models or OEM parts for 2007–2018 models. The aftermarket route requires no dealer programming and works on any trim.
How much does it cost to add power folding mirrors to a Silverado?
Aftermarket wireless kits cost $515–$600 depending on finish and features. OEM retrofits on 2007–2018 trucks range from $400–$900 for parts. Dealer-installed OEM retrofits on 2019+ trucks can exceed $2,000.
Do I need dealer programming for an aftermarket kit?
No. Aftermarket wireless kits are designed to work without dealer programming. They integrate with your factory mirror switch and use wireless modules that sync automatically.
Will I lose blind spot monitoring if I upgrade?
No. Quality aftermarket kits retain blind spot monitoring if your truck was originally equipped with it. The new mirrors include compatible BSM glass and temperature sensors to prevent dashboard errors.
How long does installation take?
Aftermarket wireless kits typically take 2–4 hours for a DIY installation. OEM retrofits on older trucks take 4–6 hours. Professional installation may be faster but adds labor costs.
What is RPO Code DL3?
RPO Code DL3 stands for “OSRV MIRROR W/DRIVER SIDE AUTO DIMMING, PWR FOLD & ADJ, HEAT, TURN SIGNAL.” It indicates a truck came with power folding mirrors from the factory. You can find this code on a sticker inside your glove box.
Final Takeaways for Adding Power Folding Mirrors to Your Silverado
For 2019–2026 Silverados, the wireless aftermarket kit is the clear winner. It delivers 95% of factory function at a fraction of the cost and complexity. Skip the OEM route entirely.
For 2007–2018 Silverados, an OEM retrofit using DL3-coded parts is a smart choice if you can find a donor truck. Just remember to upgrade to steel gears during the install.
The installation is DIY-friendly for anyone comfortable with basic hand tools and wiring diagrams. Battery disconnection, proper wire tapping, and module placement are the keys to success.
Your next step: Confirm your model year and RPO code, then order the appropriate kit. Within a single weekend, you’ll have the convenience and protection of power folding mirrors on your Silverado.