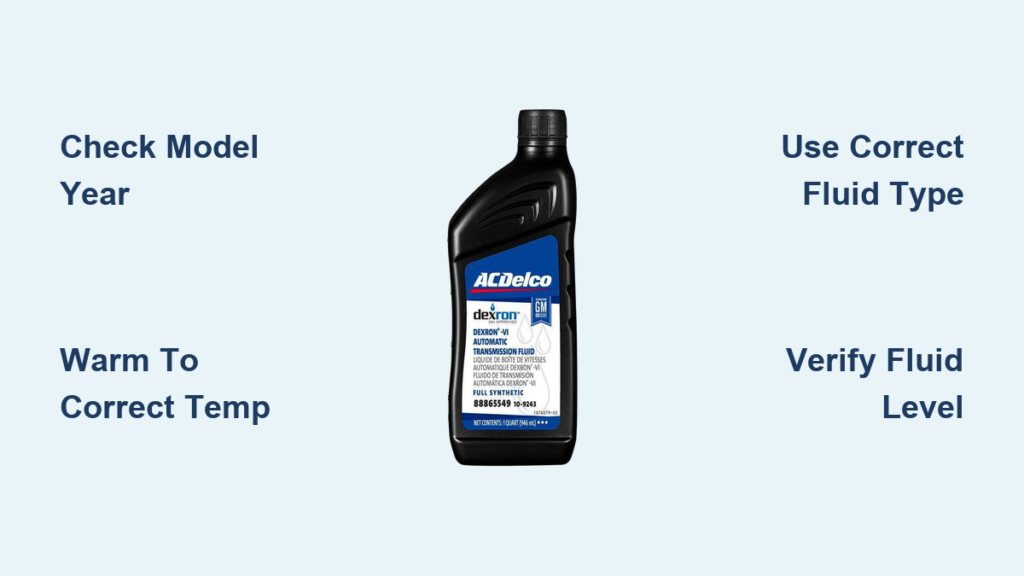
If your Chevy Silverado hesitates when shifting or makes unusual noises, low or degraded transmission fluid could be the cause. Learning how to check transmission fluid on a Chevy Silverado the right way helps you catch problems early and avoid expensive transmission repairs. The process differs significantly between older dipstick models (2014–2018) and newer sealed systems (2019–2025), so using the wrong method can give you false readings or even damage your transmission.
This guide covers both systems in detail, including exact temperature requirements, required tools, compatible fluid types, and critical safety steps. By the end, you’ll know how to get an accurate reading on any Silverado model and keep your transmission running smoothly for years.
Confirm Your Model Year Before Starting
Dipstick vs. Sealed Systems
Silverados built between 2014 and 2018 typically include a transmission dipstick for straightforward fluid checks. Starting in 2019, most models switched to sealed transmissions without a dipstick, especially those equipped with 8-speed or 10-speed automatics. These newer systems use a level check plug on the transmission pan instead.
Why this distinction matters:
Applying a dipstick method to a sealed system simply won’t work. Worse, checking fluid on a plug-based model without proper temperature control can lead to overfilling or underfilling, both of which can destroy your transmission.
Prepare the Vehicle for an Accurate Reading
Park on a Level Surface
An uneven surface skews fluid level readings. Always work on flat, level ground. For plug-based models that require a lift or hoist, confirm the vehicle is level both front-to-back and side-to-side before proceeding.
Warm the Transmission to the Correct Temperature
Fluid expands as it heats up. Checking cold fluid gives a false low reading, while overheating it causes inaccuracy, especially in newer models.
For 2014–2018 dipstick models:
Drive the truck for 10–15 minutes until it reaches operating temperature. Target a transmission fluid temperature of 160–200°F, which you can monitor through the Driver Information Center (DIC).
For 2019–2025 plug-based models:
Temperature requirements vary by transmission type:
- 10L80 (10-speed): Must reach 167–176°F. Exceeding 176°F causes an under-read; below 167°F causes an over-read.
- 8-speed (5.3L V8): Check at 86–122°F (30–50°C), which is cooler than normal driving temperature. Do not check immediately after highway driving.
Check Fluid on Dipstick Models (2014–2018)

Cycle Through the Gears
With the truck parked and warmed up, follow these steps:
- Keep the engine running.
- Shift through all gears: Park → Reverse → Neutral → Drive → Low, pausing about 3 seconds in each.
- Return to Park.
- Let the engine idle for 1 minute.
Locate and Read the Dipstick
- Open the hood carefully, watching for hot components.
- Find the transmission dipstick, usually marked with a red or yellow ring.
- Pull it out and wipe it clean with a lint-free rag.
- Reinsert it fully, then pull it out again immediately.
- Read the level against the “Hot” marks only. Never use the “Cold” marks for your final assessment.
Interpret the Dipstick Reading
- Between “Add” and “Full”: Fluid level is good.
- Near “Add”: Add ¼ quart, then recheck.
- Above “Full”: The transmission is overfilled. Drain or siphon out the excess.
Check Fluid on Plug-Based Models (2019–2025)
Warm to the Correct Temperature
Use the DIC or a compatible scan tool to monitor transmission fluid temperature (TFT).
For 10L80 (10-speed):
Drive normally, then hold the vehicle in Drive with the brake applied. Rev the engine to just under 1,500 RPM, then return to idle. Repeat this cycle every 10 seconds until the TFT reaches 167–176°F.
For 8-speed models:
Idle or drive gently without overheating. If you’ve installed a thermostat bypass kit (such as Sure Cool), the fluid cools faster, but you still must verify temperature with a scan tool. Remember, engine coolant temperature does not equal transmission fluid temperature.
Raise the Vehicle Safely
- Use a hoist or jack stands.
- Confirm the vehicle is level.
- Keep the engine running during the entire plug removal process.
Remove the Level Check Plug
- Locate the M6 or M12 plug on the driver’s side of the transmission pan.
- Place a drain pan underneath to catch any fluid.
- Remove the plug while the engine is running. Removing it with the engine off causes massive fluid loss.
Observe the Fluid Flow
- Steady drip: Fluid level is correct.
- Light drizzle: Slightly low. Add fluid slowly until you see a steady drip.
- No flow: Significantly low. Add fluid until dripping begins.
- Continuous stream: Overfilled. Let it drain until the flow reduces to a steady drip.
Reinstall the Plug to Specification
Replace the plug and torque it to the correct value:
- M6 plug: 9 Nm (80 lb-in)
- M12 plug: 25 Nm (18 lb-ft)
Pro Tip: Apply thread sealant if GM specifies it for your model to prevent leaks.
Assess the Condition of the Fluid
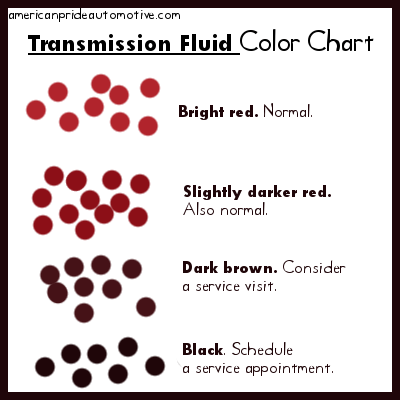
Even when the level is correct, the fluid’s appearance and smell reveal a lot about transmission health.
Signs of Healthy Fluid
- Color: Bright red
- Smell: Slightly sweet
- Texture: Clean and smooth
If everything looks and smells normal, no action is needed. Just plan to recheck in about 30,000 miles.
Warning Signs That Require Action
| Appearance | Odor | Likely Issue | Recommended Action |
|---|---|---|---|
| Brown or gray | Burnt | Overheating or old fluid | Change fluid immediately |
| Black with particles | Burnt | Internal wear | Inspect for metal; possible overhaul |
| Milky, pink, or cloudy | None | Coolant or water leak | Stop driving and check radiator and cooler lines |
Note: If the fluid smells burnt but still looks red, you’re seeing early degradation. Change the fluid now to prevent shifting problems.
Add Fluid the Right Way
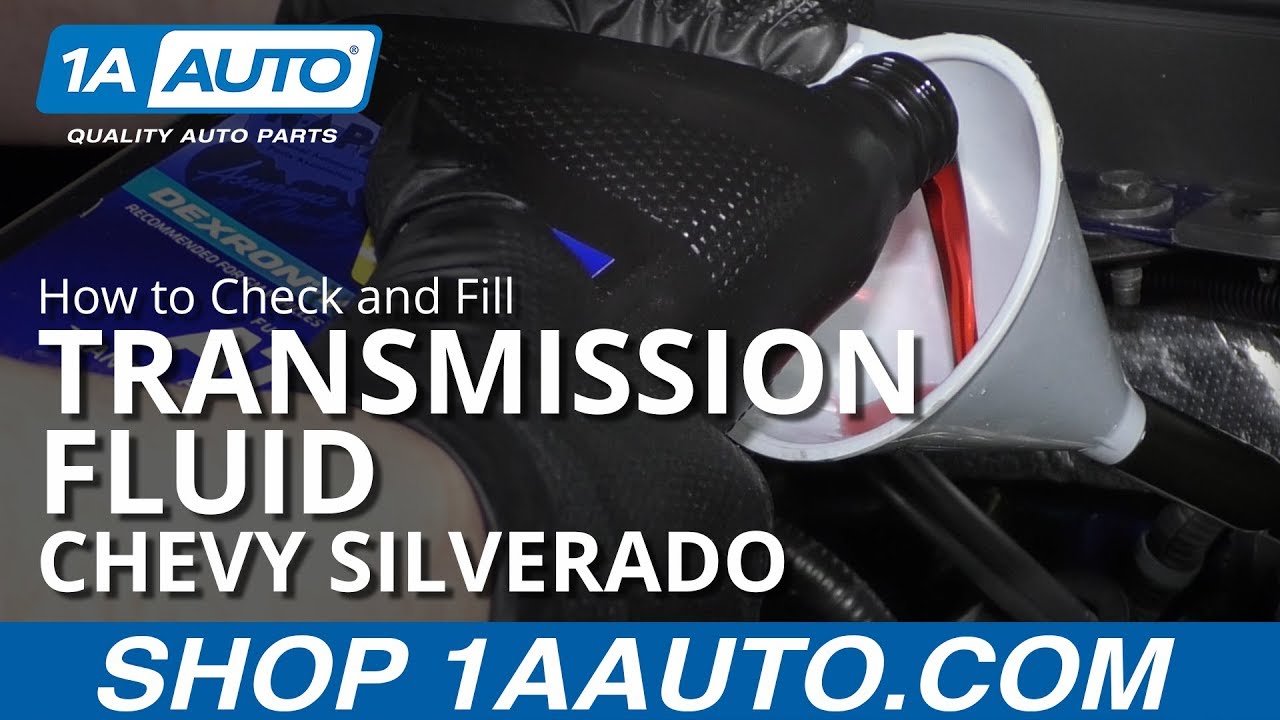
For Dipstick Models
- Use a funnel to avoid spills.
- Add ¼ quart at a time.
- Wait 30 seconds, then recheck the level.
- Keep in mind that the space between the “Low” and “Full” marks equals about ½ quart (1 pint).
For Plug-Based Systems
- Add fluid through the fill tube, often near where the dipstick used to be or through a dedicated port.
- Keep the engine running throughout the process.
- Add fluid slowly because it expands quickly.
- Stop adding once you see a steady drip from the check hole.
Warning: Never overfill. Foaming causes pump cavitation and internal damage.
Use the Correct Fluid Type

Using the wrong fluid can void your warranty and destroy your transmission.
2014–2018 Models
- Required: Dexron VI
- Never substitute with Mercon, ATF+4, or generic fluids.
2019+ Models (8-Speed and 10-Speed)
- Required: GM Dexron LS or an equivalent synthetic meeting the GM 6297M specification.
- Acceptable alternatives include Amsoil Signature Series Multi-Vehicle ATF when explicitly listed as GM LS compatible.
Important: Dexron VI and Dexron LS are not interchangeable.
Avoid These Common Mistakes
Checking Fluid When Cold
Cold fluid contracts and reads low. Always warm the transmission to the specified temperature range before checking.
Removing the Check Plug with the Engine Off
On plug-based models, the engine must be running to maintain pump pressure. Removing the plug with the engine off causes massive fluid loss.
Assuming Engine Temperature Equals Transmission Temperature
The engine and transmission have separate cooling systems. Always verify transmission fluid temperature using the DIC or a scan tool.
Overfilling the Transmission
Overfilling causes foaming, poor lubrication, and pressure problems. Add fluid in small increments and recheck frequently.
Follow Essential Safety Protocols
Wear Protective Gear
Heat-resistant gloves and safety glasses are mandatory. Transmission fluid at 170°F can cause severe burns.
Watch for Hot Components
The transmission sits near the hot exhaust manifold. Avoid direct contact with metal surfaces.
Secure the Work Area
A running engine combined with a lifted vehicle creates serious hazards. Keep children and pets well away from the workspace.
Troubleshoot Common Problems
Why Is My Transmission Slipping?
Start by checking the fluid level and condition. Low or burnt fluid is the most common cause. If the level is correct, seek a professional diagnosis.
Why Is No Fluid Coming Out of the Check Plug?
Either the fluid is very low or the transmission hasn’t reached the correct temperature. Confirm the temperature before assuming the system is empty.
Why Is Fluid Pouring Out?
The transmission is overfilled. Let it drain until the flow reduces to a steady drip, then recheck after a short drive.
What If I See Metal Shavings?
Metal particles indicate internal failure. Do not drive the vehicle. Flush the cooler and lines, inspect the pan, and plan for a transmission rebuild.
Stick to a Regular Maintenance Schedule
When to Check the Fluid
- Every 30,000 to 60,000 miles.
- More frequently if you tow heavy loads, off-road, or drive in extreme heat.
When to Change the Fluid
- 2014–2018 models: Every 90,000 miles or 5 years, sooner if you tow regularly.
- 2019+ models: Follow the Oil Life Monitor, but check the level at least once a year.
Note: Reset the oil life monitor only after a complete fluid change, not after a simple top-off.
Final Tips for Getting an Accurate Reading
Use a Scan Tool for Precision
On 2019+ models, a GM-compatible scan tool provides the most accurate transmission fluid temperature reading. Avoid guessing based on drive time alone.
Keep the Dipstick Area Clean
Dirt can enter the transmission during checks. Wipe around the dipstick tube before pulling the dipstick out.
Inspect for Leaks After Service
After checking or adding fluid, examine the check plug, pan gasket, and cooler lines for signs of leakage. Even small leaks create big problems over time.
Frequently Asked Questions About Checking Transmission Fluid on a Chevy Silverado
How Often Should I Check Transmission Fluid on My Silverado?
Check the fluid every 30,000 to 60,000 miles under normal driving conditions. If you frequently tow, off-road, or drive in extreme heat, inspect it more often.
Can I Use Dexron VI in a 2019 or Newer Silverado?
No. Models from 2019 onward require GM Dexron LS or an equivalent synthetic meeting the GM 6297M specification. Dexron VI and Dexron LS are not interchangeable.
What Happens If I Overfill the Transmission?
Overfilling causes fluid foaming, which leads to pump cavitation, poor lubrication, and potential internal damage. Always add fluid in small increments and recheck the level.
Why Does My 2019 Silverado Not Have a Transmission Dipstick?
Starting in 2019, most Silverado models use sealed transmissions with a level check plug instead of a dipstick. This design improves sealing and reduces contamination but requires specific procedures and temperature control to check fluid accurately.
What Temperature Should the Transmission Be When Checking Fluid?
It depends on the model year and transmission type. Dipstick models (2014–2018) require 160–200°F. The 10L80 (10-speed) requires 167–176°F. The 8-speed requires a cooler range of 86–122°F (30–50°C).
Is It Safe to Check Transmission Fluid at Home?
Yes, as long as you follow safety protocols. Wear protective gloves and eyewear, keep the engine running for plug-based models, work on level ground, and verify the correct temperature before checking.
Key Takeaways for Checking Transmission Fluid on a Chevy Silverado
Checking your Silverado’s transmission fluid correctly protects one of the most expensive components in your truck. The most important points to remember are confirming your model year first, warming the transmission to the exact specified temperature, and using only the approved fluid type. Whether your truck has a dipstick or a sealed system, following the right procedure prevents costly damage and keeps your transmission shifting smoothly.
Your next step: Gather the necessary tools, identify your model year and transmission type, and schedule a fluid check within the next week. Staying proactive now saves you from major repairs down the road.