A parking brake that sinks to the floor or fails to hold your truck on a hill is more than an annoyance. It puts real stress on your transmission and creates a safety hazard every time you park. The good news is that most Silverado parking brake problems come down to cable stretch, a slipped auto-adjuster, or simple wear that you can fix at home with basic tools.
This guide walks you through the exact steps for adjusting your Silverado’s parking brake based on your model year. Whether you drive a 2005 2500HD, a 2007–2013 GMT900, or an older truck with a self-adjusting pedal, you’ll find the right method here.
Diagnose Before You Disassemble
Jumping straight into brake work wastes time and can mask the real problem. Start with these quick checks.
Check Your Application Habit First
A loud clunk when shifting out of Park usually means the parking brake isn’t holding the vehicle’s weight. The fix might be simpler than you think.
On a slight incline, try this sequence:
1. Shift to Neutral.
2. Apply the parking brake firmly.
3. Shift to Park.
If the truck holds steady and the clunk disappears, your brake works fine. You were just shifting into Park before applying the brake, which lets the transmission bear the load.
Test the Pedal and Cables
Press the parking brake pedal by hand and release it. You’re looking for specific feedback.
- Pedal goes to the floor with no resistance: Cable is likely stretched, broken, or disconnected.
- No resistance at all: Inspect the equalizer under the truck where the single cable splits to both rear wheels.
- Stiff or frozen movement: Cables have seized from rust or lack of use, especially in wet climates.
If the pedal feels firm but travels too far, you need an internal adjustment or auto-adjuster reset.
Adjust the Star Wheel on Pre-2007 and 2500HD Models

This method covers 1999–2005 Silverados, especially 2500HD trucks with drum-in-hat parking brakes built into the rear rotors.
Remove the Rotor for Access
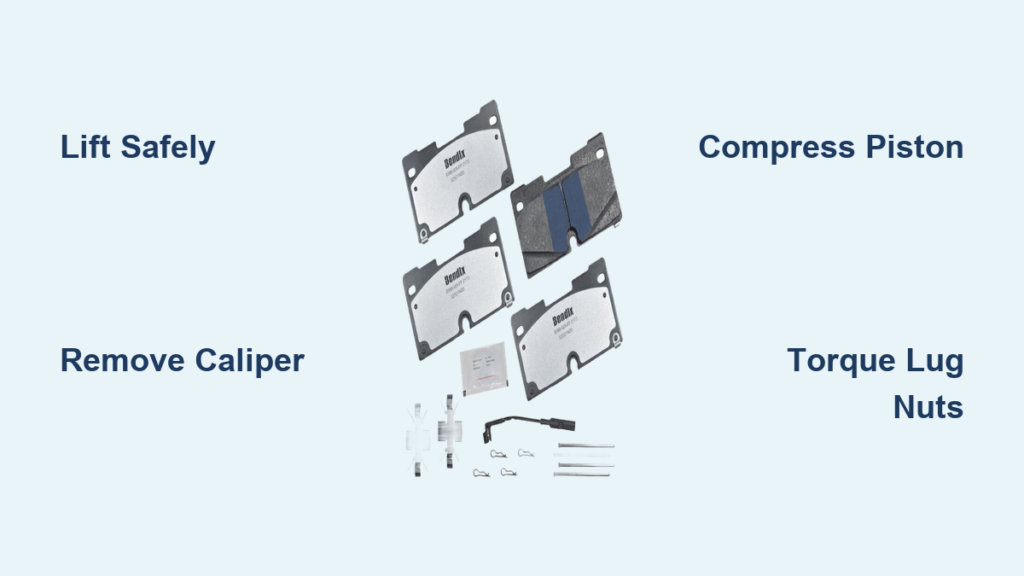
Most pre-2007 models don’t have external access holes to the adjuster. Rotor removal is mandatory.
- Loosen the lug nuts slightly while the truck is on the ground.
- Jack up the rear and secure it on jack stands.
- Remove the wheel.
- Unbolt the caliper and hang it with wire to avoid stressing the brake hose.
- Slide the rotor off to expose the brake shoes and star wheel.
Work on one side at a time so you don’t mix up parts during reassembly.
Rotate the Star Wheel the Correct Direction
Here’s where many guides get it wrong. On 2005 2500HD models, the driver and passenger sides adjust in opposite directions.
| Side | Action to Tighten |
|---|---|
| Passenger | Rotate the top of the star wheel upward |
| Driver | Rotate the inner edge downward toward the floor |
Using a brake adjuster spoon, turn the star wheel in small increments. Over-tightening will prevent the rotor from sliding back on.
Verify Proper Clearance
Your goal is shoes that lightly drag on the drum surface inside the rotor.
- Reinstall the rotor temporarily and spin it by hand.
- Spins freely with no drag: Tighten the star wheel one more click.
- Won’t spin at all: Back off the adjuster one click.
- For precision: Measure with a micrometer. The target clearance between the drum ID and shoe OD is 0.02 inches (0.66 mm).
Once you feel slight, consistent drag, reassemble everything. Don’t forget the rubber caps over the adjusters to keep debris out.
Turn the Rotary Dial on 2007–2013 GMT900 Models

If you own a 2007–2013 Silverado, your adjustment happens through a dial on the brake assembly after removing the rotor.
Disassemble the Caliper and Rotor
- Lift the rear of the truck and secure it on jack stands.
- Remove the wheel.
- Use a 12mm socket to loosen the three caliper bolts. A 5/8″ wrench may be needed to hold the upper bolt steady.
- Slide the caliper off.
- Pull the rotor straight off the hub.
Turn the Adjustment Dial
The dial sits between the 12 and 1 o’clock positions on the backing plate.
- Grab the dial with pliers or a flathead screwdriver.
- Turn clockwise to tighten and counterclockwise to loosen.
- Make small adjustments, no more than 2–3 clicks at a time.
Test the Rotor Spin
After each adjustment:
1. Reinstall the rotor temporarily.
2. Spin it by hand.
3. You’re aiming for slight drag with no binding.
Once the drag feels right, reassemble the rotor, caliper, and wheel. Lower the truck and test the parking brake.
Reset the Auto-Adjuster Without Removing the Rotor
If your pedal goes to the floor but the brake still holds weakly, the auto-adjuster may have disengaged. Try these methods before tearing into the brakes.
Re-Engage the Pedal Mechanism
This two-person method resets the internal ratchet.
- Have a helper hold the parking brake pedal fully up in the released position.
- Under the dash, find the front cable where it connects to the pedal.
- Pull the cable rearward to release tension on the locking pin.
- Insert a nail or scribe through the holes in the pedal bracket to lock it.
- Release the cable.
- Remove the nail.
- Slowly release the pedal.
Test the pedal. It should now engage higher with less travel.
Use Vise Grips to Reset Cable Tension
This method works well when space is tight or rotors are rusted in place.
Under the vehicle:
1. Press the parking brake pedal about 3/4 of the way down.
2. Locate the cable just after the equalizer where it splits toward the rear wheels.
3. Clamp vise grips onto the cable sheath.
4. Release the pedal. The mechanism resets with less slack.
5. Repeat once or twice if needed.
Inside the cab:
1. Engage the pedal a few clicks.
2. Clamp vise grips on the cable where it exits the sheath near the floor.
3. Release the pedal. The clamp holds tension, letting the ratchet advance.
4. Repeat to shorten the effective cable length.
This approach often restores full function without any disassembly.
Lubricate and Prevent Future Problems
A little maintenance goes a long way toward keeping your parking brake working smoothly.
Lubricate the Right Places
During any disassembly:
– Apply light grease to shoe pivot points and cable guides.
– Use anti-seize on cable threads and anchor points.
– Never lubricate friction surfaces like the shoes or drum. Grease there causes total brake failure.
Replace Worn Components When Needed
Adjustment won’t fix parts that are past their service life.
- Cables: Replace if frayed, stretched, or frozen. Many owners replace them every 3–5 years if the brake is rarely used.
- Shoes: Replace if friction material is less than 1/8 inch thick.
- Rotors: Replace if the drum section has deep grooves.
- Pedal ratchet: Replace if it slips or fails to hold.
Avoid These Common Adjustment Mistakes
A few simple errors can turn a straightforward job into a frustrating one.
Don’t Skip the Direction Check
On 2005 2500HD models, turning the driver-side star wheel the wrong way loosens the brake instead of tightening it. Always follow the side-specific rotation rules.
Avoid Over-Tightening
Shoes adjusted too tightly will:
– Prevent rotor reinstallation
– Cause drag, overheating, and premature wear
– Increase pedal effort and risk binding
Test the spin after every adjustment increment.
Never Force the Rotor On
If the rotor won’t slide back onto the hub, back off the adjuster. Don’t hammer or pry it. You risk damaging the shoes, adjuster, or rotor surface.
Don’t Ignore the Equalizer
Uneven tension at the equalizer causes one side to drag while the other slips. Inspect it for corrosion and make sure both rear cables move freely.
Troubleshoot Persistent Problems
Even after adjustment, issues can linger. Use this guide to isolate the cause.
Pedal Still Goes to the Floor
The cable may be disconnected, the return spring may be broken, or the auto-adjuster has failed. Inspect under the truck for cable detachment and try the vise grip method again. If nothing works, replace the front cable or pedal assembly.
Brake Holds but Clunks on Release
This points to the transmission bearing the vehicle’s weight. Apply the parking brake before shifting to Park. The clunk disappears and your transmission stays protected.
One Side Doesn’t Engage
A frozen cable, uneven adjustment, or broken shoe is the likely culprit. Remove both rotors and compare shoe movement side by side. Free or replace any stuck cable and adjust both sides identically.
Adjustment Won’t Hold
Worn shoes, a stripped star wheel, or a stretched cable can all cause this. Inspect the friction material and replace shoes and cables as a set for balanced performance.
Frequently Asked Questions About Silverado Parking Brake Adjustment
How do I know if my Silverado parking brake needs adjustment?
The most common signs are a pedal that travels too close to the floor, the vehicle rolling on inclines despite the brake being engaged, or a loud clunk when shifting out of Park. Any of these symptoms mean it’s time to check the system.
Can I adjust the parking brake without removing the rear rotors?
On 2007–2013 GMT900 models, no, the rotor must come off to access the adjustment dial. On older models with seized cables or limited space, the vise grip cable tensioning method can sometimes restore function without disassembly.
Why does my Silverado clunk when I shift out of Park?
You’re likely shifting into Park before applying the parking brake. This lets the vehicle settle onto the transmission park pawl. Apply the parking brake first, then shift to Park, and the clunk should disappear.
How tight should the parking brake shoes be adjusted?
The shoes should drag slightly on the drum surface. For precise measurement, the clearance between the drum ID and shoe OD should be about 0.02 inches (0.66 mm). Over-tightening causes drag and overheating, while under-tightening reduces holding power.
How often should I replace parking brake cables?
If you use your parking brake regularly, cables can last many years. If the brake sits unused for long periods, expect to replace them every 3–5 years due to internal corrosion and seizing.
What tools do I need to adjust a Silverado parking brake?
Basic tools include a jack, jack stands, lug wrench, brake adjuster spoon, 12mm socket, pliers or flathead screwdriver, and possibly vise grips. A micrometer helps with precise clearance measurement.
Key Takeaways for Adjusting Your Silverado Parking Brake

Getting your parking brake dialed in comes down to three essentials: diagnose first, use the right method for your model year, and test frequently during the process. Pre-2007 and 2500HD models need star wheel adjustment with careful attention to side-specific rotation directions. GMT900 trucks use a rotary dial between 12 and 1 o’clock. If disassembly isn’t practical, the vise grip method can reset the auto-adjuster without removing rotors.
Your next step is to identify your model year, gather the right tools, and start with the diagnostic checks. A properly adjusted parking brake restores safety, eliminates that annoying clunk, and protects your transmission for years to come.