
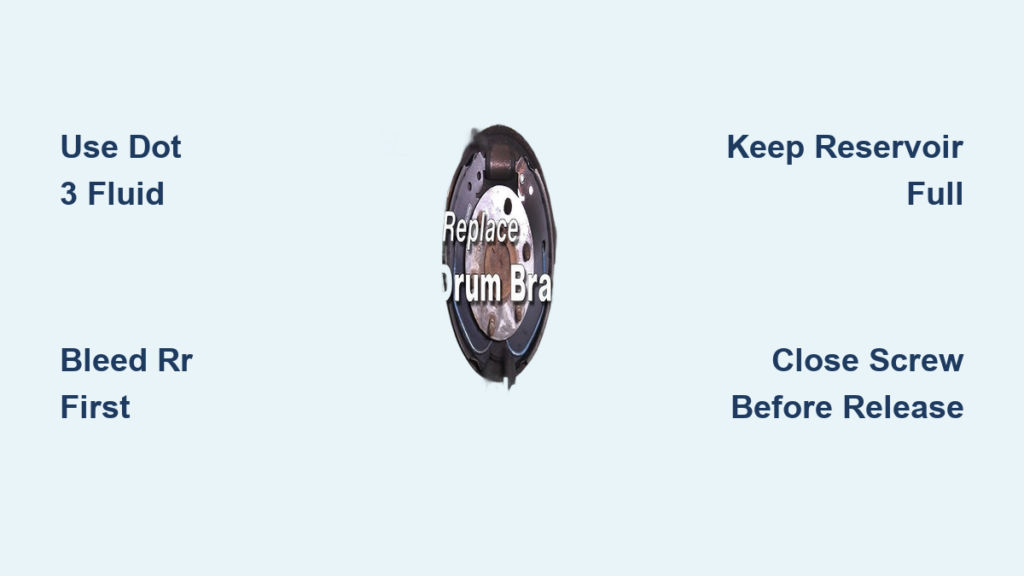
If your Chevy Silverado’s brake pedal feels soft, spongy, or sinks to the floor, air trapped in the brake lines is likely the culprit, especially after rear drum service. Bleeding the rear drum brakes removes air from the hydraulic system, restoring firm pedal feel and safe stopping power. This guide covers the exact steps to bleed rear drum brakes on Chevy Silverado models from 1999 to 2014, including 1500 and 2500 HD variants.
You’ll learn the correct sequence, tools needed, fluid type, and how to avoid common mistakes that introduce more air. Whether you’ve replaced brake shoes, a wheel cylinder, or simply need a fluid flush, proper bleeding ensures your brakes work safely and efficiently.
Gather Required Tools and Fluids

Before starting, ensure you have all necessary tools and supplies. Using the right equipment prevents contamination and makes the job faster and safer.
Use DOT 3 Brake Fluid Only
The Chevrolet Silverado brake system requires DOT 3 brake fluid for all model years (1999–2014). Never use DOT 4 or DOT 5 unless specified by an aftermarket upgrade, since standard systems are designed for DOT 3. Brake fluid is hygroscopic, meaning it absorbs moisture from the air, which degrades performance and can lead to internal corrosion. Always keep the container sealed and cap the master cylinder immediately after use.
Essential Tools List
You will need the following items before beginning the job:
- 10 mm wrench for loosening and tightening bleeder screws
- Clear plastic tubing that fits snugly over bleeder screw nipple
- Fluid extraction pump for removing old fluid from master cylinder
- Collection container to hold used fluid, filled slightly to submerge tubing end
- Brake parts cleaner for cleaning around reservoir and bleeder screws
- Shop towels or rags for immediate spill cleanup
- Fresh DOT 3 brake fluid, at least one full bottle (may need more)
- Torque wrench for proper lug nut tightening (140 ft-lbs)
Avoid using water to clean brake components since it contaminates fluid and damages seals. Only use brake-safe cleaning products.
Prepare the Master Cylinder
A clean, properly filled master cylinder is critical for successful bleeding. Starting with contaminated or low fluid can introduce air and ruin the process.
Clean and Access the Reservoir
Locate the master cylinder on the driver’s side firewall in the engine bay. Before removing the cap, spray brake parts cleaner around the cap to remove dirt and grime. Wipe dry with a clean rag. This prevents debris from falling into the reservoir when opened.
Remove the cap by turning it counterclockwise and set it aside on a clean surface.
Extract Old Fluid
Insert the hose of a fluid extractor pump into each reservoir chamber (there are two: one for front, one for rear brakes). Pump slowly to draw out all old fluid. Continue until air starts to pull through, indicating the chamber is nearly empty.
Dispose of used fluid in a sealed container. Brake fluid is hazardous waste and must not be poured down drains or on the ground.
Refill with Fresh Fluid
Immediately refill both chambers with fresh DOT 3 brake fluid up to the MAX line. Do not overfill. Replace the cap tightly as soon as possible to minimize moisture absorption.
Check the level frequently during bleeding. Never let the master cylinder run dry, or you’ll draw air into the system and have to restart.
Follow Correct Bleeding Sequence
To remove all air efficiently, bleed the brakes in the correct order based on distance from the master cylinder:
- Right Rear (RR), the furthest wheel
- Left Rear (LR)
- Right Front (RF)
- Left Front (LF), the closest wheel
While the focus is on rear drum brakes, start with the right rear and proceed to the left rear. If air entered the main lines, complete all four wheels. But for rear-only service, bleeding both rear wheels is sufficient.
Bleed Right Rear Drum Brake
Begin with the passenger-side rear wheel, the farthest point from the master cylinder, where air tends to collect.
Attach Bleeding Hose
Remove the rubber boot from the bleeder screw on the rear brake backing plate (near the wheel cylinder). Attach a 10 mm wrench to the screw and slip one end of a clear plastic hose over the nipple. Place the other end in your collection container, submerged in a small amount of fluid to prevent air from being sucked back.
Bleed with Assistant
Have an assistant follow this cycle:
- Pump the brake pedal 3–4 times, then press and hold it firmly to the floor.
- While held, open the bleeder screw 1/4 turn with the wrench.
- Watch air bubbles and old fluid exit through the hose.
- Once the pedal nears the floor, close the screw tightly before the assistant releases the pedal.
Repeat this 5–7 times until the fluid runs clear and bubble-free. Old fluid is dark; new DOT 3 is light amber.
Finalize and Clean
Once clear, tighten the bleeder screw securely (don’t over-tighten). Remove the hose, wipe the area with a rag, and reinstall the rubber boot. This boot prevents moisture and dirt from seizing the screw.
Bleed Left Rear Drum Brake
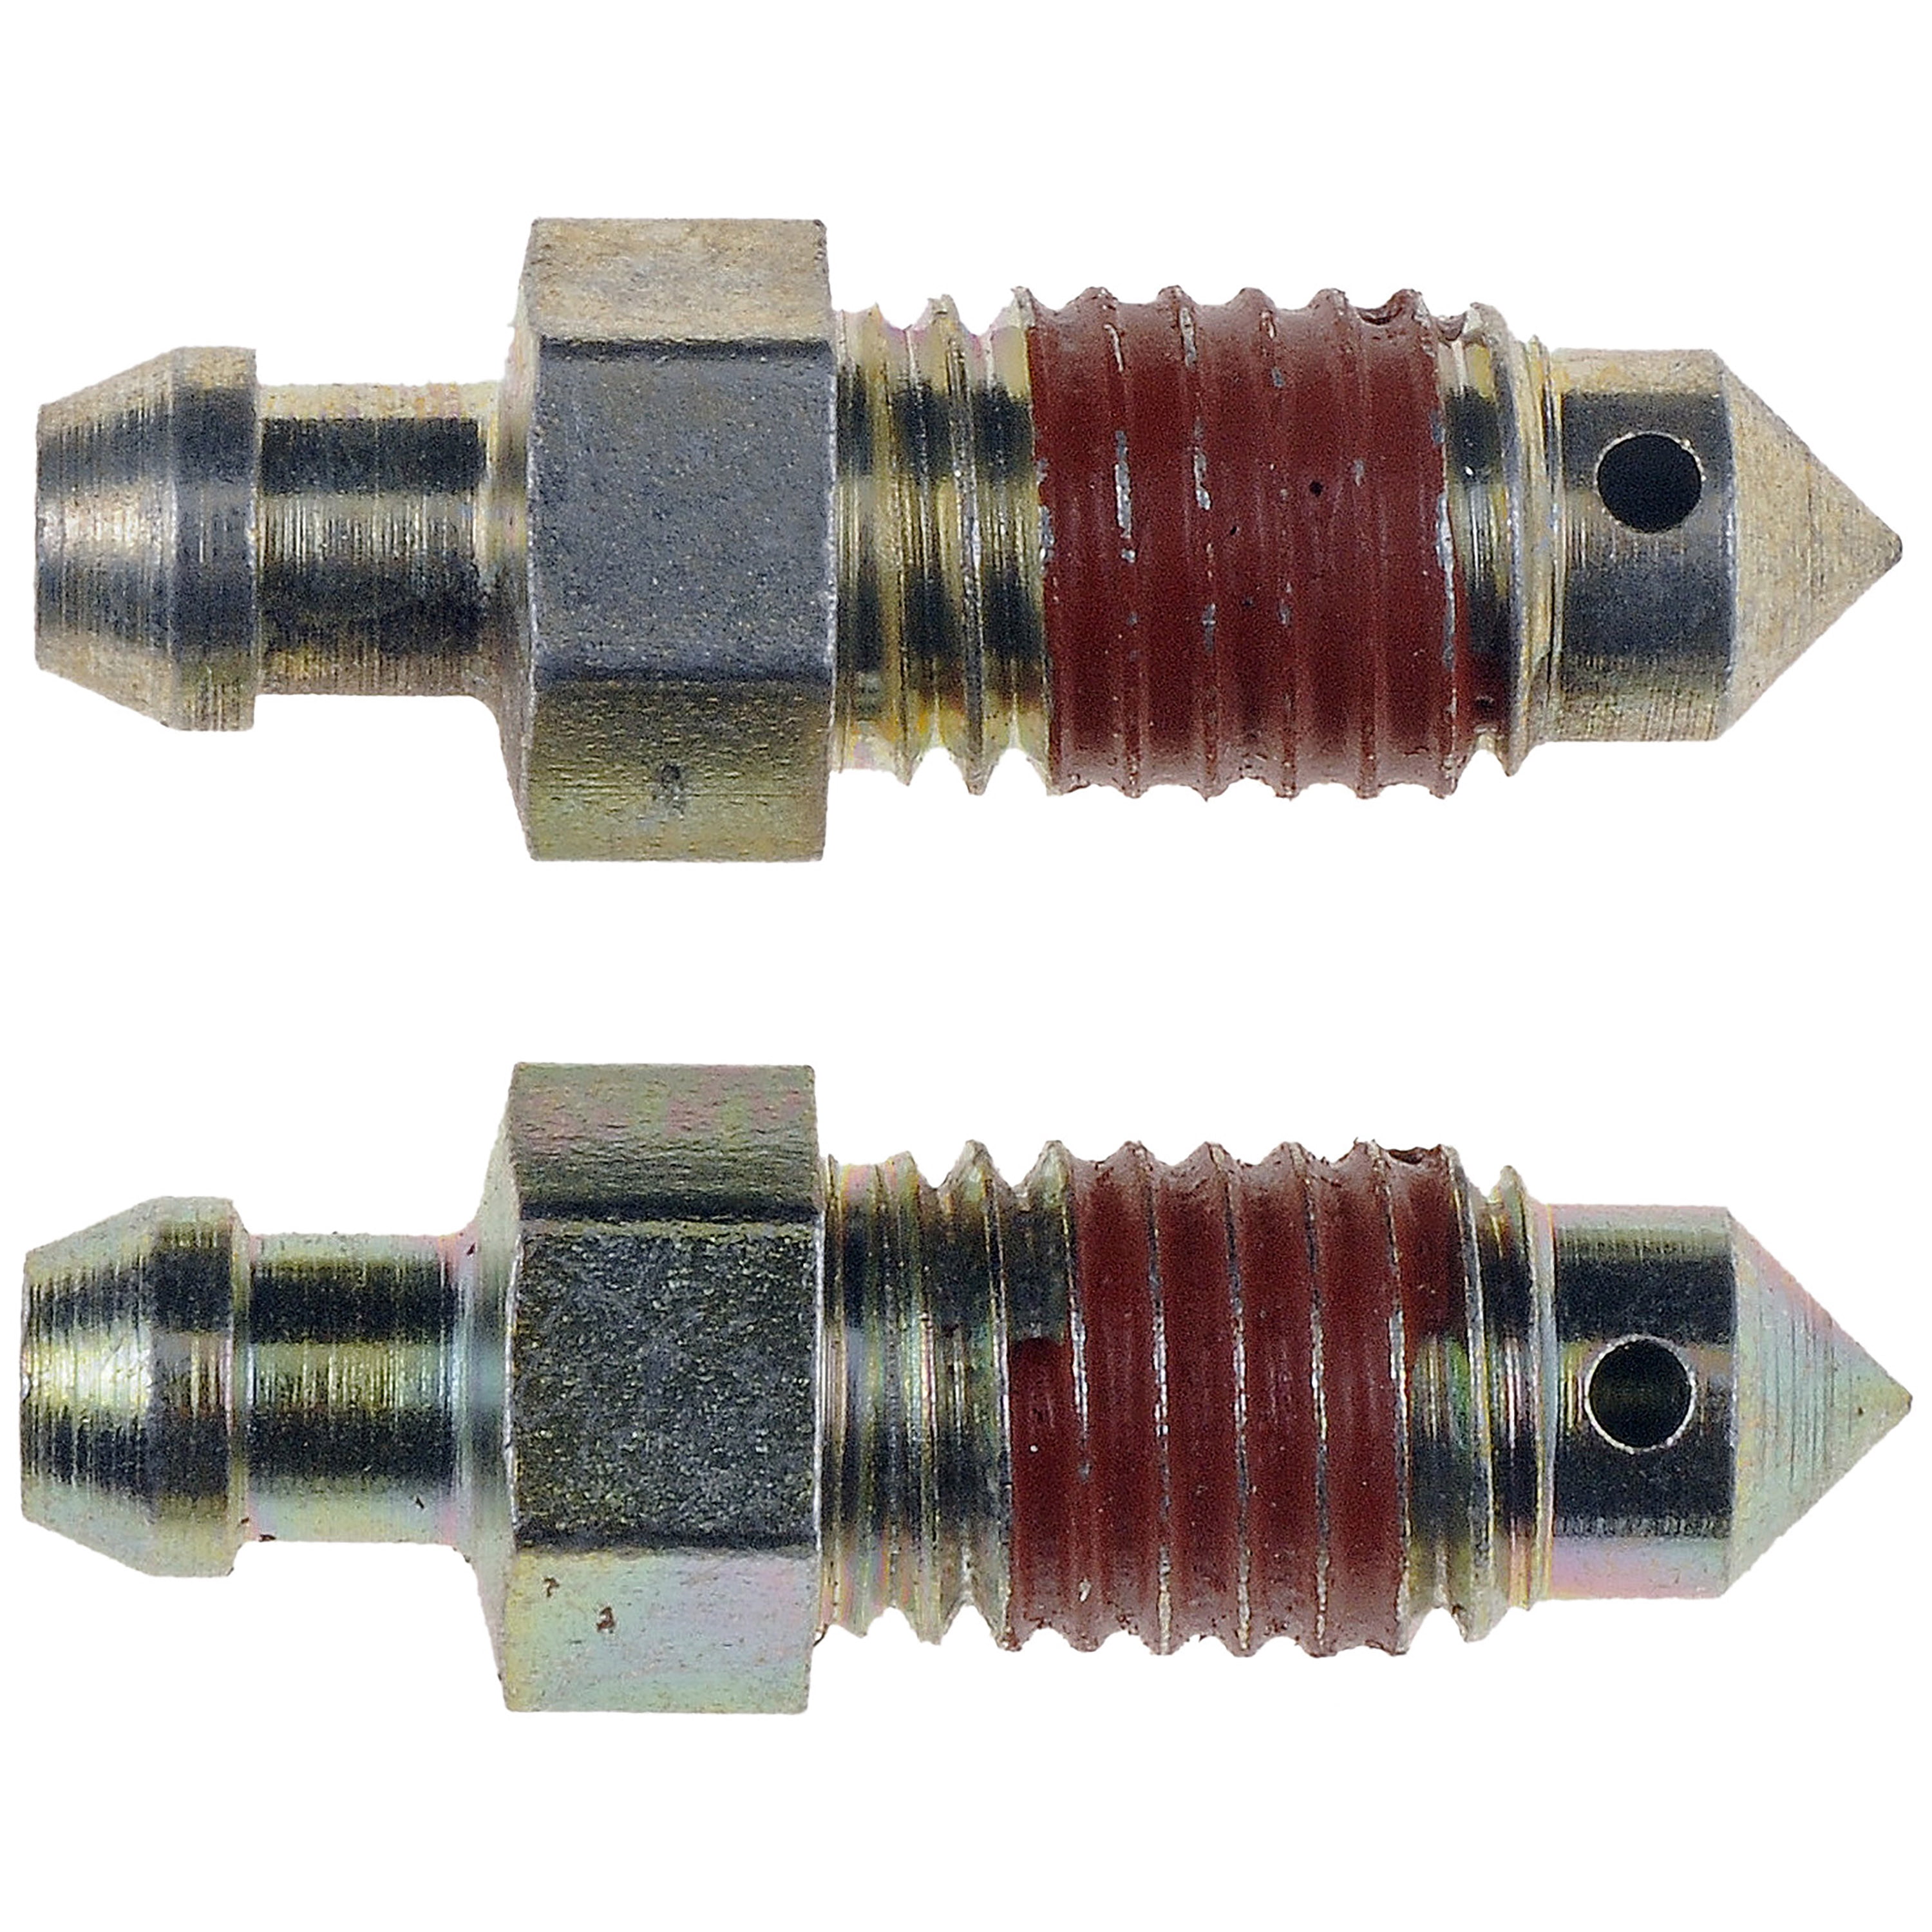
Move to the driver-side rear wheel. The process is identical, but check the master cylinder first.
Top Off Master Cylinder
Before starting, check fluid level in the reservoir. Add fresh DOT 3 to the MAX line if needed. Running low introduces air, which is the most common mistake.
Repeat Bleeding Steps
Attach the hose to the left rear bleeder screw. Use the same pump-and-hold method:
- Assistant pumps and holds pedal.
- You open the screw, let fluid and air escape.
- Close screw before pedal release.
- Repeat until fluid is clear and free of bubbles.
Inspect the stream in the clear hose. Air bubbles appear as distinct spheres. Stop when the flow is a solid column of fluid.
Clean up spills immediately with brake cleaner. Reinstall the rubber boot and tighten the screw securely.
Monitor Fluid and Prevent Air Entry
Maintaining proper fluid levels prevents recontamination and keeps the process efficient.
Check Reservoir Between Wheels
After finishing each wheel, open the master cylinder cap briefly and check the level. Top off with fresh DOT 3 to the MAX line every time. Keeping it full ensures no air enters the master cylinder.
Avoid Common Mistakes
Watch out for these frequent errors:
- Releasing pedal with bleeder open sucks air back in
- Using old or mixed fluid compromises system integrity
- Letting reservoir run dry requires a full re-bleed
- Skipping the rubber boot leads to seized screws later
If the pedal feels soft after bleeding, repeat the process since air may still be trapped.
Final Checks and Reassembly

After bleeding both rear wheels, complete these final steps to ensure safety and performance.
Top Off and Seal Reservoir
Refill the master cylinder to the MAX line one last time. Wipe around the cap, then securely reinstall it. A tight seal prevents moisture from degrading the new fluid.
Inspect for Leaks
Check both rear bleeder screws and wheel cylinder connections for signs of leakage. If fluid seeps out, tighten the screw slightly, but avoid over-torquing, which can strip threads or damage the seat.
Reinstall Wheels
Put the wheels back on and torque lug nuts to 140 ft-lbs using a calibrated torque wrench. Even, proper tightening prevents warping and ensures safety.
Clean Work Area
Wipe up any spilled brake fluid with rags and brake cleaner. Fluid eats paint, so clean immediately. Dispose of used fluid at a recycling center or auto parts store.
Test Brakes and Diagnose Issues
Never drive normally without testing the brakes first.
Perform a Road Test
Follow this sequence to verify everything works:
- Start the truck and apply brakes gently while moving slowly.
- Check for firm pedal feel, with no sponginess or sinking.
- Listen for hissing (air leak) or grinding (mechanical issue).
- Verify the truck stops straight, with no pulling to one side.
If the pedal is still soft, repeat the bleeding process, focusing on the rear wheels. Ensure the master cylinder stays full and the “close before release” rule is followed.
Troubleshoot Common Problems
Pedal Feels Spongy After Bleeding
Cause: Air still in system
Fix: Repeat bleeding, double-check master cylinder level and technique
Fluid Won’t Clear After Many Cycles
Cause: Possible blockage or failing wheel cylinder
Fix: Inspect lines for kinks; consider replacing wheel cylinder if fluid flow is weak
Bleeder Screw Leaks After Tightening
Cause: Damaged threads or seat
Fix: Replace bleeder screw or use a repair kit; do not overtighten
Missing Rubber Boot on Bleeder Screw
Risk: Corrosion and future seizing
Solution: Install a new boot or cap to protect the screw
Maintain Long-Term Brake Health
Proper maintenance prevents future issues and extends brake life.
Flush Fluid Every 2–3 Years
Even without service, brake fluid absorbs moisture over time. A complete flush every 24–36 months prevents corrosion and maintains optimal boiling point.
Inspect Bleeder Screws Regularly
During tire rotations, check that bleeder screws are clean and boots are intact. A seized screw makes future bleeding much harder.
Use OEM-Quality Parts
When replacing components like wheel cylinders or brake lines, use OEM or high-quality aftermarket parts. Cheap parts can fail prematurely or leak.
Frequently Asked Questions About Bleeding Rear Drum Brakes on Chevy Silverado
What brake fluid does a Chevy Silverado use?
Chevy Silverado models from 1999 to 2014, including 1500 and 2500 HD variants, require DOT 3 brake fluid. DOT 4 or DOT 5 should not be used unless specified by an aftermarket upgrade.
What size wrench is needed for bleeder screws on a Silverado?
A 10 mm wrench is required to loosen and tighten the bleeder screws on the rear brakes of all 1999–2014 Chevy Silverado models.
What order should you bleed the brakes on a Chevy Silverado?
The correct sequence is Right Rear, Left Rear, Right Front, Left Front, starting from the wheel farthest from the master cylinder and moving to the closest.
Why does the brake pedal still feel soft after bleeding?
A soft pedal after bleeding usually means air remains in the system. Repeat the bleeding process, ensuring the master cylinder never runs dry and the bleeder screw is closed before the pedal is released.
How often should brake fluid be flushed on a Silverado?
Brake fluid should be flushed every 24–36 months to remove moisture and prevent corrosion inside the hydraulic system.
Can you bleed rear drum brakes without an assistant?
The two-person pump-and-hold method is the standard approach. Solo methods exist using vacuum pumps or pressure bleeders, but the assistant method described here is the most reliable for most home mechanics.
Key Takeaways for Bleeding Rear Drum Brakes on Chevy Silverado
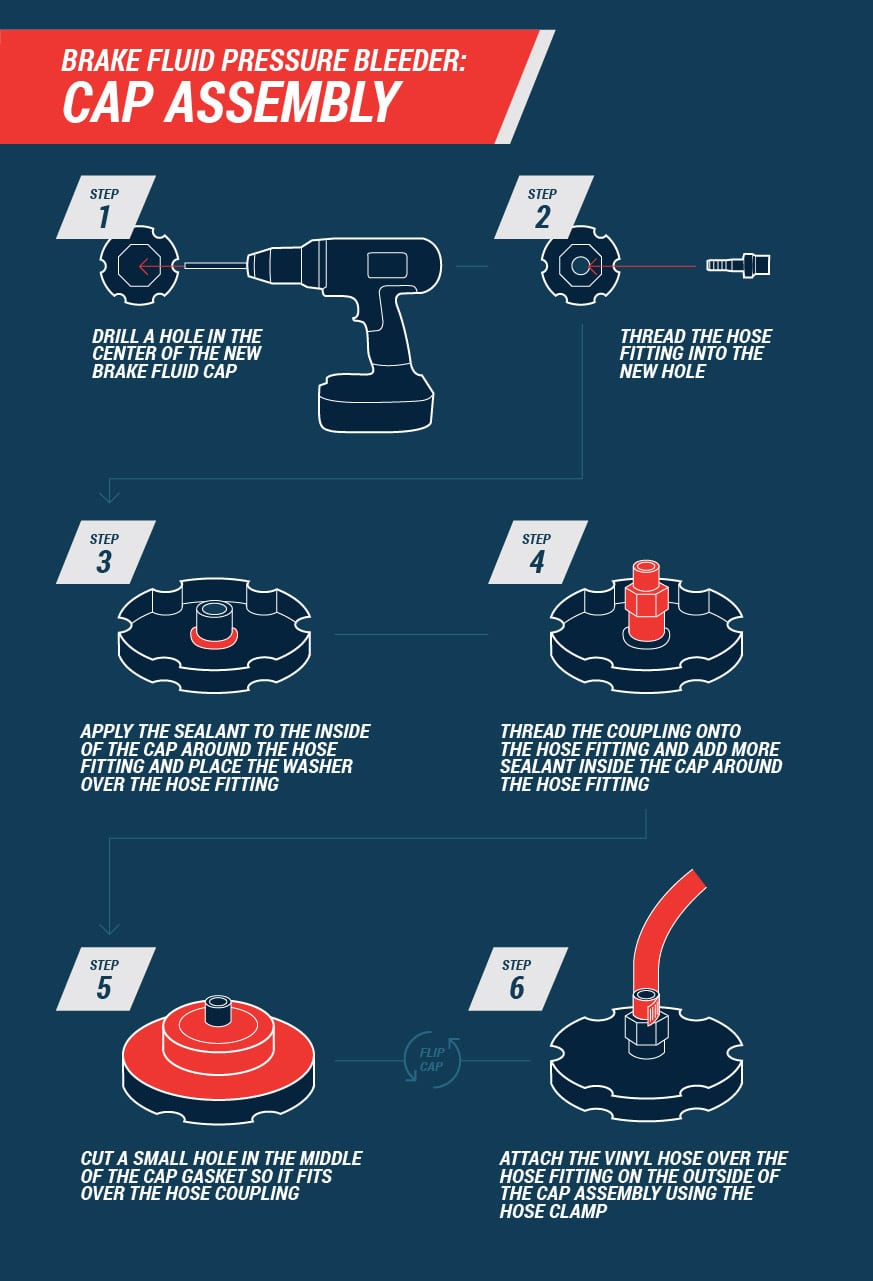
Bleeding rear drum brakes on your Chevy Silverado comes down to three critical habits. First, always use fresh DOT 3 fluid and never let the master cylinder run dry during the process. Second, follow the RR to LR sequence and close the bleeder screw before the pedal is released every single time. Third, test thoroughly with a road check before driving normally, and repeat the bleed if the pedal feels anything less than firm.
Your next step is to gather your tools, park on level ground, and block the wheels before lifting the truck. With the right preparation and patience, you’ll have a firm, confident brake pedal and safe stopping power restored in under an hour.



