If you own a 2014 or newer Chevrolet Silverado Crew Cab or Double Cab, you have probably discovered the frustrating truth: the rear seat does not fold flat. The bottom cushion lifts up, but the seat back stays bolted to the rear cab wall. This design limits cargo space and makes audio installations harder than they need to be.
The good news is that you have options. You can work with the stock fold-up feature, remove the seat entirely, or perform a well-documented modification that allows the backrest to fold down. This guide covers all three approaches so you can decide what works best for your truck.
How the Stock Silverado Rear Seat Works
The factory rear seat is built for safety and rigidity, not flexibility. Understanding how it functions helps you decide if you need to modify it.
The 60/40 Bottom Cushion Folds Up
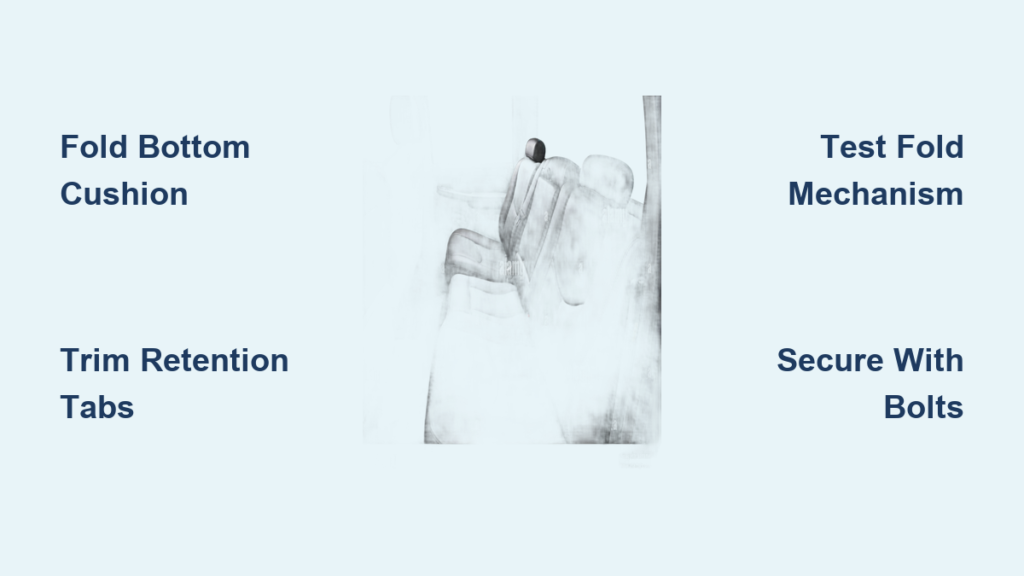
The lower portion of the rear seat splits into a 60/40 configuration and folds vertically upward. To operate it:
- Pull the seat fold lever on the outer side of each bottom cushion
- Lift the cushion until it locks against the backrest
- Access the floor area beneath the seat
This gives you room to vacuum, run cables, or mount slim equipment, but you still cannot reach the cavity behind the upper seat back.
The Backrest Is Factory-Fixed
The upper seat back is locked to the rear cab wall using metal hooks and floor bolts. There is no hinge mechanism from the factory. Attempting to force it down risks damaging the trim or the retention system.
⚠️ Important: The backrest contributes to the vehicle’s crash structure. GM engineered it to remain upright during rear impacts. Any modification alters this safety feature.
Why Silverado Owners Modify the Rear Seat
Most owners pursue the fold-down modification for one of these reasons:
- Installing large subwoofer enclosures behind the rear seat
- Creating a flat load floor for hauling gear
- Routing thick power cables for amplifiers
- Building custom amp racks that sit flush against the rear wall
The modification is popular because the seat frame uses long retention hooks that can be trimmed without fully eliminating their locking function.
How to Modify the Silverado Rear Seat for Full Fold-Down

This modification allows the backrest to pivot downward after the bottom cushion is flipped up. Done correctly, it preserves enough hook engagement to keep the seat secure when upright.
Tools Required
- Socket wrench
- Rotary tool or Dremel with cutoff wheel
- Vise grips
- Torque wrench
- Safety glasses and gloves
Step 1: Remove the Rear Seat Assembly
You need full access to the seat frame to make clean cuts.
- Fold up both bottom cushions
- Locate the four floor-mounted bolts (two front, two rear)
- Remove all bolts with the appropriate socket
- Lift the seat out carefully (it is heavy, so get help)
🔧 Pro Tip: Removing the seat prevents accidental damage to interior trim while you work on the retention tabs.
Step 2: Identify the Retention Tabs
On the back of the seat frame, you will see metal hooks or tabs at the top corners. These engage with slots in the cab wall to lock the seat back upright. They are longer than necessary by design, which is what makes this modification possible.
Step 3: Trim the Tabs Carefully
The goal is to shorten each hook just enough to disengage during folding while retaining deep engagement when upright.
- Mark a cut line to remove only 1/4 to 3/8 inch from the tip of each hook
- Use a Dremel or cutoff wheel for clean, straight cuts
- Retain at least 70 percent of the original hook length
✅ Safety Margin: Even after trimming, the remaining hook should insert deeply into the wall slot. Think of it as trimming a door latch: just enough to clear, not so much that it cannot catch.
Step 4: Test Fit and Check Clearance
Reinstall the seat temporarily without torquing the bolts.
- Fold the bottom cushion up
- Attempt to fold the backrest down
- Watch for contact with plastic trim on the rear wall or bolts on the seat frame
If interference occurs, trim only the affected plastic section with your Dremel. Some models require this on the driver or passenger side near the top hinge.
🛠️ Adjustment Tip: If the hook does not seat smoothly, use vise grips to gently bend the trimmed end for better alignment.
Step 5: Complete the Installation
Once folding works smoothly:
- Remove the seat again
- Reinstall and torque all floor bolts to factory specs (typically 30–35 ft-lbs)
- Test the fold mechanism one final time
Is the Modified Seat Still Safe?
This is the most common concern, and it deserves a thoughtful answer.
What Critics Say
The seat back is part of the vehicle’s safety structure. Removing its fixed nature could allow it to collapse forward in a collision, endangering rear occupants.
What Modifiers Report
The retention hooks are designed with significant length. Even after trimming, the remaining metal provides deep engagement in the wall slot. In one documented case, a modified Silverado was involved in a rollover accident, and the seat remained locked upright throughout the impact.
📌 Bottom Line: This modification alters factory safety design but does not eliminate structural integrity when done properly. It is a calculated decision, similar to lifting your truck or installing oversized tires.
Audio Installation: Why This Modification Matters
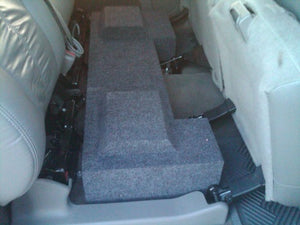
One of the top reasons for folding the back seat is to install amplifiers and subwoofers in the rear cavity.
Space Available Behind the Seat
Even with the seat in the stock upright position, there is usable room:
- Height clearance of approximately 2 inches behind the backrest
- Full cab width from side to side
- Enough room for slim amplifiers and wiring hubs
With the fold-down modification, you unlock full access for larger enclosures and easier wiring runs.
Real-World Equipment Fit
Alpine V-70 Amplifier
- Dimensions: 9 inches x 10.5 inches x under 2 inches
- Fits behind the passenger seat without any modification
- Mounts directly to the rear wall
JL Audio XD700/5v2
- Larger footprint but still fits with the bottom cushion folded up
- Best mounted vertically on the back wall
Elite 2.12d2 Subwoofer with Custom Amp Rack
- Requires a custom enclosure
- Needs the seat raised slightly for clearance
- Modified hooks still engage securely
💡 Pro Tip: Mock up enclosures with cardboard before building. The rear wall has curves and obstructions that affect fit.
Bose vs. Non-Bose Factory Audio Systems
Your factory audio setup affects available space and installation complexity.
Bose Systems
- Include a factory amplifier behind the rear seat or in the quarter panel
- Must be located and worked around during installation
- Often require removing trim panels to access wiring
Non-Bose Systems
- No rear factory amplifier
- More open space for aftermarket equipment
- Easier routing for power and signal cables
🔌 Wiring Tip: Tap into factory speaker wires at the rear harness under the seat or behind the kick panel. Use a multimeter to identify each channel.
Alternative: Remove the Seat Entirely
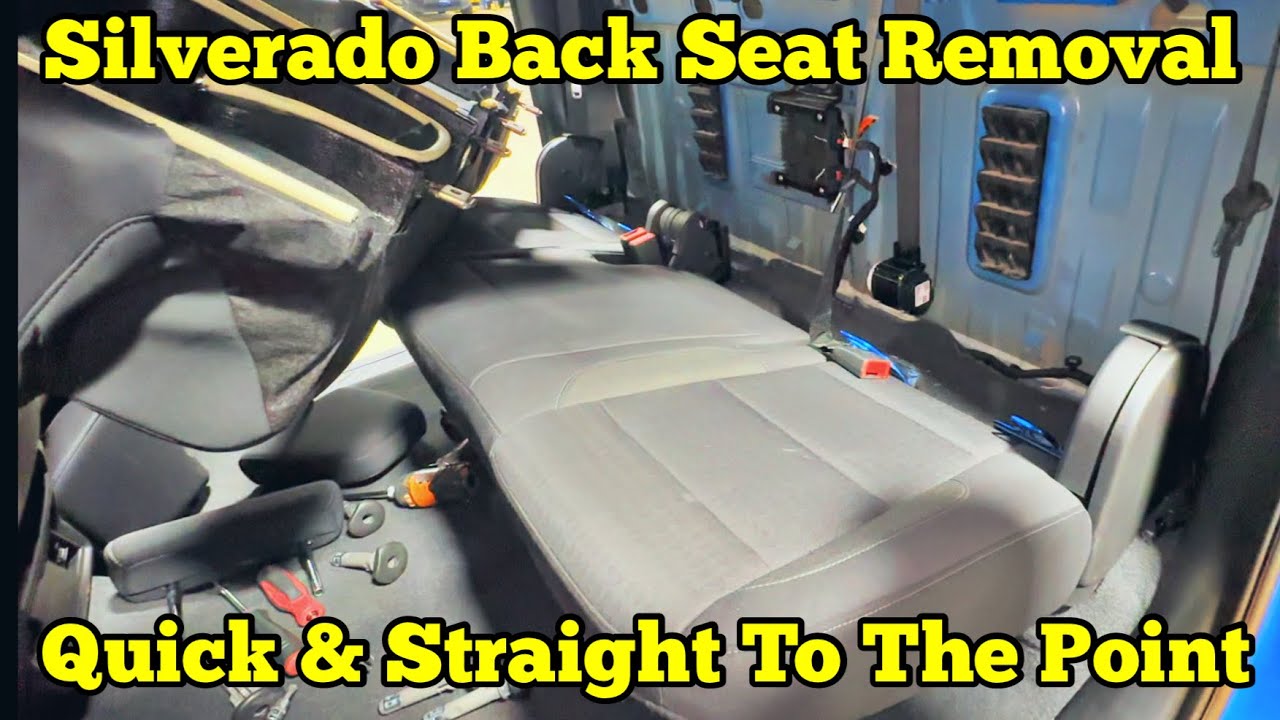
If you do not want to modify the seat but need full access, complete removal is a safe and reversible option.
- Unbolt and remove the entire rear seat assembly
- The process takes under one hour based on GM labor guides
- Ideal for installing large sub boxes, running multiple power cables, or deep cleaning
Store the seat safely and reinstall it whenever you need passenger space again.
Maintenance and Cleaning with the Stock Fold-Up Feature

Even without modification, the fold-up feature is useful for routine care.
Cleaning Under the Seat
- Lift both 60/40 bottom sections
- Vacuum under the seat and along the floor
- Wipe down the lower backrest and seat rails
Avoiding Moisture Problems
- Do not leave the cushion folded up long-term in humid conditions
- Condensation can build in the cavity behind the seat and cause mildew
Should You Modify Your Silverado Rear Seat?
Modify If:
- You want a flat load floor for hauling
- You are installing a large subwoofer enclosure
- You need easy access for audio upgrades
- You are comfortable altering a factory safety feature
Keep It Stock If:
- You carry rear passengers regularly
- You want zero liability concerns in an accident
- You only need to mount a slim amplifier
Frequently Asked Questions About Folding the Silverado Back Seat
Can the Silverado rear seat fold flat from the factory?
No. On 2014 and newer Crew Cab and Double Cab models, only the bottom cushion folds upward. The backrest is fixed to the rear cab wall and does not fold down without modification.
What models does this apply to?
This configuration applies to 2014–2016 and newer Chevrolet Silverado and GMC Sierra Crew Cab and Double Cab models, including the GM900 platform.
How much of the retention tab should I cut?
Remove only 1/4 to 3/8 inch from the tip of each hook. Retain at least 70 percent of the original length to preserve locking strength.
Will a modified seat stay locked during a crash?
Anecdotal evidence suggests yes. In one documented rollover, a modified seat remained locked upright. However, this modification does alter factory safety design, so the decision carries inherent risk.
Can I fit an amplifier behind the seat without modifying it?
Yes. Slim amplifiers under 2 inches in height, such as the Alpine V-70, fit behind the stock seat back without any modification.
How long does it take to remove the rear seat?
Professional service data suggests removal and reinstallation takes less than one hour.
Final Thoughts on Folding Your Silverado Back Seat
The Silverado’s rear seat design prioritizes crash safety over cargo flexibility, which frustrates owners who want a flat load floor or need room for audio equipment. Fortunately, you have three reliable paths forward: use the stock fold-up feature for basic access, remove the seat entirely for maximum space, or perform the tab-trimming modification for full fold-down capability.
If you choose the modification, measure carefully, cut conservatively, and test thoroughly before considering the job complete. The difference between a safe modification and a failed one often comes down to retaining enough hook length to keep the seat locked when it matters most.
Start by deciding what you need the space for, then choose the approach that matches your comfort level with altering factory components.