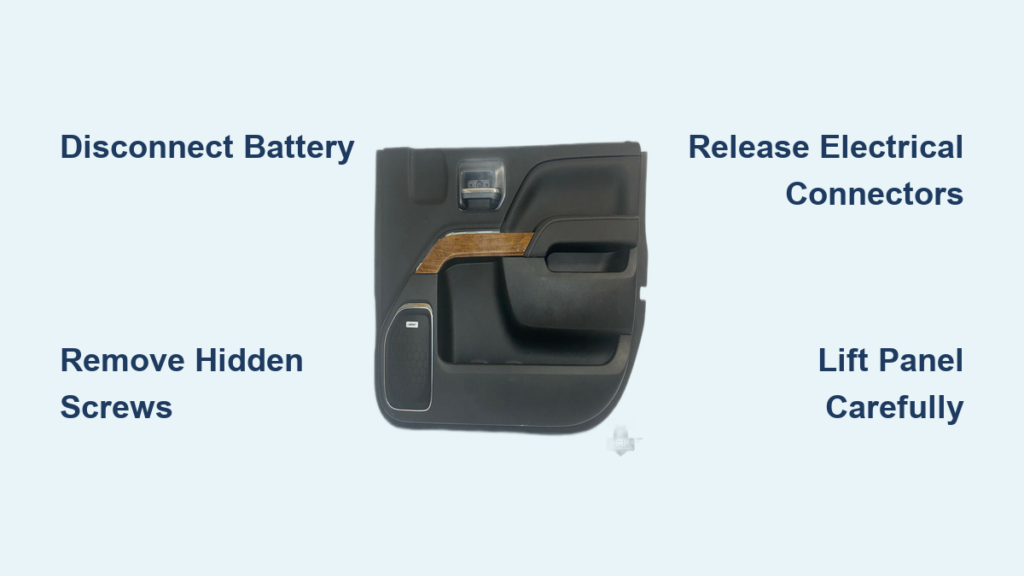
Whether you’re swapping out blown speakers, chasing a faulty window motor, or just trying to silence a mystery rattle, knowing how to remove a Chevy Silverado door panel saves you hundreds in shop labor. The challenge is that fastener locations, clip styles, and wiring setups changed dramatically between 1999 and 2026. This guide walks you through every generation with exact steps, tool lists, and pro tips so you can finish the job in under 30 minutes without breaking a single clip.
You’ll get generation-specific instructions for GMT800, GMT900, K2XX, and Next Gen trucks, plus troubleshooting advice for stuck panels, broken retainers, and stubborn connectors. Grab your trim tools and let’s get started.
Safety Prep and Tools You Need Before Starting
Before prying off a single cover, set yourself up for success. For 2008 and newer trucks, disconnect the negative battery terminal to avoid shorting circuits while you unplug harnesses. On any model, flip the dome light switch to the far-left OFF position so a propped-open door doesn’t drain your battery during the job.
Essential tools:
- Plastic trim removal tools and a 90-degree pick (never use metal screwdrivers on paint)
- 7mm socket with ratchet and extension
- 10mm socket for 2007–2013 HD models
- T20 Torx driver for 2003–2006 trucks
- Phillips-head screwdriver
- Needle-nose pliers or a magnetic pickup tool for fallen hardware
- Small container to keep screws organized
Pro Tip: Slide a paper towel over each bolt hole as you remove fasteners. This prevents them from dropping into the door cavity where they’re a nightmare to retrieve.
1999–2002 Silverado Door Panel Removal (GMT800 Early)
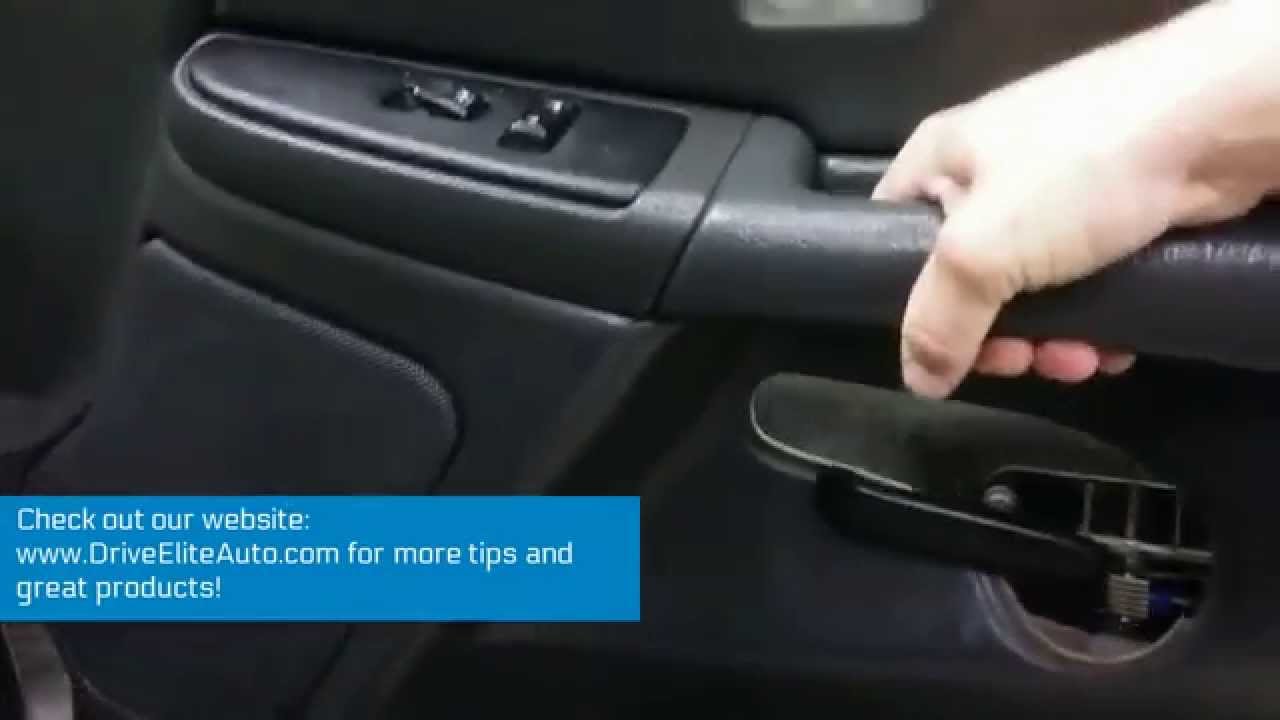
These early models use a simple two-screw system that’s perfect for first-time DIYers.
Step 1: Remove upper trim pieces. Tilt the triangular mirror cover outward to release its friction fit. Pry off the lock knob cover with a flat-head tool. Pop the handle cover by working your trim tool around its edges.
Step 2: Extract the window switch panel. Lift it straight up; it unclips without hidden screws. Disconnect all wiring harnesses beneath it.
Step 3: Remove the two 7mm screws. One sits behind the switch bank, the other behind the armrest.
Step 4: Lift the panel upward. Grip the armrest and pull straight up. This releases the top hooks. Do not pull outward yet. Unplug the tweeter speaker harness, then pull the black plastic clip at the lower-left corner horizontally to free the courtesy light assembly. Now you can fully remove the panel.
2003–2006 Silverado Door Panel Removal (GMT800 Late)
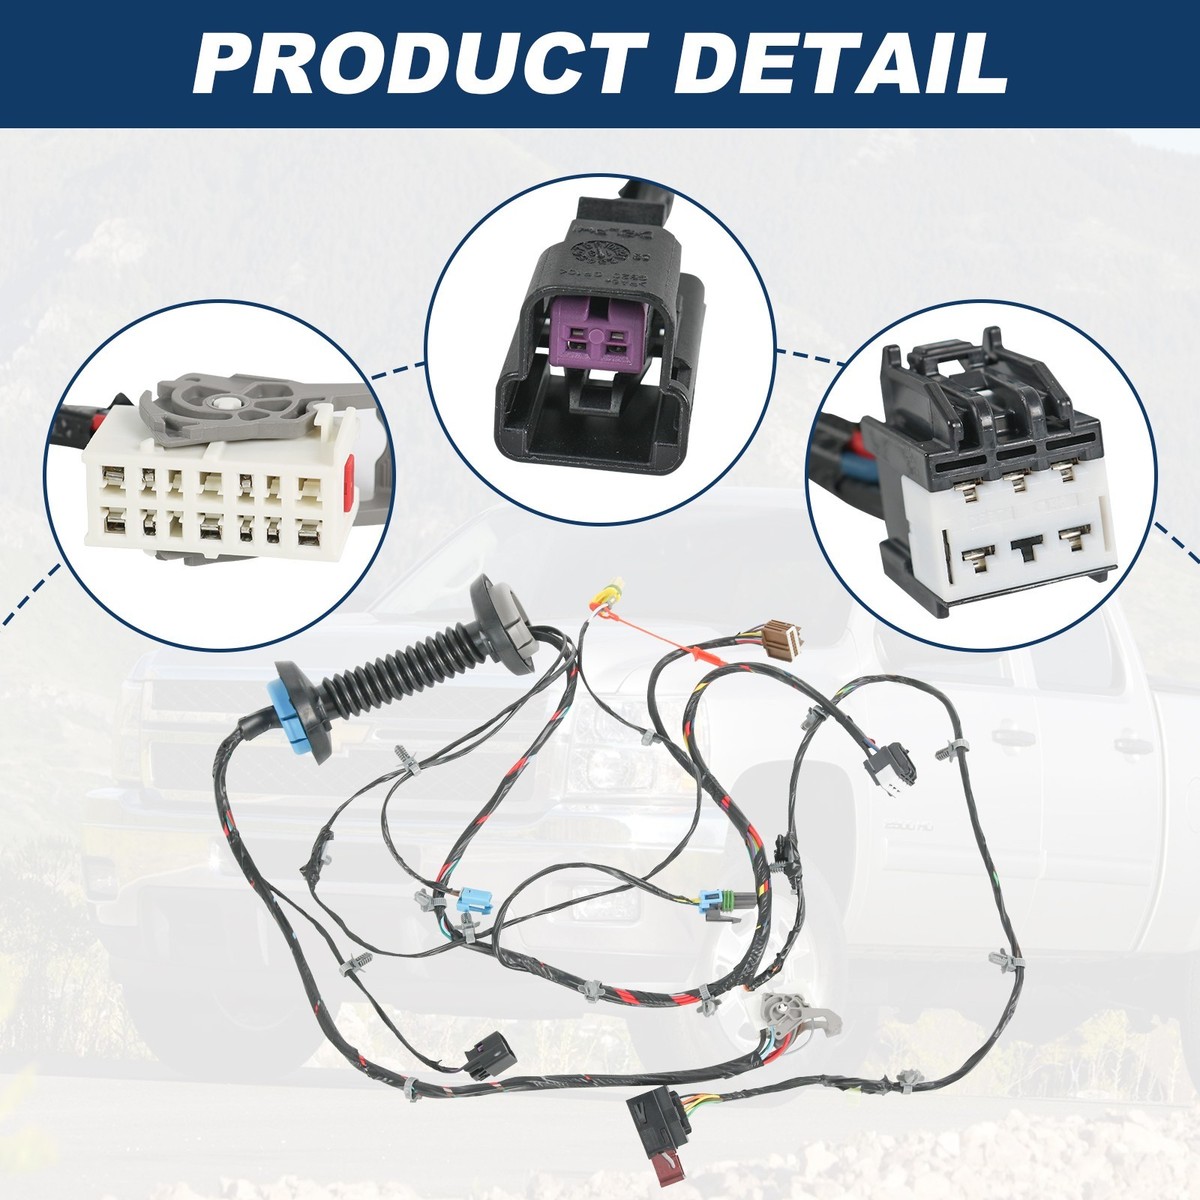
This generation added more fasteners and a complex five-connector wiring setup.
Step 1: Front edge fasteners. Pry off the small plastic trim cap near the door handle to expose a T20 Torx screw. Remove it.
Step 2: Handle area. Remove the 9/32-inch bolt above the interior handle, then slide off the small plastic panel directly above it to clear the latch mechanism.
Step 3: Speaker and lock area. On the right side above the speaker, pry out a single plastic clip. At the lock mechanism, release the left clip first, then the right. Remove the Phillips-head screw hidden behind the lock.
Step 4: Upper triangle panel. Use a flat tool to release its two metal clips, then lift up to disengage the bottom hook.
Step 5: Lift and disconnect. Raise the entire panel straight up to release the rear hooks. You’ll see five connectors: four on top and one in the bottom cubby. The black and blue connector has a side tab to press. The dual-gray-tab connector requires pushing both tabs down and outward before pulling. For the bottom cubby connector, remove its base screw, pry up the top edge to release the locking notch, then slide it out.
2007–2013 Silverado HD Door Panel Removal (GMT900)

Heavy-duty models from this era feature a distinctive shark fin trim and 10mm bolts.
Step 1: Shark fin trim. Insert a 90-degree pick behind the triangle-shaped trim behind the mirror and gently pry. Use your fingers to pull it away. Three clips hold it in place, and they break easily.
Step 2: Lock handle. Set the lock to the unlock position. Pry out the small square plastic piece at the base with a pick, then slide the entire handle straight up off the lock rod.
Step 3: Window switch and bolts. Pop out the switch bezel with light prying and disconnect the wiring. Pry behind the plastic trim on the interior pull handle to expose two 10mm bolts. Remove them along with the 10mm bolt revealed when you pulled the door handle.
Step 4: Panel removal. Start at the upper front corner. Insert fingers behind the panel and pull outward with short jerking motions to pop the retainers loose. Work your way around the door. Lift the panel 1–2 inches to clear the top lip from the window seal. Disconnect all electrical connectors before fully removing the panel.
Note: Some black plastic retainers may fall out. These secure the water barrier and are not reusable if damaged.
2014–2019 Silverado Door Panel Removal (K2XX)

This generation uses six 7mm bolts and requires careful weatherstrip handling.
Step 1: Remove three trim covers. One at the top, one at the bottom front, and one at the rear lower edge. Use a 90-degree pick in each indent and pull firmly. Clips may fall into the door cavity.
Step 2: Remove six 7mm bolts. Locations include one at the rear, one near the top, two at the bottom, and two along the lower edge. Use a 7mm socket with extension.
Step 3: Release the clips. Work your hand under the top corner and pull upward with steady pressure. Let the clips pop free one by one.
Step 4: Disconnect handle cable and wiring. Press the release tab on the door handle cable, pull it back, and lift it out of the bracket. For the main electrical connector, press the black tab down, lift the gray locking tab, and pull the connector free.
Step 5: Inner trim and weatherstrip. Remove the inner trim panel by pulling out the top clip, using forceps for the rear clip, removing two pins, and releasing the hidden clip behind. If the weatherstrip lifts with the panel, release the clips behind it with a small screwdriver.
2020–2026 Silverado Door Panel Removal (Next Gen)
Newer models simplified the process with a single wiring connector, but the screw count differs between front and rear doors.
Rear doors: Remove three screws total. Two sit behind the grab handle and one sits below it. Use a size 7 socket.
Front doors: Remove four screws. Two behind the grab handle and two below it.
Step-by-step for both:
- Pry out the rubber cover on the grab handle to access the screws.
- Start at the lower corner. Insert fingers into the gap and pry outward.
- Work your way up, wiggling the panel over the door lock mechanism, which moves vertically. Never force it.
- Disconnect the door handle cable by pushing it downward and pulling forward. It uses a ball-end design.
- Unplug the single main wiring harness at the bottom. This connector powers windows, locks, and speakers, so there’s no need to disconnect multiple wires.
Reinstallation Tips That Prevent Costly Mistakes
Getting the panel back on correctly is just as important as removing it without damage.
Alignment: For 2014–2019 models, engage the front notch and top pins before pressing down. Make sure the lock mechanism is properly seated in its bracket.
Bolt tightening: Use a paper towel to hold the first bolt in place while threading. Tighten all fasteners snugly. Over-tightening cracks plastic clips and strips threads.
Weatherstrip seating: On 2014–2019 trucks, ensure the lip sits inside the groove and the strip is outside the bolted flange. Push with your thumb to lock it in place.
Final testing: Reconnect the battery and test windows, locks, speakers, and dome light operation. Check that the weatherstrip seals properly to prevent water leaks.
Pro Tip: Lightly lubricate the door handle cable and lock rod with silicone grease during reinstallation. This ensures smooth operation for years to come.
Troubleshooting Common Door Panel Problems
Panel won’t budge? Re-check for hidden fasteners behind the lock mechanism, under rubber plugs, or beneath the grab handle. Apply steady upward or outward pressure until clips release. Never force it.
Broken clips or lost bolts? Replace damaged plastic retainers with OEM or high-quality aftermarket clips. Retrieve fallen bolts with needle-nose pliers or a magnetic pickup tool before reassembly to avoid rattles.
Connectors won’t disconnect? Identify the locking tab first. Most require pressing, sliding, or lifting before pulling. On 2003–2006 models, the dual-gray-tab connector must have both tabs pushed down and outward.
Weatherstrip won’t stay seated? Ensure the lip is inside the groove and the strip is outside the bolted area. Push firmly with your thumb to lock it.
Lock handle not working after reinstall? Lubricate the cable and lock rod with silicone grease. Confirm the handle is fully seated on the rod and the retaining piece is secure.
Frequently Asked Questions About Chevy Silverado Door Panel Removal
Do I need to disconnect the battery before removing the door panel?
Yes, for 2008 and newer trucks, disconnecting the negative battery terminal is essential to prevent electrical shorts while unplugging harnesses. It’s recommended for all model years as a safety precaution.
What tools do I need to remove a Silverado door panel?
You’ll need plastic trim removal tools, a 90-degree pick, a 7mm socket with extension, and possibly a 10mm socket (2007–2013 HD models), T20 Torx driver (2003–2006), or Phillips screwdriver depending on your generation. Needle-nose pliers help retrieve fallen hardware.
How long does it take to remove a Chevy Silverado door panel?
Most DIYers complete the job in 20–30 minutes per door once they know the fastener locations for their specific generation. First-timers may need 45 minutes to an hour.
Can I reuse the plastic clips when reinstalling the panel?
It depends on their condition. Clips that come out intact can usually be reused. However, clips on 2007–2013 HD models that secure the water barrier are not reusable if damaged. Replace any broken retainers with OEM parts to prevent rattles and wind noise.
What’s the difference between front and rear door panel removal on 2020+ trucks?
Rear doors have three screws (two behind the grab handle, one below), while front doors have four screws (two behind, two below). The removal technique and single-connector wiring are otherwise identical.
Why won’t my electrical connectors come apart?
Most connectors have a locking mechanism that must be released first. Look for tabs that press, slide, or lift. Forcing a connector without releasing the lock can break the plastic housing. Check your generation’s specific connector types in the guide above.
Key Takeaways for Removing Your Chevy Silverado Door Panel
Knowing how to remove a Chevy Silverado door panel comes down to identifying your generation and following the exact fastener sequence. Use plastic trim tools to protect your paint, disconnect the battery on 2008+ models, and keep all screws organized in a container. Always disconnect electrical connectors before fully removing the panel to avoid wire strain.
The biggest mistake DIYers make is forcing a stuck panel, which breaks clips and damages wiring. If it won’t budge, re-check for hidden fasteners and apply steady pressure instead. With the right technique, you can complete this job in under 30 minutes and save yourself a trip to the mechanic.