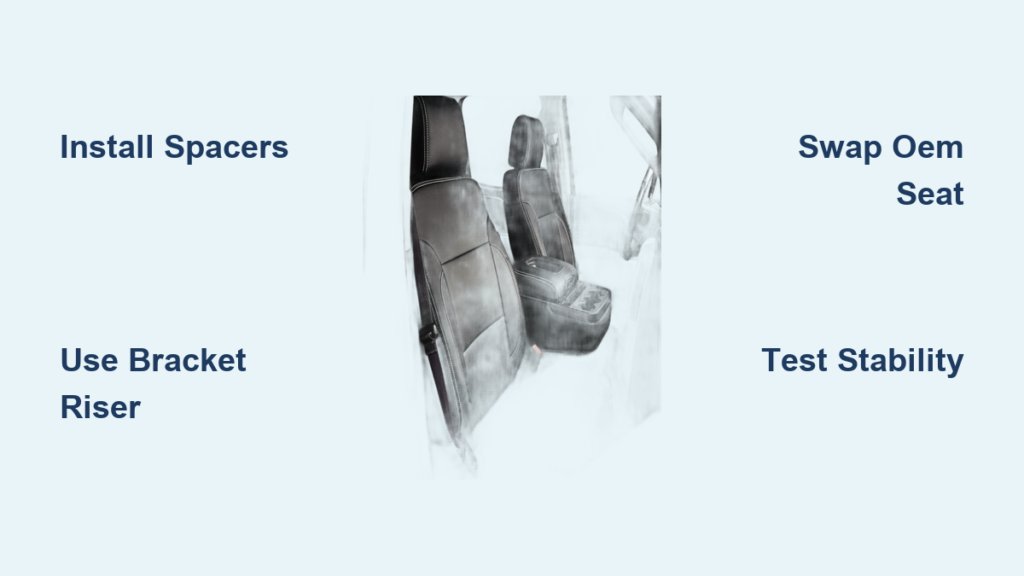
Many Chevy Silverado drivers—especially those over 5’11″—struggle with a seat that feels too low from the factory. This can hurt visibility over the steering wheel, create poor posture, and lead to fatigue on long drives. While some trims like the LTZ or High Country offer power-adjustable or higher-mounted seats, base models such as the Custom or WT often lack vertical lift, leaving taller drivers searching for solutions.
The good news? You don’t need to live with an uncomfortable ride. There are safe, effective ways to raise your seat height in a Chevy Silverado—ranging from simple bolt-on spacers to full seat swaps. This guide covers every proven method based on real-world installations and technical specifications, so you can choose the best option for your truck and driving needs.
Check Factory Seat Adjustments First
Before modifying your seat, confirm you’re using all available factory adjustments. Many drivers think their seat is too low when it’s actually not fully raised.
Use the Correct Lever Technique
Most Silverados have three levers on the left side of the driver’s seat:
– Front lever: Controls fore-aft slide and front seat height (on power seats)
– Middle lever: Adjusts backrest angle
– Rear lever: Adjusts lumbar support
For manual seats, only sliding and reclining are available—no vertical lift. But on power seats, the front lever or a switch may activate motorized height adjustment. Make sure you’re pulling the lever all the way up or pressing the switch to raise the seat completely.
Optimize Backrest and Lumbar for Height Feel
Even without vertical adjustment, reclining the backrest slightly can improve headroom and sightlines. Pair this with full lumbar support to keep your spine aligned, which helps you sit taller and reduces the feeling of being “sunken” into the cabin.
Test Full Range of Motion
Slide the seat all the way back and up (if equipped), then adjust forward to your ideal leg position. Sometimes, improper slide positioning creates the illusion of low height. Ensure the seat isn’t bottomed out.
✅ Pro Tip: If your Silverado has memory settings, reset them after any adjustment to avoid returning to a lower preset.
Install a 1.5-Inch Seat Spacer Kit (Best for Most Drivers)

If your manual seat lacks height adjustment, a precision spacer kit is the easiest, safest upgrade. These kits add 1.5 inches of lift using engineered plastic blocks that fit between the seat rails and floor.
Why Spacers Work Best for Silverado 1500 (2019–2022)
- Designed specifically for GM trucks
- No drilling or cutting required
- Fully reversible
- Maintains factory safety systems (seat belts, airbags)
- Nearly invisible once installed
Spacers are ideal for drivers who want a noticeable but subtle lift—enough to improve visibility without altering the truck’s ergonomics.
Required Tools and Materials
- T50 Torx bit/socket (for factory bolts)
- Ratchet or impact gun (to break loose thread-locked bolts)
- 5/16-inch Allen socket (for spacer kit hardware)
- Red or Blue Loctite (critical for reassembly)
- Flathead screwdriver (for trim removal)
Step-by-Step Installation
Remove Seat and Trim
- Slide the seat fully forward to access the rear bolts, then slide it back to reach the front ones.
- Pop off the plastic side trim near the seat base using your fingers or a flathead screwdriver.
- Locate the four T50 Torx bolts securing the seat to the floor—two front, two rear.
⚠️ Warning: Factory bolts are secured with strong thread locker. Use steady force—heat or an impact gun may be needed.
- Remove all four bolts. Keep them safe; you’ll reuse them.
Position and Secure Spacers
- Identify spacer labels:
– #1 & #2: Rear mounting points
– #3 & #4: Front mounting points - Place each spacer directly under the seat rail, aligned with the floor brackets.
- Apply Loctite to the threads of the original bolts before reinserting.
Reinstall Seat and Finalize
- Carefully lower the seat onto the spacers.
- Front bolt tip: The front bolts have a small tab that must engage with a clip on the seat rail. Align it before tightening.
- Hand-tighten all four bolts, then torque evenly with the T50 socket.
- Snap the trim piece back into place.
- Test the seat by pushing hard from side to side—no movement should occur.
✅ Time Estimate: Under 30 minutes
✅ Difficulty: Low
Upgrade to a Bracket Riser Kit (2–3 Inches of Lift)
For taller drivers (6’0″ and above), a bracket-based riser system delivers more lift—up to 3 inches—using heavy-duty steel or aluminum brackets.
Who Should Use Bracket Risers?
- Need more than 1.5 inches of height
- Drive long distances and prioritize comfort
- Want a rigid, industrial-strength solution
Brands like SeatRiser offer bolt-on kits designed specifically for Silverado 1500s, ensuring compatibility and safety.
Key Installation Steps
- Orient Brackets Correctly: Most kits label brackets “Front” and require specific positioning (Inside toward seat, Upward, Forward).
- Align Dowel Pins: The stock seat brackets have alignment pins—match them precisely with holes in the riser bracket.
- Lift Seat Slightly: You’ll need to raise the seat just enough to slide the main bracket into place.
- Assemble Multi-Piece Design: Some kits use a base bracket (attached to floor), a middle riser, and a top trim piece that clips in.
- Secure with Hardware: Use provided T50 and 5/16-inch Allen bolts. Hand-tighten first, then torque down evenly.
✅ Stability Check: After installation, rock the seat forcefully to confirm zero wobble.
Explore Custom and Alternative Modifications
When off-the-shelf kits fall short, some owners turn to custom solutions. These require more skill but offer full control over height and design.
Build Your Own Steel Tube Spacers
Materials Needed
- Steel tubing (1.5″–4″ length, matching bolt diameter)
- Drill and metal saw
- Specialty bolts (4+ inches long, correct head size)
- Thread locker
Steps
- Cut four equal-length tubes.
- Position them over the factory floor mounts.
- Insert longer bolts through the seat rail and tubing.
- Secure with nuts and Loctite.
⚠️ Critical Warning: Standard hardware store bolts often have heads too wide to fit inside the narrow seat track. Use low-profile hex or Torx bolts from Fastenal or Ace Hardware.
❌ Risk: Drilling into the seat frame can weaken structural integrity. Avoid unless experienced.
Swap to a Factory High-Seat Trim (OEM Solution)
Some Silverado trims (e.g., LTZ, High Country) include a factory high-seat option. Swapping your current seat with one from a higher trim is a safe, reversible way to gain height.
Benefits of OEM Seat Swap
- Preserves airbag and seat belt integration
- Maintains factory warranty on the seat
- Includes power height adjustment (if equipped)
How to Do It
- Find a compatible donor seat (same model year, preferably from a salvage yard).
- Remove your current seat using the T50 Torx bit.
- Transfer wiring harnesses if needed (for heated seats, sensors).
- Bolt in the new seat—same mounting pattern.
✅ Height Gain: Varies by model, but typically adds 1–2 inches over base seats.
Consider Aftermarket Performance Seats
Replace the factory seat entirely with a high-performance unit from Recaro, Sport Tech, or similar brands.
Pros
- Superior bolstering and comfort
- Often sit higher due to thicker cushioning
- Modern look and feel
Cons
- Expensive ($500–$1,500+)
- May require custom brackets
- Can interfere with side airbags if not compatible
- Alters factory interior aesthetics
✅ Best For: Enthusiasts who want both comfort and style
Try Foam Riser Pads (Cheap, Temporary Fix)
Insert a dense foam pad between the seat cushion and upholstery.
Pros
- Inexpensive (under $20)
- No tools required
- Fully reversible
Cons
- Limited lift (under 1 inch)
- Can shift or compress over time
- May affect seat belt angle
- Not recommended for daily drivers or safety-critical use
✅ Use Case: Short-term relief or testing height preference before investing in spacers
Compare All Seat Height Solutions

| Solution | Height Gain | Difficulty | Cost | Safety | Best For |
|---|---|---|---|---|---|
| Spacer Kit | 1.5″ | Low | $ | High | Most drivers |
| Bracket Riser | 2–3″ | Moderate | $$ | High | Tall drivers |
| Custom Steel Spacers | Custom | High | $–$$ | Medium | DIY experts |
| OEM Seat Swap | 1–2″ | High | $$$ | High | Factory feel lovers |
| Aftermarket Seat | Varies | High | $$$ | High* | Performance seekers |
| Foam Pad | Under 1″ | Very Low | $ | Low | Temporary fix |
*Ensure compatibility with airbags and seat belts
Final Tips for Safe and Effective Installation
Always Use Thread Locker
Reapply Red or Blue Loctite when reinstalling bolts. Vibration can loosen them over time, creating a safety hazard.
Check Floor Mat Clearance
Raised seats can cause floor mats to bunch or interfere with pedals. Trim or replace mats if needed.
Test Stability Before Driving
After installation, push the seat hard from all angles. Any movement means bolts aren’t tight or spacers aren’t aligned.
Avoid Driving During Installation
Never adjust or install seat hardware while the vehicle is moving. Park on level ground, turn off the engine, and engage the parking brake.
Preserve Resale Value
Stick to reversible, bolt-on solutions. Drilled or welded modifications can turn off buyers later.
Frequently Asked Questions About Raising Seat Height in a Chevy Silverado
Can you raise the seat in a Chevy Silverado with a manual adjustment?
Manual Silverado seats typically lack vertical lift, offering only fore-aft sliding and backrest recline. To gain height on a manual seat, you need an aftermarket spacer kit or bracket riser system.
How much height does a seat spacer kit add?
A standard precision spacer kit adds approximately 1.5 inches of lift. For more height (2–3 inches), a bracket riser system is the better option.
Will a seat spacer kit affect my airbags or seat belts?
No. Engineered spacer kits are designed to maintain factory safety systems, including airbag sensors and seat belt tensioners. They bolt into existing mounting points without interfering with safety mechanisms.
What tools do I need to install seat spacers?
You need a T50 Torx bit or socket, a ratchet or impact gun, a 5/16-inch Allen socket, Red or Blue Loctite, and a flathead screwdriver for trim removal.
Are spacer kits reversible?
Yes. Bolt-on spacer and bracket kits use existing mounting points and do not require drilling. They can be removed, returning the seat to factory height without permanent modification.
Where can I buy a spacer kit for my Silverado?
Spacer kits are available through aftermarket suppliers specializing in GM truck accessories. Brands like SeatRiser and similar manufacturers offer kits specifically designed for 2019–2022 Silverado 1500 models.
Key Takeaways for Raising Your Chevy Silverado Seat
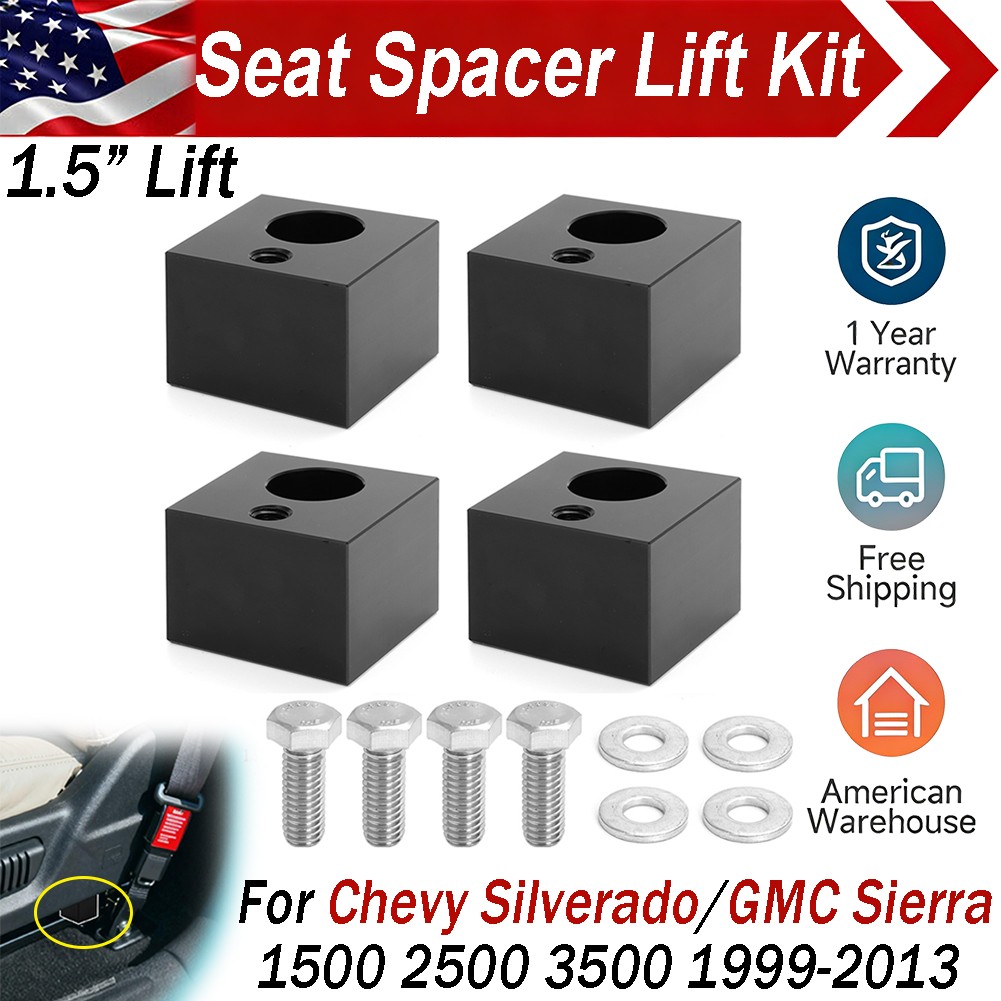
Raising the seat in your Chevy Silverado doesn’t have to be complicated. For most drivers, a 1.5-inch bolt-on spacer kit is the smartest choice—affordable, safe, and easy to install in under 30 minutes. If you need more lift, a bracket riser system or OEM seat swap offers greater height while maintaining safety and factory integration.
Avoid makeshift fixes like generic cushions or ill-fitting hardware store parts. They compromise comfort and safety. Instead, use engineered solutions designed specifically for your Silverado’s mounting system.
Start by confirming your factory adjustments are fully utilized, then choose a spacer kit matched to your model year and seat type. With the right upgrade, you’ll gain a commanding view of the road, reduce fatigue, and finally feel in control behind the wheel.