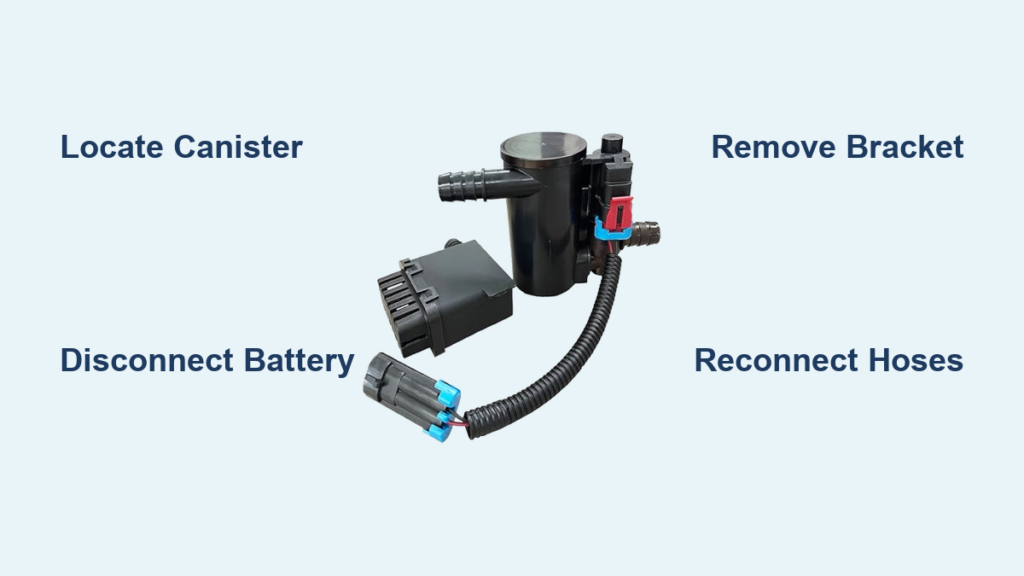
If your Chevrolet Silverado keeps triggering a check engine light with code P0446, sputtering at the pump, or refusing to fill up properly, the culprit is likely a failing charcoal canister. This component traps fuel vapors in your EVAP system, and when it clogs or breaks apart, black carbon pellets spill into the vapor lines. Replacing it yourself takes about 30 minutes and saves you hundreds in shop labor. This guide shows you exactly how to remove charcoal canister Silverado components on 2007–2020 models, where to find the canister, and how to avoid the broken clips and stripped bolts that derail most DIY jobs.
You’ll learn the precise location for your specific model, the right technique for each stubborn hose connector, and the post-installation checks that confirm a leak-free repair.
Locate the Charcoal Canister on Your Silverado
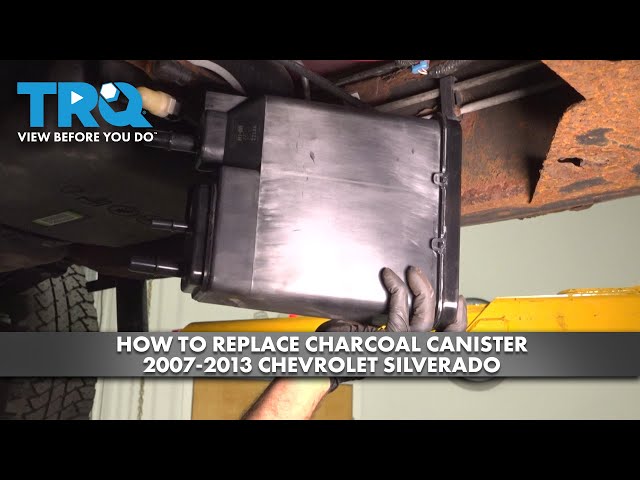
The canister position shifts slightly depending on your truck’s generation and body style. Confirm your model before crawling underneath.
2007–2013 Silverado 1500
Mounted on the driver’s side rear, just ahead of the fuel tank, attached to the frame rail. Look for a black plastic box with multiple vacuum hoses.
2007 Silverado Classic
Found near the rear frame rail, typically on the passenger side, often hidden under a protective metal or plastic shield.
2007–2014 Silverado 2500 HD
Positioned directly in front of the fuel tank, centered under the truck, secured with a bracket and bolt.
The canister connects to three main hoses (top purge line, middle vent line, bottom tank line) and is usually held by a 13mm bolt and a metal bracket.
Disconnect the Battery for Safety
Some canister assemblies include electrical sensors that can short if you work on them with the battery connected.
- Park on a level surface and engage the parking brake.
- Open the hood and locate the negative battery terminal.
- Loosen the cable clamp with a wrench and pull the cable away from the terminal.
- Tuck the cable aside so it cannot spring back into contact.
- Wait 2–3 minutes to let the system discharge.
Skipping this step risks damaging the EVAP sensor or triggering new error codes during the repair.
Lift and Secure the Vehicle
Safe access under the truck is non-negotiable.
- Use a floor jack to lift the rear of the Silverado.
- Position jack stands under the frame rails at the recommended lift points.
- Lower the truck onto the stands and confirm stability before sliding underneath.
Work on a clean, dry surface. Dirt and road grime can fall into open hose ends, so cover them with clean rags if the job runs long.
Remove the Mounting Bracket
Freeing the canister from the frame is the first hands-on step.
- Locate the 13mm bolt securing the mounting bracket to the frame rail.
- Attach a socket wrench with an extension and universal joint to reach tight angles.
- On 2500 HD models, hold the bolt head with one wrench while loosening the nut with another. The bolt tends to spin freely otherwise.
- Remove the bolt and nut completely once loose.
- Slide or lift the bracket off the canister.
Inspect the bracket before reuse. If it is bent, cracked, or corroded, replace it with the new canister hardware.
Disconnect the Fuel Vapor Hoses
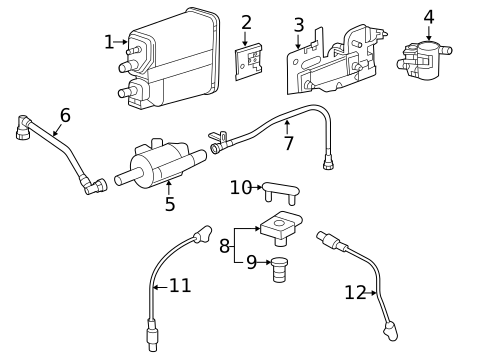
Each of the three hoses uses a different locking mechanism. Work methodically and label hoses if needed.
Remove the Lower Hose (Tank Line)
This connector features dual locking tabs or a collar.
- Squeeze both tabs outward with your fingers or use small picks.
- Apply steady pressure. Old tabs get stiff from heat cycling and residue.
- Slide the hose straight off the nipple once the tabs release.
Inspect the hose end for cracks, debris, or O-ring damage before setting it aside.
Remove the Middle Hose (Vent Line)
This line often has a blue release tab that may be intact or broken.
If the clip is intact:
1. Squeeze the two blue tabs together.
2. Pull the connector straight off the fitting.
If the clip is broken or missing:
1. Insert a small flathead pick into the center of the fitting.
2. Press inward to spread the locking ears apart.
3. Wiggle the hose free. Use a pry bar only as a last resort.
If the blue tab survived removal, slide it onto the new hose now to save time during reinstallation.
Remove the Top Hose (Purge Line)
The top connector is the most complex and varies by model year.
Two-lip version:
1. Use two small picks to push each lip outward simultaneously.
2. Wiggle and pull the line downward until it releases.
Side tab version:
1. Use curved needle-nose pliers to squeeze both tabs.
2. Push down and lift up to release the locking mechanism.
3. Slide the hose off carefully.
Check the O-rings inside the connector. Dry or seized O-rings cause vacuum leaks and must be replaced.
Take photos before disconnecting anything. These hoses look similar but route to different parts of the EVAP system.
Extract the Old Canister
With the bracket and hoses out of the way, the canister slides free.
- Pull the canister straight out of its mounting slot.
- Removal direction varies by model:
– 1500 models: slide toward the passenger side.
– 2500 HD: may require downward or rearward movement. - If the bracket stayed attached to the old canister, twist it counterclockwise to detach, or lift the retainer clip upward to unfold and slide it off.
Wipe the mounting area clean and inspect for carbon pellets or debris. If contamination is heavy, flush the lines before installing the new unit.
Install the New Charcoal Canister
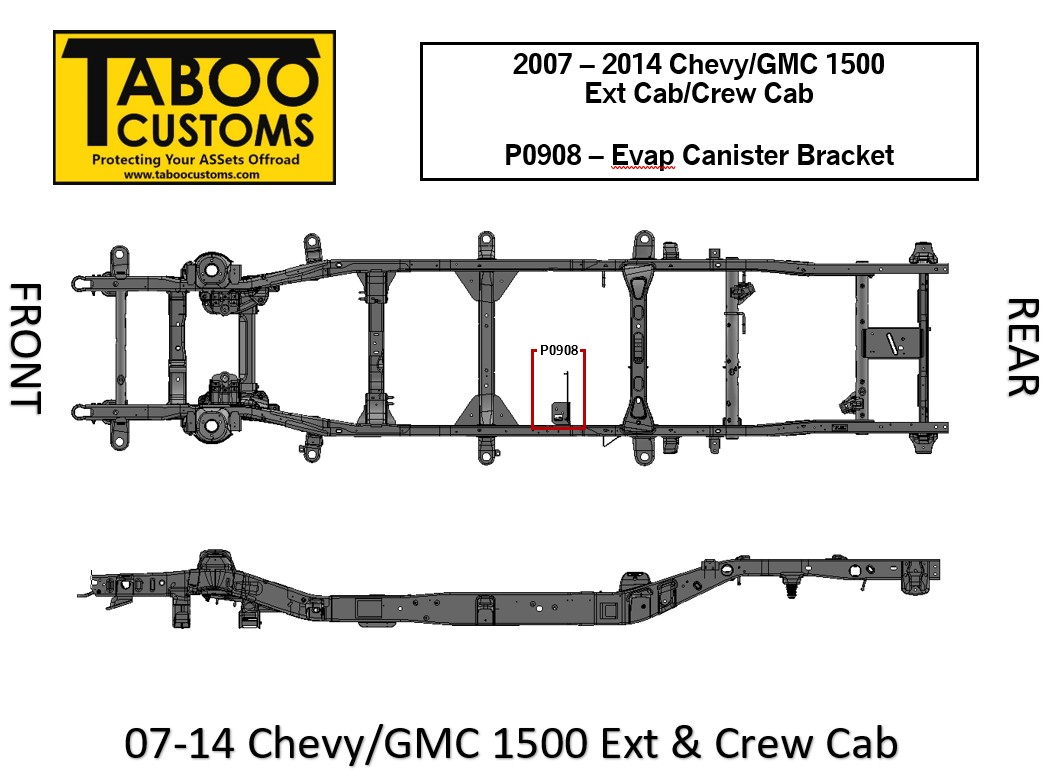
Transfer the bracket to the new canister and align it correctly.
- Slide the old bracket onto the new canister.
- Match the lower cutout on the bracket with the corresponding tab on the canister.
- Align the front-facing notch on the back of the canister with the bracket.
- Push until the bracket clicks or locks into place.
- Reinstall the retainer clip if your model uses one.
Installing the bracket backward is a common mistake. It only fits one way, so double-check orientation before moving on.
Position and Secure the Canister
Mount the new canister in the frame rail slot.
- Slide the canister into position and ensure it sits flush.
- Insert the 13mm bolt through the bracket and mounting point.
- Hold the bolt head with a wrench and tighten the nut securely.
- Torque to 15–20 ft-lbs. Over-tightening cracks the plastic housing.
The canister should not wobble or shift when nudged. Any movement means the bracket is not fully seated.
Reconnect the Vapor Hoses
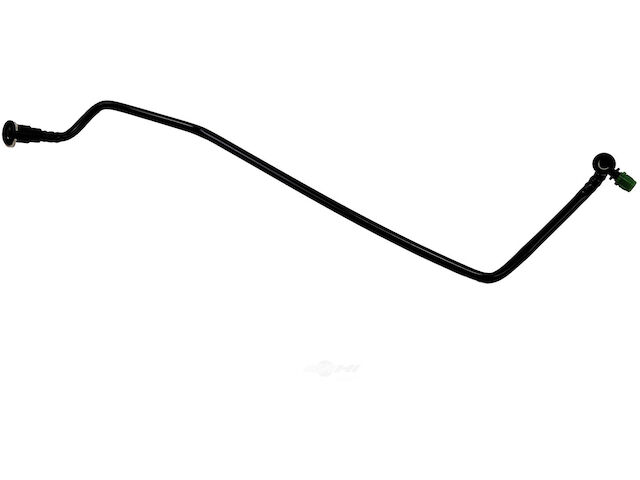
Reconnect in reverse order: top, middle, then bottom.
Reattach the Top Hose (Purge Line)
- Align the hose with the nipple.
- Press down firmly until you hear a distinct click.
- Verify both locking lips engage over the ridge.
- Snap the original clip back on top if it is still intact.
Reconnect the Middle Hose (Vent Line)
- Remove any yellow protective caps from the new canister.
- Shake out loose debris.
- Slide the blue tab up onto the hose if present.
- Press the connector until it clicks, then tug to confirm.
Reconnect the Lower Hose (Tank Line)
- Align the hose with the fitting.
- Push straight on until fully seated.
- Squeeze the locking tabs to ensure they snap back into position.
Gently pull each hose after reconnecting. None should come loose. If one does, disengage and reseat it. Misalignment is the leading cause of post-repair EVAP leaks.
Reconnect the Battery and Test the System
Verify the repair before buttoning up.
- Reconnect the negative battery terminal and tighten the clamp.
- Start the engine and let it idle for 2–3 minutes.
- Listen for hissing or vacuum leaks near the canister area.
- Use an OBD2 scanner to clear stored codes like P0446.
- Drive the truck through a full cycle of city and highway driving to let the EVAP system run its self-tests.
- Test refueling by filling the tank. No premature shutoffs and normal flow rate confirms success.
If the check engine light returns, re-inspect every hose connection, check for kinked lines, and examine the filler neck hose and vent line near the fuel door. These are common secondary failure points.
Avoid Common Mistakes
Pitfalls that cause leaks, broken parts, or repeat repairs:
- Forcing hoses: If a connector does not click, do not pry harder. Recheck tab alignment and hose orientation.
- Ignoring brittle clips: Old blue tabs snap easily. Replace damaged clips or hoses before reassembly.
- Skipping O-ring checks: Dry, cracked O-rings leak immediately. Replace any that feel hard or look flattened.
- Overlooking related hoses: A clogged filler neck hose mimics canister failure. Inspect and replace if restricted.
- Wrong canister model: Match the replacement to your exact model year and trim. 1500 and 2500 HD units are not interchangeable.
Keep Your EVAP System Healthy
A few habits extend the life of your new canister:
- Inspect under the truck during oil changes for cracked hoses or loose brackets.
- Use OEM or high-quality aftermarket parts. Cheap canisters often fail within a year.
- Keep the work area clean during any future EVAP service to prevent debris intrusion.
- Record the replacement date in your maintenance log for future diagnostics.
Frequently Asked Questions About Silverado Charcoal Canister Removal
Where is the charcoal canister located on a 2007–2013 Silverado 1500?
On the driver’s side rear, mounted to the frame rail just ahead of the fuel tank. Look for a black plastic box connected to three vacuum hoses.
What does code P0446 mean on a Silverado?
P0446 indicates an Evaporative Emission Control System Vent Control Circuit Malfunction. A clogged or failed charcoal canister is one of the most common triggers, along with faulty vent valves or wiring issues.
Can I replace the charcoal canister without dropping the fuel tank?
Yes. The canister mounts to the frame rail and is accessible from underneath the truck. You do not need to disturb the fuel tank or fuel lines for this repair.
How long does it take to remove and replace a Silverado charcoal canister?
With the right tools and preparation, the job takes under 30 minutes. Add time if old clips break and need replacement, or if you encounter seized hoses.
Do I need to clear codes after replacing the charcoal canister?
Yes. Use an OBD2 scanner to clear stored EVAP codes like P0446. The check engine light may take one or two driving cycles to reset automatically even after clearing.
What happens if I install the canister bracket backward?
The canister will not seat fully in the mounting slot, and the bolt holes will not align. The bracket only fits one way, so flip it and retry if the canister does not slide into place smoothly.
Final Thoughts on Removing Your Silverado Charcoal Canister
Replacing the charcoal canister is one of the most satisfying DIY repairs you can do on a Silverado. You fix a stubborn check engine light, restore normal refueling behavior, and keep your EVAP system passing emissions, all in about half an hour. The keys to success are patience with the locking connectors, correct bracket orientation, and a thorough tug test on every hose after reassembly.
If the check engine light returns after the repair, expand your diagnosis to the filler neck hose and EVAP vent solenoid before assuming the new canister is defective. In most cases, though, a fresh canister resolves the issue completely.
Grab your 13mm socket, a couple of small picks, and an OBD2 scanner, and you’ll have your Silverado running clean again by lunch.