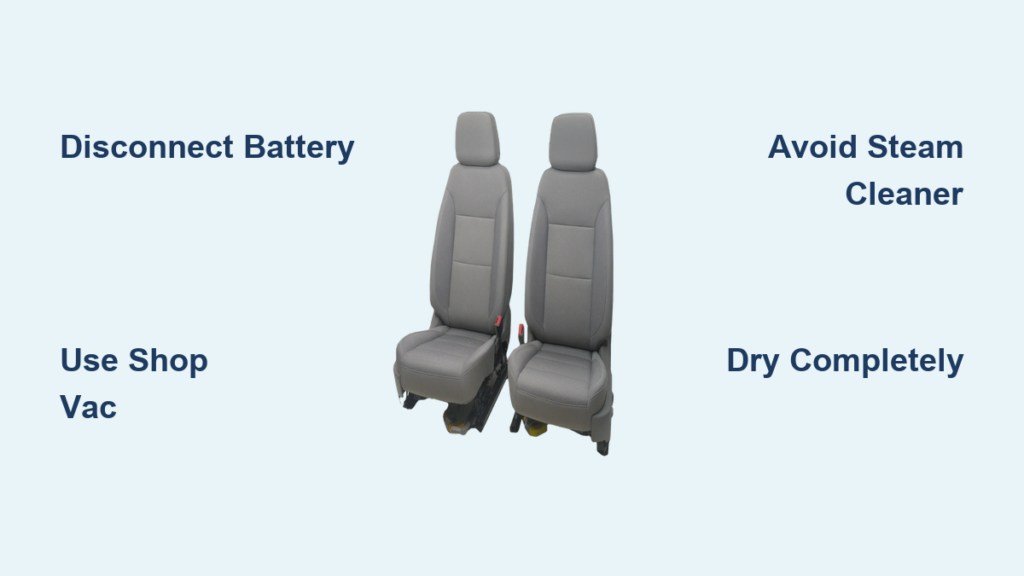
Spilled coffee, muddy work boots, or years of daily driving can leave your Silverado’s cloth seats looking tired and worn. The good news is that deep-cleaning your truck’s interior doesn’t require a professional detailer or expensive equipment. With the right techniques, you can remove stubborn stains, eliminate odors, and restore your seats to like-new condition in your own driveway.
This guide covers everything you need to know about cleaning Silverado cloth seats, from quick spot treatments to full extraction methods. You’ll learn which DIY solutions actually work, how to safely remove seats when needed, and how to avoid common mistakes that can damage velour fabric.
Essential Safety Steps Before You Start
Taking a few minutes to prepare protects both you and your truck’s interior during the cleaning process.
Disconnect the Battery and Wait
If you plan to remove seats for thorough cleaning, disconnect the negative battery terminal first. This disables the airbag system and prevents accidental deployment while you work near wiring harnesses. After disconnecting, wait 20 minutes to allow capacitors to fully discharge.
Remove and Reinstall Seats Safely
For full access to seat brackets and hidden areas:
1. Slide the front seat back to expose the front mounting bolts; remove both.
2. Push the seat forward to access and remove the rear bolts.
3. Tilt the seat back and unplug the wiring harness at the base.
4. Lift the seat out carefully.
For rear seats, press the release levers beneath each side to pop out the seat bottom. When reinstalling, apply medium-strength thread locker on bolts, hand-tighten first, then torque to factory specifications.
Sanitize Your Tools First
Wipe down shop vac nozzles with a clean rag before using them on your seats. A dirty nozzle can transfer grease or debris onto freshly cleaned fabric. Use a stiff nylon brush for scrubbing and an old toothbrush for tight seams.
Best Cleaning Solutions for Silverado Cloth

The right cleaner makes the difference between surface cleaning and true stain removal.
Hot Water and Dish Soap (Zero-Cost Method)
Fill a spray bottle with hot water and add a few drops of Dawn dish soap. Heat breaks down grease while soap lifts dirt without harming fabric. Spray on stained areas and let soak before scrubbing. This method works well for quick spot treatments.
Vinegar, Soap, and Club Soda Mix
Combine these ingredients in a spray bottle:
– 1 cup club soda
– 1 tbsp white vinegar
– 1 tsp Dawn dish soap
Shake lightly and spray generously on water marks, mud, or salt stains. Let sit for 5 to 10 minutes before scrubbing. This powerful mix dissolves residues that water alone can’t touch.
Commercial Cleaners Worth Buying
For deeper results, consider these proven products:
– Zep Extractor Shampoo: Restores heavily soiled seats, even in high-mileage trucks
– Fabric Clean R: Ready-to-use formula with citrus scent that penetrates fibers and eliminates odors
– All-purpose carpet and upholstery sprays: Apply before extraction to break down oils and sweat
Avoid steam cleaners on delicate velour, as excessive heat can damage fibers.
Step-by-Step Cleaning Methods
Choose your approach based on how dirty your seats are and how much time you have.
Quick Spot Treatment with a Shop Vac
Best for fresh spills like soda or ketchup, this method takes about 5 minutes.
- Fill a spray bottle with hot soapy water.
- Spray half a seat at a time and let sit for 1 to 2 minutes.
- Use a shop vac to extract the liquid immediately.
- Repeat 4 to 5 times per stain. Tough spots like Coke usually vanish by the fifth pass.
- Leave windows open for fast drying.
Don’t oversaturate the fabric. Pull liquid up quickly to avoid soaking the foam underneath.
Deep Clean with an Extractor
Best for long-term grime, odors, or high-mileage interiors that need serious restoration.
- Dry vacuum the entire seat surface and crevices first.
- Agitate with a stiff brush, focusing on seams, edges, and under headrests.
- Spray upholstery cleaner and work it in with a brush.
- Wipe with a dry microfiber towel. Watch it darken as hidden grime lifts.
- Fill your extractor with hot water and shampoo. Boil water first if your machine lacks a heater.
- Slowly pass over the fabric, saturating but not soaking, then vacuum thoroughly.
- Extract headrests, side bolsters, and seat backs since these collect more dirt than flat surfaces.
Dirt trapped in the foam rises to the surface when wet, which is why deep extraction matters for truly clean seats.
5-Minute No-Rinse Refresh
Best for monthly maintenance and odor control between deep cleans.
- Spray Fabric Clean R directly on the seats and onto a nylon brush.
- Scrub gently in side-to-side motions, not back-and-forth.
- Buff with a clean microfiber towel.
- Repeat on door panels, console, and headliner.
This method requires no rinsing and no waiting. Just avoid over-scrubbing, which can make velour look fuzzy or worn.
Spot Treat Water and Salt Stains
Best for winter salt rings or mud splatter on specific areas.
- Vacuum loose debris first.
- Spray the vinegar and club soda mix on the affected area.
- Wait 5 to 10 minutes.
- Scrub in circular motions with a soft brush.
- Extract with a wet-dry vac or let air dry.
- Vacuum again once dry to fluff the fibers.
Repeat if any residue remains.
Silverado-Specific Fabric Tips
Your truck’s seats are built tough, but they still need care tailored to their material.
Protect Velour from Over-Scrubbing
Most Silverado cloth seats are velour or durable blends. Aggressive scrubbing damages the nap and leaves a fuzzy, worn look. Use gentle pressure and let cleaners dwell to do the work for you.
Skip Conditioning on Cloth
Unlike leather, cloth seats do not need conditioning. Oils and protectants can actually attract more dirt. Only apply UV protectant to plastic trim or seat belt hardware.
Clean Hidden Components
Don’t overlook these often-forgotten areas:
– Seat belt clickers: Scrub with soapy water, dry, then apply non-greasy UV protectant
– Seat belts: Clamp the fully extended belt and run a soaked microfiber towel over both sides
– Armrest compartments: Remove rubber cup holders, clean sticky residue, and vacuum
Ignoring these leaves grime sources inches from your freshly cleaned seats.
Drying and Final Steps
Proper drying prevents mold and keeps your work lasting longer.
Dry Completely Before Use
Even if the surface feels dry, foam underneath may still be wet. To prevent mildew, open all windows, park in sunlight, and use a wet-dry vac to extract excess moisture after cleaning. Never reinstall seats while wet.
Restore Fabric Loft
Once dry, lightly vacuum to lift flattened fibers. This restores the plush look and helps seats breathe properly.
Maintain Every 6 Months
For long-term care, deep clean every 6 months and use no-rinse refreshers monthly for high-use trucks. Address spills immediately to prevent set-in stains. Neglect leads to permanent odor buildup, fiber breakdown, and foam degradation from trapped oils.
Common Mistakes to Avoid

Even experienced truck owners make errors that reduce results or cause damage.
Over-Scrubbing Damages Fabric
Using too much pressure or back-and-forth motion frays velour and makes it look old. Stick to side-to-side or circular scrubbing with light force.
Soaking the Foam Causes Mold
Pouring too much water without full extraction traps moisture in the foam. Always extract thoroughly and allow complete drying time.
Skipping Battery Safety
Removing seats without disconnecting the battery risks airbag deployment. Always disconnect and wait the full 20 minutes.
Ignoring Seat Components
Clean metal brackets, rails, and wiring areas when seats are out. These collect dust and grime that can redeposit on clean fabric.
Shop Vac vs. Extractor: When to Use Each

A shop vac works for quick fixes and fresh spills. It costs nothing if you already own one and takes about 5 minutes. However, it cannot deep-clean foam or remove embedded grime.
An extractor is necessary for deep restoration, high-mileage trucks, and stubborn odors. Use Zep Extractor Shampoo for best results, and boil water first if your machine lacks a heater. This method requires more time and drying but delivers professional-level results.
Frequently Asked Questions About Cleaning Silverado Cloth Seats
Can I use household products to clean my Silverado’s cloth seats?
Yes. Hot water mixed with Dawn dish soap works well for general cleaning. For tougher stains, a mix of club soda, white vinegar, and dish soap effectively tackles mud, salt, and water marks without damaging fabric.
How often should I deep clean my truck’s cloth seats?
Deep clean every 6 months for typical use. High-use trucks, especially those with pets or frequent passengers, benefit from monthly no-rinse refreshers and deep cleaning every 3 to 4 months.
Will cleaning remove set-in stains like old ketchup or soda?
Most set-in stains come out with 4 to 5 passes of hot water extraction using a shop vac or extractor. Older stains may require additional dwell time with the vinegar and club soda mix before scrubbing.
Is it safe to remove seats myself for cleaning?
Yes, but disconnect the negative battery terminal first and wait 20 minutes to disable the airbag system. Follow the proper bolt removal sequence and use medium-strength thread locker when reinstalling.
Can I use a steam cleaner on Silverado cloth seats?
Avoid steam cleaners on velour fabric. Excessive heat can damage the delicate nap. Stick to extraction methods with controlled water and cleaning solution instead.
What’s the best way to remove odors from cloth seats?
Use Fabric Clean R or another enzymatic or citrus-based cleaner that neutralizes odors at the source rather than masking them. Ensure seats dry completely afterward to prevent mildew, which causes lingering smells.
Key Takeaways for Restoring Your Silverado’s Interior

Cleaning Silverado cloth seats comes down to three essentials: proper technique, thorough drying, and consistency. Hot water breaks down grease better than cold, extraction removes what surface cleaning leaves behind, and complete drying prevents mold from forming in the foam.
Start with a quick shop vac method for fresh spills, then schedule a full extraction every 6 months for long-term maintenance. Don’t forget the hidden components like seat belts and brackets, and always disconnect the battery before removing seats.
With these methods, even high-mileage seats can look and smell like new. Grab your spray bottle, brush, and extractor, and give your Silverado the interior refresh it deserves.