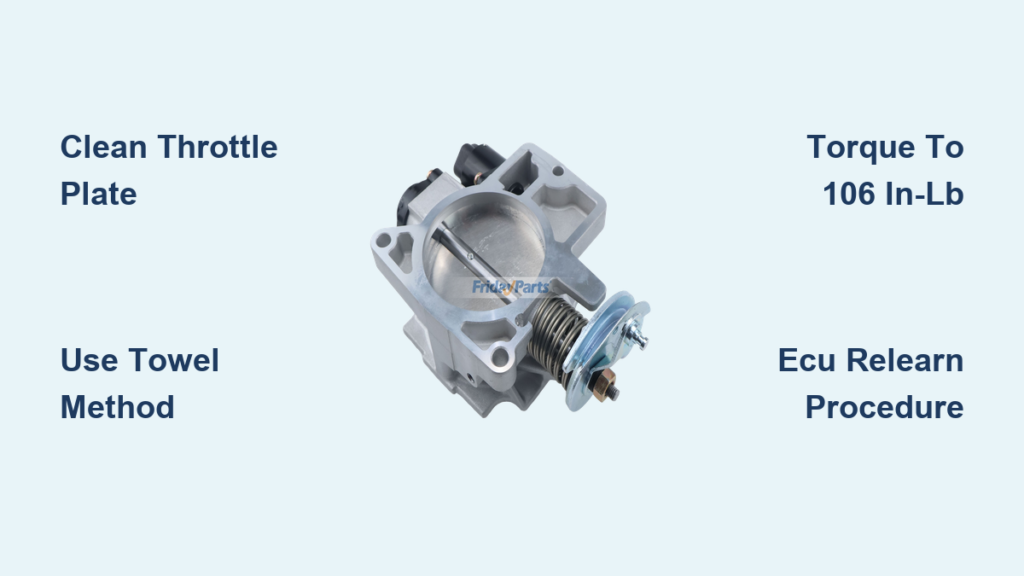
Your Silverado idles roughly, hesitates when you hit the gas, or stalls at red lights. These are telltale signs of a dirty throttle body, especially if your truck has crossed 75,000 miles. Carbon buildup around the throttle plate chokes airflow and confuses the engine computer, turning a once-smooth ride into a frustrating experience. The fix is simpler and cheaper than you might think.
This guide covers the exact process for cleaning throttle body Silverado trucks from 2003–2006 and 2014+ models. You’ll learn the tools required, safe cleaning techniques, the critical 106 inch-pound torque spec, and the ECU relearn procedure that prevents post-cleaning disasters like high idle or self-acceleration.
Symptoms That Signal a Dirty Throttle Body
Rough Idle and Stalling
Carbon deposits restrict airflow past the throttle plate, causing the engine to idle unevenly. You might watch the RPM needle bounce between 500 and 800 or feel the engine cut out completely when you stop. Trucks with over 100,000 miles or those that haven’t had this service in years are prime candidates.
Acceleration Hesitation
Press the gas pedal and the engine responds slowly, lagging before it engages. This happens because the butterfly valve cannot open fully through the carbon crust, delaying air intake. If your Silverado feels sluggish off the line, throttle body cleaning should be your first diagnostic move before replacing parts.
High Mileage Warning Signs
Vehicles past 75,000 miles develop carbon buildup faster, especially with short trips, stop-and-go driving, and EGR system byproducts. Even without a check engine light, cleaning every 30,000 to 75,000 miles prevents long-term performance loss and keeps the idle air control system functioning properly.
Tools and Supplies You’ll Need
Essential Cleaning Materials
- Throttle body cleaner (CRC or similar) safe for sensors and plastics
- Microfiber towels that are lint-free to avoid leaving residue
- Soft nylon brush such as an old toothbrush for crevices and IAC ports
- Flashlight to inspect carbon deposits inside the bore
Required Hand Tools
- Socket set with 8 mm and 10 mm sockets
- Torque wrench with inch-pound scale for the critical 106 inch-pound spec
- Extension bar to reach tight bolts near the firewall
- Flathead screwdriver to release intake housing clips on 2014+ models
Safety Gear
- Protective gloves to avoid skin contact with chemical cleaners
- Eye protection to prevent splashes during disassembly
Pro Tip: Keep an old spark plug handy to plug coolant lines if you need to disconnect them on 2003–2006 models. This prevents coolant from spilling into the engine bay.
Cleaning 2003–2006 Silverado (5.3L/6.0L)

Remove the Air Intake Tube
Start by disconnecting the negative battery terminal. Remove the engine cover using an 8 mm socket. Loosen the two clamps on the air intake tube: one near the throttle body and one by the airbox. Slide the tube off to expose the throttle body assembly.
Disconnect Components Carefully
- Electrical connector: Press the release tab and pull apart
- Vacuum hose: Loosen the clamp, pull it off, and unclip from the bracket
- Coolant hoses: Leave connected if long enough; only disconnect if space requires it, then plug with a spark plug
Warning: Coolant hoses often stay attached during this job. Forcing disconnection when unnecessary risks leaks and air pockets in the cooling system.
Remove the Throttle Body
Unscrew the three 10 mm bolts located on top, the side, and near the vacuum port. Gently pull the unit straight out. You will likely see heavy black carbon coating the butterfly valve and bore.
Cleaning 2014+ Silverado (5.3L)

Remove the Intake Housing
Newer models use clip-based intake housings instead of traditional hose clamps. Locate the two retaining rings on each side of the housing. Use a flathead screwdriver to press down and release each clip. Push up from beneath and pull outward until both sides click free. Remove the entire housing to access the throttle body.
Inspect for Carbon Buildup
With the housing off, shine a flashlight inside the bore. Look for black, crusty deposits on the throttle plate and surrounding walls. Even light grime affects idle stability on modern drive-by-wire systems.
Safe Cleaning Techniques
Never Spray Directly on 2014+ Models
Spraying cleaner straight into the throttle bore can dislodge debris that gets sucked into the engine, causing serious damage. Always apply cleaner to a microfiber towel first, then wipe all surfaces gently.
Focus on Critical Areas
- Throttle plate edges where carbon seals against the bore
- IAC valve port using a toothbrush for older models with idle air passages
- Gasket surface cleaned thoroughly to prevent vacuum leaks after reassembly
Do not use metal tools or abrasives. Scratches disrupt airflow and damage sensitive sensors.
Dry Completely Before Reinstalling
Let the throttle body air-dry for at least 10 minutes. Residual moisture can short the IAC valve or electrical contacts. Wipe dry with a clean towel if needed.
Reinstalling the Throttle Body

Torque to 106 Inch-Pounds
Mis-torquing is a common cause of warping or vacuum leaks. Set your torque wrench to 106 inch-pounds (just under 9 ft-lbs). Tighten bolts evenly in a crisscross pattern. An extension helps reach awkward angles near the firewall.
Reconnect All Components
- Reattach the electrical connector until it clicks
- Reconnect the vacuum hose and secure the clamp
- Reinstall the coolant hose if you removed it
- Slide the intake tube or housing back into place and lock the clips
Double-check that no hoses or wires are pinched during reassembly. A pinched vacuum line causes rough idle that mimics the original problem.
Critical: ECU Relearn Procedure
Why Relearn Is Mandatory
The engine computer adapts to carbon buildup over time. After cleaning, it expects the old airflow pattern. Without relearning, the ECU causes high idle, self-acceleration, or harsh downshifts that can leave you stranded or damage your transmission.
Step-by-Step Relearn Process
- Disconnect the negative battery cable for 60 seconds minimum
- Reconnect the battery
- Start the engine and idle for 3 minutes without touching the gas pedal
- Turn off the engine and wait 60 seconds
- Repeat: Start again, idle 3 minutes
- Turn off and wait 60 seconds
After the second cycle, the ECU resets and recalibrates the idle position.
Success sign: Smooth idle at 600–700 RPM with no hunting or surging.
Troubleshooting Post-Cleaning Issues
High Idle or Runaway Engine
If the engine revs to 1500–2500 RPM and refuses to settle:
- Cause: ECU failed to relearn or throttle blade was forced open manually
- Fix: Repeat the relearn cycle. If no improvement, the ECU likely needs SPS reprogramming
Never force the butterfly valve by hand. This damages the servo motor and confuses position sensors.
Self-Acceleration in Gear
Your truck creeps forward without throttle input? This dangerous condition usually stems from:
- Incomplete ECU reset
- Carbon debris interfering with the throttle position sensor
- Faulty relearn due to high-mileage adaptation
Immediate action: Do not drive the vehicle. Repeat the relearn procedure. If unresolved, seek SPS programming from a qualified shop.
When SPS Reprogramming Becomes Necessary
Signs Programming Is Required
- Relearn cycle fails after multiple attempts
- Idle hangs or spikes persist
- Truck accelerates on its own
- Harsh downshifts continue during deceleration
These symptoms indicate the ECU’s base calibration is off and cannot self-correct through standard relearn.
Dealer-Level Fix Only
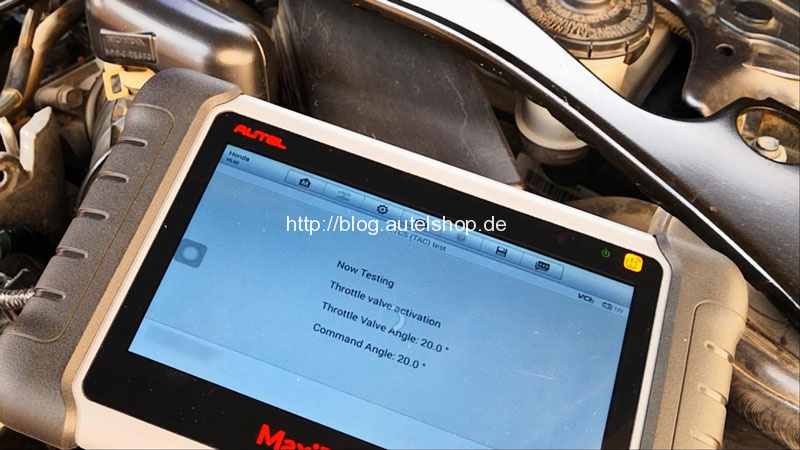
SPS (Service Programming System) reflash the ECM with correct throttle body calibration. A standard OBD2 scanner or Tech 2 tool cannot fix this. You need a GM dealership or an independent shop with SPS-capable equipment like GDS2 or Autel MaxiCOM.
Important: Replacing the throttle body won’t fix the issue without SPS programming. The new unit still requires calibration to your specific vehicle’s ECM.
Best Practices Summary
Avoid These Common Mistakes
- Spraying cleaner directly into 2014+ throttle bodies
- Forcing the throttle plate open by hand
- Skipping the relearn process
- Over-tightening bolts beyond 106 inch-pounds
Preventive Maintenance Tips
- Clean every 30,000–75,000 miles, especially in city-driven trucks
- Use high-quality fuel with detergent additives to reduce carbon
- Inspect during air filter changes for early detection
Expected Results After Cleaning
- Smooth, stable idle
- Crisp throttle response
- Better fuel economy
- No stalling or hesitation
- Elimination of idle-related codes like P0507 or P2111
Note: If a check engine light was on before, clear it with a scanner after cleaning and relearn.
Frequently Asked Questions About Cleaning a Silverado Throttle Body
How often should you clean the throttle body on a Silverado?
Clean the throttle body every 30,000 to 75,000 miles depending on driving conditions. Trucks used for short trips or stop-and-go city driving accumulate carbon faster and benefit from cleaning at the lower end of that range.
Can you spray throttle body cleaner directly into a 2014+ Silverado?
No. On 2014+ models with drive-by-wire systems, always apply cleaner to a microfiber towel first. Spraying directly can dislodge debris that gets sucked into the engine and causes internal damage.
What happens if you skip the ECU relearn after cleaning?
Skipping the relearn causes the engine computer to expect the old carbon-restricted airflow pattern. This results in high idle (1500–2500 RPM), self-acceleration, harsh downshifts, or stalling. The relearn procedure resets the ECU’s throttle position calibration.
Why does my Silverado idle high after cleaning the throttle body?
High idle after cleaning typically means the ECU relearn failed or the throttle plate was manually forced open during cleaning. Repeat the battery disconnect and 3-minute idle cycle twice. If the problem persists, the ECM needs SPS reprogramming at a dealer.
Do I need to remove the throttle body to clean it on a 2003–2006 Silverado?
Removal is recommended for thorough cleaning on 2003–2006 models because carbon builds up heavily around the butterfly valve and IAC port. On 2014+ models, you can clean in place without removal using the towel-wipe method.
Will a new throttle body fix high idle after cleaning?
No. Installing a new throttle body without SPS programming will not resolve high idle issues because the new unit still requires calibration to your specific ECM. The root cause is software calibration, not hardware failure.
Final Thoughts on Cleaning Your Silverado Throttle Body
Cleaning the throttle body on your Silverado is a high-impact maintenance task that costs about $10 and takes roughly an hour. Follow the model-specific steps, never skip the ECU relearn, and avoid aggressive cleaning methods that damage sensors.
For 2003–2006 models, removal allows thorough access to heavy carbon deposits. For 2014+ trucks, work carefully without disassembly using the towel-wipe technique. If you encounter persistent high idle or self-acceleration after cleaning, the fix is SPS reprogramming, not another cleaning or a new throttle body.
Grab your throttle body cleaner, set aside a Saturday morning, and restore your Silverado’s performance without paying dealership labor rates.