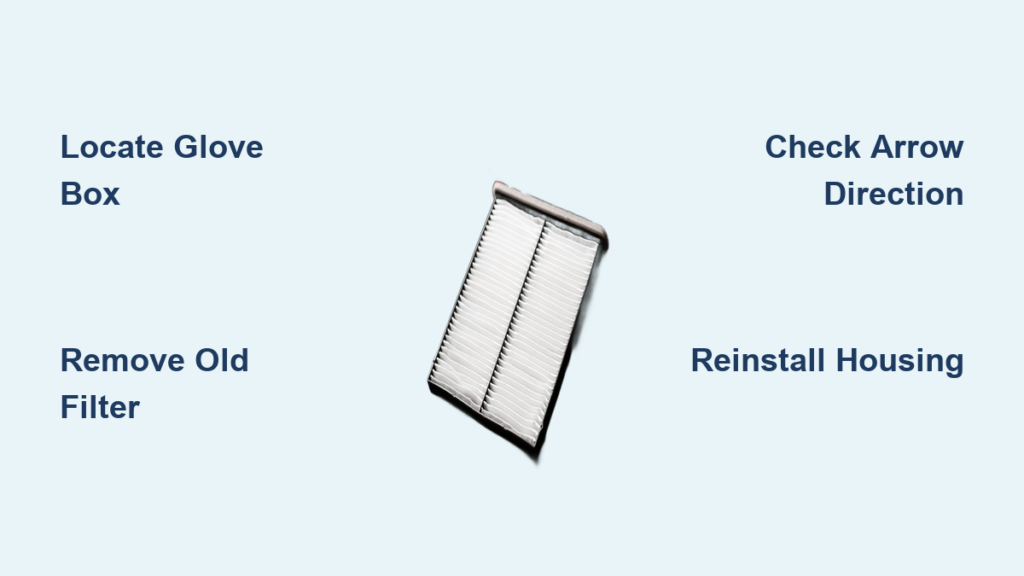
A stuffy cabin, weak airflow from the vents, and that persistent musty smell when you turn on the AC are all signs your Chevy Silverado is overdue for a cabin air filter change. This overlooked maintenance task takes less time than brewing a pot of coffee, yet it dramatically improves the air you breathe every time you drive.
In this guide, you will learn exactly how to change cabin air filter Chevy Silverado models from 2014 through 2026. We will cover the correct filter orientation, the tools you need by model year, and the costly mistakes that send DIYers back to the parts store.
Find the Cabin Air Filter Location in Your Silverado

Every Chevy Silverado hides its cabin air filter behind the glove box on the passenger side of the dashboard. The filter sits inside a plastic housing that shields the blower motor and HVAC air intake from dust and debris.
When this filter gets clogged, your blower motor strains to push air through the restricted media. You will notice weaker airflow, longer cool-down times in summer, and stale odors that no air freshener can mask.
Accessing the filter requires removing or lowering the glove box, and the method depends entirely on your model year generation.
2019–2026 Models: Tool-Free Quick Release
Starting in 2019, Chevrolet redesigned the glove box with a tab-and-clip system that requires zero tools. This generation includes the 2022+ models with an additional strut mechanism you must disengage.
2014–2018 Models: Torx Screw Removal
Earlier Silverados use a traditional glove box secured with four T15 Torx screws. You will need a Torx driver or socket to remove the assembly before reaching the filter.
2015–2020 Silverado 2500HD: Four-Screw Configuration
The Heavy Duty variant uses a similar screw-based approach, but the screw placement differs slightly. The filter orientation also changes for this model, so pay close attention to the airflow arrow.
Choose the Right Replacement Cabin Air Filter

Installing the wrong filter leads to air leaks, poor filtration, or a cover that refuses to close. Match your filter to your exact model year and trim level for a perfect seal.
Filter Types Compared
- Standard Particulate Filter: Traps dust, pollen, and larger debris at an affordable price.
- Activated Carbon Filter: Adds odor control, ideal for eliminating smoke or musty smells.
- HEPA-Style Filter (Bosch): Captures 99.97% of particles as small as 0.3 microns, perfect for allergy sufferers.
OEM vs. Aftermarket Options
- ACDelco (OEM): Factory-specified fit and reliable filtration.
- Bosch HEPA: Premium upgrade with superior airflow and particle capture.
- TRQ and Other Aftermarket: Budget-friendly alternatives, but verify dimensions before buying.
Filter Orientation by Model Year
Installing the filter backward is the single most common DIY mistake. The airflow arrow must point in the correct direction or your blower motor will struggle and filtration will suffer.
| Model Year | Arrow Direction | Key Detail |
|---|---|---|
| 2019–2026 | Downward | Points toward the blower motor |
| 2014–2018 | Downward | Follow the direction of the old filter |
| 2015–2020 2500HD | Toward Cabin/Front | Arrow faces the front of the vehicle |
Pro Tip: Snap a photo of the old filter before removal so you can match the arrow direction perfectly on the new one.
Remove the Glove Box Safely
Rushing this step breaks plastic clips and turns a 10-minute job into an hour-long frustration. Work slowly and deliberately.
2019–2026 Models: No Tools Needed
- Clear the glove box completely so nothing falls out during removal.
- Press both side tabs inward at the same time to disengage the stoppers.
- Push the glove box inward and rotate it downward until it detaches from the upper rails.
- Release the strut on 2022+ models by pushing it to the left until it disengages.
- Remove the damper if present by pressing one side, then the other.
2014–2018 Models: T15 Torx Method
- Open the glove box and remove all contents.
- Locate the four Torx screws: two on the side edges and two underneath.
- Remove all four screws using a T15 Torx bit with a ratchet or driver.
- Close the glove box gently and pull downward below the assembly to detach it from the dashboard.
2015–2020 2500HD: Four-Screw Removal
- Remove the two bottom screws securing the base of the glove box.
- Open the box and remove the two top screws at the inner frame.
- Pull the assembly forward to disengage the four retainer clips and remove it completely.
Replace the Old Cabin Air Filter
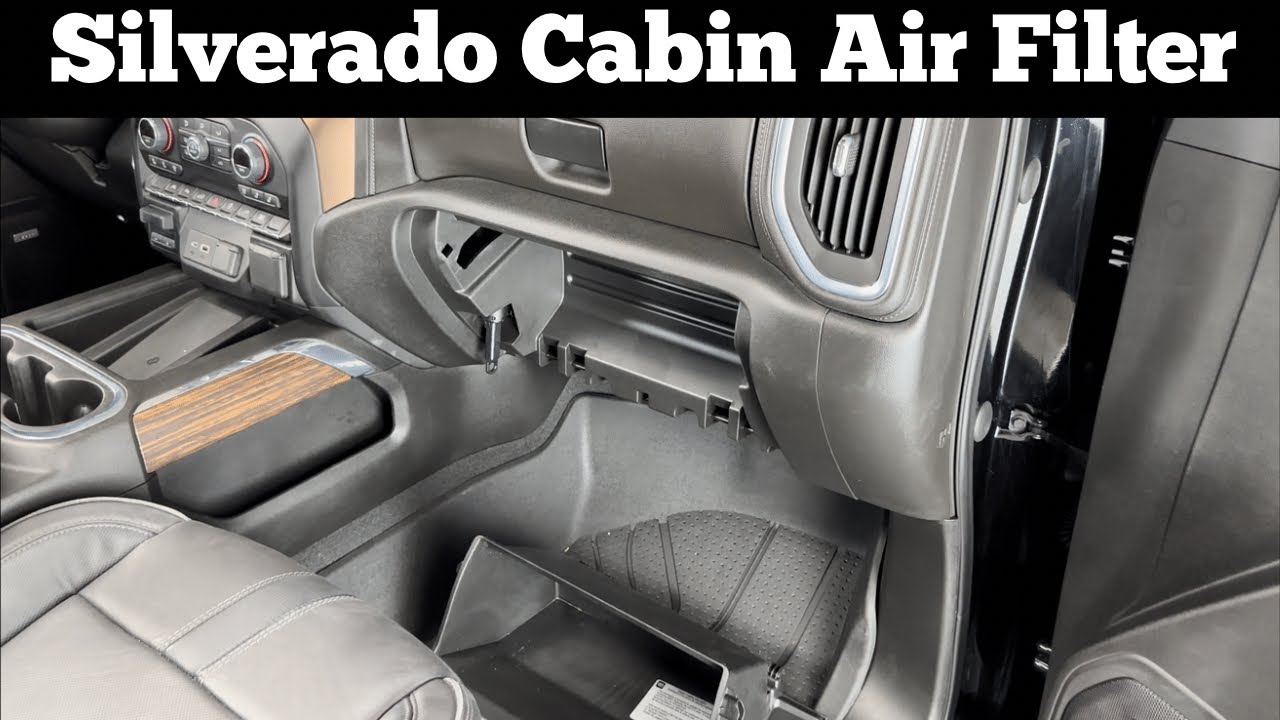
With the glove box out of the way, you will see a rectangular housing with a honeycomb-patterned cover. This is where your filter lives.
Access the Filter Housing
2019–2026 Models
- Find the retention tab on the top left or left side of the cover.
- Press the tab and slide the cover to the left, then pull it straight out.
- Place cardboard or paper underneath to catch falling dust and debris.
2014–2018 and 2500HD Models
- Release the two plastic clips on the top edge of the housing door.
- Lift the door upward to open the filter compartment.
- Wipe out dust with a soft cloth or vacuum before proceeding.
Remove and Inspect the Old Filter
Pull the old filter straight out. Expect to see a dark gray or black filter caked with dirt, leaves, and debris. If the filter feels damp, you may have a clogged AC drain line or mold issue that requires additional attention.
Install the New Filter
- Check the airflow arrow and match it to your model year specification.
- Slide the filter in smoothly without forcing it. It should fit snugly without compression.
- Verify full seating to prevent unfiltered air from bypassing the filter media.
Reassemble the Glove Box and Test the System
Putting everything back together correctly ensures your glove box opens and closes smoothly and your HVAC system delivers clean air at full strength.
Secure the Filter Cover
- 2019–2026: Slide the cover back into the connectors and push until it clicks. Confirm the top tab is fully engaged.
- 2014–2018 and 2500HD: Snap the two top clips back into place firmly.
Reinstall the Glove Box
2019–2026 Models
- Align the four hooks with the dashboard slots.
- Rotate the glove box upward until it clicks into position.
- Reattach the strut on 2022+ models by bending it slightly and pressing it back into the locked position.
- Reconnect the damper by sliding both sides back into place.
2014–2018 and 2500HD Models
- Align the assembly with the dashboard mounting points.
- Reinstall all four screws and tighten securely without over-torquing.
Final Verification
- Open and close the glove box to confirm smooth operation.
- Turn the HVAC system to maximum fan speed.
- Verify strong airflow, no rattles, and the absence of musty odors.
Common Mistakes That Ruin the Job

Installing the Filter Backward
The airflow arrow must point in the correct direction for your specific model. Reversing it restricts airflow, strains the blower motor, and dramatically reduces filtration efficiency.
Skipping the Housing Cleaning
Dust and debris left in the housing will immediately clog your fresh filter. Always wipe or vacuum the compartment before sliding in the new filter.
Using the Wrong Filter Size
Aftermarket filters sometimes vary in thickness by a few millimeters. If the cover refuses to close or the filter feels compressed, you have the wrong part number.
Breaking the Glove Box Clips
Rushing the removal process snaps plastic tabs and turns a simple job into a trip to the dealer. Work slowly, especially on 2019+ models with delicate quick-release mechanisms.
Forgetting the Strut on 2022+ Models
Failing to re-engage the strut means the glove box will not open or close properly. It must slide back into its locked position before you call the job done.
When to Replace Your Cabin Air Filter
Standard Replacement Interval
The most reliable guideline is every 12,000 to 15,000 miles. An annual replacement is also recommended even if you have not hit the mileage mark.
Extended Use Cases
- Up to 20,000 miles in clean driving conditions
- Rarely up to 30,000 miles, though not advised for optimal performance
- Never exceed 60,000 miles, which drastically increases blower motor wear
Replace Immediately If You Notice
- Musty or moldy smells from the vents
- Reduced airflow even on the highest fan setting
- Excessive dust accumulating on the dashboard
- Frequent driving on dirt roads or in polluted urban areas
Benefits of Regular Cabin Air Filter Replacement

Eliminate Musty Odors
A fresh filter removes the source of stale, damp smells caused by trapped moisture and organic debris. Most drivers notice immediate odor elimination after swapping in a new filter.
Restore Full HVAC Airflow
Clogged filters can reduce HVAC output by up to 50%. A clean filter allows maximum airflow, improving both cooling and heating efficiency.
Reduce Allergy Symptoms
Upgrading to a Bosch HEPA filter captures microscopic allergens that standard filters miss. Drivers with asthma or seasonal allergies often report significant symptom improvement.
Protect the Blower Motor
A dirty filter forces the blower motor to work harder, leading to premature wear and expensive repairs. Regular changes extend the life of your entire HVAC system.
Cost and DIY Savings
Filter Price
Expect to pay $15 to $25 at auto parts stores or online retailers. HEPA filters cost slightly more but deliver better long-term value through superior filtration.
Labor Savings
Dealerships and shops typically charge $20 to $40 in labor for this 10-minute job. Doing it yourself saves money and takes less time than waiting in a service lane.
Note: Replacing the cabin air filter yourself does not void your warranty as long as no damage occurs during the process.
Frequently Asked Questions About Chevy Silverado Cabin Air Filters
How often should I change the cabin air filter in my Chevy Silverado?
The standard recommendation is every 12,000 to 15,000 miles or once per year, whichever comes first. Drivers in dusty or polluted environments should replace it more frequently.
Where is the cabin air filter located on a Chevy Silverado?
The cabin air filter sits behind the glove box on the passenger side of the dashboard. You must remove or lower the glove box to access the filter housing.
Which direction does the airflow arrow point on a Silverado cabin air filter?
For 2014–2018 and 2019–2026 models, the arrow points downward toward the blower motor. For 2015–2020 Silverado 2500HD models, the arrow points toward the front of the vehicle.
Do I need tools to change the cabin air filter in a 2019 or newer Silverado?
No. Starting in 2019, Chevrolet equipped the Silverado with a tool-free quick-release glove box. You only need your hands to complete the job.
What tools do I need for a 2014–2018 Silverado cabin air filter replacement?
You need a T15 Torx driver or socket to remove the four screws securing the glove box assembly. A ratchet with extensions may help depending on screw accessibility.
Will replacing the cabin air filter improve weak airflow from my vents?
Yes. A clogged filter can reduce HVAC airflow by up to 50%. Installing a fresh filter restores full airflow and improves both cooling and heating performance.
Key Takeaways for Changing Your Silverado Cabin Air Filter
Learning how to change cabin air filter Chevy Silverado models saves you money, time, and frustration. The entire job takes 5 to 10 minutes with minimal or no tools, depending on your model year. Always verify the airflow arrow direction before installing the new filter, and take a moment to clean the housing to maximize the life of your fresh filter.
Set a reminder every 12 months or 12,000 miles to stay ahead of clogs. Your lungs, your blower motor, and your wallet will all thank you.