
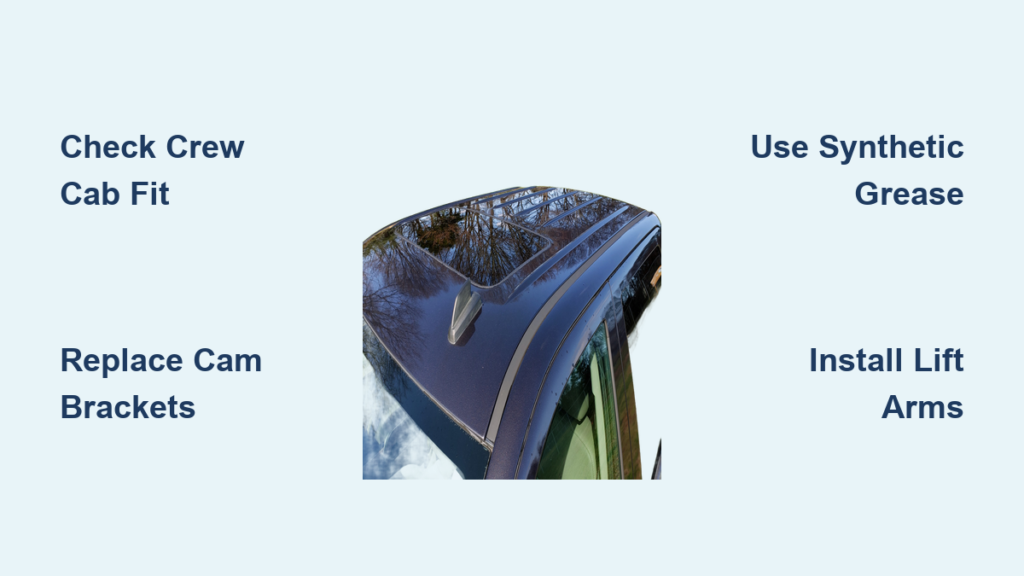
Is your 2007–2014 Chevrolet Silverado sunroof stuck, grinding, or refusing to close? You’re not alone. A widespread mechanical failure in the sunroof track assembly affects Crew Cab models across the GMT900 platform, often leaving owners with a noisy, non-functional roof panel. The root cause is rarely the motor. More often, it’s the plastic cam brackets, rivets, and lift arms that degrade over time, causing the mechanism to jam or collapse.
Replacing the entire sunroof assembly can cost over $500, but there is a smarter, more affordable fix. A dedicated repair kit targets the failing components directly. This guide walks you through the exact failure points, compatible models, repair options, and step-by-step fixes. You’ll learn how to diagnose the issue, choose the right parts, and restore full sunroof operation without breaking the bank.
Confirm Crew Cab Compatibility First
Before buying any parts, verify your truck is a 2007–2014 Crew Cab. This repair applies only to full-size, four-door models on the GMT900 platform. Extended Cab and Regular Cab trucks are not compatible with the standard sunroof repair kits.
Chevrolet and GMC Models Affected
The failure impacts both Chevrolet Silverado and GMC Sierra variants:
– Chevrolet Silverado 1500, 2500, 2500 HD, 3500 HD
– GMC Sierra 1500, 2500, 2500 HD, 3500 HD
All trim levels are included, from WT and LS to LTZ, High Country, Denali, All Terrain, XFE, and Hybrid models.
Engine Types That Fit
You do not need to match the kit to your engine. The repair is universal across:
– 4.3L V6
– 4.8L, 5.3L, 6.0L, 6.2L V8 (gas, flex-fuel, CNG)
– 6.6L Duramax Diesel
The critical factor is cab style, not powertrain.
What to Check Before Buying
- Open the sunroof and inspect for tilt function.
- Listen for grinding or clicking when operating.
- Remove interior trim near the console to confirm mechanical movement.
- Confirm it is a Crew Cab with two full doors and a full-sized rear seat.
Buying the wrong kit for an Extended Cab wastes money and delays repair.
Identify the Real Failure: Track, Not Motor

Most sunroof issues in these trucks are not electrical. The motor usually works fine. The problem lies in the mechanical track system, where plastic and metal components fail over time.
Why Cam Brackets and Rivets Break
The factory design uses plastic cam brackets and riveted connections that degrade due to:
– Temperature swings, especially in hot climates
– UV exposure through the glass
– Repeated stress from opening and closing
– Dried-out factory grease causing binding
When these brackets crack or shatter, the mechanism loses synchronization. This causes the sunroof to stall, tilt incorrectly, or jam completely.
Common Symptoms of Track Failure
- Sunroof opens halfway then stops
- Grinding, popping, or clicking noises
- Glass panel tilts unevenly or will not close
- Motor runs but glass does not move
- Visible misalignment when opening
If the motor runs but the glass does not respond, the motor is likely fine and the issue is mechanical.
How to Test Without Disassembly
- Cycle the sunroof slowly while listening.
- Watch the rear edge. If one side lifts higher than the other, a bracket has failed.
- Try manual tilt. If it feels loose or wobbly, rivets may be sheared.
- Check for debris in the track channels. Leaves or dirt can mimic mechanical failure.
If symptoms persist after cleaning, it is time for a repair kit.
Choose the Right Repair Kit

Two main options exist: a premium kit with support and a budget marketplace version. Your choice affects success.
WSRKS Kit: Best for First-Time DIYers
The Sunroof Doctor’s WSRKS kit ($119) is the gold standard. It includes:
– Stainless steel lift arms
– Reinforced ABS plastic cam brackets
– Rear drain trough guide brackets
– Stainless steel rivets
– Synthetic sunroof grease
– Grease applicator tool
A key advantage is unlimited technical phone support, available Monday through Friday from 8:30 AM to 4:00 PM CT. This is critical, as many users get stuck during reassembly.
Budget Kit: Risky but Cheaper
Sellers like Maxx-Express on eBay offer generic 6-piece kits for $39.95. Same components, lower price, but major tradeoffs:
– No returns accepted
– No technical support
– Shipping can cost $50 or more for international economy
– Delivery up to 5 weeks
You are on your own if something does not fit or install correctly.
Avoid Motor Replacement Myths
RepairPal estimates around $319 for a sunroof motor and $482 to $558 total for professional replacement. This is often unnecessary. If the motor runs, replacing it wastes money. The real fix is the track assembly, which costs $40 to $120 in parts.
Do not let a shop upsell you on a full motor job. Ask whether they can replace just the track components. Use a sunroof specialist rather than a general mechanic.
Essential Tools and Prep Work
This is not a plug-and-play job. You will need tools and patience.
Required Tools List
- Rivet gun for 3/16″ stainless steel rivets
- Drill with 1/8″ bit to remove factory rivets
- T20 and T25 Torx bits
- Flathead and Phillips screwdrivers
- Trim removal tools (plastic prying tools)
- Shop vac for debris
- Microfiber cloths
- Gloves and safety glasses
Pro Tip: Rent a rivet gun from an auto parts store if you do not own one. It is a one-time-use tool for this job.
Prep Your Workspace
- Park indoors or under cover
- Disconnect the negative battery terminal to prevent electrical shorts
- Clear the front seats and lay down blankets to protect the headliner
- Have a container to store screws and rivets
Allocate 4 to 5 hours. Rushing leads to broken clips or misaligned tracks.
Remove the Glass and Headliner
Access is everything. You must lower the headliner to reach the track.
Step 1: Remove the Sunroof Glass
- Open the sunroof fully to expose the front mounting points.
- Locate the T20 Torx screws at the front corners of the glass.
- Remove both screws using a Torx bit.
- Gently lift the front of the glass and slide it upward and out.
- Set it aside on a soft surface, interior-side down.
Warning: The glass is heavy and can crack if dropped. Use two hands.
Step 2: Lower the Headliner
- Remove the roof console (map lights, garage opener) by prying it down and disconnecting wiring.
- Remove A-pillar trim on both sides using a trim tool.
- Remove side headliner clips along the doors.
- Gently lower the headliner from the front, supporting its weight.
- Unclip wiring harnesses as needed, but do not disconnect unless necessary.
You should now see the full sunroof track assembly above the windshield.
Replace Failed Components

Now you can access the broken parts.
Remove Old Rivets and Brackets
- Locate the factory rivets securing the lift arms to the glass carrier.
- Drill out each rivet using a 1/8″ bit. Avoid damaging surrounding metal.
- Remove broken cam brackets and lift arms.
- Inspect the track channels for debris or corrosion.
Common Mistake: Forgetting to remove the rear drain trough guide brackets. These manage water flow and must be replaced to prevent leaks.
Install New Components
- Position new cam brackets exactly as the old ones were.
- Attach new lift arms using the provided stainless steel rivets.
- Secure rear drain trough guides. Ensure they slope downward for drainage.
- Double-check alignment before final riveting.
Pro Tip: Dry-fit all parts before riveting. Misalignment causes binding.
Lubricate and Reassemble
Lubrication is critical. Dry tracks cause future failure.
Apply Synthetic Grease Correctly
- Clean old grease from track channels with a rag and degreaser.
- Use the included applicator to apply synthetic sunroof grease along the entire track.
- Coat all moving surfaces, especially pivot points on the cam brackets.
- Avoid over-lubricating. Excess grease attracts dirt.
Warning: Do not use WD-40, silicone spray, or grease not designed for sunroofs. These degrade plastic components.
Reinstall Glass and Headliner
- Raise the headliner and reconnect all clips and wiring.
- Reinstall A-pillar trim and roof console.
- Align the sunroof glass. The front edge should sit flush.
- Insert T20 screws and tighten gently. Do not strip the threads.
- Close the sunroof and test operation.
Test Cycle: Open fully, tilt up, close completely. Listen for smooth operation.
DIY vs. Professional Repair Decision
Choose wisely based on skill and tools.
When to DIY
- You have mechanical experience
- You own or can borrow a rivet gun
- You are comfortable removing interior trim
- You want to save $200 to $300
The WSRKS kit from The Sunroof Doctor is the best choice. The technical support alone is worth the extra cost.
When to Hire a Pro
- You are uncomfortable with headliner removal
- You lack rivet tools
- You fear damaging wiring or glass
- You need it done quickly
Use The Sunroof Doctor’s installer locator to find a specialist. General shops often charge for full assembly replacement.
Labor Cost Reality Check
- 4 to 5 hours labor at $80 to $120 per hour equals $320 to $600
- With $40 parts, that totals $360 to $640
- DIY with a $120 kit totals $120
Even with premium parts, DIY saves hundreds.
Prevent Future Failures
A proper repair lasts years if maintained.
Regular Maintenance Tips
- Lubricate every 12 to 18 months with synthetic sunroof grease
- Clean tracks monthly to remove leaves, dirt, and ice
- Run the sunroof weekly to prevent binding
- Check drain hoses by pouring water into front corners and verifying it exits under the truck
Watch for Early Warning Signs
- Slight hesitation when opening
- New squeaking or grinding
- Uneven tilt
- Slower operation
Address these early before complete failure occurs.
Frequently Asked Questions About Silverado Sunroof Repair
What causes the sunroof to stop working on a 2007–2014 Silverado?
The most common cause is mechanical failure in the track assembly, specifically cracked plastic cam brackets, sheared rivets, or degraded lift arms. The motor itself usually still works.
Does the WSRKS repair kit fit Extended Cab Silverados?
No. The WSRKS kit and similar track repair kits are designed only for Crew Cab models. Extended Cab and Regular Cab trucks require different solutions.
How long does a DIY sunroof track repair take?
Expect 4 to 5 hours for an experienced installer. First-time DIYers should allocate a full day to avoid rushing.
Can I just replace the sunroof motor instead?
If the motor runs but the glass does not move, the motor is likely fine. Replacing it wastes $300 or more. Focus on the track components, which cost $40 to $120.
What grease should I use on a Silverado sunroof track?
Use only synthetic sunroof grease designed for plastic components. Avoid WD-40, silicone spray, or generic lubricants, which can degrade ABS plastic over time.
Where can I find a sunroof specialist near me?
The Sunroof Doctor offers an installer locator on their website. This connects you with shops experienced in track repairs rather than full assembly replacements.
Key Takeaways for Silverado Sunroof Repair
The 2007–2014 Silverado sunroof issue is fixable, affordable, and repeatable. The key is targeting the mechanical track, not the motor. Use the WSRKS repair kit for reliability and included technical support. Confirm Crew Cab fitment before buying any parts. Allocate a full day for the job, and lubricate regularly to extend the life of your repair.
If you are not DIY-inclined, find a sunroof specialist rather than a dealership or general mechanic. They will save you from unnecessary full-assembly replacements. With the right approach, your Silverado’s sunroof can work like new for years to come.



