
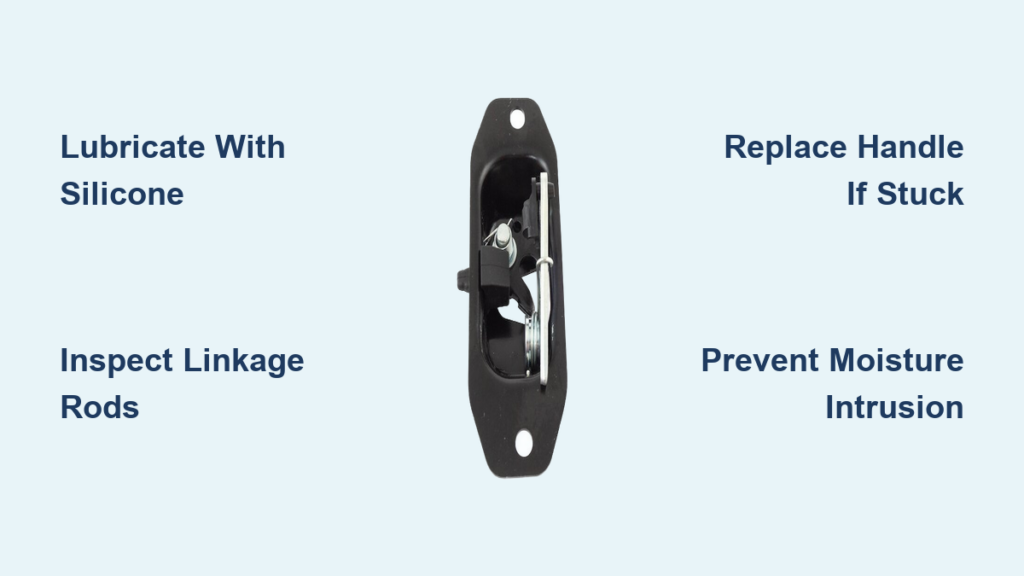
Few things are more frustrating than grabbing your tailgate handle and feeling absolutely nothing happen. If your Chevrolet Silverado or GMC Sierra (1999–2007 Classic models) refuses to open or refuses to stay closed, you are dealing with a classic latch failure. The silverado tailgate latch repair typically involves rust, frozen bushings, bent linkage rods, or moisture trapped in the mechanism. Left ignored, a stuck tailgate creates safety hazards and limits your truck’s utility. The good news: most fixes take under 30 minutes using basic tools and the right lubricant. This guide shows you how to diagnose the exact problem, apply targeted fixes, and know when replacement is unavoidable.
Diagnose Tailgate Handle Failure on Your Silverado
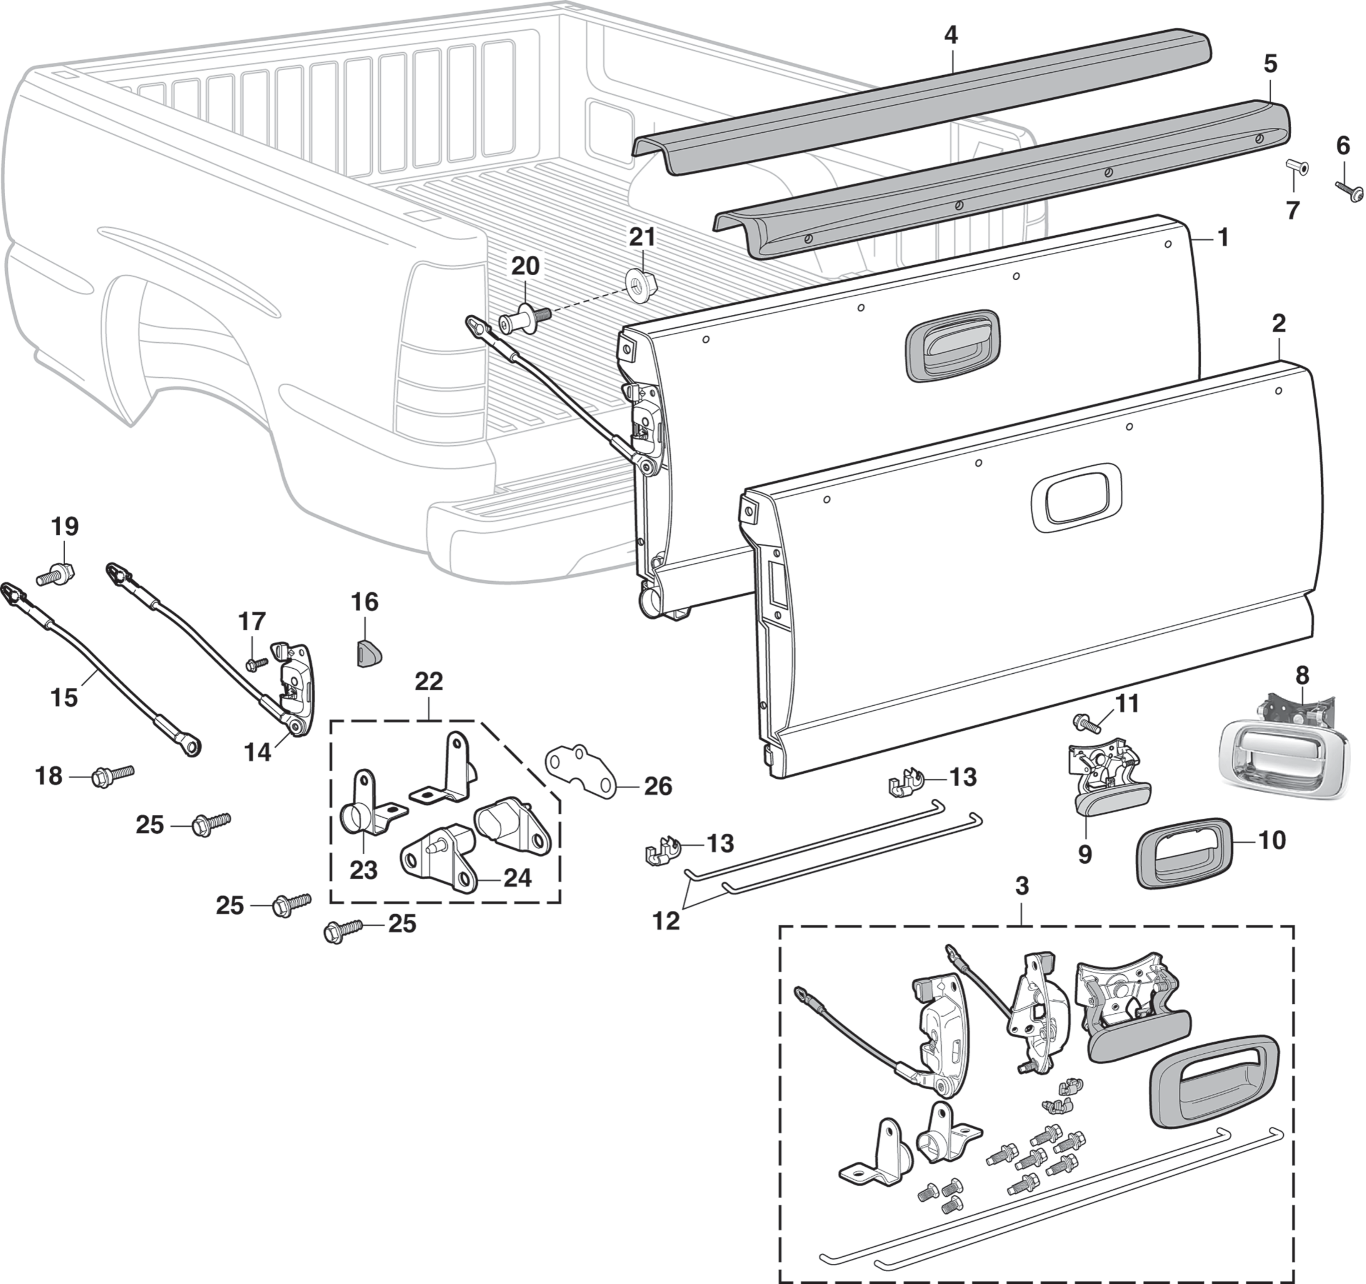
Pinpointing the exact cause saves time and prevents unnecessary part replacement. Start by observing how the handle behaves, then inspect the internal components.
Identify Handle Movement Symptoms
Test the handle before removing anything:
– No movement at all: Linkage rods may be seized, disconnected, or the pivot is frozen solid.
– Loose or floppy feel: Points to a broken clip or detached rod connection.
– Stiff but movable: Usually means dried lubricant, rust buildup, or swollen rubber bushings.
Work the handle up and down repeatedly. If it moves slightly but never releases the latches, the problem sits deeper in the connection points or latch assemblies.
Inspect Linkage Rods and Latch Components
Remove the trim bezel to expose the mechanism:
1. Insert a flat-blade screwdriver or trim tool at the top edge of the bezel.
2. Gently pry outward to release the retaining clips.
3. Pull the cover away to reveal the handle and rods.
Once exposed, manually push the vertical linkage rods up and down. Look for bent, disconnected, or corroded rods. If one rod moves freely while the other sticks, the frozen side has a seized latch assembly needing attention.
Recognize Common Failure Causes
Three culprits cause most Silverado tailgate latch problems:
– Moisture freezing in cold weather: Water enters the mechanism and locks components solid, especially in northern climates and Alaska.
– Rust and road debris: Accumulate inside latch housings and block proper engagement.
– Degraded rubber bushings: Become stiff or cracked over time, restricting pivot motion.
Release Stuck or Frozen Latch Mechanisms
Most silverado tailgate latch repair scenarios never reach the replacement stage. Proper lubrication and cleaning restore function when you catch the problem early.
Apply Silicone-Based Lubricant Correctly
Use only silicone-based spray lubricant (such as Permatex Silicone Lube) or WD-40 for initial penetration. Oil-based products degrade rubber bushings and attract dirt, so avoid them entirely.
Spray directly onto these areas:
– Handle pivot points
– Linkage rod joints
– Entry points to both side latch assemblies
Work the handle up and down while spraying to force lubricant into tight internal spaces.
Pro Tip: On frozen mechanisms, apply heat with a hairdryer first to melt ice before lubricating. This prevents further damage and speeds penetration.
Clear Rust and Debris from Latch Housings
For latches clogged with corrosion:
1. Spray penetrating lubricant and let it sit for 5–10 minutes.
2. Scrub around pivot points and latch housings with a small brush (a toothbrush works well).
3. Blow out loosened debris with compressed air if available.
4. Apply silicone lubricant for long-term protection.
Repeat this process until both sides of the tailgate release smoothly with a single handle pull.
Confirm Full Mechanism Operation
After lubrication, open and close the tailgate several times. Verify that the handle lifts easily, both side latches disengage simultaneously, and the tailgate latches securely without requiring a slam. If performance remains poor, move on to replacement.
Replace Failed Handle or Latch Assembly

When lubrication cannot save the mechanism, component replacement becomes necessary. This applies when the handle stays stuck, rods are bent beyond straightening, or internal latch teeth are stripped.
Determine When Replacement Is Required
Replace parts if you find any of these conditions:
– Handle remains immobile after thorough cleaning and lubrication.
– Linkage rods are bent beyond practical straightening.
– Rubber bushings are cracked, solidified, or missing.
– Latch mechanisms fail to catch even when manually operated.
A full tailgate latch handle kit made from reinforced ABS plastic solves most issues and outlasts aging OEM parts in harsh conditions.
Verify Compatibility Before Purchasing
Ensure your replacement part fits your specific truck:
Fits Chevrolet Silverado:
– 1999–2006: Silverado 1500
– 2001–2006: Silverado 1500HD, 2500HD, 3500
– 1999–2004: Silverado 2500
– 2007: Silverado 1500, 1500HD, 2500HD, 3500 (Classic Body Style)
Fits GMC Sierra:
– Same model years and trims as listed above
Replaces OEM Part Numbers:
– 88980509, 88980510
– 15074252, 15074253
– 15078745, 15078746
– 15228539, 15228540, 15228541
– 15997911, 15921948, 15921949
– GM1915105, GM1916102, GM1920102
– 15188001, 77488
A correct-fit part ensures precise alignment with linkage rods and latch receivers.
Follow Proper Installation Steps
- Remove the trim bezel using the prying method described earlier.
- Disconnect linkage rods from the old handle by unclipping the plastic retainers.
- Unscrew the mounting bolts (typically two 7mm or 8mm screws).
- Remove the old handle assembly completely.
- Position the new handle and secure it with the mounting screws.
- Reconnect the linkage rods and snap the clips into place.
- Test handle movement before reinstalling the bezel.
Warning: Do not force rods into clips. Align them straight to avoid breaking the plastic retainers, which are fragile and expensive to replace separately.
Prevent Future Silverado Tailgate Latch Problems

A little preventative maintenance eliminates repeat repairs. Harsh weather and high mileage accelerate wear, but scheduled care keeps everything operating smoothly.
Schedule Routine Lubrication
Apply silicone spray on a consistent schedule:
– Every 6 months in normal driving conditions.
– Before winter in cold climates to prevent freeze-ups.
Focus your application on the handle pivot shaft, rod connections, and latch receiver openings. This keeps moisture out and components moving freely.
Protect Against Moisture Intrusion
Minimize ice buildup with these steps:
– Apply dielectric grease on metal pivot points for water resistance.
– Seal small gaps around the handle base with rubber boot conditioner.
– Park with the tailgate raised during snowfall to reduce snow pack weight.
– Avoid pressure washing directly into the handle area.
Upgrade to Reinforced Components
Consider replacing worn OEM parts with a high-strength ABS plastic handle featuring:
– Alloy-reinforced stress points for added durability
– Textured, UV-resistant finish for weather protection
– Durable rod clips that resist breakage
These upgrades outlast original equipment, especially in rust-prone regions.
Follow Critical Repair Best Practices
Ignoring material or technique limits leads to repeated failures and wasted money. Keep these constraints in mind during every silverado tailgate latch repair.
Use Only Silicone-Compatible Lubricants
Never apply motor oil, grease, or petroleum-based sprays near rubber bushings, plastic pivot sleeves, or sealed rod joints. These products cause swelling, cracking, and premature failure. Silicone remains the only safe choice for rubber-compatible lubrication.
Avoid Forceful Disassembly
When removing the trim bezel, always start at the top edge and gently pry outward. The bezel is held by plastic tabs that snap easily under sudden force. Broken clips create rattles and poor fit, even when the latch itself works perfectly.
Verify Proper Fitment After Installation
Once everything is reassembled:
– Confirm no binding occurs during handle travel.
– Ensure rods move freely within their clips.
– Check that the tailgate aligns flush when closed.
Misalignment stresses components and shortens the lifespan of your repair.
Frequently Asked Questions About Silverado Tailgate Latch Repair
Why is my Silverado tailgate handle stuck and won’t move?
The handle typically sticks because moisture has frozen inside the mechanism, rust has accumulated in the latch housing, or rubber bushings have swollen and restricted pivot motion. Cold climates accelerate all three failure modes.
Can I use WD-40 on my tailgate latch?
Yes, WD-40 works well for initial penetration and freeing stuck components. However, follow up with silicone-based lubricant for long-term protection, since WD-40 evaporates relatively quickly and does not condition rubber seals.
How long does a tailgate latch repair take?
Most repairs take under 30 minutes when you only need to clean and lubricate the mechanism. Full handle replacement adds another 15–20 minutes for disassembly and reassembly.
What tools do I need for this repair?
You need a flat-blade screwdriver or trim removal tool, silicone spray lubricant, and a small brush for cleaning. Replacement jobs also require a 7mm or 8mm socket wrench for the mounting bolts.
How do I know if I need to replace the handle instead of just lubricating it?
Replace the handle if it remains immobile after thorough lubrication, if linkage rods are bent beyond straightening, or if rubber bushings are cracked or missing. Persistent failure to latch also indicates worn internal teeth requiring replacement.
Will a replacement handle fit both Silverado and Sierra models?
Yes, the same replacement kits fit both Chevrolet Silverado and GMC Sierra models from 1999 through 2007 Classic Body Style, as both trucks share identical tailgate mechanical designs across these years.
Key Takeaways for a Successful Silverado Tailgate Latch Repair
A reliable silverado tailgate latch repair comes down to three essentials: accurate diagnosis, proper lubrication, and quality replacement parts when needed. Start by inspecting handle movement and linkage rods to identify whether you face a lubrication issue or a mechanical failure. Use only silicone-based products to protect rubber bushings and extend component life. When replacement becomes necessary, verify part compatibility using the OEM cross-reference numbers before purchasing. Finally, schedule biannual lubrication and protect the mechanism from moisture intrusion to prevent repeat failures. With these practices in place, your tailgate will operate smoothly and securely for years to come.



