
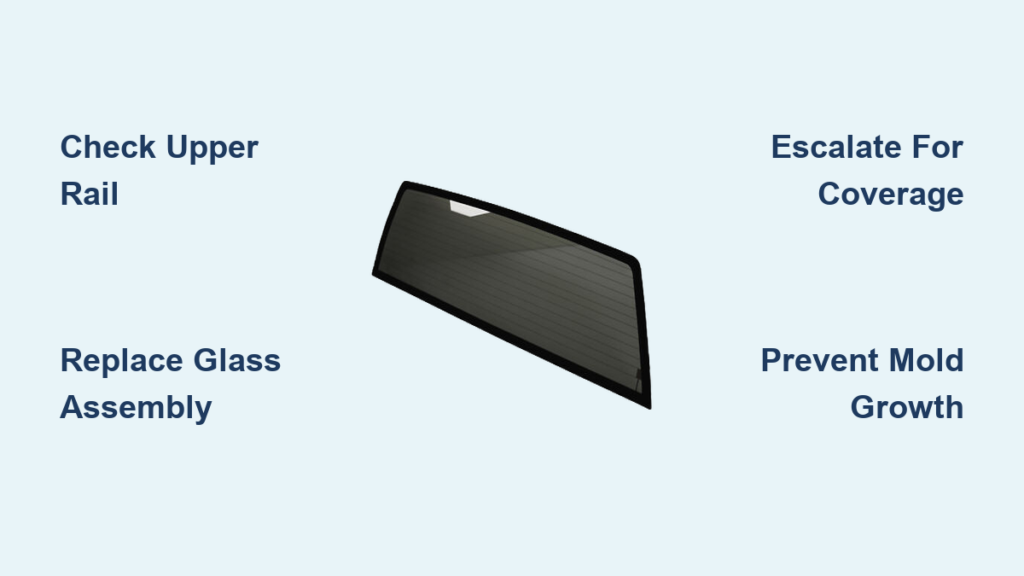
If your 2019–2022 Chevrolet Silverado is leaking water into the cabin through the rear sliding window, you’re not alone. A widespread defect tied to TSB 18-NA-383 has affected thousands of owners, with water soaking rear carpets, dripping from the headliner, and even reaching seatback storage compartments. The core issue isn’t just a loose seal. It’s a cracked plastic upper rail glass guide that allows water to bypass drainage paths and flood the interior. While GM initially pushed a temporary sealant fix, real-world results show it often fails within months. This guide delivers a clear, step-by-step path to diagnose, repair, and negotiate coverage for your Silverado rear window leak fix, whether you’re under warranty or not.
Confirm the Leak Source
Before assuming it’s the rear window, verify the actual entry point. Many owners mistake this for a sunroof or third brake light leak, but the true culprit is often hidden in the sliding window’s upper rail.
Check Common Leak Locations
- Top of rear window frame: Look for water stains or dampness along the upper edge where the sliding mechanism sits.
- Third brake light area: Water may pool here, but it’s usually tracking down from the window rail above.
- Headliner drip near C-pillar: If the headliner is wet at the rear corners, the leak is moving along the roof line.
- Rear seat storage compartments: Open pockets behind the seats. If they’re damp, the leak is likely structural.
Listen for Warning Signs
- A sizzling or crackling noise behind the rear seats during rain, especially with the rear defroster on, means water is contacting electrical components or hot glass.
- Musty odors suggest mold growth in carpet underlayment or seat foam.
Diagnose the Cracked Upper Rail Guide

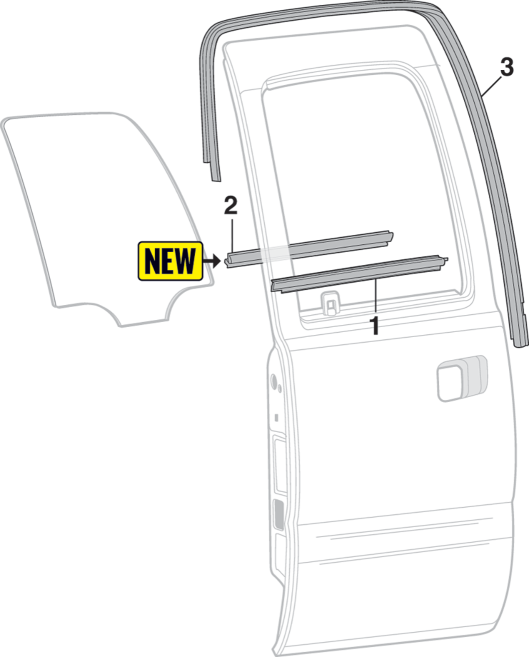
The root cause of the Silverado rear window leak is a brittle plastic component called the upper rail glass guide. Over time, thermal cycling and vibration cause it to crack, breaking the seal and letting water in.
Inspect the Sliding Window Mechanism
- Open the sliding window fully.
- Examine the top inner track where the glass meets the frame.
- Look for visible cracks or gaps in the black plastic rail, especially near the center or edges.
- Shine a flashlight upward to check for water pooling or residue in the channel.
🔍 Pro Tip: Even hairline cracks can cause major leaks. If you see discoloration or residue, assume the rail is compromised.
TSB 18-NA-383 Sealant Fix: Why It Fails
GM’s official response, Technical Service Bulletin 18-NA-383, instructs dealers to apply urethane sealant over the cracked rail instead of replacing the window.
What the TSB Recommends
- Clean the upper rail area.
- Apply seam sealer over cracks and joints.
- Allow curing before testing.
Real-World Results
- High failure rate: Many owners report leaks returning within 6–12 months.
- One owner’s sealant failed after just 3,000 miles.
- Plastic continues to degrade, causing sealant to peel or crack.
⚠️ Warning: This is often a band-aid fix. If your truck is out of warranty, pushing for full replacement is smarter long-term.
Full Window Replacement: The Permanent Fix
Replacing the entire rear sliding glass assembly is the only solution with proven long-term success.
Why Replacement Works
- Eliminates the defective plastic rail entirely.
- Installs a new, sealed unit with intact drainage channels.
- Owners report no leaks after 1+ years and 4,000+ miles.
What the Process Involves
- Remove rear spoiler (if equipped).
- Carefully cut and remove old urethane bead.
- Extract the entire glass assembly.
- Clean frame and install new window with fresh sealant.
- Reattach spoiler and test for leaks.
🛠️ Time Estimate: 3–5 hours at a dealership or qualified auto glass shop.
Avoid Common Repair Mistakes
Even with the right fix, poor execution can cause new problems.
Watch for These Errors
- Urethane on paint or spoiler: Excess sealant can damage exterior finishes. Inspect before leaving the shop.
- Third brake light not reconnected: Multiple owners reported this oversight. Test the light before driving off.
- Incomplete diagnosis: Some techs blame the sunroof or brake light. Insist they check TSB 18-NA-383 and the upper rail specifically.
✅ Post-Repair Checklist:
– Demand a hose test while you watch.
– Verify window slides smoothly.
– Confirm brake light works.
– Inspect for clean exterior surfaces.
Warranty Coverage: What You Can Expect
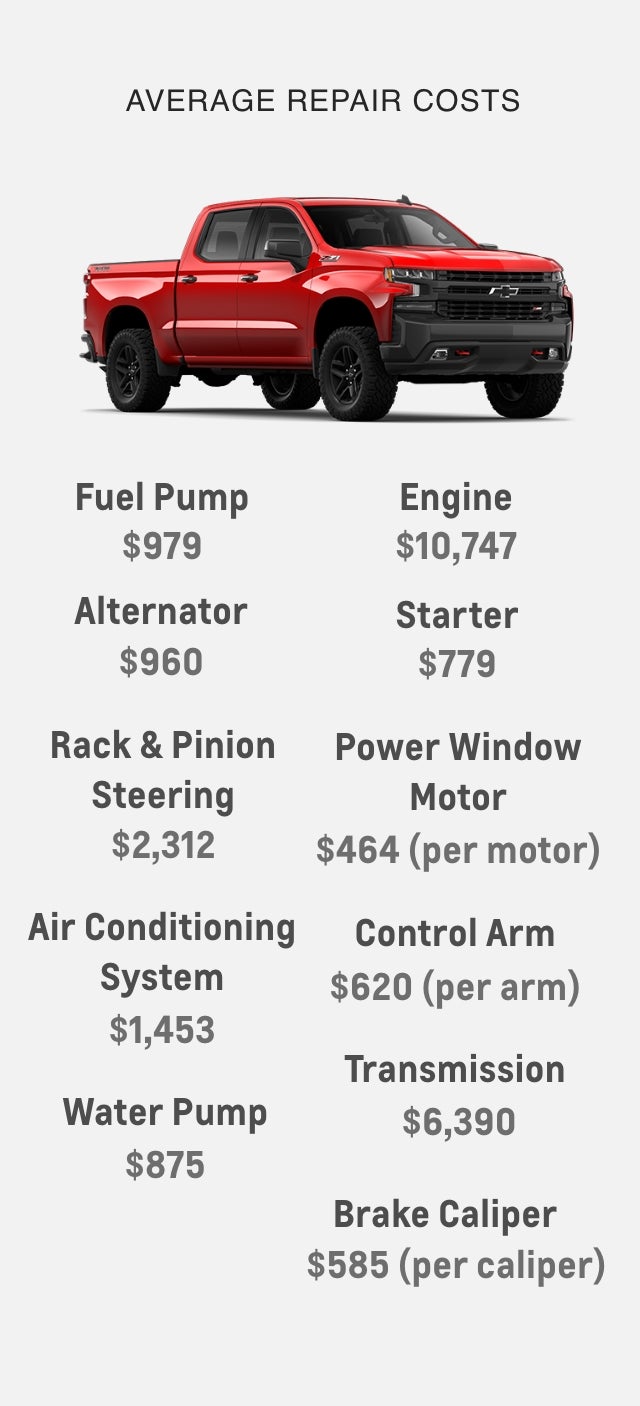
Your out-of-pocket cost depends heavily on warranty status and how aggressively you negotiate.
In Warranty (Under 3 Years / 36,000 Miles)
- Full coverage for repair under bumper-to-bumper warranty.
- Dealer should follow TSB 18-NA-383, but push for replacement if possible.
Out of Warranty: Goodwill Options
GM often denies full coverage but may offer partial reimbursement:
| Owner Scenario | GM Contribution | Owner Paid |
|---|---|---|
| 2019 Silverado, 41K miles | 70% | $414 |
| 2020 Sierra | 80% | $300 |
| Recurring leak after sealant | 50% | $1,000+ |
| 2019 model, first repair | 60% | $500 |
💡 Key Insight: 70–80% coverage is common with proper escalation.
How to Negotiate with GM for Coverage

Success depends on persistence and using the right channels.
Step-by-Step Escalation Plan
- Visit your dealer and request repair under TSB 18-NA-383.
- Contact GM Customer Care at 1-800-222-1020.
- Email GM directly:
– Address: gmcustomerservice@gm.com
– Subject:ATTN: [Your Name] / GM Trucks
– Include: VIN, mileage, dealer name, photos, and reference to TSB 18-NA-383. - File regulatory complaints:
– NHTSA.gov: Triggers investigation if enough reports exist.
– BBB.org/AutoLine: Free mediation service.
– FTC Complaint Assistant: For warranty fairness issues.
📌 Pro Tip: Mention “known defect” and “recurring leak after authorized repair.” This strengthens your case for goodwill.
Health Risks of Ignoring the Leak
Don’t delay repair. Water intrusion poses serious long-term dangers.
Mold and Respiratory Hazards
- Black mold grows rapidly in wet carpet foam and headliners.
- Especially dangerous for children, elderly, or those with asthma.
- Odors may persist even after drying because mold spores remain embedded.
Electrical and Structural Damage
- Water contacting rear defroster circuits can cause shorts or “sizzling” sounds.
- Corrosion can spread to C-pillar structures and wiring harnesses.
- Hidden rust behind trim reduces resale value and safety.
🚫 Never ignore a leak. Early action prevents costly interior teardowns.
DIY Fix: Is It Worth It?
Some owners attempt their own Silverado rear window leak fix using seam sealant.
What’s Involved
- Remove rear spoiler.
- Clean upper rail with alcohol.
- Apply 3M Windo-Weld or similar urethane sealant.
- Reinstall spoiler.
Pros and Cons
| Pros | Cons |
|---|---|
| Low cost (under $100) | High risk of improper application |
| Immediate action | May void future warranty claims |
| Can extend life temporarily | Doesn’t fix cracked plastic rail |
⚠️ Reality Check: DIY sealant rarely lasts. It’s a short-term stopgap, not a fix.
Prevent Mold After Water Exposure
If water has already entered, act fast to prevent health hazards.
Immediate Mitigation Steps
- Remove floor mats and rear seats (if soaked).
- Use wet-dry vac and fans to extract moisture.
- Run dehumidifiers inside the truck overnight.
- Spray antimicrobial solution on carpets and underlayment.
- Replace cabin air filter, as it may be damp and moldy.
🌬️ Speed is critical: Mold can begin growing in 24–48 hours.
Resale Impact and Owner Sentiment
This defect affects more than just comfort. It hurts value and trust.
What Owners Report
- Frustration with GM: Many feel a $60,000 truck shouldn’t leak in 2–4 years.
- Skepticism about sealant fix: Believed to be a cost-saving move by GM.
- Brand loyalty damaged: Some owners switching to Ford or Ram.
- Lower resale value: Buyers wary of hidden water damage.
📉 Tip: If selling, disclose and repair first. A healed leak is better than a hidden one.
Final Repair Recommendations
For a lasting Silverado rear window leak fix, follow this priority list:
1. Demand Full Window Replacement
- It’s the only long-term solution.
- Avoid sealant-only repairs if possible.
2. Escalate for Goodwill Coverage
- Cite TSB 18-NA-383.
- File NHTSA and BBB complaints if denied.
- Be persistent. Many succeed after escalation.
3. Verify the Repair
- Require a live water test.
- Inspect for clean exterior surfaces.
- Confirm all electronics work.
4. Act Fast
- Prevent mold, corrosion, and interior damage.
- The longer you wait, the more expensive the fix becomes.
Frequently Asked Questions About Silverado Rear Window Leaks
What causes the rear window leak in 2019–2022 Silverados?
The leak is caused by cracks in the plastic upper rail glass guide of the sliding window assembly. This component degrades over time, breaking the seal and allowing water to bypass drainage paths into the cabin.
Is TSB 18-NA-383 a permanent fix?
No. The TSB instructs dealers to apply urethane sealant over the cracked rail, but community data shows this fix often fails within 6–12 months. Full window replacement is the only verified long-term solution.
Will GM cover the repair if I’m out of warranty?
GM often denies full coverage once the factory warranty expires, but many owners secure 60–80% goodwill reimbursement by citing TSB 18-NA-383 and escalating through GM Customer Care and regulatory channels.
How much does a full rear window replacement cost?
Dealership quotes range from $1,000 to over $2,000. With successful negotiation for goodwill coverage, owners typically pay between $300 and $500 out of pocket.
Can I fix the leak myself?
DIY sealant application is possible for under $100, but it carries high risk of improper application and doesn’t address the cracked plastic rail. It’s a short-term stopgap, not a permanent fix.
What health risks come from ignoring the leak?
Water intrusion leads to black mold growth in carpet foam and headliners, which is especially dangerous for children, elderly passengers, and anyone with asthma. Electrical shorts and structural corrosion are also common consequences.
Key Takeaways for Your Silverado Rear Window Leak Fix
The 2019–2022 Silverado rear window leak is a known defect with a documented TSB, and full window replacement is the only repair with proven long-term success. Start by confirming the leak source, document all damage with photos, and reference TSB 18-NA-383 when contacting your dealer. If GM denies coverage, escalate through email, NHTSA complaints, and BBB mediation until you secure goodwill reimbursement. Most importantly, act quickly to prevent mold growth and electrical damage. Your next step: schedule a dealer inspection this week and request a written estimate for full replacement, not just sealant.



