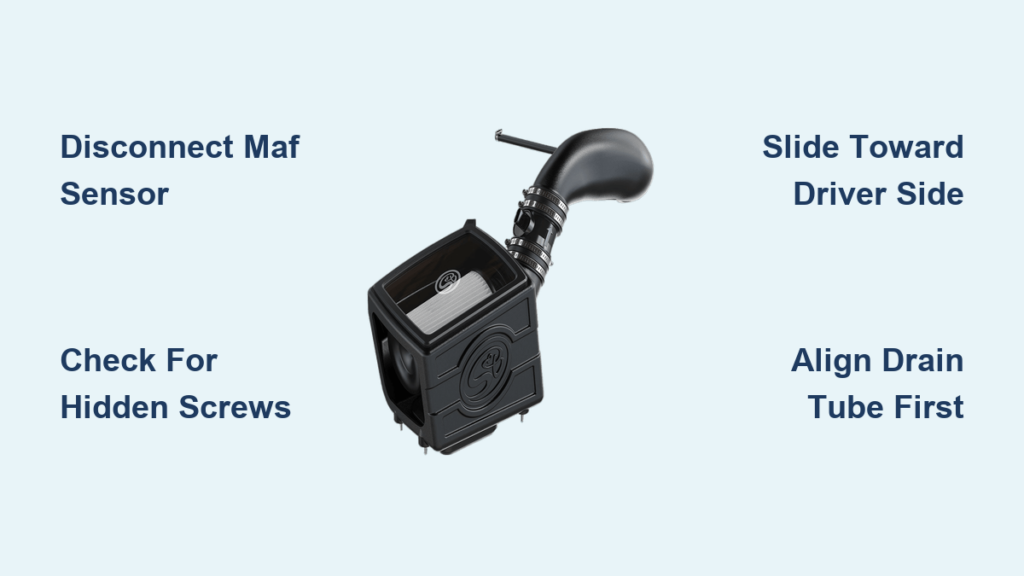
Trying to swap a headlight bulb on your 2015 Silverado and the air box is blocking everything? Or dealing with a cracked housing on a 2001 Sierra 2500 HD? Knowing how to remove the Silverado air box correctly saves you from snapped plastic tabs, broken drain tubes, and damaged MAF sensors. The procedure changes dramatically between the 1999–2002 trucks and 2014–2015+ models, so using the wrong technique can cost you hours of frustration.
This guide breaks down both generations with exact tool lists, fastener locations, and the slide-versus-lift mistake that catches most DIYers. You’ll learn where to pull, what to disconnect first, and how to reseat the housing without cracking the grommets.
Essential Tools for Silverado Air Box Removal
Before touching anything under the hood, gather the right gear. Using the wrong screwdriver strips fasteners and turns a 10-minute job into an afternoon.
Tools for 1999–2002 Models
You’ll need a flat blade screwdriver for the intake hose clamp and a T20 Torx driver for the four lid screws. Keep a magnetic tray nearby so the small Torx fasteners don’t disappear into the engine bay. If you’re swapping the entire housing, grab some 3M adhesive to reattach the emissions sticker.
Tools for 2014–2015+ Models
Most newer Silverados require no tools at all for the housing itself. However, you’ll want a flat blade screwdriver for the intake clamp and a 7mm socket just in case your specific trim has hidden screws beside the box. A flashlight helps spot those sneaky fasteners before you start pulling.
1999–2002 Models: Full Air Box Removal
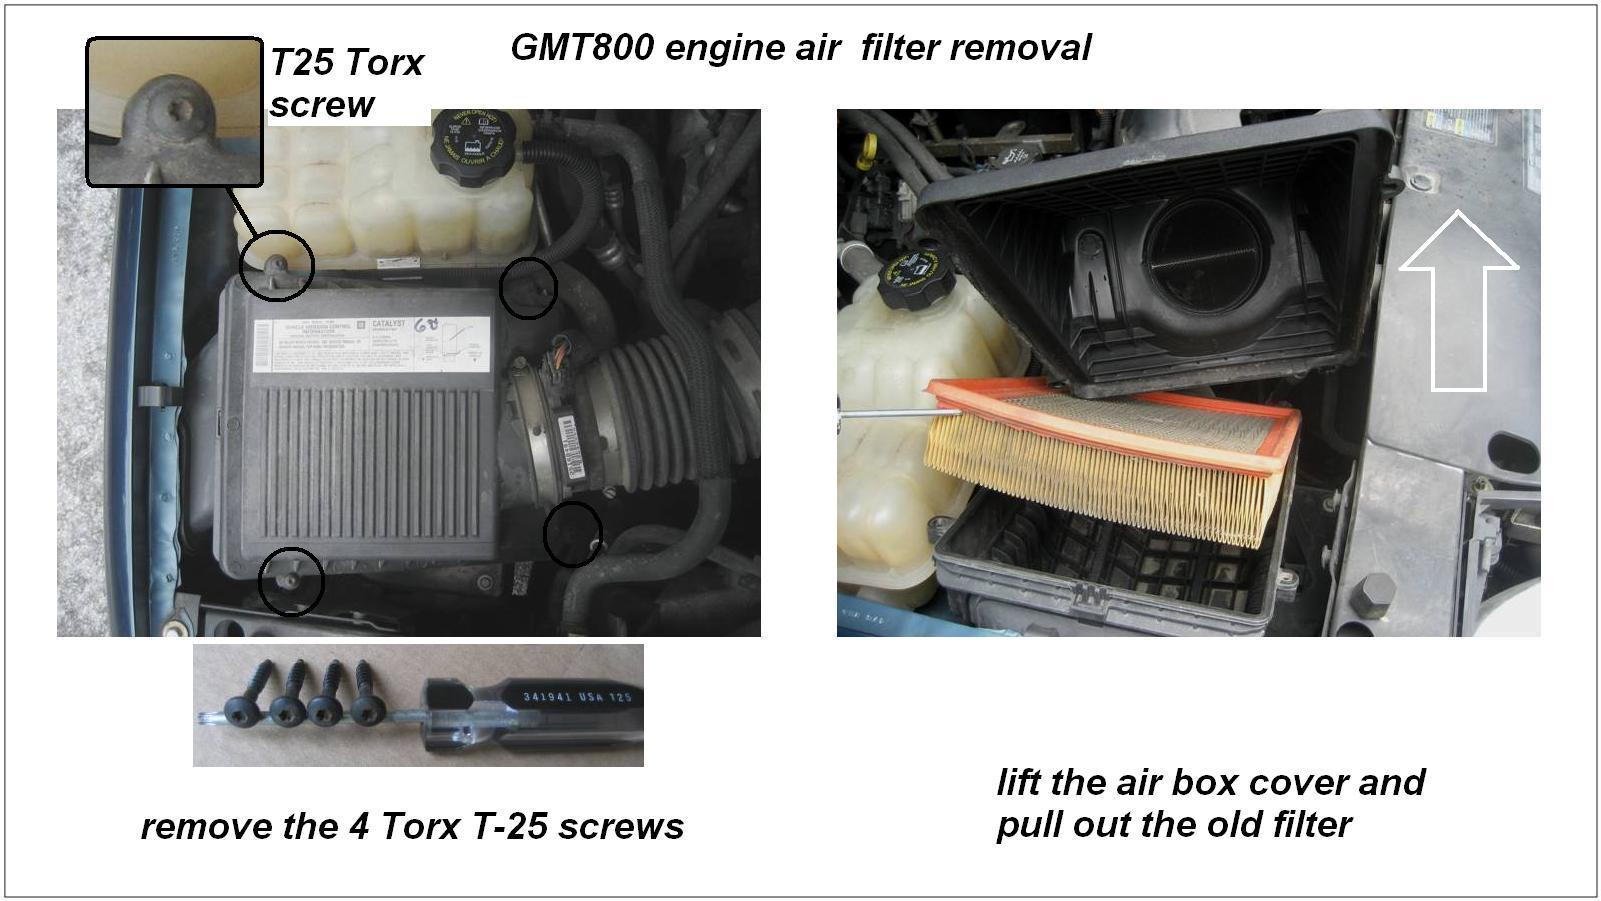
This generation uses Torx screws and locating tabs. Full removal is common when replacing a cracked housing or doing deep maintenance.
Disconnect the Intake Hose First
Start by loosening the worm-gear clamp on the air intake hose at the front of the box. Slide the clamp back, then pull the hose straight off the inlet. Moving this hose aside clears your workspace and removes tension from the housing.
Remove the Four T20 Torx Screws
Locate the four T20 screws around the perimeter of the air box lid. Remove all of them completely and store them safely. Lift the top cover straight up to access the air filter and MAF sensor assembly. If you’re installing a replacement housing, transfer the MAF sensor and filter to the new unit now.
Transfer the Emissions Sticker
Peel the emissions or VIN sticker from the old housing carefully. If the adhesive feels weak, apply fresh 3M double-sided tape before pressing it onto the replacement box. This keeps your truck compliant with identification standards.
Lift Out and Reinstall Using Locating Tabs
Pull the housing straight up to disengage it from the locating tabs in the fender well. When reinstalling, press the back end down first to engage the rear tabs, then push the front down until everything clicks. Reconnect the intake hose and tighten the clamp securely.
2014–2015+ Models: Grommet-Based Removal
Newer Silverados use a friction-fit design with rubber grommets and a drain tube. This setup allows quick removal, especially for headlight access, without breaking out the toolbox.
Unplug the MAF Sensor and Intake Tube
Before lifting anything, disconnect the Mass Air Flow sensor connector. Press the release tab and pull the plug straight out without yanking the wires. Next, loosen or unclip the air intake tube from the box and move it aside.
Check for Hidden 7mm Screws
While most 2014+ models rely solely on grommets, some trims have two small 7mm screws beside the air box. Inspect the area near the fender and tray carefully. Skipping this step risks cracking the plastic mounting points when you pull.
Pull Up Firmly to Release the Grommets
Grab the air box firmly and pull straight up with strong, steady force. The bottom is held by two rubber grommets and one body clip. You’ll feel a distinct pop as they release. Don’t be gentle; the design requires firm tugs. Just make sure you’re pulling the housing, not the intake tube or wiring.
Slide Toward the Driver Side to Free the Drain Tube
Even after the grommets release, the box won’t lift out completely. A drain tube on the bottom slides into a slot in the support tray. Wiggle the box toward the driver’s side to disengage the tube, then lift it free. Never pull straight up; the tube can snap under vertical force.
Reinstall the Air Box Without Breaking Anything
Putting the housing back in is often harder than taking it out. Misalignment leads to broken clips and incomplete seals that let unfiltered air into your engine.
Align the Drain Tube Before Lowering
Position the drain tube over its slot in the tray before seating the box. Slide the housing toward the passenger side until the tube is fully engaged. This step is critical; skip it and the box won’t sit flush.
Press Down with Even Pressure
Align the bottom holes with the rubber grommets and body clip. Press down firmly with both palms to distribute force evenly. You should hear or feel a solid snap. If it resists, lift and realign. Forcing a misaligned box cracks the plastic instantly.
Reconnect All Components
Reattach the air intake hose and tighten the clamp. Plug the MAF sensor connector back in until it clicks. If you removed the top cover on an older model, reinstall it with the T20 screws and tighten evenly to maintain a proper filter seal.
Troubleshoot Common Removal Problems

Even experienced DIYers hit snags. Here’s how to solve the most frequent issues.
The Box Won’t Pop Loose
Double-check for hidden screws you might have missed. Ensure the intake hose and MAF plug are fully disconnected; tension from either can prevent release. Apply more upward force if needed. The grommets are designed to grip tightly.
The Housing Won’t Reseat
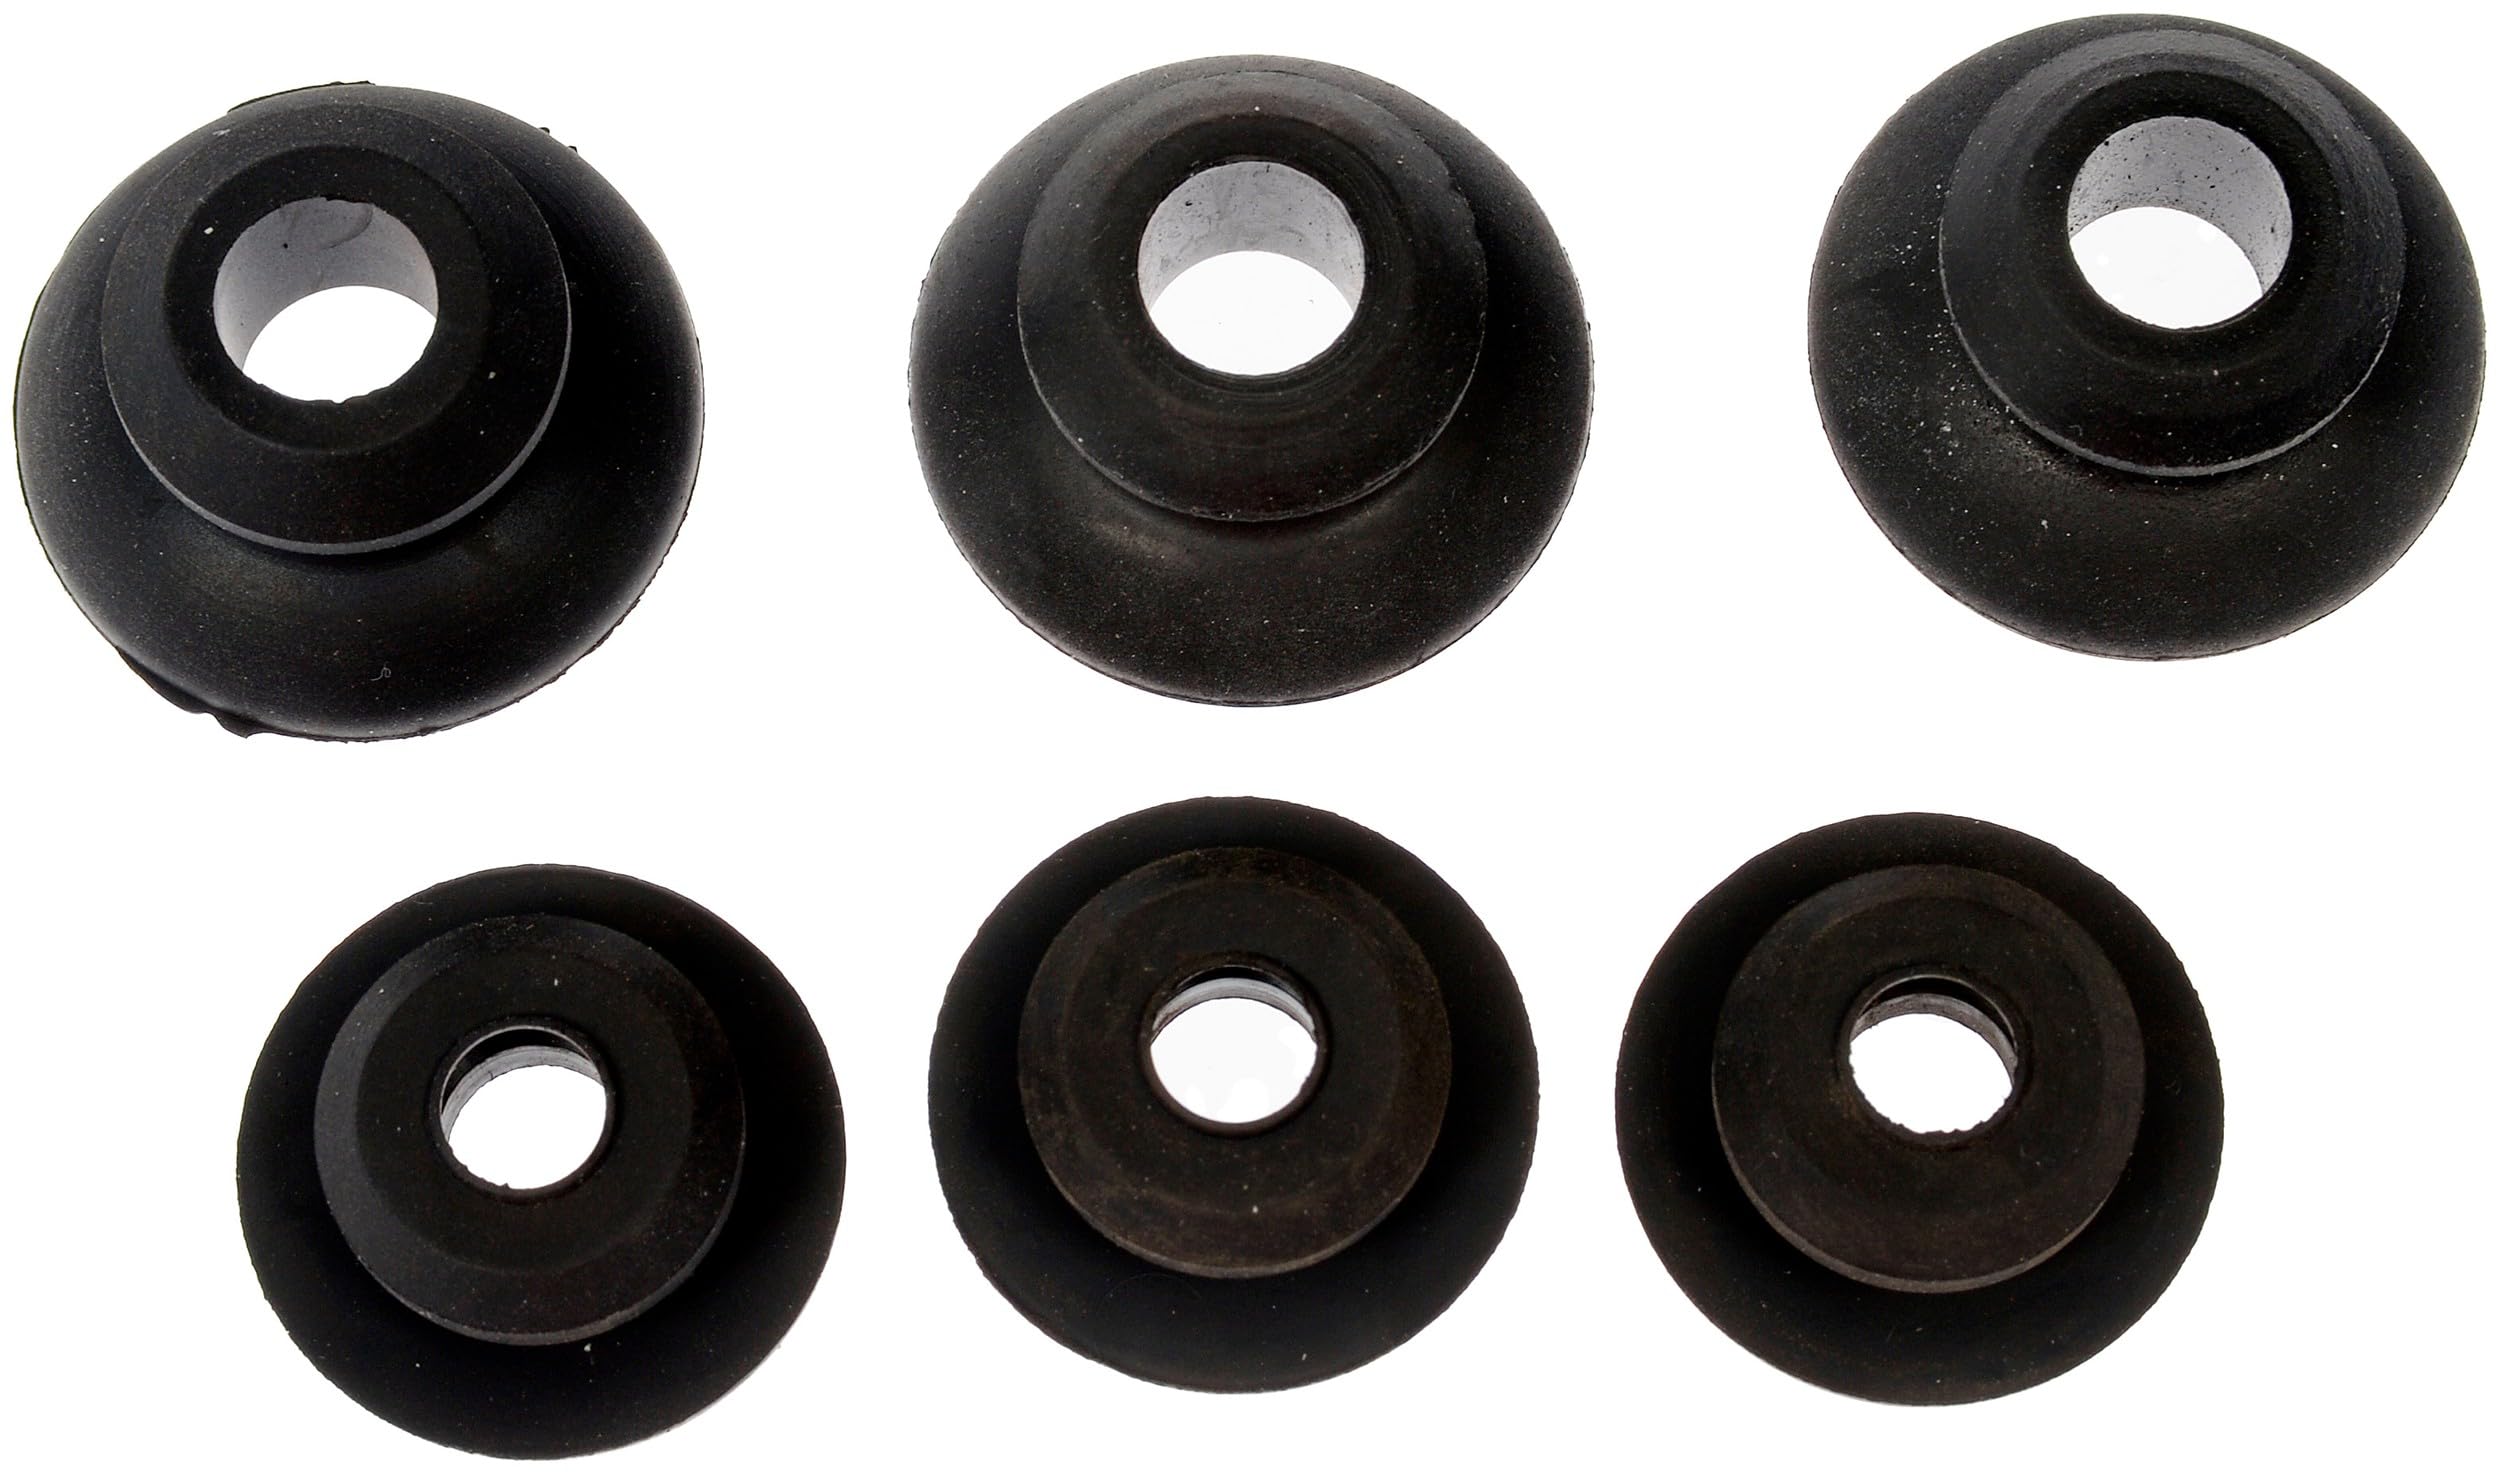
This is the number one complaint with 2014+ models. The grommets must be perfectly aligned. Tilt the box slightly, wiggle it into position, then press straight down. Use your palm rather than fingertips for even pressure. Inspect the grommets for cracks; brittle ones need replacement.
The Drain Tube Snapped
If the tube broke during removal, you likely pulled straight up instead of sliding laterally. Always move the box toward the driver’s side first. Replacement housings are available, but transferring an old tube isn’t recommended. Stick with OEM quality.
Prevent Future Air Box Issues
A little inspection during removal saves headaches down the road.
Inspect Grommets and Seals
While the box is out, examine the rubber grommets and housing edges. Look for cracks, dry rot, or warping. Worn grommets allow unfiltered air into the engine, reducing performance and increasing wear over time.
Keep the MAF Sensor Clean
Avoid touching the MAF sensor’s delicate wires during disconnection. If it gets dirty, use MAF-specific cleaner only. Never use compressed air or rubbing alcohol. A contaminated sensor causes rough idle and poor fuel economy.
Replace the Air Filter During Service
If you’ve opened the air box, swap in a fresh filter. It’s a quick upgrade that improves airflow and engine efficiency. Make sure the filter sits flat and the cover seals completely to prevent bypass.
When You Need to Remove the Air Box

Understanding your goal helps determine how much disassembly is required.
Replacing the Passenger-Side Headlight
On 2014–2015+ Silverados, the air box blocks access to the passenger-side headlight bulb. Full removal is required to change halogen or LED bulbs, including popular upgrades like Silverstar units.
Fixing a Cracked or Damaged Housing
Cracks in the air box let unfiltered air reach the engine. If you spot damage, replace the housing immediately. Transfer all stickers and sensors to the new unit before installation.
Upgrading to a Cold Air Intake
Aftermarket cold air intake kits often require removing the factory air box. Follow this procedure to clear space and reuse the MAF sensor in the new setup.
Frequently Asked Questions About Silverado Air Box Removal
Do I need to remove the air box to change a headlight bulb on a 2015 Silverado?
Yes. On 2014–2015+ Silverados, the air box blocks access to the passenger-side headlight. Full removal is required to reach the bulb housing and swap in halogen or LED replacements.
What tools do I need to remove a 1999–2002 Silverado air box?
You’ll need a flat blade screwdriver for the intake hose clamp and a T20 Torx driver for the four lid screws. Keep a magnetic tray handy for the small fasteners.
Why won’t my Silverado air box snap back into place?
The rubber grommets require perfect alignment before you press down. Tilt the box slightly, wiggle it into position, and use palm pressure rather than fingertips. Misalignment is the most common cause of cracked housings during reinstallation.
Are there hidden screws on 2014 Silverado air boxes?
Some trims have two 7mm screws beside the air box, though many models rely solely on rubber grommets. Always inspect the area near the fender and tray before pulling to avoid breaking plastic mounting points.
Can I transfer the emissions sticker to a new air box?
Yes. Peel the sticker carefully from the old housing. If the adhesive has degraded, apply fresh 3M double-sided tape before pressing it onto the replacement to maintain compliance and identification.
How do I avoid snapping the drain tube on a 2014+ Silverado?
Never pull the air box straight up after releasing the grommets. The drain tube slides into a slot in the support tray. Wiggle the housing toward the driver’s side first to disengage the tube, then lift it out.
Key Takeaways for Removing Your Silverado Air Box
Removing the Silverado air box comes down to knowing your generation. Older 1999–2002 models use T20 Torx screws and locating tabs, while 2014–2015+ trucks rely on rubber grommets and a slide-out drain tube. Always disconnect the MAF sensor and intake hose first, check for hidden screws, and remember to slide—not lift—on newer models.
Grab your tools, identify your model year, and follow the matching procedure. With the right technique, you’ll have full engine bay access in under 10 minutes and a clean reinstall that holds for years.