
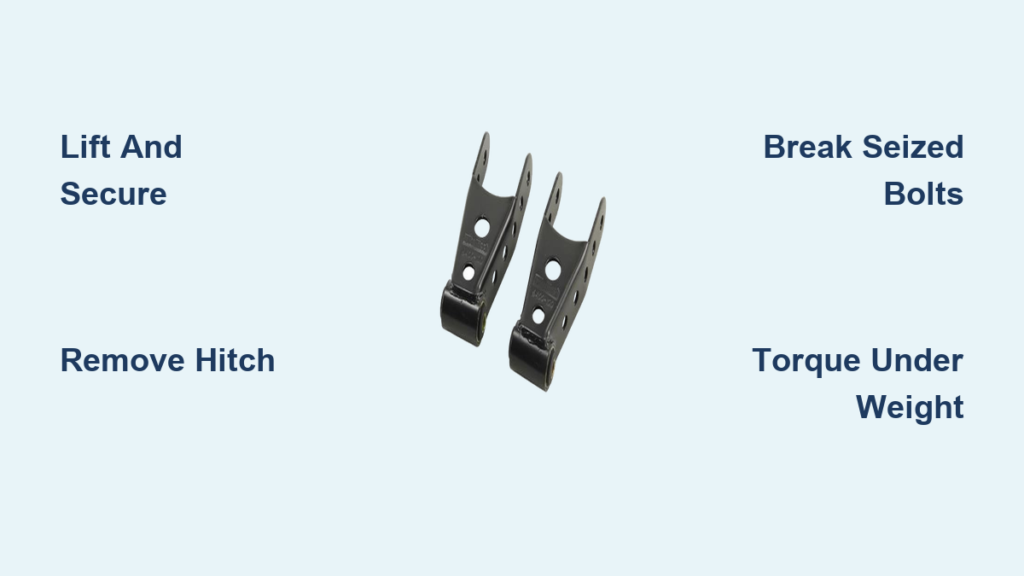
If your Chevrolet Silverado sits with that annoying factory rear rake and you’re tired of the nose-down look, lowering shackles offer the simplest and most affordable fix. These compact components replace your stock rear leaf spring shackles to drop the rear end by 1 to 2 inches, creating a level, balanced stance that pairs perfectly with a lowered front.
This guide covers everything you need to know about how to install shackles on Silverado trucks from 1988 through 2018+. You’ll get exact tool lists, rusted bolt solutions, proper torque procedures, and pro tips that prevent the most common mistakes. Even first-time suspension modifiers can finish this project in under two hours on a clean truck.
Choose the Right Lowering Shackle for Your Silverado
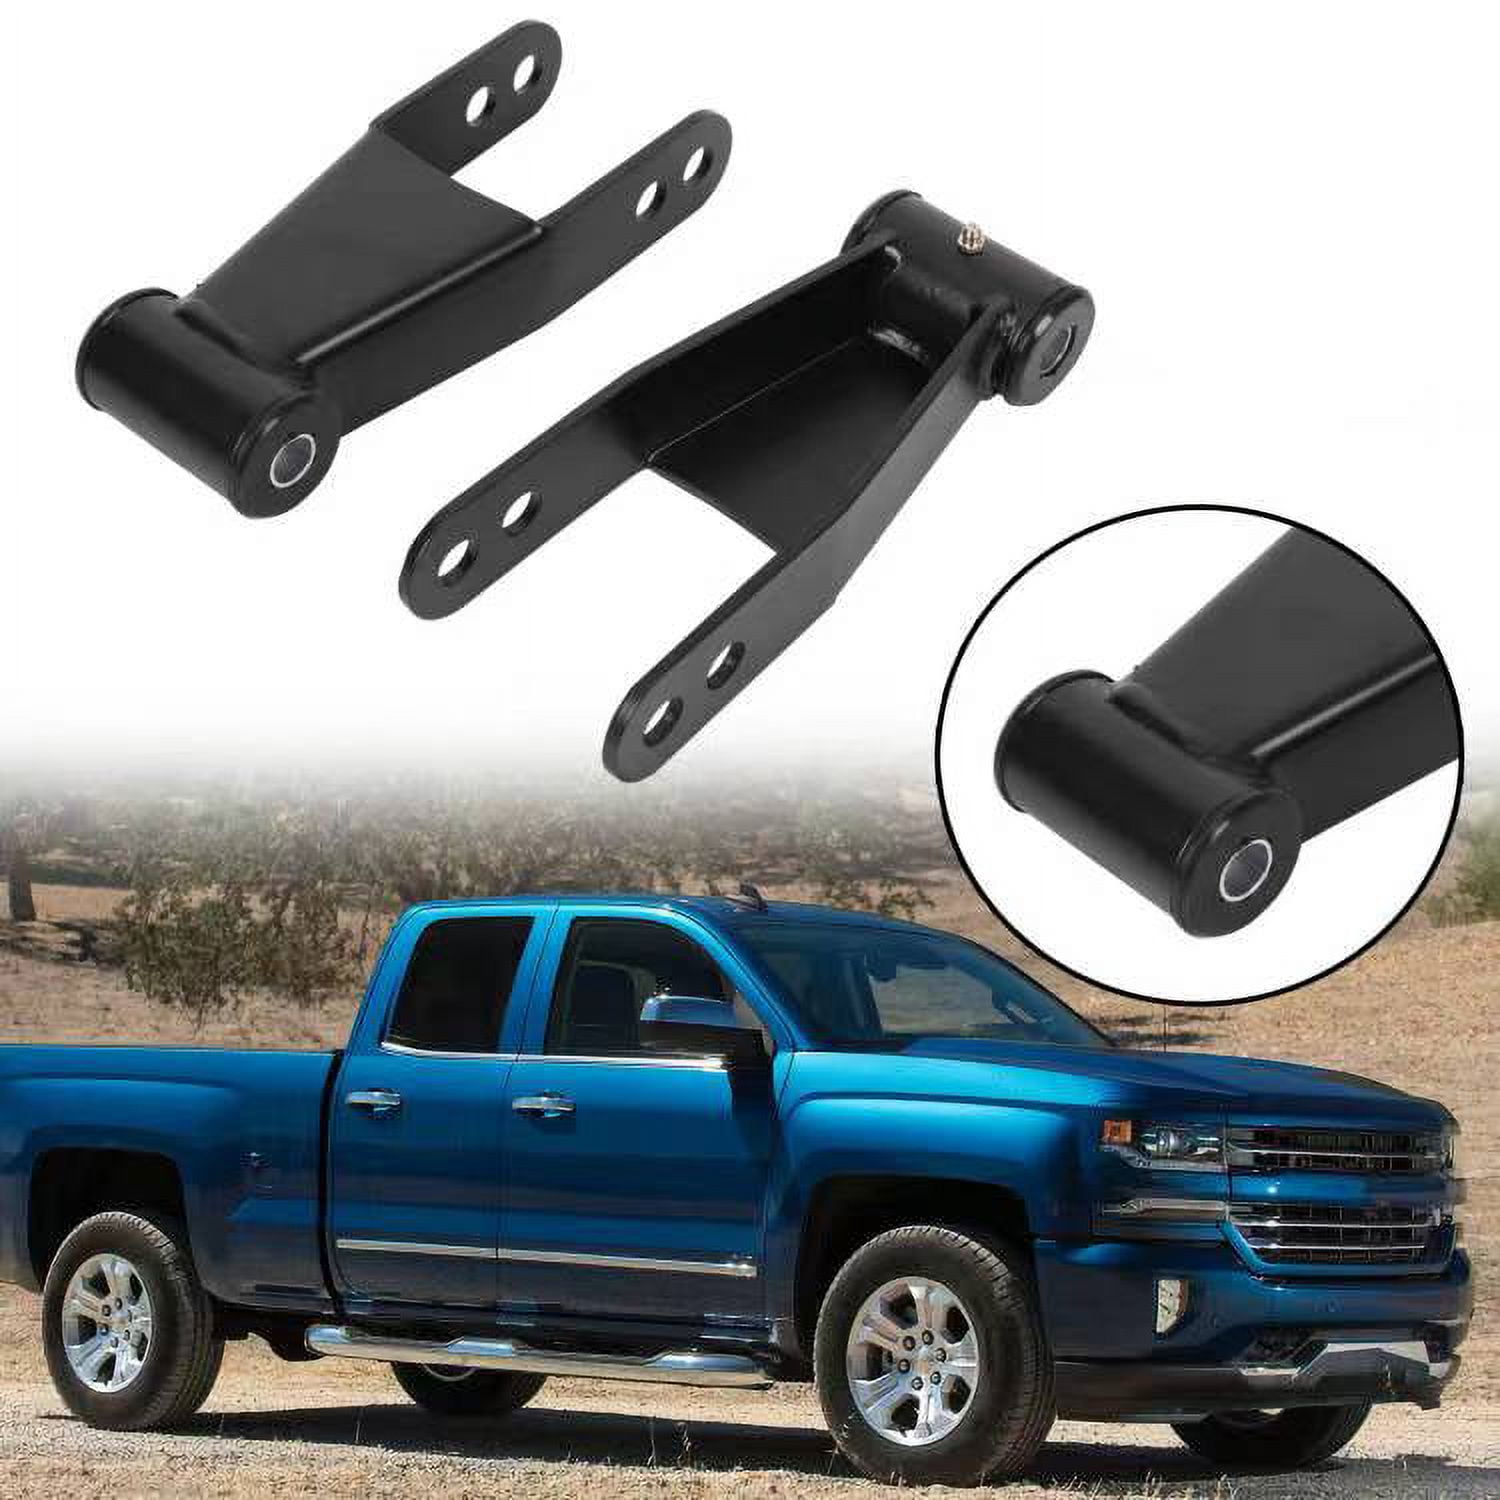
Confirm Fitment by Model Year
Lowering shackles fit Chevrolet Silverado 1500 models from 1988 to 2018+, with select kits working on 2500HD and 3500HD variants. Always verify compatibility before buying:
– 1988–1998 (OBS): Classic body style with straightforward bolt access.
– 1999–2007 (GMT800): High risk of seized bolts; pinch weld often blocks the top bolt.
– 2007.5–2018 (GMT900/K2XX): Similar challenges to GMT800; watch for hitch interference.
Select Drop Height and Adjustability
Most kits offer a 1-inch or 2-inch drop, either fixed or adjustable through dual mounting holes. Match your choice to your goal:
– 1-inch drop: Subtle leveling for a mild stance correction.
– 2-inch drop: Aggressive look for show trucks or matching a front drop kit.
Adjustable shackles let you fine-tune the drop later, but you must select the correct hole during initial installation.
Check Zerk Fittings and Bushing Quality
Quality kits include greaseable Zerk fittings and polyurethane bushings for durability and quiet operation. Some sealed designs (like Crown Suspension) require no maintenance but feel stiffer. Zerks make long-term care easier and extend bushing life significantly.
Gather Essential Tools and Supplies
Must-Have Tools
Skip the guesswork and gather this exact list before starting:
– Floor jack rated for truck weight
– Two jack stands
– Wheel chocks
– 13/16-inch deep socket (most common shackle bolt size)
– 18 mm, 21 mm, and 22 mm sockets
– 3/8″ or 1/2″ ratchet
– Impact wrench (air or electric for rusted bolts)
– Pry bar and mallet
– Box end wrench or vise grips
Penetrating Oil and Lubricants
Spray PB Blaster on both shackle bolts 24 to 48 hours before starting the job. Rust causes more failed installs than anything else. Also stock:
– Silver anti-seize compound for new bolts
– Suspension grease for Zerk fittings
– GOJO or degreaser for cleaning parts
Contingency Tools for Seized Bolts
If your truck has seen winter salt, assume bolts are fused. Be ready with:
– Angle grinder with cutoff wheel
– Propane or MAP gas torch
– Short-stroke air chisel (1-inch preferred)
– Die grinder for cleaning bolt holes
Prep Your Silverado Safely
Lift and Secure the Rear End
- Park on level ground, set the parking brake, and chock the front wheels.
- Position the floor jack under the rear differential.
- Lift until the rear tires clear the ground.
- Place jack stands under the frame, just ahead of the front leaf spring mount.
- Lower the jack slightly to transfer weight fully to the stands.
Never work under a truck supported only by a jack. This is the most critical safety rule when learning how to install shackles on Silverado trucks.
Remove or Lower the Trailer Hitch
The hitch blocks access to the lower shackle bolt. You have two options:
– Full removal: Remove three bolts per side (six total). Support the hitch with a strap or second jack before pulling the last bolt.
– Partial drop: Loosen the front two bolts and remove the rear four so the hitch swings down without full dismount.
Either method works, but clear the path before touching shackle bolts.
Modify the Pinch Weld (1999–2018 Models)
On GMT800 and newer trucks, a metal pinch weld under the bed prevents the top bolt from clearing. Use a hammer or pry bar to gently bend it outward. No cutting required, just enough flex for bolt clearance.
Remove Stock Shackles
Start with the Lower Bolt
Using a 13/16-inch socket or 21 mm, remove the lower shackle bolt connecting the shackle to the frame. The bolt slides in from the top with the nut on the bottom. Once removed, the shackle pivots down slightly, but the upper bolt will likely still bind.
Free the Upper Bolt
Attempt to remove the upper bolt connecting the shackle to the leaf spring. If it won’t clear the frame:
1. Loosen the rear four bed-to-frame bolts by one inch.
2. Raise the floor jack under the differential to lift the axle and spring.
3. This lifts the spring eye, creating space for the bolt to exit upward.
If the bolt spins but won’t come out, it’s seized and needs extra treatment.
Break Free Seized Hardware
Don’t force stuck bolts. Use this proven method instead:
1. Remove the nut, then thread another nut onto the bolt end.
2. Cut the bolt flush with a cutoff wheel.
3. Spin the nut halfway off to clear metal slag from the hole.
4. Use a 1-inch air chisel to vibrate the bolt head and break rust bonds.
5. If still stuck, heat the bolt head until red hot, then let it cool to black. Repeat if needed.
Once loose, drive the bolt out in stages, cutting as it protrudes.
Install Lowering Shackles

Verify Shackle Orientation
Install shackles exactly as the manufacturer instructs. Most aftermarket units:
– Mount with Zerk fittings facing rearward for easy grease access
– May reverse stock orientation, so don’t assume
Follow the kit design rather than guessing on direction.
Insert the Top Bolt First
- Position the new shackle against the leaf spring.
- Insert the top bolt from above, threading up through the spring eye.
- Hand-tighten the nut without torquing yet.
This fit is tight, so use a mallet or pry bar to align holes if needed.
Align and Install the Bottom Bolt
- Lower the floor jack slightly to shift the axle and align the bottom shackle hole with the frame mount.
- Tap the bolt through with a hammer if necessary.
- Add washer and locking nut, hand-tightening only.
Repeat these steps on the opposite side before final tightening.
Final Tighten with Weight on Wheels
This step is critical for proper bushing life:
1. Remove jack stands and lower the truck completely so full weight rests on the suspension.
2. Tighten the top bolt first, then the bottom bolt.
3. Torque to specification (usually 80–100 ft-lbs; check kit instructions).
Tightening while suspended distorts bushings and causes premature failure.
Reassemble and Recheck Components
Reinstall the Trailer Hitch
Put the hitch back in place and tighten all six bolts securely. If you only loosened it earlier, fully torque those bolts now.
Tighten Bed-to-Frame Bolts
If you loosened the bed bolts for clearance, tighten them now with a wrench or impact gun.
Grease the Bushings
If your shackles have Zerk fittings, attach a grease gun and pump until grease oozes from both ends of the bushing. Repeat this every 6,000 miles or at each oil change.
Troubleshoot Common Installation Issues

Truck Sits Too Low or Too High
- Too low initially: Normal. Springs settle over 24–48 hours or 50+ miles.
- Still too high: Check for lift blocks under the leaf springs. Removing them adds extra drop.
- Only 0.5″ drop achieved: Verify shackle hole selection and orientation.
Bolt Holes Won’t Align
- Ensure the truck sits on the ground with suspension loaded.
- If using adjustable shackles, double-check hole position.
- Slight misalignment responds well to a drift pin or pry bar nudge.
Tire Rub at Full Lock
Common with large wheels and aggressive offsets. Caused by altered suspension geometry. Fix this by using wheels with negative offset (like -12) or adding a mild front leveling kit.
Post-Install Checks and Long-Term Maintenance

Inspect and Test Drive
- Walk around and confirm both shackles are seated, bolts are tight, and Zerks face rear.
- Take a low-speed test drive at 15–20 mph.
- Listen for clunks, squeaks, or binding.
- Re-torque all bolts after one week of driving.
Measure Final Drop
Use hub-to-fender flare distance for accuracy. Compare both sides to ensure a level stance. A pre-install measurement of 7.5 inches dropping to 5.5 inches confirms a 2-inch drop.
Grease Regularly and Watch for Rust
Grease Zerk-fitted shackles every 6,000 miles. In salt-belt regions, inspect bolts every six months and spray with fluid film or corrosion inhibitor. Pre-greasing with anti-seize during install prevents future seizing.
Towing with a Lowered Rear
A 2-inch drop reduces payload capacity slightly. Light towing under 5,000 lbs usually works fine. For heavy loads, install air helper bags to level the truck under weight while keeping the dropped look when unloaded.
Frequently Asked Questions About Installing Shackles on Silverado
How long does it take to install lowering shackles on a Silverado?
On a clean truck with no rust, expect 45 minutes to 2 hours. Older trucks with seized bolts can extend the job to a full day or more if cutting and heating become necessary.
Do I need to remove the trailer hitch to install shackles?
Yes, in most cases. The hitch blocks access to the lower shackle bolt. You can either remove it fully (six bolts total) or loosen the front two bolts and drop the rear to swing it down without full removal.
Will lowering shackles affect ride quality?
Properly installed shackles with polyurethane bushings often improve handling by reducing rear-end slop. Stiffer bushings may feel slightly firmer than stock rubber, but most drivers notice improved stability rather than harshness.
Can I install lowering shackles without removing the spare tire?
Yes, most installations do not require spare tire removal. Exhaust interference is also rare unless you have a non-stock system exiting near the rear axle.
What torque should I use on shackle bolts?
Most kits specify 80–100 ft-lbs. Always check your specific kit instructions. The critical rule is to torque only when the truck’s full weight rests on the suspension, not while lifted on jack stands.
Will a 2-inch drop cause tire rubbing?
Tire rub depends on wheel offset and tire size. Large wheels with zero offset rub more easily after lowering. Switching to negative offset wheels (like -12) or adding a mild front leveling kit typically solves the issue.
Key Takeaways for Installing Shackles on Silverado
Learning how to install shackles on Silverado trucks comes down to three essentials: preparation, patience with rusted hardware, and proper torque sequencing. Soak bolts in penetrating oil days before the job, support the trailer hitch before removing bolts, and always finalize tightening with the truck’s weight on the ground.
For your next step, measure your current hub-to-fender distance on both sides before ordering parts. This baseline confirms whether a 1-inch or 2-inch drop matches your stance goals. With the right kit, proper tools, and these proven techniques, your Silverado will roll out with a clean, level profile that eliminates the factory rake for good.



