
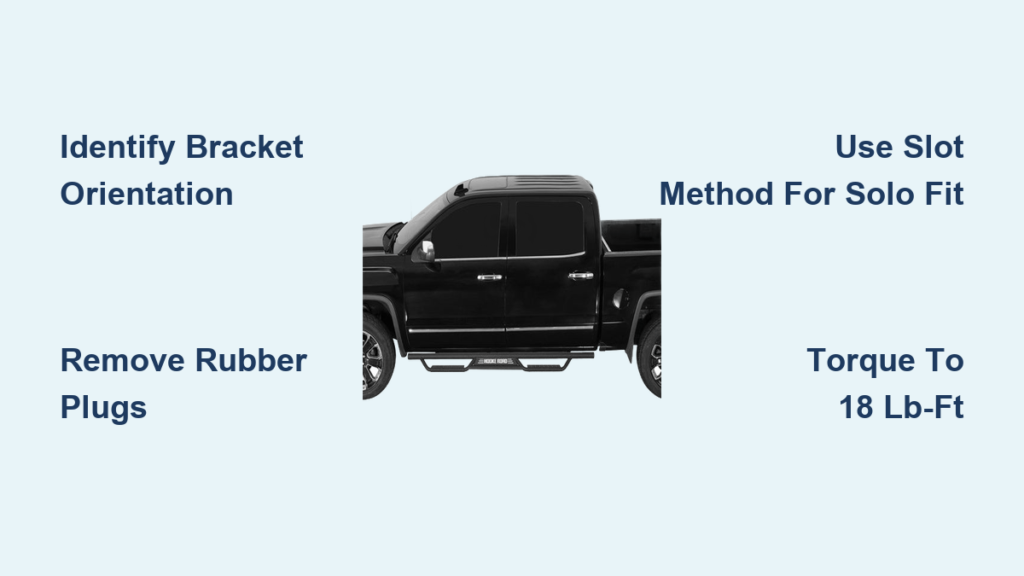
Adding side steps to your Chevy Silverado transforms how you and your passengers get in and out of the cab. It also shields your rocker panels from rocks, mud, and road salt while giving your truck a tougher, more customized stance. The good news is that installing side steps on a Chevy Silverado is a bolt-on project that most DIYers finish in under two hours using basic hand tools. No drilling, no cutting, no permanent modifications.
This guide covers generation-specific procedures for 2007–2018 and 2019–2026 Silverado models, including Crew Cab, Double Cab, and 1500/2500/3500 trims. You will learn how to expose factory mounting points, identify bracket orientation, align steps perfectly, and torque every bolt to factory spec. Whether you choose sleek 6-inch boards, aggressive diamond plate, or heavy-duty nerf bars, this walkthrough helps you get a secure, rattle-free fit on the first try.
Gather Tools and Prep Your Workspace
A smooth installation starts with the right equipment laid out before you crawl under the truck. Most kits require nothing more than a basic socket set and a few specialty items.
Essential Tools for Side Step Installation
Round up these items before you begin:
• 13 mm socket and ratchet (primary size for M8 hardware)
• 14 mm socket (for older 2007–2018 passenger-side nuts)
• 10 mm deep-well socket (Rough Country HD2 bottom bolts)
• Flathead and Phillips screwdrivers
• Needle-nose pliers for rubber plug removal
• Plastic pry tools to protect trim clips
• Torque wrench for final tightening
• Safety glasses and work gloves
Optional gear that makes the job easier includes a floor jack with jack stands, a creeper or foam padding for ground-level work, and a rag with solvent for cleaning body sealer off 2025 models.
Choose a Safe Work Location
Park on level concrete and engage the parking brake. If you raise the truck with a jack, always secure it on jack stands before going underneath. Many installers complete this job lying on a creeper or padded mat beside the rocker panel. Keep your hardware organized in a magnetic tray so nothing rolls into the frame rails.
Access Factory Mounting Points on Your Silverado
Modern Silverados come with pre-threaded mounting holes along the frame and rocker panels. These factory points are capped with plastic trim or rubber plugs that must come off before brackets can seat flush.
Remove Plastic Covers and Rubber Plugs
On 2019–2026 models, mounting holes sit beneath the doors under small plastic covers or rubber stoppers. Slide a plastic pry tool under each cover and pop it outward. For rubber plugs, wedge a flathead screwdriver beneath the lip and pull straight out with needle-nose pliers.
Most kits use holes #1, #3, #4, and #6 along the rocker. Skip holes #2 and #5 unless your specific instructions say otherwise. On 2007–2018 Crew Cab trucks, the holes are larger and capped with rubber plugs that pull out easily with a flathead.
Clean Mounting Surfaces Thoroughly
Factory body sealer can build up around the mounting holes, especially on 2025 models. Wipe the area with a clean rag and a small amount of solvent to remove grime, undercoating, or excess sealant. A flush surface lets the bracket sit flat against the frame, which prevents stress cracks and wobble later on.
Identify Correct Bracket Orientation
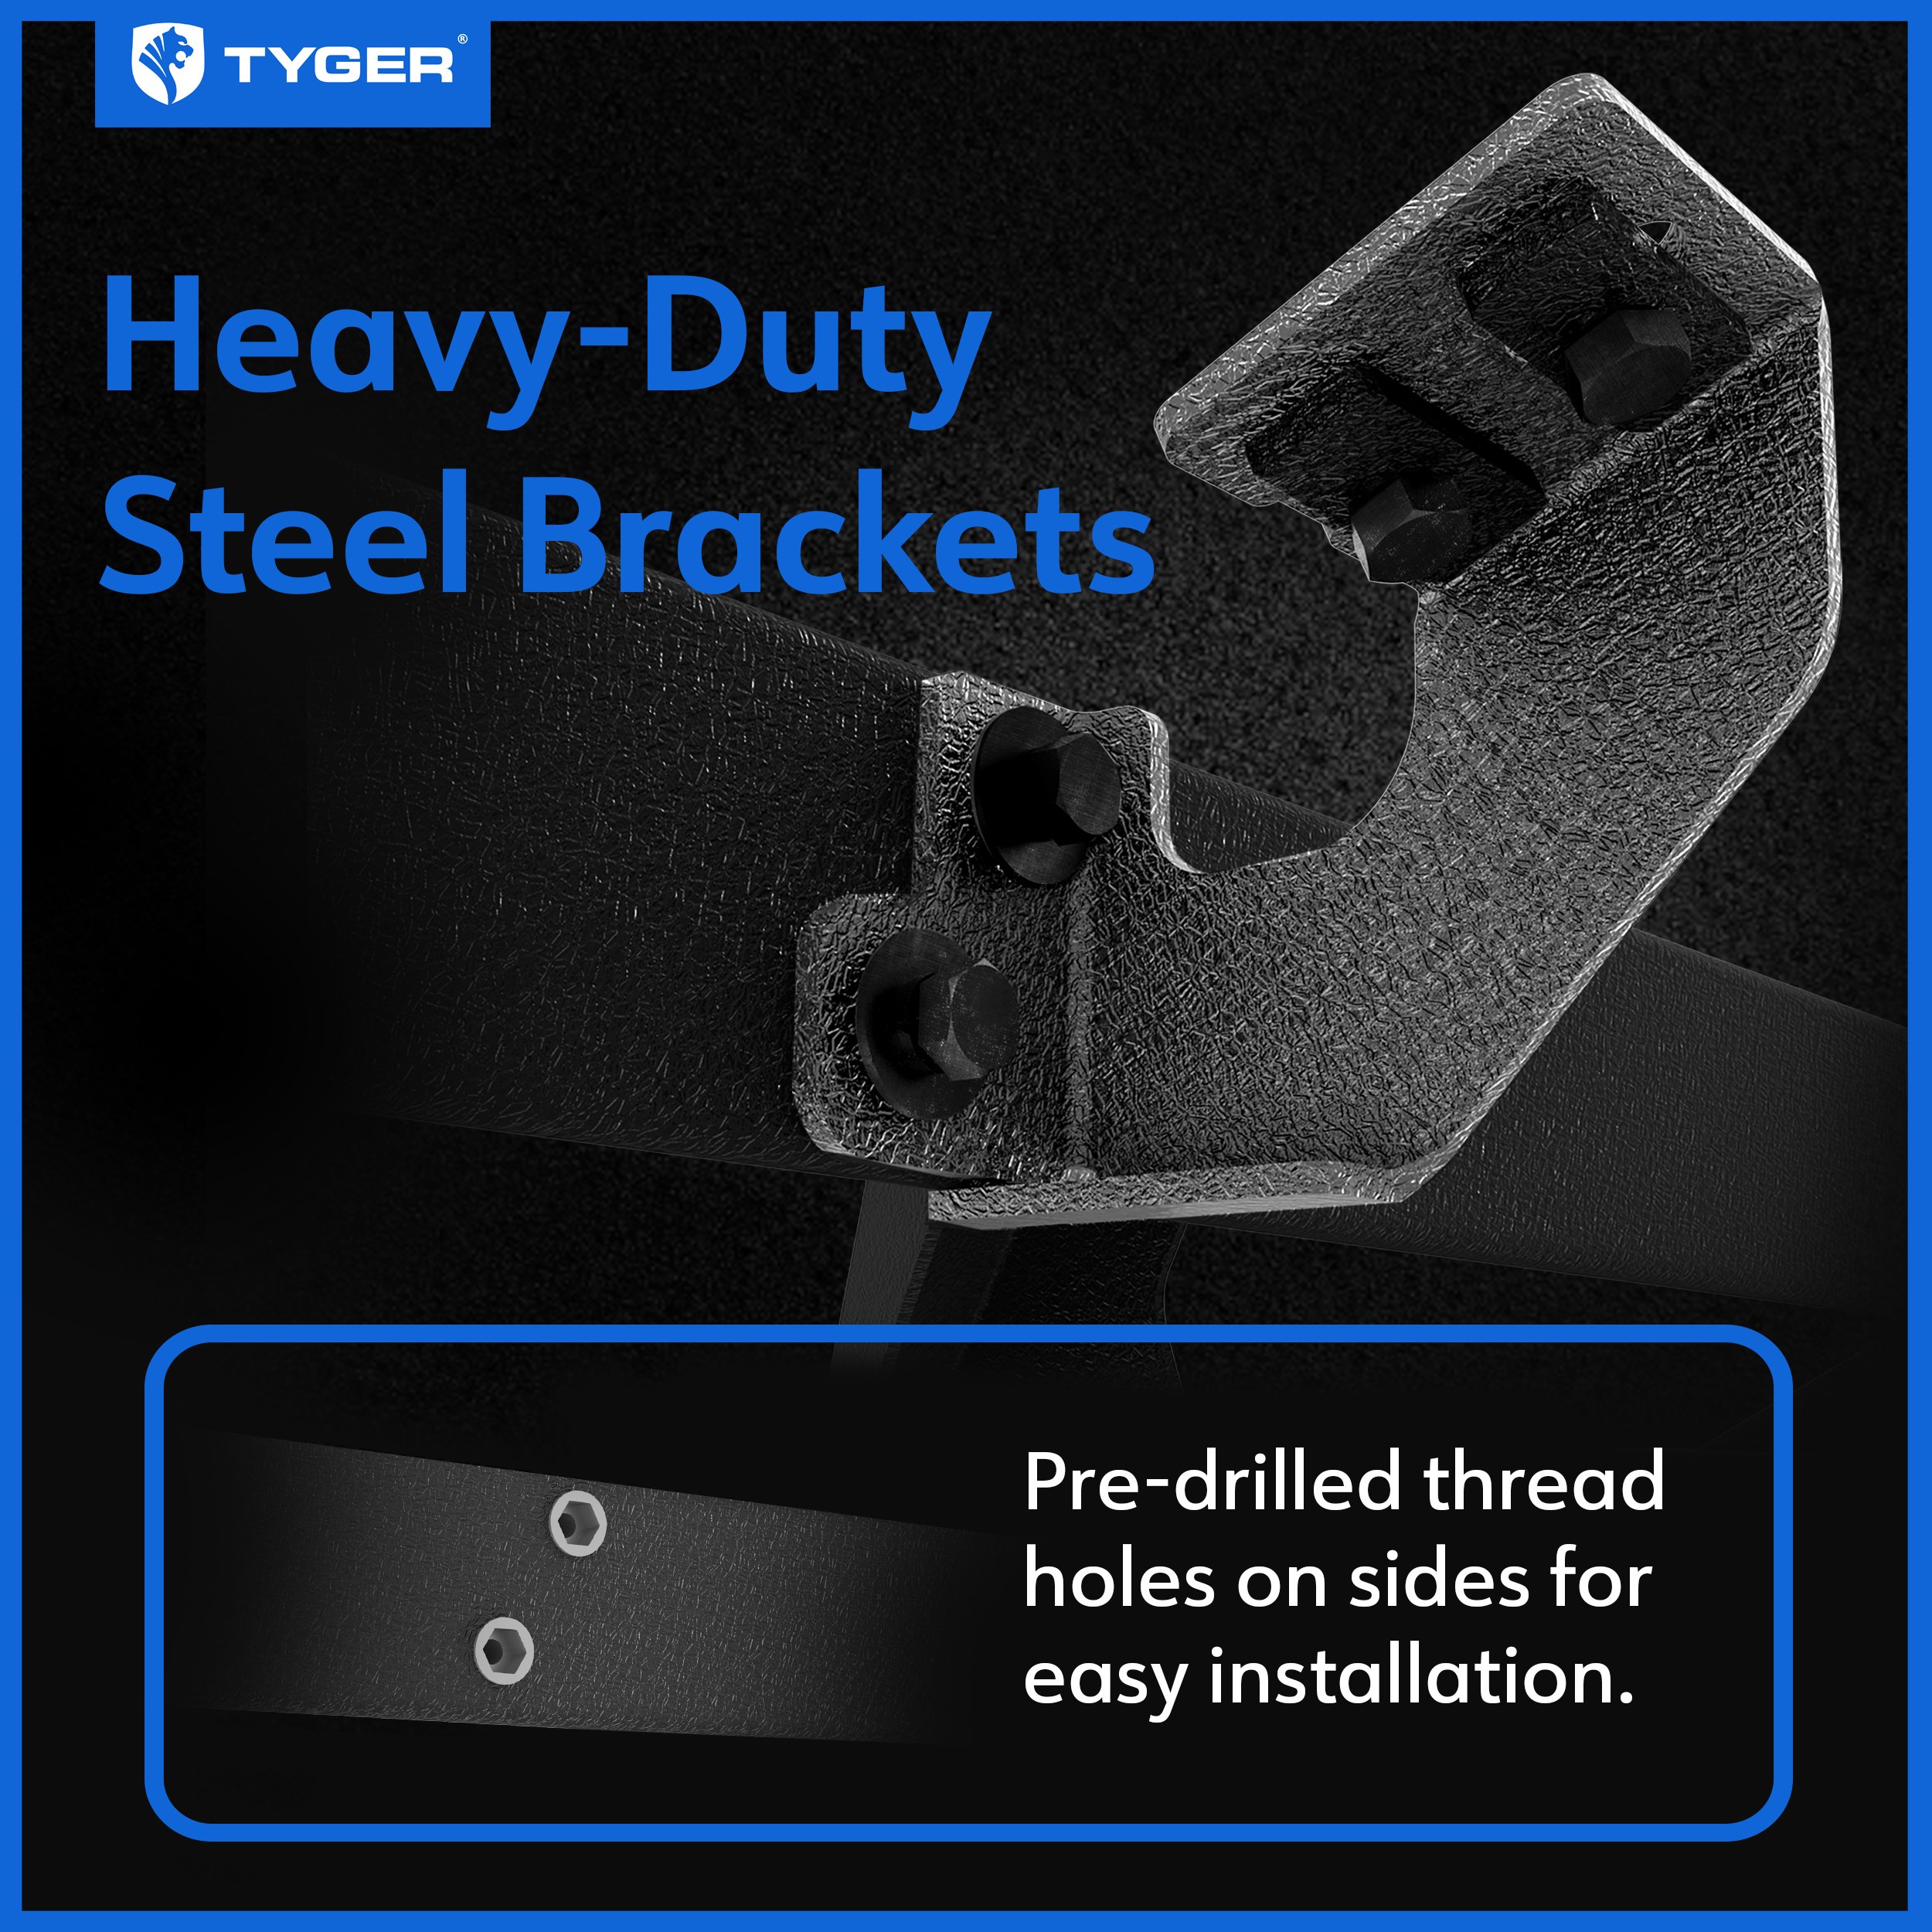
Installing brackets backward is the single most common mistake DIYers make. The orientation depends on your kit and model year, so always dry-fit before tightening anything.
Driver Side vs. Passenger Side Direction
For most 2019–2026 kits, driver-side brackets have ears pointing toward the rear of the truck, while passenger-side brackets face forward. This staggered setup follows the frame contours and balances load distribution.
Some heavy-duty kits use an alternating pattern (Left, Right, Left, Right) when multiple brackets attach to the same step. A quick rule of thumb when instructions are unclear:
• Ears pointing rearward = driver side
• Ears pointing forward = passenger side
Confirm the 90-Degree Bend Faces Inward
Every bracket has a 90-degree bend that creates a shelf for the step to rest on. This bend must face the truck’s centerline. Hold a bracket up to the frame and check that it sits flush with no gaps. On 2007–2018 models, the driver’s side uses pre-threaded holes with no nuts, while the passenger side requires bolts and 14 mm nuts.
Mount Brackets to the Frame

With orientation confirmed, attach the brackets to the factory mounting points. Keep everything hand-tight at this stage so you can still make alignment adjustments.
Follow the Correct Bracket Sequence
For Rough Country HD2 and similar multi-bracket kits, install in this order:
- Front bracket (hole #1)
- Middle-left bracket (hole #3)
- Middle-right bracket (hole #4)
- Rear bracket (hole #6)
If tight clearance prevents one bracket from sliding in, remove the adjacent bracket first, fit the new one, then reattach the original. Forcing parts can strip threads or bend the bracket.
Use the Proper Washer Stack
Most M8 bolt kits follow a specific hardware order to prevent loosening from vibration:
• Bolt head
• Spring washer
• Flat washer
• Bracket
Pre-assemble this stack on each bolt before crawling under the truck. It saves time and keeps hardware from dropping into unreachable spots.
Align and Attach the Side Steps
Now that the brackets are loosely mounted, it is time to hang the steps themselves. Precision here pays off in both appearance and long-term durability.
Tell Left from Right Before Mounting
Side steps are not symmetrical, so swapping sides creates uneven gaps and poor fit. Two quick ways to identify them:
• Flip the step upside down. The longer end always faces the front of the truck.
• Measure the mounting flange. Binary Star steps measure 9.6 inches at the front and 4.5 inches at the rear.
Use the Slot Method for Solo Installation
Newer 2025+ brackets feature pre-drilled slots that let one person hang the step without a helper. Here’s how it works:
- Thread the top bolts partially into the frame so several threads remain exposed.
- Slide the step’s mounting flange over the exposed bolt ends.
- Lift the back end into position and thread the bottom bolts by hand.
This eliminates the need for a second person or a makeshift prop like a cooler.
Check Alignment with Reference Points
Use these visual cues to ensure both sides sit symmetrically:
• Measure 6 inches from the edge of the rear mud flap to the step’s edge.
• Or align with the door crease. Center the step so it measures 4.25 inches from each edge on an 8.5-inch-wide board.
Step edges should run parallel to the rocker panel with even gaps at both ends. Adjust while the bolts are still finger-tight.
Torque All Bolts to Factory Spec

Final tightening is where most installations either succeed or fail. Over-torquing cracks plastic clips and warps brackets, while under-torquing leads to wobble, squeaks, and eventual failure.
Follow the Correct Tightening Sequence
Always tighten in this order for a level, secure fit:
- Top bolts first (bracket to frame)
- Bottom bolts next (bracket to step)
- Alternate top and bottom to maintain even pressure
Avoid crisscross patterns. Stick with front-to-back or back-to-front sequences.
Apply the Correct Torque Values
Use a torque wrench for the final passes. The numbers below come straight from manufacturer installation guides:
• Bracket-to-frame bolts: 18 lb-ft
• Bracket-to-step nuts: 7 ft-lbs
Pro Tip: If you do not own a torque wrench, hand-tighten with a 13 mm socket and add a firm quarter-turn. Never exceed 15 lb-ft by hand. Power tools like impact drivers can easily over-torque and should only be used for initial threading.
Test and Inspect the Finished Installation

A proper install should feel completely solid underfoot. Do not skip this final check before calling the job done.
Perform the Stand Test
Step firmly on the center and both ends of each side step. A successful install shows no flex, squeak, or movement. If you notice wobble or creaking, loosen the bolts, reseat the brackets, and retighten in sequence.
Verify Ground Clearance
Side steps reduce clearance slightly, but low-profile 6-inch boards maintain factory-like height suitable for light off-roading. Tubular 7-inch designs sit a bit lower but still clear most driveways and speed bumps. Avoid aggressive trails with deep ruts if you run wide steps, as they can hang up on obstacles.
Prevent Common Installation Mistakes
Even experienced DIYers run into avoidable problems. These quick tips help you sidestep the most frequent errors.
Avoid Over-Tightening Bolts
Stripped threads and cracked plastic clips are the leading cause of rework. Power tools make it easy to overshoot torque limits, so always finish by hand with a torque wrench. If a bolt feels stiff, back it out and check for cross-threading before continuing.
Don’t Ignore Body Sealer
On 2025 models, factory sealer can prevent brackets from seating flush against the frame. If the step rocks or you see gaps after mounting, remove the bracket and clean the area with solvent before reinstalling. A small amount of sealer can mimic rust or debris, so inspect closely.
Fix Misalignment Early
If the step does not sit flush, do not force it. Loosen all bolts, reposition using the mud flap or door crease as a guide, and retighten in sequence. Once bolts reach final torque, correcting misalignment requires removing hardware entirely.
Maintain Your Side Steps Over Time
Side steps endure constant vibration, weather, and foot traffic. A little routine care keeps them secure and looking sharp for years.
Re-Tighten After the First 500 Miles
Vibration can loosen bolts during the initial break-in period. After the first week of driving, recheck every connection and snug any that have backed off. This step is especially important for passenger-side brackets secured with nuts.
Clean and Inspect for Corrosion
Wash steps with mild soap and water to remove road salt, mud, and grime. Inspect welds and powder coating for chips or rust spots. Stainless steel and powder-coated finishes resist corrosion well, but any damaged areas should be touched up promptly to prevent spreading.
Check Non-Slip Surfaces
Diamond plate textures and ABS pads wear down over time. Replace the steps if the surface becomes smooth or cracked, since worn grip reduces safety in wet or snowy conditions.
Frequently Asked Questions About Chevy Silverado Side Steps
Do I need to drill holes to install side steps on a Chevy Silverado?
No. Modern side step kits are designed as bolt-on accessories that use factory pre-threaded mounting points along the frame and rocker panels. No drilling, cutting, or permanent modifications are required for 2007–2026 models.
How long does it take to install side steps on a Silverado?
Most DIYers complete the installation in 45 minutes to 2 hours, depending on experience and the specific kit. Heavy-duty systems with more brackets may take longer than simple 6-inch boards.
What size socket do I need for Silverado side step installation?
A 13 mm socket handles most M8 hardware on modern kits. Older 2007–2018 models also require a 14 mm socket for passenger-side nuts. Rough Country HD2 kits additionally need a 10 mm deep-well socket for bottom bolts threading into the rocker panel.
Can I install side steps by myself?
Yes, especially on 2025+ models with pre-drilled slot brackets that let you hang the step on partially threaded bolts. For older kits, a helper makes the job easier, though you can prop one end on a cooler or sturdy box during solo installation.
How tight should side step bolts be?
Torque bracket-to-frame bolts to 18 lb-ft and bracket-to-step nuts to 7 ft-lbs. If you do not have a torque wrench, hand-tighten with a 13 mm socket and add a firm quarter-turn, never exceeding 15 lb-ft.
Will side steps reduce my ground clearance?
Side steps lower clearance slightly, but low-profile 6-inch boards maintain near-factory height suitable for daily driving and light off-roading. Tubular 7-inch designs sit a bit lower and may hang up on aggressive trails with deep ruts.
Key Takeaways for Installing Side Steps on Your Chevy Silverado
Installing side steps on a Chevy Silverado is a rewarding DIY project that boosts function, safety, and style in a single afternoon. The three most important things to remember are: always identify bracket orientation before tightening, keep all bolts finger-tight until alignment is perfect, and finish with a torque wrench set to 18 lb-ft for frame bolts and 7 ft-lbs for step nuts.
Your next step is to gather your tools, lay out the hardware, and follow the generation-specific procedure that matches your truck. Once installed, schedule a quick re-torque check after 500 miles, and your side steps will stay solid and rattle-free for years of daily driving and weekend adventures.



