
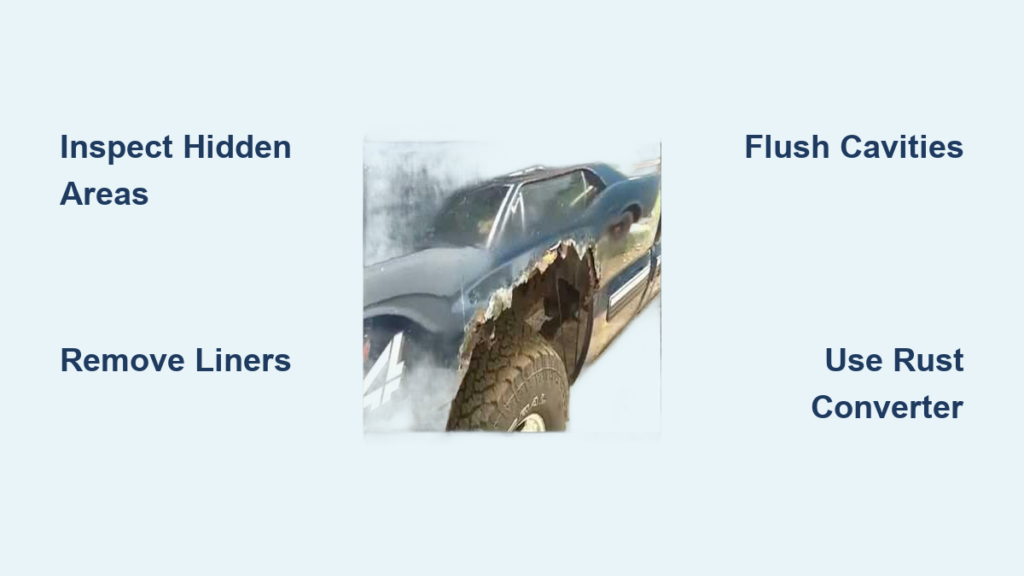
If your Chevrolet Silverado shows bubbling paint or holes around the rear fenders, you’re dealing with one of the most common problems on GMT800 and 2007–2013 models. Wheel well rust spreads fast once it starts, and ignoring it can cost you thousands in structural repairs. The good news? Most Silverado owners can fix this themselves for around $150 in materials, saving over $1,300 compared to a body shop quote. This guide covers everything from spotting early rust to welding patches and preventing future corrosion.
Identify Wheel Well Rust Before It Spreads

Check the Most Vulnerable Rust Zones
Start your inspection at the rear wheel well corners, bed sidewalls, and the V-shaped seam above the wheel opening on 2007–2013 trucks. This junction traps salt, mud, and moisture, creating a perfect storm for corrosion. Paint bubbling near the fender liner is a major red flag because it usually means rust is already eating the metal underneath. On older GMT800 models, rust often starts along the bedside and creeps into the inner fender well.
Find Hidden Corrosion Behind the Liners
Many Silverado owners miss rust hiding between the outer fender and the factory liner. Unbolt the taillight and remove the wheel well liner to expose the cavity. You’ll often find packed mud and active rust even when the exterior looks clean. On trucks with 130,000+ miles, holes up to 8 inches long and three-quarters of an inch wide can penetrate both the outer and inner layers at once. Always probe behind the panel before assuming the damage is only skin deep.
Decide Whether to Patch or Replace
Small surface rust or pinholes under 2 inches can be sealed with filler and coatings. But if rust has eaten through the metal or compromised structural seams, you need to cut out the damaged section and weld in a patch panel. For 2007–2013 models with a corroded V-joint, replacing the entire corner panel is often the smartest move. Delaying repair lets rust spread behind factory seams and tanks your resale value.
Plan Your Silverado Rust Repair Carefully
Map Cut Lines Before You Touch the Saw
Precision matters here. Use a sturdy square and a high-contrast marker to draw cut lines just under the factory body crease. This approach removes the least amount of healthy metal while keeping the patch aligned with your truck’s original contours. Never eyeball it. Transfer your lines to the replacement patch panel while it’s still on the workbench so you can adjust the shape before cutting the truck.
Probe for Sound Metal Boundaries
Use a Fatmax tool or similar pointed probe to test the metal around the rust. Push gently until you find where soft, flaky rust turns into solid steel. This step keeps you from cutting into good metal or leaving compromised sections behind. Test from multiple angles, especially behind the panel where rust spreads unseen.
Prep Your Tools and Backup Plans
Gather a reciprocating saw or plasma cutter, wire brush, DA sander, roll lock discs, welding gear, and clamps. Have a backup cooling method ready, such as wet rags or a pry bar, in case your air compressor fails mid-weld. Documented cases show heat distortion ruining panels when compressors quit and no backup was available. A clean, organized workspace prevents costly mistakes during cutting and welding.
Neutralize Rust Before Patching
Apply Rust Converter to All Bare Metal
Mechanical cleaning alone won’t stop active rust. Spray a rust converter like POR-15 or Rust-Oleum Rust Reformer on every corroded surface, including the backside of holes and inside cavities. This chemical treatment converts iron oxide into a stable black coating that halts further corrosion and gives paint or filler something to grip. Apply generously and let it dry fully. Remember, these products are made for raw metal, so skip any painted surfaces.
Flush Hidden Cavities with High-Pressure Water
Remove the washout plugs on the upper rear fender and rocker panels. Blast the cavity between the fender and liner with a high-pressure hose until the water runs clear. Many trucks with spotless exteriors still harbor corrosive sludge inside. Reinstall the plugs only after the area is completely dry.
Grind Metal Down to Bare, Shiny Steel
After flushing, wire-brush all repair areas to knock off loose rust and scale. Follow up with a roll lock disc on a grinder to smooth cut edges and expose clean metal. This prep ensures strong welds and solid adhesion for patches and coatings. Pay extra attention to the inner fender well and corner panel, since leftover rust will undermine your repair. Wipe everything down with mineral spirits to remove dust and oil before moving on.
Cut and Fit Replacement Patch Panels
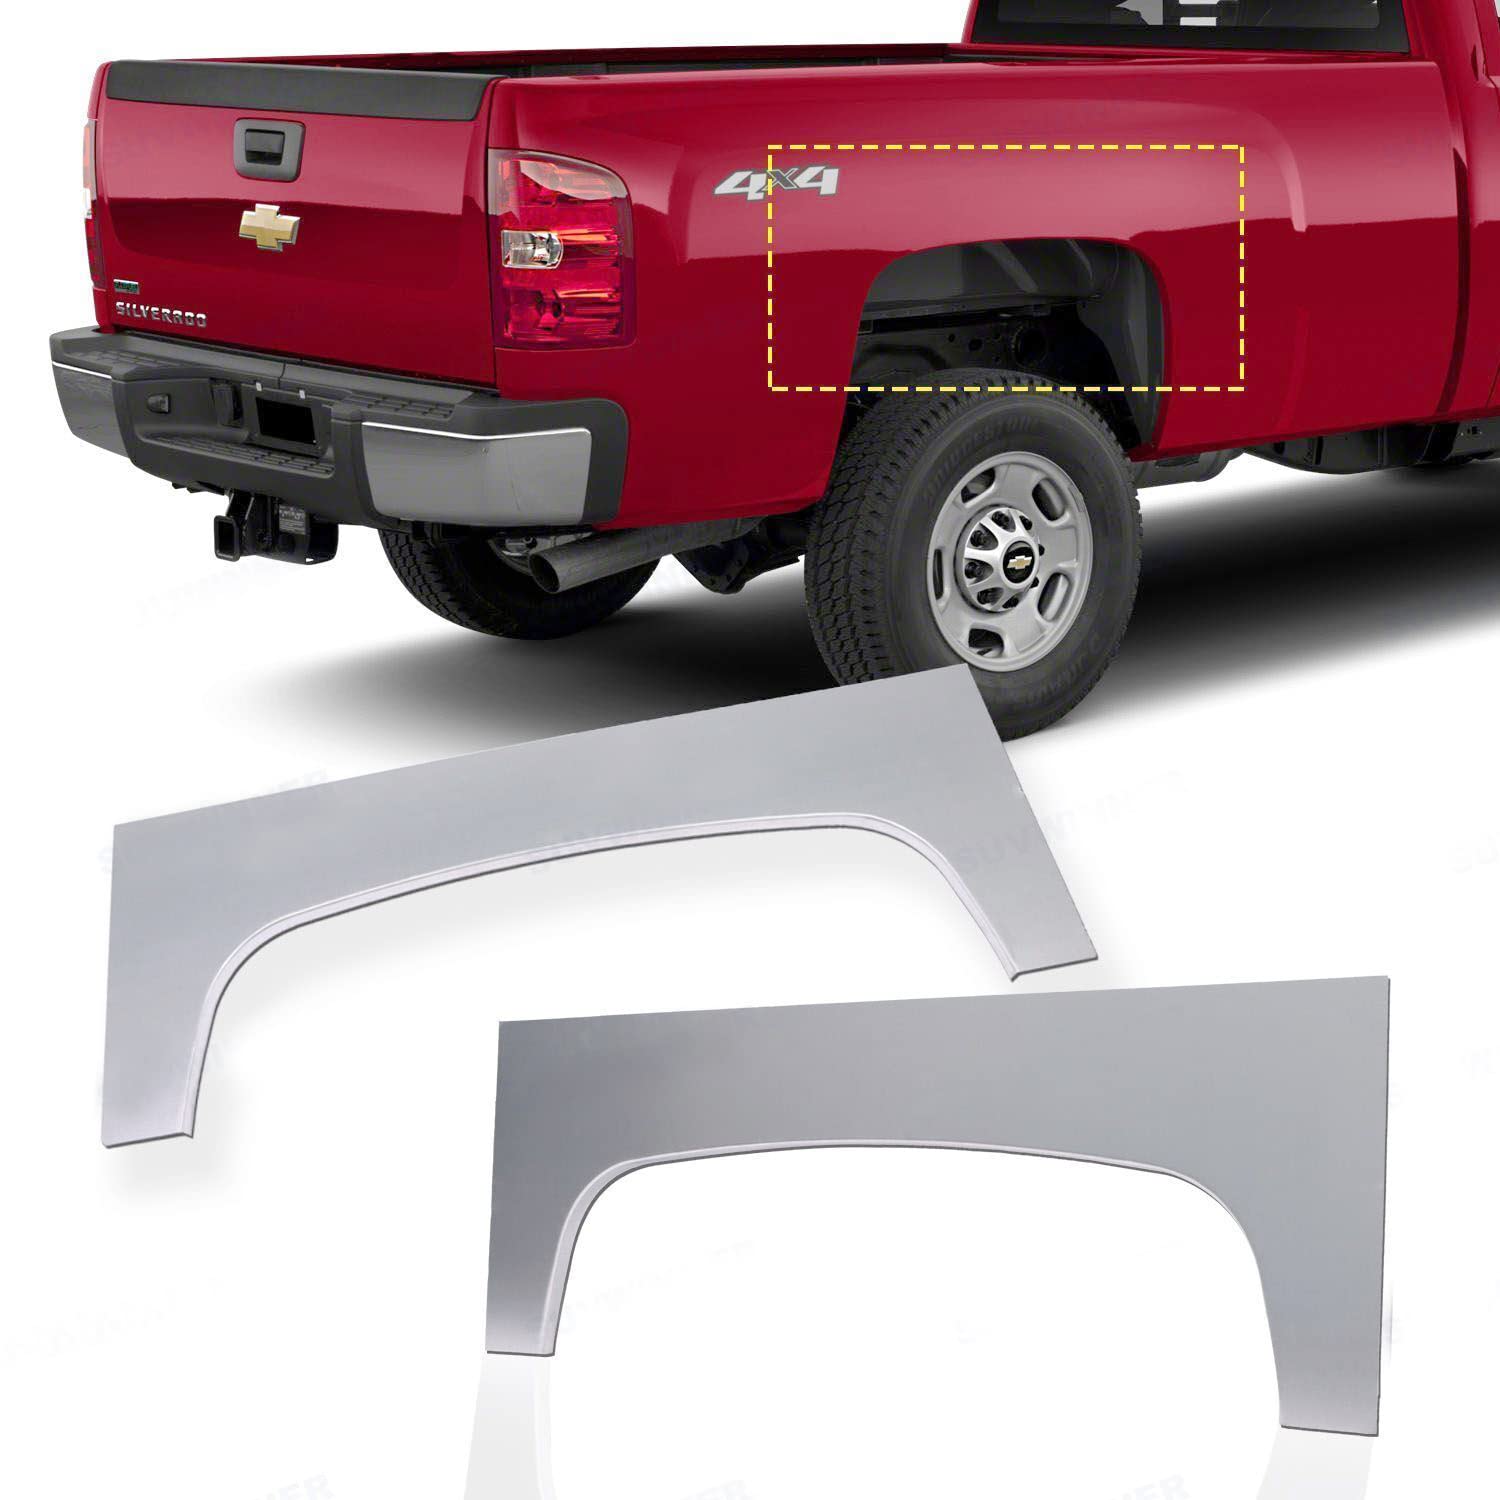
Remove Damaged Metal Slowly and Carefully
Cut along your marked lines using a reciprocating saw with a metal blade or a plasma cutter. Work slowly to avoid gouging the surrounding metal. Once the rusted section is out, inspect the area again because corrosion often extends further than expected. Deburr and smooth the cut edges with a grinder to prep for the patch.
Test Fit the Patch Before Welding
Place the replacement panel into the opening. It should fit snugly without gaps or tension. Minor adjustments with a hammer or grinder are normal. If the patch doesn’t pop in cleanly, refine the edges until it does. A poor fit causes warping during welding or filler buildup that’s tough to sand smooth. Clamp the patch in place and check alignment from multiple angles.
Correct Warping with Panel Chiropracty
If welding heat causes ripples or warping, don’t panic. Use a pry bar and wet rag to gently stretch the metal back into shape. This pro trick is called panel chiropracty, and it works wonders for correcting distortion. Follow with a DA sander to level the surface. Let the panel cool between welds to prevent further warping. A flat, smooth fit is essential before you apply filler or paint.
Weld or Patch Based on Damage Level
Weld Patch Panels for Structural Strength
For deep rust or large holes, welding is the strongest fix. Tack-weld the patch in place at several points, then complete the seam with stitch welding. Use proper heat control to avoid burning through thin sheet metal. After welding, grind the seams smooth with a roll lock disc. Apply a rust-inhibiting primer like POR-15 to the inside of the patch and surrounding area before closing everything up.
Use Self-Adhesive Patches for Small Holes
For cosmetic fixes or temporary reinforcement, aluminum self-adhesive patches work great. Clean the surface thoroughly, apply the sticky patch over the hole (both inside and outside if possible), then secure it with half-inch #8 stainless steel screws. Stainless prevents rust at the fastener points. This method is ideal for high-mileage trucks where full restoration isn’t the goal.
Apply Fiberglass-Reinforced Filler
After securing patches, use Bondo Glass or similar fiberglass-reinforced filler to seal gaps and rebuild contours. Mix a four-inch portion of filler with a thin strip of hardener, folding it with a spatula to minimize air bubbles. You have 6–8 minutes before it cures. Apply in layers: first fill internal crevices, then cover the outside with mesh and filler. Sand smooth between layers with 80–120 grit paper. This filler is stronger and easier to sand than standard body putty.
Prevent Future Rust on Your Silverado

Flush Wheel Well Cavities Twice a Year
Prevention is the cheapest and most effective long-term strategy. Twice a year, especially in spring after winter, remove the washout plugs and flush the wheel well cavities with high-pressure water. Focus on the upper rear fender and rocker panel areas. If your truck has factory rear wheel well liners, remove them. They act as rust collectors by trapping moisture and blocking access to the plugs.
Spray Penetrating Rust Inhibitors
After flushing and drying, spray a creeping oil like Fluid Film or Krown into the cavities until it drips out. These products penetrate tight seams and create a moisture-displacing barrier that lasts months. Reapply annually or after heavy winter driving. Avoid expanding foam because it traps moisture and accelerates rust. Stick to liquid or gel inhibitors that move with temperature changes.
Install Aftermarket Protection the Right Way
Consider Rough Country wheel liner kits (~$99) or Bushwhacker flares for added protection. Just make sure they don’t trap debris or block airflow. If you install flares, drill out spot welds to separate the upper liner from the fender for full access during cleaning. Any modification that seals in moisture will do more harm than good, so design for drainage and cleanability.
Maintain Your Repair for the Long Haul
Follow a Seasonal Maintenance Schedule
Create a simple routine to keep rust from coming back:
- Spring: Flush all cavities, inspect for new rust, reapply Fluid Film
- Fall: Repeat flushing and inhibitor treatment before winter
- After heavy salt exposure: Rinse wheel wells immediately
Owners who stick to this schedule report doubling the lifespan of their repaired panels. Trucks washed only on the outside still fail because of internal corrosion. Clean the areas you can’t see.
Avoid These Common DIY Mistakes
- Skipping rust converter: Leads to recurring rust under filler
- Welding over rust: Creates weak joints and future failure
- Using foam in wheel wells: Traps moisture and accelerates corrosion
- Ignoring washout plugs: Allows sludge buildup even in clean-looking trucks
Always clean behind the panel and treat raw metal before sealing anything up.
Know When to Call a Professional
If rust has spread into frame rails, cab mounts, or major structural seams, get a professional assessment. Large panel replacements or frame repairs require advanced tools and alignment expertise. But for wheel well and bed sidewall repairs, DIY methods deliver durable, cost-effective results when done correctly.
Frequently Asked Questions About Silverado Wheel Well Rust
What causes wheel well rust on 2007–2013 Silverado models?
The bed is built in two pieces that meet at a V-shaped seam above the wheel well. This junction traps salt, dirt, and moisture, which accelerates corrosion. Factory rear wheel well liners make the problem worse by blocking airflow and trapping moisture against the metal.
How much does it cost to fix wheel well rust professionally?
Professional body shop quotes for extensive wheel well and bed sidewall rust repair typically run around $1,500. A DIY approach with basic fabrication tools and materials costs roughly $150, saving you about 90% on the same structural repair.
Can I fix Silverado rust without welding?
Yes. For small holes or cosmetic fixes, aluminum self-adhesive patches secured with stainless steel screws work well. Cover both the inside and outside of the hole when possible, then seal with fiberglass-reinforced filler like Bondo Glass for a durable finish.
How often should I flush the wheel well cavities?
Flush the cavities at least twice a year, with extra attention in spring after winter road salt exposure. High-pressure water through the washout plugs removes packed mud and salt before they cause corrosion. Owners who follow this schedule report doubling the lifespan of their sheet metal.
Should I remove the factory wheel well liners?
On 2007–2013 Silverado models, yes. The factory liners trap moisture and block access to the washout plugs, acting as rust collectors. Removing them lets you clean the cavities properly and apply rust inhibitors like Fluid Film or Krown for long-term protection.
What rust converter products work best on Silverado rust repairs?
POR-15 and Rust-Oleum Rust Reformer are both highly effective for converting active rust into a stable coating. Apply them to bare, raw metal only. They won’t adhere to painted surfaces, so save them for areas you’ve already ground down to clean steel.
Key Takeaways for Fixing Silverado Wheel Well Rust

Wheel well rust on your Silverado doesn’t require a body shop. With careful planning, proper rust treatment, and consistent prevention, you can stop corrosion, restore structural strength, and save over $1,300. The three most important steps are acting early before rust spreads behind factory seams, cleaning thoroughly inside the cavities (not just the surface), and maintaining access for future flushing. Whether you weld a patch or use adhesive reinforcements, a well-executed repair can last years. Grab your tools this weekend and start with a careful inspection of your wheel wells.



