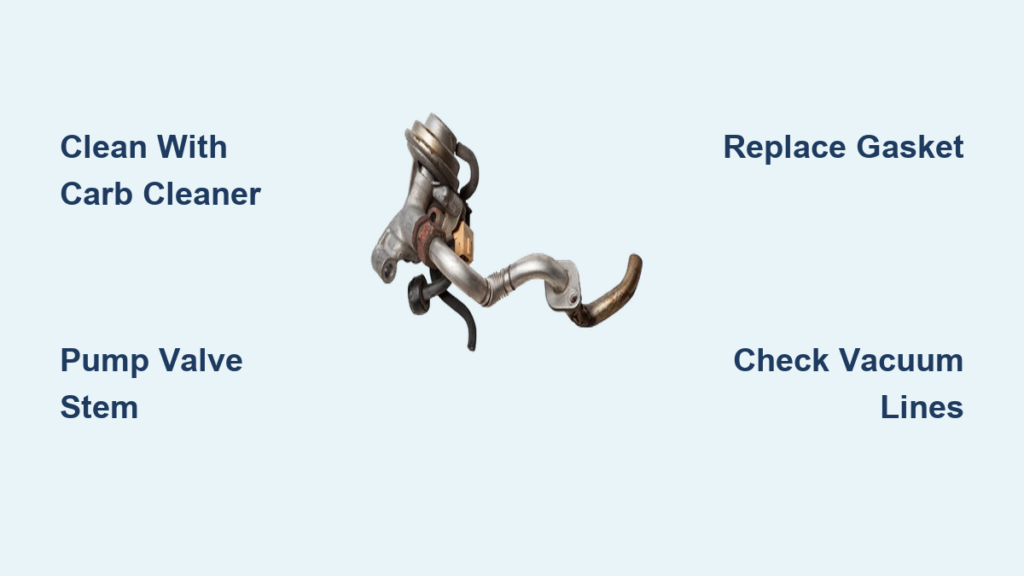
A rough idle, engine knock, or sudden check engine light on your Chevy Silverado often traces back to one overlooked component: the EGR valve. The Exhaust Gas Recirculation valve redirects exhaust gases back into the intake manifold to reduce emissions, but carbon buildup gradually restricts its movement. When that happens, performance drops and fuel economy suffers. The good news is that cleaning the EGR valve on your Silverado is a straightforward DIY job that usually takes under an hour and costs almost nothing compared to a shop visit.
This guide covers exactly how to clean EGR valve Chevy Silverado models with Vortec engines (4.8L, 5.3L, 5.7L, 6.0L, and 8.1L). You’ll learn where to find the valve, which cleaners are safe, the pump method that actually breaks loose carbon, and when replacement makes more sense than another cleaning.
Find the EGR Valve on Your Silverado

Location by Engine Type
Knowing where to look saves you time under the hood. On 1996–2002 Silverados with the 5.7L Vortec, the EGR valve sits on the driver’s side, near the alternator, and bolts to the intake manifold with two 10mm bolts. It’s typically black, round, and connected to a single vacuum hose.
Newer Silverados with 4.8L, 5.3L, and 6.0L LS-based engines (2003 and up) usually place the EGR valve on the passenger side, mounted directly on or near the intake manifold. These models often use an electronic EGR valve with both vacuum lines and an electrical connector.
The 8.1L Vortec follows the passenger-side layout, but owners should stay alert for black flakes under the truck. Those flakes can signal oil pan gasket leaks or internal wear, not just EGR carbon.
Spot the Carbon Clog
With the engine off and cool, look at the valve and surrounding area. Thick black carbon around the base, inside the inlet, or on the mounting flange means buildup is present. Try pressing the valve stem manually with the ignition off. If it doesn’t move freely, deposits have likely jammed it open or closed. Also check for missing or damaged gaskets, which are common on older models that originally shipped without one.
Disconnect and Remove the EGR Valve
Safety First
Always disconnect the negative battery terminal before starting. This prevents accidental cranking and protects electrical components. Put on safety glasses and gloves because carbon sludge and cleaning chemicals can irritate skin and eyes.
Unplug All Connections
Start by twisting vacuum hoses gently to avoid cracking brittle plastic fittings. Then press the release tab on the electrical connector and pull straight out. Inspect both connections for cracks or brittleness and replace anything damaged before reassembly.
Remove the Mounting Bolts
Use a 10mm socket and ratchet to remove the two bolts securing the valve to the intake manifold. A universal joint or extension helps in tight spots. Lift the valve straight off once the bolts are out. Watch out for carbon chunks that may break loose and fall into the manifold port. Plug the opening temporarily with a clean rag if needed.
Note the old gasket’s condition, then plan to replace it. A new seal is cheap insurance against exhaust leaks.
Clean the EGR Valve the Right Way
Use Carburetor Cleaner Only
This step matters more than any other. Never use fuel system cleaner, engine degreaser, or brake cleaner. These products lack the solvency to dissolve baked carbon and can damage rubber diaphragms and O-rings inside the valve.
Stick with carburetor cleaner or a dedicated EGR cleaner. Both are formulated to break down hardened deposits without harming internal components.
Apply the Pump Cleaning Method
- Spray carb cleaner liberally into the valve chamber until fully saturated.
- Insert a flathead screwdriver into the valve opening to press down on the pintle (stem).
- Pump the stem up and down 10–15 times. This forces cleaner through internal passages and dislodges trapped carbon.
- Let the valve soak for 5–10 minutes so the chemical can do its work.
- Drain the black sludge into a waste container.
Repeat the spray, pump, and soak cycle until the drained fluid runs clear and no more debris comes out.
Scrub the Exterior and Seat
Dip a soft-bristle brush or toothbrush in carb cleaner and scrub:
– The valve’s exterior housing
– The intake-side opening
– The mating surface (seat)
Avoid metal picks or wire brushes. Scratches on sealing surfaces cause exhaust leaks. Wipe everything clean with a lint-free rag and let the valve air-dry completely before reinstalling.
Clean the Intake Manifold Port

With the valve off, spray carb cleaner directly into the manifold port and let it sit for 5 minutes. Use a small brush (pipe cleaner or detail brush) to scrub the port edges and interior, focusing on the valve seat where carbon collects. Wipe out loosened sludge with a clean rag and cover adjacent openings with a shop towel so debris can’t fall into the intake.
Reinstall the EGR Valve Correctly

Install a New Gasket
Even if the old gasket looks fine, replace it. A fresh gasket ensures a leak-free seal and prevents the rough idle or check engine light that comes from exhaust leaks. Older models (like the 1996 5.7L) often shipped without a gasket, but adding one now improves reliability. Expect to pay around $2.41 at Advance Auto Parts or online.
Place the gasket on the manifold or valve, aligning bolt holes precisely.
Torque the Bolts Evenly
Position the valve and thread the bolts by hand first. Tighten in a crisscross pattern with a 10mm socket. Don’t over-tighten, because that can warp the gasket or crack the housing. Snug is enough; hand-tight plus a quarter-turn is usually safe.
Reconnect Hoses and Wires
Push vacuum lines firmly into place until they seat. Reconnect the electrical connector until it clicks. Double-check that no tools or rags are left behind, then reconnect the negative battery terminal.
Test the Engine After Cleaning
Check Valve Movement First
Before starting, press the valve stem by hand to confirm it moves freely. If it’s still stiff, repeat the cleaning or suspect internal damage. Make sure there are no visible gaps between the valve and manifold.
Start and Idle
Start the engine and let it idle for 3–5 minutes. Listen for hissing (vacuum leak), rough idle, or knocking under light acceleration. If any of these persist, recheck connections and the gasket seal.
Clear Codes if Needed
If the check engine light was on, use an OBD2 scanner to clear codes after cleaning. Some systems reset on their own after a few drive cycles. Keep an eye out for recurring EGR flow codes like P0401. If they return, the valve may be mechanically failed and need replacement.
Prevent Future Carbon Buildup
Stick to a Maintenance Schedule
Clean the EGR valve every 30,000 to 50,000 miles as preventive maintenance. High-mileage trucks or those used mostly for short trips may need cleaning every 50,000 to 75,000 miles, especially 5.7L Vortec engines known for heavy carbon.
Use Quality Fuel and Oil
High-detergent gasoline helps reduce carbon formation, so choose Top Tier fuel brands when possible. Change oil on schedule with the correct viscosity because dirty oil increases blow-by gases that accelerate EGR clogging.
Inspect During Routine Service
Check the EGR valve during air filter or spark plug service. Catching buildup early makes cleaning faster and easier.
When Replacement Beats Cleaning

Recognize Mechanical Failure
Cleaning won’t fix:
– Cracked valve housing
– Seized or broken pintle
– Faulty electronic solenoid
– Electrical connection failure
If the valve doesn’t respond to cleaning or shows physical damage, swap it out.
Diagnose Electrical Issues
For electronic EGR valves, use a scan tool to run actuator tests. No response points to a failed motor or circuit, and cleaning won’t help. Stick with OEM or high-quality aftermarket units like ACDelco or Dorman.
Frequently Asked Questions About EGR Valve Cleaning
What are the symptoms of a bad EGR valve on a Chevy Silverado?
Common signs include rough idling, engine knock or pinging during acceleration, reduced fuel economy, and a check engine light related to EGR flow. In severe cases, black carbon flakes may appear under the truck.
Can you clean an EGR valve without removing it?
You can spray carb cleaner into the valve with the engine running to free minor deposits, but a thorough cleaning requires removal. Removing the valve lets you access the pintle, internal passages, and manifold port for a complete job.
How often should you clean the EGR valve on a Silverado?
Standard intervals are every 30,000 to 50,000 miles. 5.7L Vortec engines and trucks used for frequent short trips benefit from cleaning every 50,000 to 75,000 miles.
What cleaner is safe for an EGR valve?
Carburetor cleaner or EGR-specific cleaner is safe and effective. Avoid fuel system cleaners, engine degreasers, or brake cleaners because they can damage rubber seals and won’t dissolve hardened carbon.
Do I need a new gasket when reinstalling the EGR valve?
Yes. Always install a new gasket, even if the old one looks intact. A fresh gasket ensures a leak-free seal and prevents exhaust leaks that cause rough idling or check engine lights. Older models may have shipped without a gasket, so adding one now improves reliability.
Final Tips for a Successful EGR Cleaning
- Never skip the gasket. It’s cheap insurance against leaks.
- Stick to carb cleaner. Other solvents risk damaging seals.
- Work clean and dry. Wipe all surfaces before reassembly.
- Take your time. Rushing increases the risk of stripped bolts or dropped parts.
- Inspect vacuum lines. Replace cracked or brittle hoses while you’re in there.
Knowing how to clean EGR valve Chevy Silverado models saves you hundreds in shop labor and keeps your Vortec engine running smoothly. With basic tools, the right cleaner, and a new gasket, this DIY job restores lost performance, eliminates knock, and keeps emissions in check. Stay on schedule, follow the pump method, and your Silverado will run cleaner and stronger for years to come.