
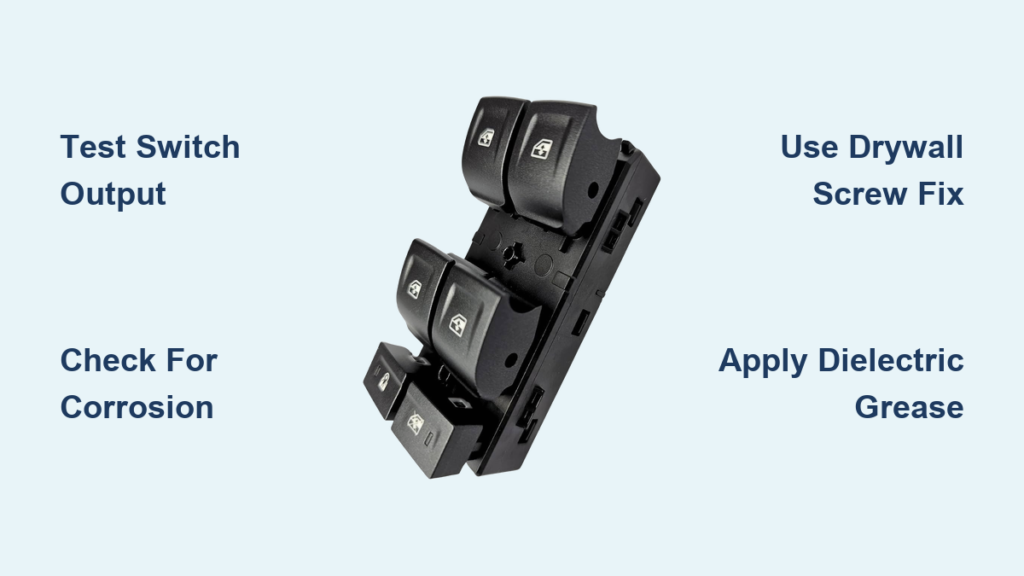
If your Silverado’s window won’t roll up or down, the problem likely lies in the window switch. A faulty silverado window switch repair situation can leave you stranded with an open window, risk moisture damage, or even drain your battery if the circuit stays live. These switches control power delivery to the window motor by reversing polarity, sending current one way to raise the window and the opposite way to lower it. When contacts corrode, break, or lose connection, operation fails.
Common symptoms include one-way movement (down but not up), total inactivity, or intermittent response. The good news is that diagnosing and repairing this issue is usually quick, affordable, and something many owners can tackle themselves. In this guide, you’ll learn how to pinpoint the exact failure, test electrical signals, and choose between replacement, cleaning, or specialized fixes, especially for older GMT800 models. Whether you’re facing a loose switch or complete electrical failure, we’ll walk you through every step to get your windows working again.
Diagnose the Failure Mode

Before removing panels or buying parts, confirm the switch is actually at fault. Misdiagnosis leads to wasted time and money.
Check for Unidirectional Operation
If the window rolls down but won’t go up, the switch is likely failing internally. This happens because the switch reverses polarity to change motor direction. Corrosion or worn contacts often affect only one path, typically the “up” circuit, which requires more motor torque. Try operating the window from both the driver’s master switch and the individual door switch. If one works and the other doesn’t, the problem is isolated to that specific switch.
Test Cross-Switch Functionality
Use this quick logic test:
– Driver switch fails, door switch works: Fault is in the master switch.
– Door switch fails, driver switch works: Replace the door’s local switch.
– Neither works: Problem may be wiring, motor, or fuse.
This eliminates guesswork and targets the right component.
Look for Constant Engagement
A dangerous failure mode occurs when the switch sticks closed, keeping the motor energized. Signs include:
– Window creeps open or closed on its own.
– Motor runs after key-off.
– Battery drains overnight.
If this happens, disconnect the switch immediately to prevent motor burnout or security risks.
Verify Power and Circuit Integrity
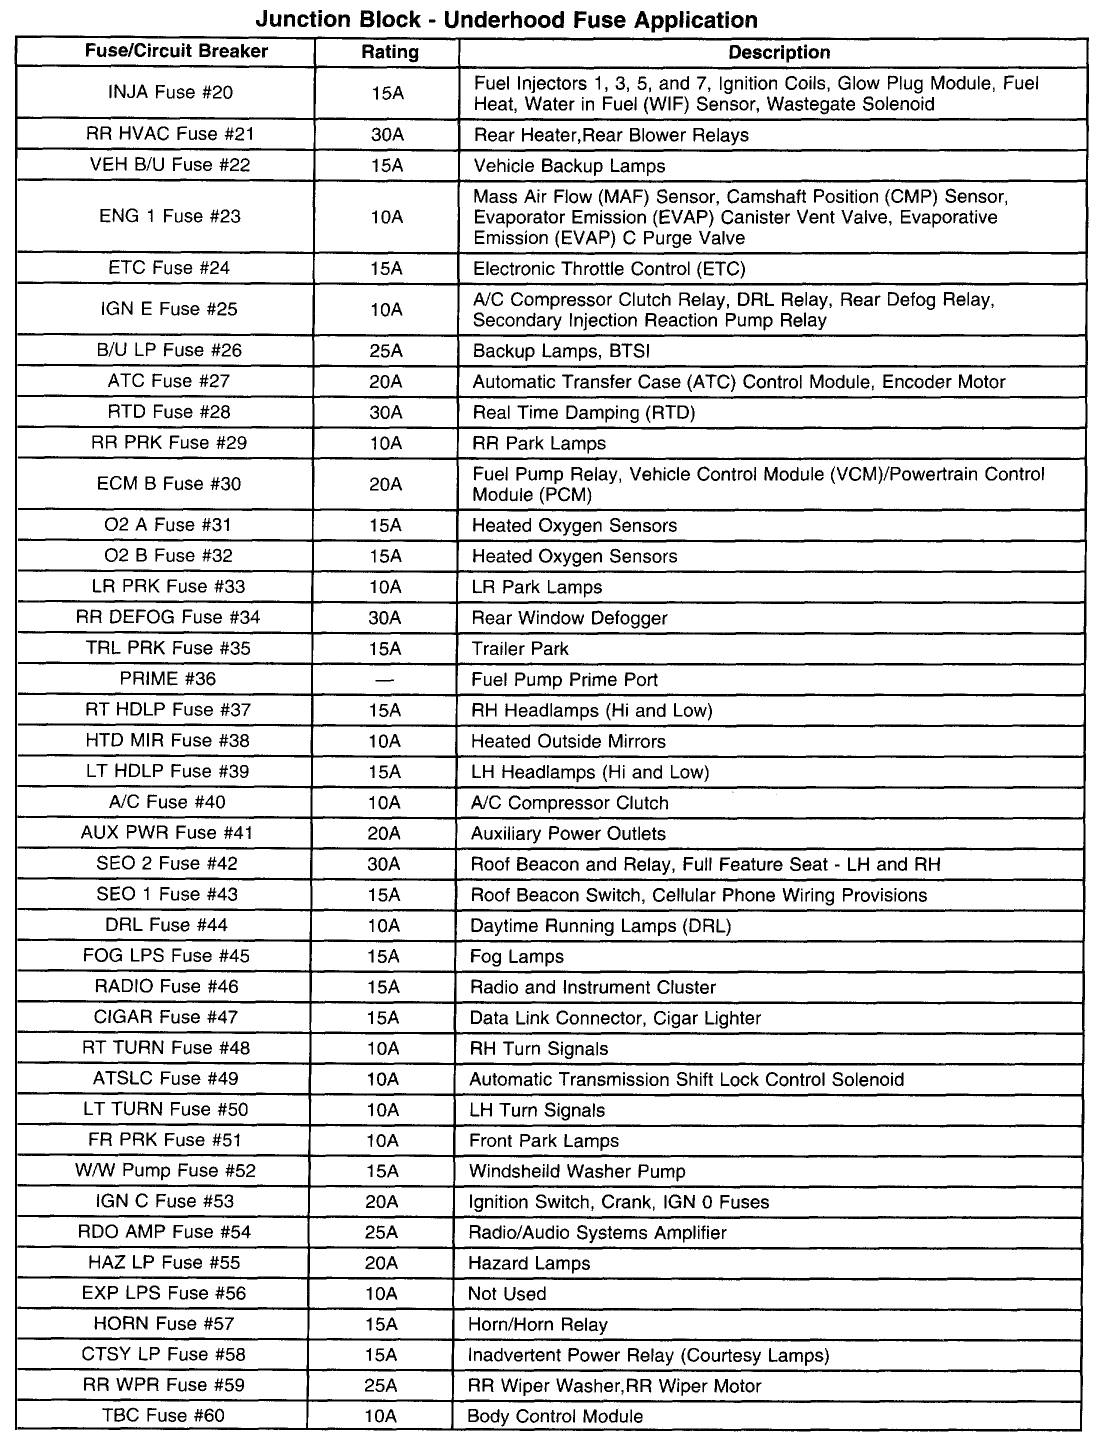
Electrical faults mimic switch failure. Always rule out power issues first.
Inspect the Fuse
Locate the power window fuse in the under-dash or underhood fuse box. Check it visually and with a test light or multimeter. A blown fuse often affects all windows, but a partial short might only impact one circuit. Replace only with the correct amperage rating.
Test Switch Input Voltage
Remove the switch connector and set your multimeter to DC volts. Turn the ignition to “Run” or “Accessory.” Probe the input terminal, usually labeled B+ or constant power. You should read 12V. No power means you need to trace back to the fuse and relay. Corroded fuse box connections are common in older Silverados.
Measure Output Signal
With the switch reconnected, activate it in both directions while probing the output wires. A functioning switch will show 12V on one wire when going up, the other when going down. If input power is present but no output, the internal contacts are dead, so it’s time to replace or clean the switch.
Identify the Right Repair Approach
Not every switch needs replacement. Choose the most effective fix based on symptoms and model year.
Replace the Switch Assembly
For total failure or worn contacts, replacement is the most reliable solution.
Remove the Door Panel Safely
On most Silverados, start by removing screws from the armrest and door handle bezel. Use a plastic pry tool to pop retaining clips around the panel’s edge. Lift the panel upward to clear the window ledge. Avoid metal tools, as they scratch paint and break plastic.
Swap and Reconnect
Unplug the old switch, disconnect any connectors, and remove mounting screws or clips. Install the new switch, reconnect all plugs, and test before reinstalling the panel. OEM or quality aftermarket switches range from $50–$200 depending on model and trim.
Try the Drywall Screw Fix (1999–2007 Models)
GMT800-era Silverados (1999–2007) are notorious for broken switch mounting tabs.
Why It Works
Over time, the plastic clips that hold the switch in the armrest crack. The switch wobbles or falls into the door. Mechanics once used zip ties, but they break. The drywall screw fix uses a #8 x 1-inch screw driven through the switch housing into the armrest, securing it permanently.
How to Apply
- Remove the switch from the armrest.
- Line up the screw hole in the switch base with the plastic armrest.
- Drill a pilot hole if needed.
- Insert the screw and tighten until snug. Don’t strip the plastic.
This is a proven, reusable fix used by thousands of owners.
Install a 3D Printed Bracket

For a cleaner, long-term solution on GMT800 trucks, use a 3D printed retention bracket.
Find and Fit the Correct Model
Search eBay or 3D marketplaces for “99-07 Silverado window switch bracket.” Brackets are designed for driver or passenger side and snap into the armrest, holding the switch firmly. No screws needed, just slide it in.
Benefits Over DIY Fixes
- No drilling or modification
- Reversible
- Maintains factory appearance
- Solves recurring loose-switch issues
Many users report these brackets last longer than OEM replacements.
Clean and Recondition the Switch

If the switch works intermittently, cleaning may restore full function, especially if liquid spills or corrosion are suspected.
Disassemble with Care
Use a small flathead screwdriver to gently pry open the switch casing. Watch for tiny springs and contact plates, as they can fly out. Take photos during disassembly to aid reassembly.
Remove Corrosion and Grime
Use electrical contact cleaner and a soft brush to remove dust and oxidation. For stubborn dielectric grease buildup, gently scrape with a plastic tool. Avoid metal scrapers, as they damage contact surfaces.
Apply Fresh Dielectric Grease
After cleaning, apply a thin layer of dielectric grease to moving parts. This prevents future arcing, reduces wear, and repels moisture. Do not use regular lubricants, as they attract dirt and degrade plastic.
Pro Tip: Test the switch on the bench with a 9V battery before reinstalling. Touch leads to the terminals and listen for a click. If it works, you’ve saved a replacement.
Avoid Costly Mistakes

Window switch repairs should be straightforward. Don’t overpay or overcomplicate.
Don’t Skip Connector Inspection
Over 30% of “bad switch” diagnoses are actually faulty connectors. Look for green corrosion, bent pins, or loose terminals. Clean with electrical contact spray and a pick tool. Reseat firmly.
Avoid Low-Quality Aftermarket Switches
Some budget switches fail within months due to poor internal contacts or brittle plastic. Stick with OEM, Dorman, or well-reviewed brands. For 2003–2004 models, expect higher part costs, up to $205, due to design complexity.
Question Excessive Labor Estimates
Total labor should not exceed one hour, including door panel removal and reinstallation. If a shop quotes more, ask for a breakdown. You can do this yourself in 30–45 minutes with basic tools.
| Model Year | Avg. Total Repair Cost | Parts Only | Labor Only |
|---|---|---|---|
| 1999–2002 | $125–$194 | $60–$90 | $65 |
| 2003–2004 | $363–$477 | $170–$200 | $190+ |
| 2014+ | $215–$295 | $170–$205 | $60–$90 |
Note: The spike in 2003–2004 costs reflects outdated data or bundled services. Current real-world repairs rarely exceed $300.
Prevent Future Failures
A repaired switch doesn’t have to fail again. Take steps to extend its life.
Apply Dielectric Grease During Maintenance
Anytime the switch is out, whether during speaker upgrades or panel repairs, clean and re-grease the contacts. This simple step prevents 80% of corrosion-related failures.
Keep Liquids Away
Coffee, soda, or rainwater entering the door through torn seals can destroy switches. Replace worn door seals and avoid placing drinks near armrests.
Monitor Window Speed
If windows slow down, it may signal motor strain or dirty switches. Address early before complete failure.
When to Seek Professional Help
Most silverado window switch repair jobs are DIY-friendly. But visit a shop if:
– You lack a multimeter or electrical testing skills.
– Wiring harness damage is suspected.
– The motor runs but the window doesn’t move (indicates regulator issue).
– Multiple windows fail simultaneously (points to fuse box or BCM problems).
Even then, use this guide to verify the diagnosis and avoid unnecessary repairs.
Frequently Asked Questions About Silverado Window Switch Repair
Why does my Silverado window go down but not up?
This unidirectional operation is a classic symptom of switch failure. The switch reverses polarity to change motor direction, and corrosion or worn contacts typically affect only the “up” circuit first because raising the window requires more torque than lowering it.
Can I fix a loose window switch without replacing it?
Yes, especially on 1999–2007 GMT800 models. The drywall screw fix uses a #8 x 1-inch screw to secure the switch to the armrest permanently. A 3D printed bracket is another option that snaps into place without drilling.
How do I know if the switch or the motor is bad?
Test the switch output with a multimeter while activating it. If you see 12V on the output wire but the window doesn’t move, the motor or regulator is the problem. If there’s no output voltage, the switch is faulty.
Is it worth cleaning an old window switch?
Cleaning can restore function if the issue is corrosion, grime, or hardened dielectric grease. However, cleaning won’t fix worn-out metal contacts or broken plastic mechanisms. For those cases, replacement is the better option.
How long does a window switch repair take?
For a DIYer with basic tools, the entire process takes 30–45 minutes, including door panel removal and reinstall. Professional labor should not exceed one hour for diagnosis and replacement combined.
What causes window switches to fail?
Common culprits include liquid spills (coffee, soda, rainwater), dust accumulation, high humidity, and frequent cycling. Corroded connectors and worn internal contacts from age are also leading causes of failure.
Key Takeaways for Silverado Window Switch Repair
Start by confirming the switch is actually the problem using cross-switch testing and a multimeter. Choose your repair method based on symptoms: replace for total failure, clean for intermittent issues, or use the drywall screw or 3D bracket for GMT800 mounting problems. Always apply dielectric grease during reassembly and keep liquids away from the switch area to prevent future failures.
Your next step is to grab a multimeter and test the input and output voltage at your switch. Once you’ve confirmed the diagnosis, you’ll know whether to order a replacement, clean the existing unit, or try one of the GMT800-specific fixes. Either way, you’ll save money and get your windows working again in under an hour.



