
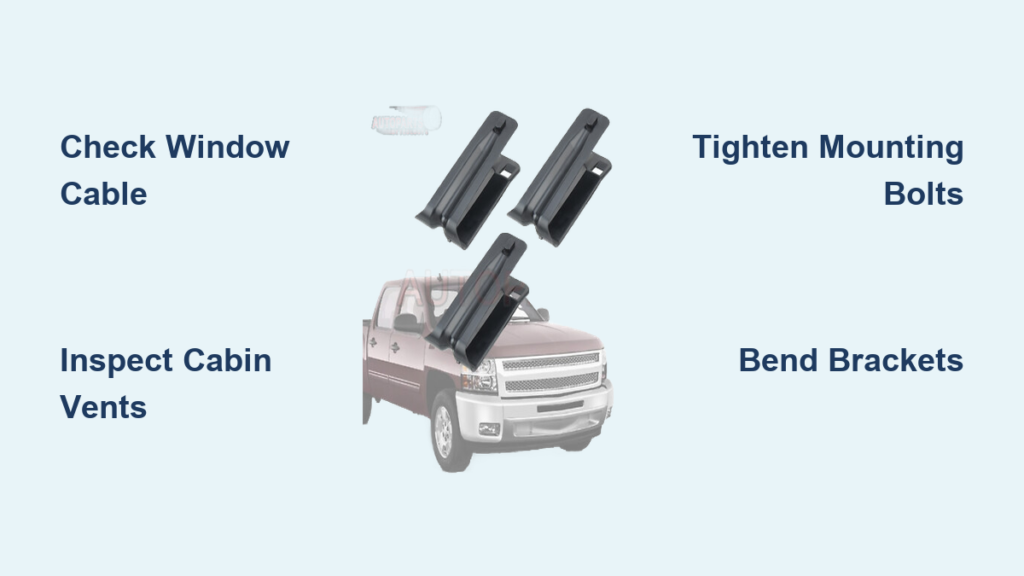
A persistent rattle from the back seat of your Chevrolet Silverado can turn every drive into an annoyance. The Silverado back seat rattle affects trucks from 2011 through 2024, including popular trims like the Trail Boss, LT, AT4, and 2500HD. What sounds like loose hardware is often a dislodged window cable, vibrating cabin vent, or misaligned mounting bracket. Many owners describe the noise as unbearable, especially at highway speeds or over rough roads.
The good news is that most causes are fixable, and several require only basic tools and about 20 minutes of your time. This guide covers how to diagnose, locate, and fix your Silverado back seat rattle, whether you need a quick DIY solution or a dealership repair.
Confirm the Rattle Is Actually Coming from the Seat
Before removing any panels, verify the noise originates from the rear seat area. Many sounds mimic a seat rattle but come from elsewhere in the truck.
Rule Out Common Mimics
- Check the emergency tire kit: Loose wheel chocks or tools inside the kit can rattle metal-on-metal, sounding identical to a seat issue. Remove the kit and test drive.
- Inspect the spare tire: In 2024 models, an improperly secured spare can vibrate against the bed floor.
- Look under the truck: A loose exhaust heat shield below the cab can transmit noise upward at high speeds. Have someone drive while you listen from outside.
Test Seat Position and Occupancy
- Fold seats up and down: Some 2024 models rattle only when the seat is folded down, pointing to the locking mechanism. Others rattle more when the seat is up, implicating the backrest or vents.
- Sit in the back seat: If the rattle stops when someone sits in the rear, the issue is likely internal insulation or a headrest problem that weight normally dampens.
- Flip down the headrests: If the noise stops when the passenger-side headrest is lowered, the rattle is inside the headrest post or housing.
Tap and Push to Isolate
While parked, tap the backrest near the left shoulder area or center. If the noise repeats, the source is inside the panel. Push firmly on the seat back. If the rattle stops, the seat is loose against the wall.
Check the Sliding Window Cable

A frequent culprit in 2022–2024 Silverado models is the rear sliding window cable popping out of its holder behind the seat back.
Locate the Dislodged Cable
- Remove the headrests by pulling up while pressing the release buttons.
- Unbolt the seat by finding the six bolts under the seat near the rear wall and removing them.
- Tilt the seat forward to access the back panel.
- Look behind the driver-side backrest for a thin metal cable that controls the rear window.
- If the cable is loose or dangling, it is likely vibrating against the frame.
Secure the Cable Permanently
- Reinsert the cable into its plastic clip.
- Add a zip tie around the cable and anchor point to prevent future dislodgement.
- Reassemble the seat and test drive.
Pro Tip: This fix takes 20 minutes and costs nothing. Many dealers miss this issue, so do it yourself first.
Inspect the Cabin Pressure Relief Vents
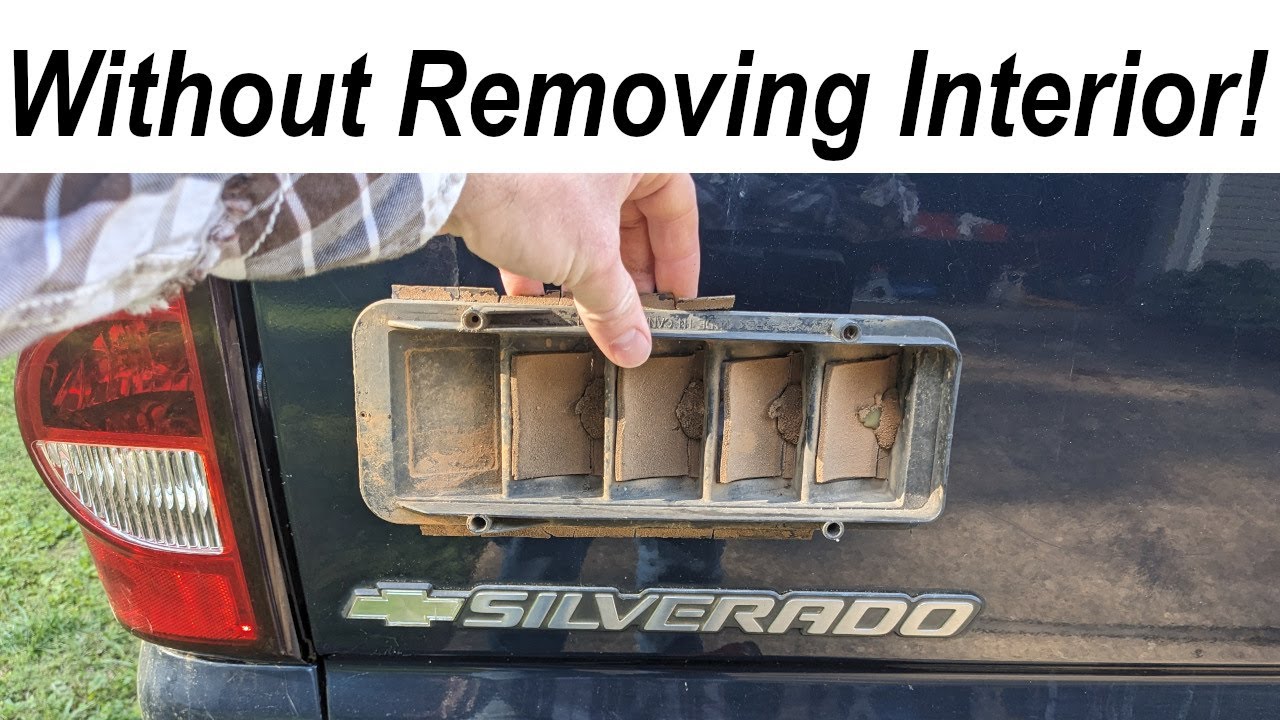
One of the most common 2024 Silverado rattle sources is the cabin pressure relief vent on the rear wall behind the seats.
Diagnose Vent Rattle
- The noise often sounds like a high-pitched flutter or buzz, worse at certain speeds.
- It may stop when you crack a rear window slightly.
- Tapping the rear wall near the vertical trim panels can trigger the sound.
Temporary and Permanent Fixes
- Temporary fix: Tape the vent shut using painter’s tape. Drive with a window slightly open to equalize pressure.
- Permanent fix: Replace the vent assembly. Dealers must order new parts, and lead times can run 2–4 weeks.
- Request replacement under warranty, as this is a known manufacturing defect.
Warning: Many owners report dealers could not hear the rattle until shown a video or directed to the vent specifically.
Tighten or Modify Seat Mounting Hardware
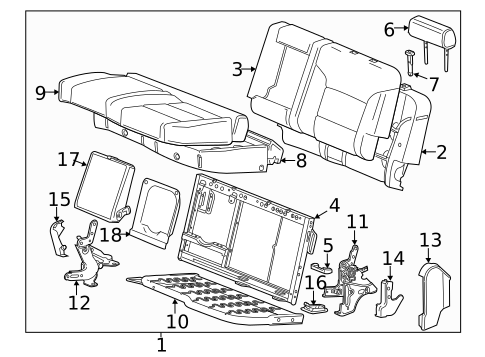
Loose brackets, bolts, or metal-on-metal contact in the seat mounting system cause rattles in 2014–2018 and 2024 models.
Check for Loose Bolts
- Locate bolts behind the rear seat. Some are hidden under trim pieces.
- Use a socket wrench to tighten any loose bolts securing the seat to the floor or wall.
- Apply thread-locking compound (such as Loctite) to prevent recurrence.
Caution: Tightening bolts may only be a temporary fix. Many owners report the rattle returns within weeks.
Bend Brackets for a Snugger Fit
If tightening does not solve the problem, the brackets may have too much play.
- Remove the seat using the steps described later in this guide.
- Locate the side mounting brackets that connect to the cab wall.
- Gently bend them inward with a pry bar to reduce the gap.
- Reinstall the seat for a tighter, rattle-free fit.
Dampen Contact with Tape or Foam
- Vinyl electrical tape: Wrap around bracket contact points to cushion metal-on-metal vibration.
- Rubber hose sleeve: Cut a short piece and slide it over the D-ring on the cab wall where the seat hook connects.
- Foam padding: Stick it on locking latches under the seat to quiet rattles when folded down.
Address Headrest and Buckle Rattles

Sometimes the rattle comes from accessories rather than the seat frame itself.
Fix Headrest Rattle
- If the passenger-side headrest buzzes when upright, pull it out and reinsert it.
- If the noise persists, the internal mechanism has too much clearance. Some owners replace the headrest entirely.
- Quick test: Flip the headrest down. If the noise stops, you have found the culprit.
Reposition Shoulder Belt Buckles
- The metal buckle can hit the B-pillar or side trim.
- GM includes a fabric loop to cushion the buckle. Ensure it is threaded through properly.
- If the buckle dangles freely, adjust its position or add a small foam pad.
Remove the Rear Seat for Deep Diagnostics
For thorough inspection, you will need to remove the seat. This applies to 2014–2018 models but works for any year.
Seat Removal Steps
- Remove four floor bolts (two per side) under the seat.
- Unbolt the seat belt anchor in the center front.
- Remove the center leg bolt connecting the two seat halves.
- Lift straight up to disengage the hooks from the rear wall.
- Get help, as the assembly is heavy and awkward.
Once the seat is out, inspect these areas:
– Insulation inside the backrest (should be snug in channels)
– Window cable routing
– Bracket alignment and D-ring contact
Model-Specific Fixes by Year
2024 Silverado 1500/2500 (Trail Boss, LT, AT4)
- Top causes: Cabin vents, loose bolts, spare tire
- Fix: Demand the dealer check pressure relief vents and cite known issues
- DIY first: Tape vents, tighten bolts, secure the spare
2022–2023 Refresh Models (AT4, Trail Boss)
- Top causes: Sliding window cable, unseated insulation
- Fix: Reseat insulation and zip-tie the cable
- Check: Both driver and passenger sides, since cables can pop on either
2014–2018 Silverado and Sierra
- Top causes: Hook-and-loop metal contact, D-ring clatter, heat shields
- Fix: Wrap hooks in vinyl tape and add rubber hose to the D-ring
- Verify: Inspect the underbody for loose heat shields
Prevent Future Rattles
Even after a successful fix, take these steps to prevent recurrence:
- Re-tighten bolts every 6 months, since vibration loosens them over time.
- Avoid slamming the seat. Gentle closure preserves the mechanisms.
- Keep the tire kit secured and ensure the thumb screw is tight.
- Use zip ties on cables as cheap insurance against future dislodgement.
When to Visit the Dealer
Go to the dealership if:
– You have tried DIY fixes with no success.
– The cabin vent needs replacement (parts are only available through GM).
– The rattle returns under warranty. Push for a permanent fix like bracket bending or foam padding.
Bring evidence: A video of the rattle or a reference to known issues can help technicians take your complaint seriously.
Frequently Asked Questions About Silverado Back Seat Rattles
What is the most common cause of a Silverado back seat rattle?
For 2022–2024 models, the most common causes are dislodged sliding window cables and vibrating cabin pressure relief vents. For 2014–2018 models, loose mounting brackets and D-ring contact are the primary culprits.
Can I fix the Silverado back seat rattle myself?
Yes, many fixes are DIY-friendly. Taping brackets, installing rubber hose sleeves on D-rings, and zip-tying sliding window cables require only basic tools. Replacing cabin vents is more complex and usually requires a dealer.
How long does it take to fix a back seat rattle?
Simple fixes like zip-tying a cable or taping brackets take about 20 minutes. Full seat removal and inspection can take 1–2 hours. Dealer repairs for vent replacement may take several weeks due to parts lead times.
Will tightening bolts solve the rattle permanently?
Often no. Many owners report that tightening bolts provides only temporary relief, with the rattle returning within weeks. Permanent solutions involve physical modifications like bending brackets or adding foam padding.
Is the Silverado back seat rattle covered under warranty?
Most causes appear to be manufacturing or assembly issues and should fall under the bumper-to-bumper warranty. However, you may need to provide specific direction to the dealer about the source to avoid being charged for a noise inspection.
How do I get my dealer to take the rattle seriously?
Bring video evidence of the noise and reference specific components like the cabin pressure relief vents or sliding window cable. Many owners report that general complaints of “rear rattle” result in no action, while specific technical direction leads to successful repairs.
Key Takeaways for Fixing Your Silverado Back Seat Rattle
The Silverado back seat rattle is frustrating but highly fixable. Start by confirming the noise actually comes from the seat, then check the most likely culprits based on your model year. For 2022–2024 trucks, inspect the sliding window cable and cabin pressure relief vents first. For 2014–2018 models, focus on mounting brackets and D-ring contact points.
Most solutions cost little to nothing and require only basic tools. If DIY methods fail, bring video evidence to your dealer and request specific repairs. With the right diagnosis, you can silence the rattle and enjoy your Silverado the way it was meant to be driven.



