
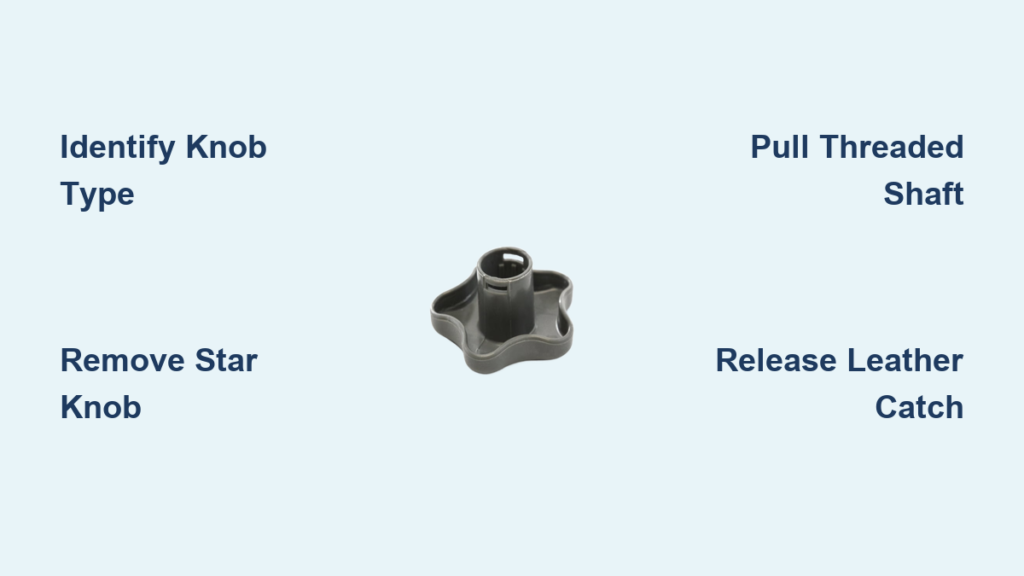
A stuck or broken lumbar knob on your Silverado can make every drive uncomfortable, and the problem often hides deeper than the knob itself. Whether you’re dealing with a spinning knob that won’t adjust or need to access the mechanism for a full repair, knowing how to remove the lumbar knob correctly is the essential first step. This guide walks you through identifying your knob type, removing it without damage, and getting your seat support working like new again.
Identify Your Silverado Lumbar Knob Type

The removal method depends entirely on your truck’s model year and seat design. Using the wrong technique can snap the shaft or strip internal components.
Star-Shaped Knob (2000–2002 Models)
Found in early GMT800 Silverado and Sierra trucks, this knob hides a cable connection behind a silver ball connector. Rotating the knob fully right exposes this connector for tool-free disconnection.
Threaded Shaft Knob (2007–2013 Models)
Later Silverados use friction-fit or clip-secured knobs. These often lack external fasteners and rely on internal tension to stay mounted.
Leather Seat Integrated Knob (Select Models)
Leather-trimmed seats sometimes feature recessed knobs held by spring-loaded internal catches. These require squeezing at specific angles to release without breaking the housing.
Remove Star-Shaped Lumbar Knob (2000–2002)
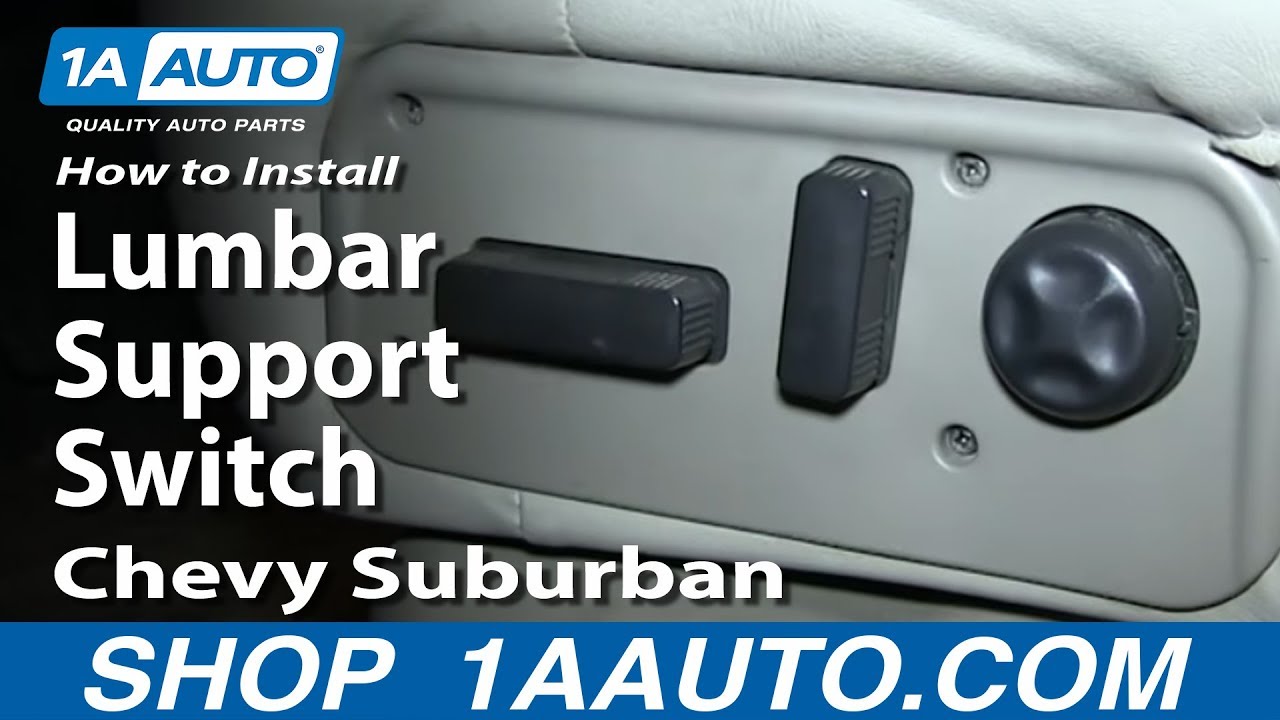
This method works for early Silverado, Sierra, Tahoe, Suburban, Yukon, and Yukon XL models with a star-center knob.
Rotate the Knob to Expose the Silver Ball Connector
Turn the lumbar knob all the way to the right. This motion shifts the internal cable and reveals the silver ball connector at the back of the mechanism. The ball locks the cable in place and allows for quick-snap disconnection.
Disconnect the Cable from the Ball Joint
Pull the cable straight out of the silver ball. No tools are needed for this step. Once disconnected, feed the cable through the opening so it sits clear of the housing.
Pro Tip: If the cable resists, gently wiggle it side to side. Forcing it can bend the cable and prevent proper reconnection later.
Remove Top Nuts for Better Clearance
Two 2-inch nuts sit at the top of the lumbar housing. Removing them with a socket wrench creates extra space for pulling out the plastic insert. This step is optional but makes reassembly smoother.
Pull Out the Plastic Insert
Grasp the knob and pull it straight out. The entire plastic insert should slide out with it, giving you access to hidden screws or the internal wire mechanism.
Reinstall Correctly:
– Align the two small grooves on the insert with the seat frame slots
– Slide in until it clicks securely
– Reconnect the cable into the silver ball with a firm snap
– Test the knob. Movement should feel smooth with consistent resistance
Remove Threaded Shaft Lumbar Knob (2007–2013)
Later Silverado and Sierra models use knobs that pull off or are held by small clips or screws.
Check for a Hidden Cover or Set Screw
Inspect the base of the knob carefully:
– If there’s a small plastic cover, pry it off gently with a flathead screwdriver wrapped in tape
– Look for a tiny set screw. If present, remove it with a precision Phillips or Torx bit
Warning: Forcing removal while a screw is still in place can strip the knob or break the shaft permanently.
Release the Retaining Clip (If Present)
Some models use a metal or plastic retaining ring just below the knob. Slide a small screwdriver under the clip and lift it off. Set it aside in a safe place so you don’t lose it.
Pull the Knob Off with a Grip Aid
Most of these knobs are press-fit. To remove one safely:
1. Wrap a rubber band or cloth around the knob for better grip
2. Hold firmly and pull straight off while gently twisting back and forth
3. Use steady, even pressure. No jerking motions
If Stuck: Spray penetrating lubricant (WD-40) around the base and wait 5–10 minutes before trying again. Corrosion or dried foam residue often causes seizing.
Inspect the Shaft After Removal
Once off, check the threaded shaft for corrosion, bent threads, or plastic debris from broken rods. Clean with a cloth and light lubricant if needed. A damaged shaft may require full mechanism replacement.
Remove Leather Seat Lumbar Knob (Internal Catches)

Leather seats often use knobs held by spring-loaded catches that require a specific release technique.
Access the Back of the Knob
You may need to reach behind the seat back:
1. Roll down or partially remove the upper seat back cover
2. Use a trim tool to release top and side clips
3. Lift internal hooks to free the panel
Caution: Work slowly to avoid tearing leather or cloth upholstery.
Squeeze and Pull to Release
Locate the raised edges on the knob. These mark where the internal catches engage.
- Squeeze the knob at a 90-degree angle to the raised points
- This compresses the internal springs
- Pull outward firmly while maintaining the squeeze
The knob should pop free without breaking the housing.
Disconnect the Internal Cable (If Attached)
Some leather seat knobs have a metal cap connector linking the cable directly to the knob.
- Pull the knob out slightly to expose the connection
- Unhook the metal cap from the housing
- To reconnect later, push the cap back in until it clicks
Fix Common Lumbar Knob Removal Problems
Even with the right method, you may encounter stubborn knobs or unexpected issues.
Knob Won’t Budge
Common Causes: Corrosion, hidden screw, or strong tension fit
Solutions:
– Recheck for a cover or screw you may have missed
– Apply penetrating oil and wait 10 minutes before retrying
– Use pliers with rubber jaws for grip. Never use metal-to-metal contact
– Try gentle heat from a hairdryer to expand the plastic slightly
Never hammer or twist aggressively. You’ll break the shaft and create a bigger repair.
Broken Knob During Removal
If the knob cracks during removal, age or excessive force is likely the cause.
Recovery Steps:
1. Use needle-nose pliers to grip the remaining base
2. Twist and pull gently
3. If stuck, drill a small hole and use an easy-out extractor
4. Replace with a new knob (OEM or aftermarket)
Replacement Part Tip: Search for lumbar knob 2082-4567. This part fits many 2007–2013 GM trucks.
Seat Stuck After Knob Removal
Removing the knob shouldn’t lock the seat, but if it does, check the following:
- Seat recline lever mechanism
- Obstructions in the seat rails
- Twisted or pinched lumbar cable
The issue may not be lumbar-related. Inspect all seat functions before assuming the repair failed.
Repair the Internal Lumbar Mechanism

Once the knob is off, inspect the internal components for damage.
Diagnose Wire or Rod Failure
With the seat back panel removed, look for:
– A 1/8-inch metal wire snapped in the center
– Plastic guide tabs that are broken (the wire can’t function without them)
– Plastic rods with cracks or separation
Common Failure Signs:
– Lumbar support collapsed
– Knob turns with no resistance
– A “pop” sound during adjustment
Replace Broken Wire with a DIY Fix
Materials: Metal clothes hanger
Steps:
1. Cut a length matching the original wire
2. Bend one end into a loop and hook it to the cable’s metal end
3. Twist once at the connection for added strength
4. Feed the wire up through the top hole and down through the bottom of the plastic tabs
5. Bend to match the factory shape
Pro Upgrade: Run two wires instead of one for significantly improved durability.
Install OEM Repair Kit (Part 2082-4567)
This kit is best for 2007–2013 models with broken rods.
Kit Includes: New cable, rods, and mounting hardware
Installation:
1. Unclip the old cable from both ends
2. Route the new cable through the housing, following arrow indicators for orientation
3. Replace both top and bottom plastic rods
4. Reattach hooks on both sides of the seat
5. Reinstall the knob and test for smooth operation
Cost Comparison:
– OEM Kit: $140
– Aftermarket Kit: $55–$60
– Used Seat (Pick-a-Part): $60–$70
Test and Maintain Your Repair

A successful repair should feel smooth and provide consistent lumbar support.
Verify Proper Operation
After reassembly, check the following:
– Turn knob left. Lumbar should inflate
– Turn knob right. Should deflate
– Feel consistent resistance with no slack or grinding
– Check for excessive play by wiggling the knob slightly
No Resistance? The cable is likely disconnected or a rod is broken.
Prevent Future Failures
The factory plastic parts are weak by design. Extend the lifespan with these tips:
- Use double-wire reinforcement instead of a single wire
- Avoid over-tightening the knob. A full turn is enough
- Lubricate the shaft yearly with silicone spray
- Upgrade to steel rods or tubing for heavy-use vehicles
Frequently Asked Questions About Silverado Lumbar Knob Removal
How do I know which lumbar knob type my Silverado has?
Check the knob’s center design. A star-shaped center indicates a 2000–2002 model with cable-disconnect design. A smooth, round knob without a star center typically means a 2007–2013 model with friction-fit or clip-secured mounting.
Can I remove the lumbar knob without removing the seat?
Yes, in most cases. The star-shaped knob (2000–2002) only requires rotating fully right and disconnecting the silver ball cable. Threaded shaft knobs (2007–2013) usually pull off with grip and gentle twisting. Leather seat knobs may require partial panel removal.
What if my lumbar knob spins freely with no resistance?
This indicates a disconnected cable or broken internal rod. You’ll need to remove the knob, access the seat back panel, and inspect the wire and plastic rods. Common failures include a snapped 1/8-inch wire or broken plastic rods connecting the knob to the housing.
Is penetrating oil safe to use on plastic lumbar knobs?
Yes, when used sparingly. Apply WD-40 around the base of a stuck knob and wait 5–10 minutes before attempting removal. Avoid soaking internal components, as excess lubricant can attract dirt and damage foam padding.
What is the best replacement part for a broken lumbar mechanism?
Part number 2082-4567 is the OEM repair kit for 2007–2013 Silverado, Sierra, and Tahoe models. Aftermarket versions cost $55–$60, while OEM kits run around $140. Both include new cables, rods, and mounting hardware.
Final Thoughts on Removing Your Silverado Lumbar Knob
Removing the lumbar knob on your Silverado requires knowing your model year and using the right technique. Early 2000–2002 models use a cable-disconnect method with a silver ball connector, while 2007–2013 trucks typically feature friction-fit or clip-secured knobs that pull straight off. Once removed, you can diagnose internal failures like snapped wires or broken plastic rods and apply targeted repairs.
For long-term reliability, consider upgrading to doubled wire or steel rods instead of relying on factory plastic components. If the damage is extensive, an aftermarket repair kit (part #2082-4567) offers a cost-effective solution at $55–$60 compared to $140 for OEM. Start by identifying your knob type, follow the removal steps for your specific model, and inspect the internal mechanism before deciding on a repair strategy.



