
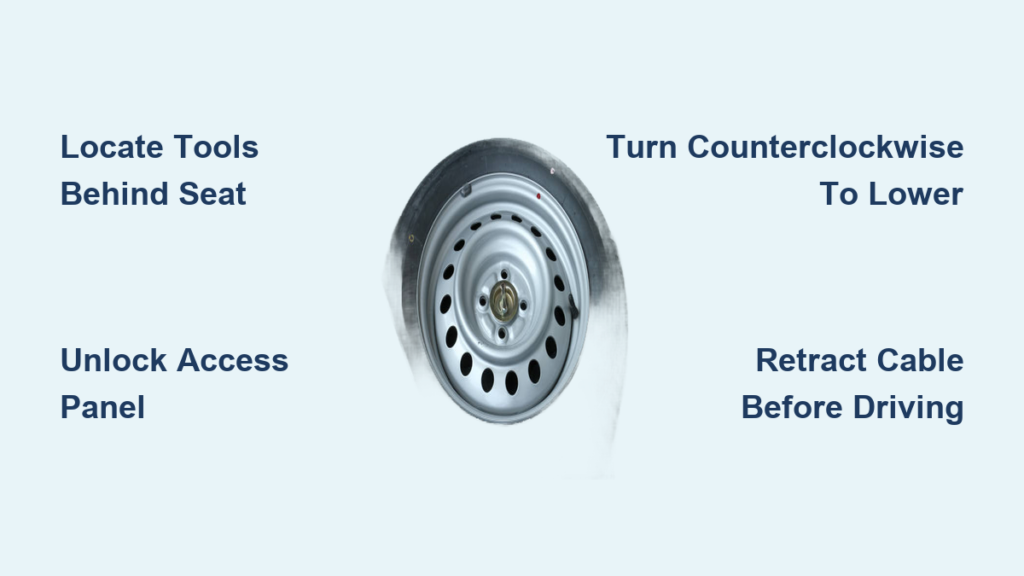
You’re stranded on the side of the road with a flat tire, and your Chevy Silverado is sitting low. You know there’s a spare underneath, but how do you get it down? If you’ve never had to access the hidden spare tire winch system beneath your truck bed, the process can seem confusing, or even impossible without the right tools or knowledge. The good news: lowering the spare tire on a Silverado (2007–2023+) is straightforward if you know where the tools are, how to engage the winch, and which way to turn.
This guide walks you step by step through locating the emergency kit, unlocking the winch mechanism, lowering the spare safely, and avoiding common pitfalls like a seized cable or dangling hazard. Whether you’re preparing for an emergency or already facing one, this complete walkthrough ensures you can retrieve your spare quickly and safely, and avoid dangerous mistakes.
Locate Emergency Tools Behind the Rear Seat
Before you can lower the spare, you need the correct tools. They’re stored out of sight but easy to find once you know where to look.
Access the Rear Passenger Compartment
The factory tool kit is hidden beneath the rear passenger-side seat:
1. Open the rear passenger-side door.
2. Lift up the back seat cushion.
3. Retrieve the stored equipment from the compartment underneath.
Visual cue: Look for a black plastic case or bundled metal bars. If missing, check if previous owners stored them elsewhere, or plan to replace them.
Identify Required Components
Your kit should include:
– Lug wrench (with square drive end)
– Two identical connector bars (used as extension)
– One unique rod (often with ball-end for newer models)
– Scissor jack
Pro tip: Keep these tools clean and dry. Rusty or bent rods may fail when needed most.
Use Substitute Tools if Needed
If the original tools are lost:
– 3/8-inch ratchet extension fits many 2009+ models
– ½-inch socket or wrench works on square drive ends
– Adjustable wrench or pliers can grip the rod in a pinch
Avoid using damaged tools, as they could strip the mechanism.
Unlock the Winch Access Panel

The spare tire is suspended under the truck bed by a cable winch. To control it, you must first unlock the external access point.
Remove the Mechanical Key from Your Fob
Many Silverados use a locked rear panel:
1. Locate the small release button on the side of the key fob.
2. Press the button and pull the bottom section outward.
3. This reveals the physical mechanical key required to unlock the rear access door.
Note: On older models, this lock may be separate or missing. Just remove the panel manually if unlocked.
Open the Rear Access Door
- Navigate to the rear of the truck, directly below the license plate.
- Locate the small rectangular access door or flap.
- Insert the mechanical key into the lock.
- Twist the key and pull the lock assembly outward.
- Remove the lock assembly to expose the winch access hole.
Warning: If the lock is stuck due to corrosion, gently wiggle while applying pressure. Spray lubricant if needed.
Engage the Winch Mechanism Correctly
Now that the access hole is open, connect your tool to the internal winch. The method depends on your model year.
Connect Twin Rods (2007–2014 Models)
Most pre-2015 Silverados use two long bars:
1. Take the two identical connector bars from the tool kit.
2. Join them together to form a single long rod.
3. Insert the open square end of the connected bars fully into the access hole.
4. Gently twist until you feel a distinct click, indicating the bar has locked into the winch mechanism.
Check: Wiggle slightly. If it moves freely, realign and push deeper.
Insert Ball-End Rod (2015+ Models)
Newer trucks use a different system:
1. Locate the small access hole on the side of the spare tire carrier (distinct from the license plate hole).
2. Insert the ball end (with spring) of the metal rod into this side hole.
3. Push the rod down until it clicks into place.
4. Open the flap near the license plate to expose the second hole.
5. Insert the other end of the rod into this hole.
6. Turn the rod by hand until it locks and will no longer turn freely.
Visual cue: Once engaged, the rod won’t spin freely. Resistance means it’s connected.
Lower the Spare Tire Safely

With the tool engaged, you’re ready to lower the tire. Direction matters, because turning the wrong way means nothing happens.
Attach the Lug Wrench as a Crank
- Identify the square hole on the lug wrench.
- Attach this square hole securely to the exposed square end of the connector bars or metal rod.
- Ensure a firm connection to prevent slippage during rotation.
Tip: Kneel behind the truck for better leverage and visibility.
Turn Counterclockwise to Lower
- Rotate the lug wrench handle counterclockwise to release the cable.
- The tire will descend rapidly. Do not force it if it moves freely.
- Keep turning even after the tire touches the ground.
Why? The cable remains attached to the center of the spare tire’s rim. Without extra slack, the tire cannot be tilted or maneuvered free.
Correction note: Despite some guides saying “clockwise,” verified procedures confirm counterclockwise lowers, while clockwise raises. This matches standard winch threading.
Add Extra Slack for Removal
Continue cranking 4–6 additional turns after ground contact:
– This creates sufficient slack in the center cable.
– Allows you to tilt and slide the tire sideways.
– Prevents sudden snap-back if the cable jams.
Warning: Never stand directly under the spare while lowering. In rare cases, cables can break under stress.
Remove the Spare from Under the Truck

Once slack is created, extract the tire from beneath the frame.
Tilt and Maneuver the Tire Free
- Position yourself on the ground beneath the rear of the truck.
- Lift the tire slightly to relieve tension on the cable.
- Tilt the tire sideways.
- Align the center hole with the opening in the truck’s frame.
- Push the tire up and through the frame opening to free it.
Pro tip: Use a flashlight or phone camera to line up the hole. A helper can guide you from above.
Handle the Retainer Bracket
The metal bracket in the center:
– Stays attached to the cable.
– Must clear the tire’s center bore during removal.
– Can snag if not aligned properly.
Fix: Rotate the tire slightly if stuck. Small adjustments make a big difference.
Retract the Cable After Use
After removing the spare, or before driving without it, retract the cable to prevent dangerous dangling.
Wind the Cable Clockwise
- Re-engage the tool assembly into the access hole.
- Turn the lug wrench clockwise to wind the cable back onto the drum.
- Continue cranking until the mechanism is tight.
- If no tire is present, crank until the retainer bracket is pulled flush against the underside of the truck frame.
Secure with Zip Tie as a Temporary Fix
If the winch slips or won’t hold:
– Use a heavy-duty zip tie to fasten the bracket to the frame.
– This is temporary only. Repair or replace the winch soon.
Danger: Driving with a dangling cable risks catastrophic failure.
Prevent Windshield Damage from a Dangling Cable
A loose spare cable isn’t just an annoyance. It’s a deadly hazard.
Never Drive with a Dangling Cable
If the spare is missing or not retracted:
– The metal cable can snap during driving.
– The metal retainer can launch upward at high speed.
– Result: Shattered windshield, serious injury, or death.
Real-world reports exist of cracked windshields from failed cables. Always retract the cable fully before driving.
Always Lock the Access Panel
After use:
1. Remove all tools.
2. Replace the lock assembly in the rear access door.
3. Turn the key to secure the panel.
Benefit: Prevents dirt, water, and theft, and confirms the system is closed.
Troubleshoot Common Failures

Even with the right steps, problems happen. Here’s how to fix them fast.
Crank Won’t Turn
Cause: Rust, frozen mechanism, or incorrect direction
Fix:
– Spray penetrating oil (WD-40) into the access hole.
– Wait 10–15 minutes.
– Try turning clockwise first, then reverse to counterclockwise.
– Tap the mechanism lightly with a hammer if seized.
Prevention: Lubricate the winch every 6 months in salty climates.
Handle Spins Freely
Cause: Tool not engaged or cable slipped off drum
Fix:
– Pull the rod out and reinsert fully.
– Twist until you feel the click.
– Listen for engagement. A solid “clunk” means it’s locked.
Check: Look through the access hole with a light. If the drive is spinning alone, the cable is disengaged.
Tire Stuck Under Frame
Cause: Insufficient slack or misalignment
Fix:
– Continue cranking counterclockwise.
– Lift and tilt the tire at a 30-degree angle.
– Use one hand to guide the center hole over the frame opening.
Helpful trick: Bounce the truck slightly by pushing down on the rear bumper. This shifts the frame and creates wiggle room.
Maintain Your Spare Tire System
A working spare is useless if you can’t retrieve it. Prevent future issues with simple care.
Inspect Every 6 Months
While checking oil or tire pressure:
– Open the access panel.
– Verify the lock turns smoothly.
– Check for rust or debris around the winch.
– Spin the rod to confirm free movement.
Lubricate the Winch Annually
Use silicone-based lubricant or white lithium grease:
– Apply to the cable and winch drum.
– Spray lightly into the access hole.
– Rotate the mechanism to distribute.
Avoid oil-based sprays. They attract dirt and wear faster.
Store Tools Properly
After use:
– Wipe tools dry.
– Return them to the compartment behind the rear seat.
– Replace missing parts immediately.
Tip: Label your tools or keep a spare 3/8″ extension in the glovebox.
Confirm Model Compatibility
This guide applies to most modern Silverados, but details vary slightly.
Supported Silverado Years
- 2007–2014: Twin connector bars, rear access only
- 2015–2023+: Ball-end rod with side and center engagement
- All full-size models: Underbody spare location
Exception: Some trims (like Z71 off-road) may relocate the spare. Check your owner’s manual.
Shared GMC Sierra Procedure
The same steps work for:
– GMC Sierra 1500/2500HD
– Chevrolet Tahoe/Suburban (some years)
– Cadillac Escalade (similar mechanism)
Always verify tool style before starting.
Frequently Asked Questions About Lowering a Silverado Spare Tire
Which way do you turn to lower the spare tire on a Silverado?
Turn the lug wrench counterclockwise to lower the spare tire. Clockwise rotation raises it back up. This matches standard winch threading on most 2007–2023+ Silverado models.
Where are the spare tire tools located in a Silverado?
The factory tool kit sits beneath the rear passenger-side seat cushion. Lift the cushion to access the jack, lug wrench, and connector bars or ball-end rod.
Can you lower a Silverado spare without the factory tools?
Yes. A 3/8-inch ratchet extension fits many 2009+ models, while a ½-inch socket, adjustable wrench, or pliers can grip the square drive end in emergencies.
Why won’t my Silverado spare tire crank turn?
Rust, corrosion, or wrong rotation direction usually causes this. Spray penetrating oil into the access hole, wait 10–15 minutes, then try turning in both directions gently.
Is it dangerous to drive with the spare cable dangling?
Extremely dangerous. A loose cable can snap and launch the metal retainer upward, shattering the windshield. Always retract the cable fully before driving.
How do you get a stuck spare tire out from under a Silverado?
Continue cranking counterclockwise to add slack, then tilt the tire sideways at a 30-degree angle. Align the center hole with the frame opening and push upward to free it.
Key Takeaways for Lowering Your Silverado Spare Tire
Lowering the spare tire on a Silverado doesn’t have to be stressful when you follow the right process. First, locate the tools behind the rear passenger seat and unlock the access panel with your mechanical key. Next, engage the winch using either twin connector bars (2007–2014) or the ball-end rod (2015+). Finally, turn counterclockwise to lower, add extra slack, and tilt the tire free.
The most critical rule: never drive with the cable dangling. A few turns of the wrench could save your windshield, or your life. Save this guide, perform inspections every 6 months, and you’ll be ready when trouble strikes.



