
Seeing the ABS, Traction Control, and Service Stabilitrak lights all flash on at once is enough to make any Silverado owner worry about a massive repair bill. These warnings are common across model years 2000 through 2024, and they often appear together for a reason. The most important thing to know: in most cases, the fix is simple, affordable, and completely doable in your driveway.
The root cause is rarely a fried computer module or a bad wheel bearing. More often, the culprit is a blown fuse, corroded ground strap, or damaged wiring harness. Even engine misfires or worn shocks can trigger these lights indirectly. This guide gives you a practical, no-fluff approach to diagnosing and fixing the issue yourself, potentially saving you hundreds or even thousands of dollars.
You’ll learn how to check the critical 225-amp ABS fuse, clean ground points, inspect wheel speed sensor harnesses, and avoid the most common repair mistakes. Whether the lights appeared after towing a trailer or came on for no obvious reason, the fix starts simple and stays practical.
Check the 225-Amp ABS Fuse First
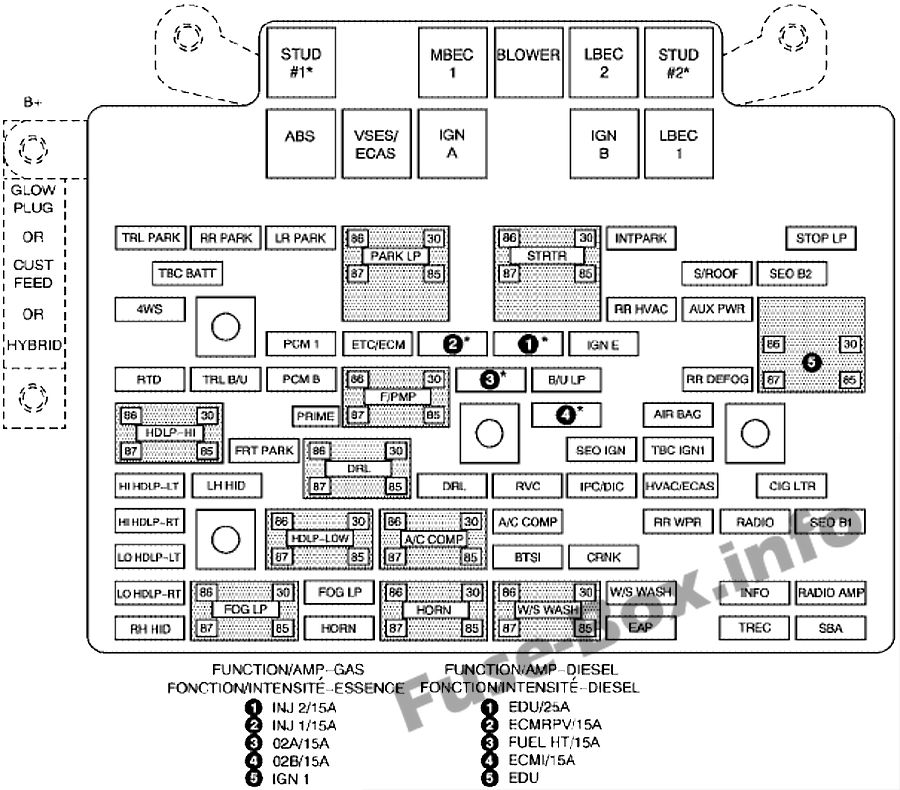
Locate Fuse #9 in the Dashboard Panel
One of the most common and easiest fixes for simultaneous ABS, Traction Control, and Stabilitrak lights is a blown 225-amp ABS fuse, also labeled as Fuse #9. This scenario is especially common if the lights appeared right after towing a trailer.
Trailers with faulty wiring can send a voltage spike into your Silverado’s electrical system, instantly blowing this fuse. Despite its high amperage rating, it acts as a critical circuit breaker for the ABS module.
Where to find it:
– Open the driver’s side door.
– Look at the right-side dashboard fuse panel near the lower edge of the dash.
– On diesel models, this area is on the fuel tank side.
Steps to inspect:
1. Open the fuse box cover.
2. Locate Fuse #9, labeled ABS 225A.
3. Remove it using the fuse puller or needle-nose pliers.
4. Look at the internal link. If it’s broken, blackened, or discolored, the fuse is blown.
Replace the Fuse and Reset the System
Always replace with a 225-amp fuse. Never substitute a lower-rated fuse, as this creates a fire hazard. Press the new fuse firmly into the slot.
Then follow these steps:
1. Start the engine.
2. Let it idle for 10 to 15 seconds with your foot on the brake.
3. The ABS and traction lights should turn off automatically as the system performs its self-check.
Pro Tip: Keep a spare 225A fuse in your glovebox. If you tow regularly, check this fuse before every trip.
Inspect Ground Connections on 2000–2006 Models

Clean the Front Frame Ground Straps
For older Silverados built between 2000 and 2006, poor grounding is a frequent cause of intermittent ABS and brake lights. Two critical ground straps sit on the front frame rail near the wheel well.
When corrosion builds up, the ABS module loses stable power, causing lights to flicker. This problem gets worse in rain, snow, or after winter driving on salted roads.
Fix it in 5 steps:
1. Locate the ground straps on the front frame rail.
2. Remove the 13 mm bolts securing them.
3. Clean both the frame surface and copper strap with a wire brush. Always wear eye protection.
4. Reinstall with the original bolts. If threads are stripped, use a double-nut lock by tightening two nuts against each other behind the strap.
5. Start the truck. Warning lights should illuminate briefly and go off within 2 to 3 seconds.
Pro Tip: Apply a thin coat of dielectric grease to the cleaned metal after reassembly to prevent future corrosion.
Diagnose Wheel Speed Sensor Wiring
Identify Chafing in the Harness
The ABS system needs accurate speed data from all four wheels. If one sensor fails or its signal drops out, the entire stability system shuts down.
Here’s the key insight: the sensor itself is rarely the problem. The wiring harness is almost always the culprit. Over time, the plastic shroud protecting the wire cracks due to heat and vibration. Exposed wires then rub against brackets, the frame, or suspension parts, especially during steering maneuvers.
Common symptoms:
– Lights come on during turns.
– Intermittent warnings that disappear after restarting.
– No grinding or humming noise from the wheels, which rules out bearing failure.
Perform a Dynamic Steering Test
Static inspection often misses intermittent breaks. To catch them, run this dynamic test:
- Jack up the truck and secure it on jack stands.
- Remove the front tires for better access.
- Have a helper sit in the driver’s seat, start the truck, shift into Drive, and release the brake slightly to let the wheels spin while keeping their foot near the brake.
- Turn the steering wheel fully left and right while you watch the harness.
What to look for:
– Wires stretching, binding, or rubbing.
– Exposed copper touching metal surfaces.
– Connectors wobbling or pulling loose.
If you see the harness flicking against a bracket, you’ve found the fault. Wrap it temporarily with electrical tape to confirm the diagnosis, then plan a permanent repair.
Replace Faulty Wheel Speed Sensors
Install with Proper Torque
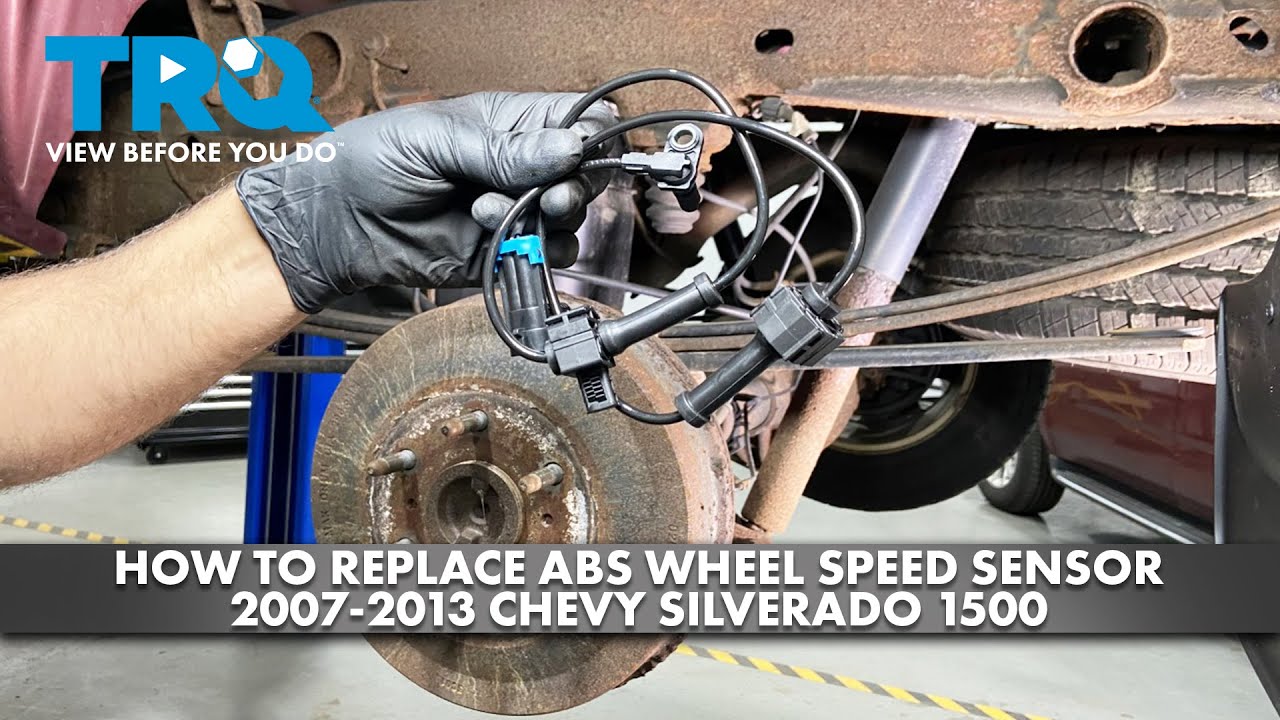
If diagnostics or code reading confirm a bad sensor, replacement is straightforward, but torque specifications matter.
Left rear sensor replacement example (2012 Silverado):
1. Remove the T30 Torx screw holding the sensor.
2. Gently twist and pull the sensor out. If stuck, use two flathead screwdrivers to carefully pry it free.
3. Clean the hub bore to remove rust and debris.
4. Apply a small dab of dielectric grease to the O-ring only. Keep grease away from the sensing tip.
5. Insert the new sensor and hand-start the screw.
6. Torque to exactly 15 ft-lbs using a torque wrench.
Warning: Over-tightening cracks the sensor housing. Under-tightening allows moisture inside, leading to early failure.
Reconnect Upper and Lower Harnesses
The lower connector may need slack. Wiggle the harness or loosen nearby clamps to free it up. The upper connector is usually hand-releasable. Pull straight back, then reconnect with a firm push until it clicks.
Test drive after replacement. If lights return, recheck for wiring issues or scan for additional codes.
Clean ABS Module Connectors

Access and Re-seat the Connectors
The ABS module (EBCM) sits under the driver’s side near the front suspension. Corrosion or loose pins here cause recurring faults across all model years.
Steps:
1. Unscrew the four Torx 20 bolts holding the module.
2. Gently pull it out to access all three connectors (front, side, rear).
3. Press down on the pink locking tabs to release the front and side connectors.
4. Spray electrical contact cleaner into each socket and onto each prong.
5. Wipe with a lint-free cloth and let dry completely.
Inspect for Cracked Solder Joints
Flip the module over and examine the circuit board. Cracked or dull solder joints, especially near connectors, can cause intermittent failures.
Use a soldering iron to reflow the joints. This simple repair can save you from buying a $400 replacement module.
Reinstall the module, reconnect all harnesses, and make sure the locking tabs click into place.
Read Diagnostic Trouble Codes with an Advanced Scanner
Identify Key Codes and Their Meanings
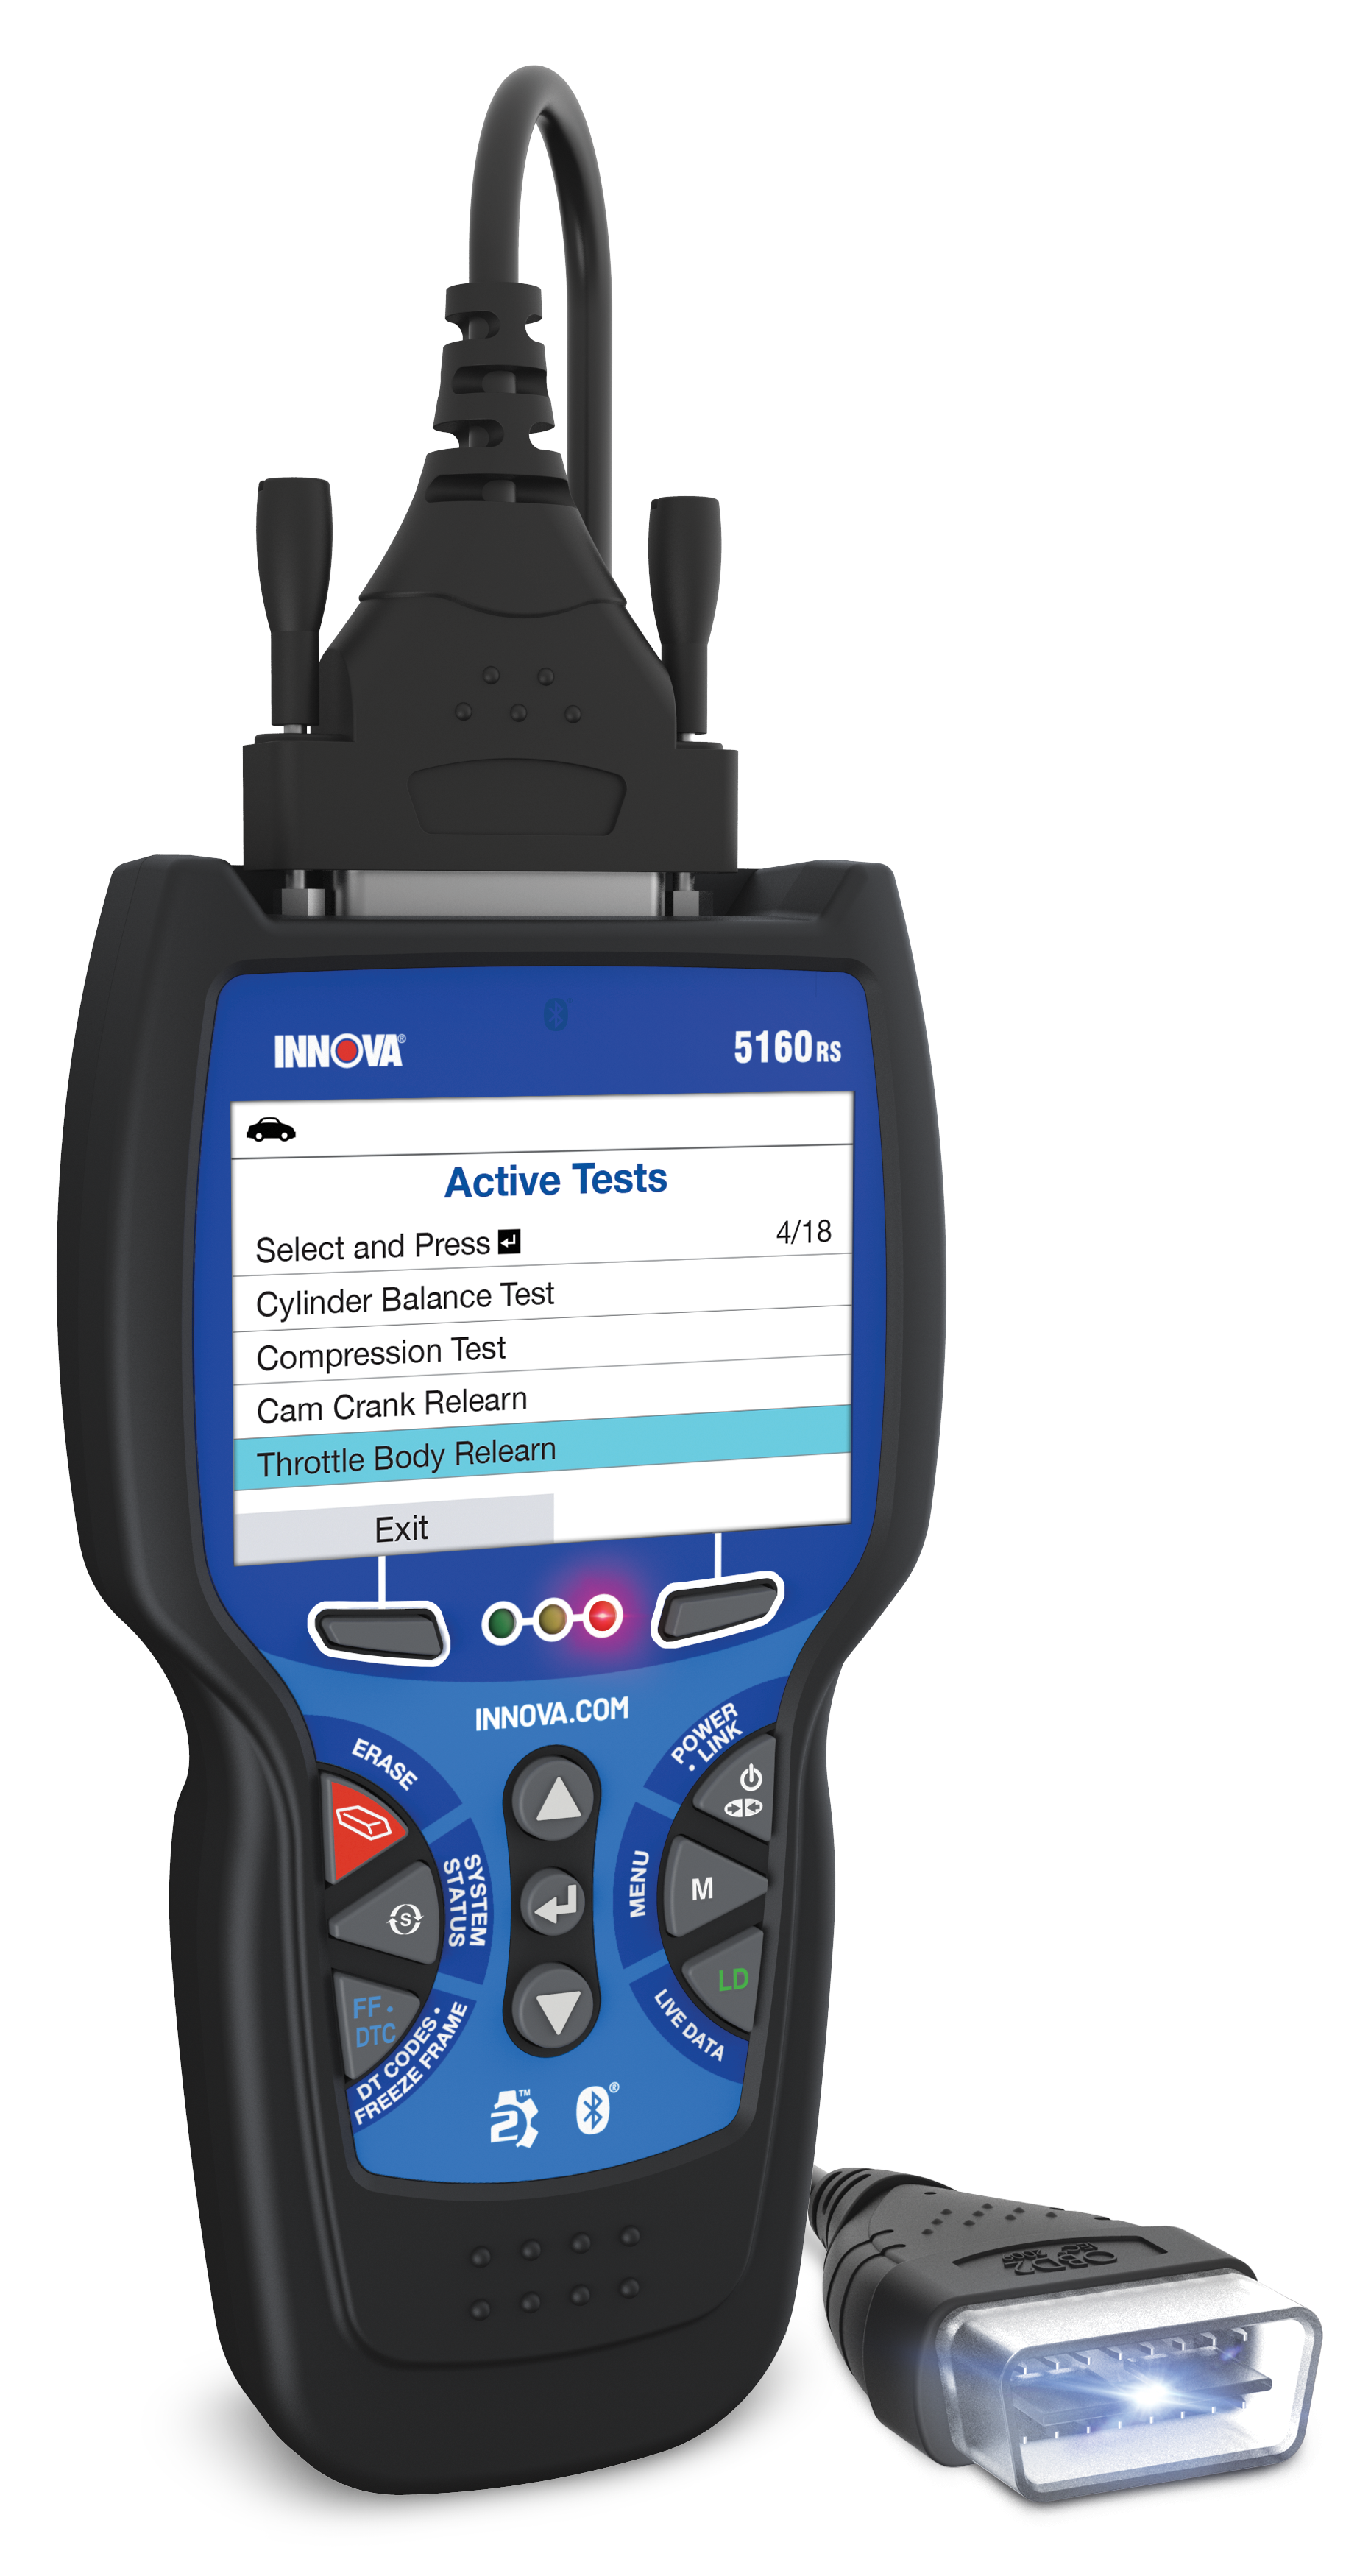
Generic OBD2 scanners won’t read ABS or TCM codes. You need a scanner that supports brake and transmission modules, such as:
– Autel MaxiCOM
– Snap-On Modis
– Harbor Freight models like the Innova 5160
Key codes and what they mean:
C0110 – EBCM Internal Fault
– Points to ABS module failure or power loss.
– Check connectors, grounds, and power supply first.
– If wiring checks out, the EBCM may need replacement or reprogramming.
U0101 – Lost Communication with TCM
– The ABS module cannot talk to the Transmission Control Module.
– Causes include loose harness, bad ground, or failing TCM.
– Inspect wiring between modules and check battery voltage.
U0073 – Serial Data Communication Failure
– Suggests a CAN bus network issue.
– Could be a broken wire, water-damaged connector, or failing control module.
– This code often requires professional diagnosis.
P0700 – Transmission Control Malfunction
– Not an engine code. The TCM detected a fault and told the ECM to light the check engine light.
– Often appears alongside ABS lights. Check for rough shifting or delayed engagement.
Test the Brake Pedal Switch
Replace This Low-Cost Culprit
A failing brake pedal switch is an inexpensive part that causes intermittent Stabilitrak and ABS lights.
Symptoms:
– Lights come and go randomly.
– Sometimes clear after turning the truck off and on.
– May affect cruise control or brake lights.
Diagnosis:
– Scan for codes while lights are on.
– Look for brake switch plausibility or signal invalid codes.
– If found, replace the switch.
Cost: $20 to $40. Time: 10 minutes. Just unplug and swap.
Address Engine and Throttle Issues
Misfires Disable Traction Control
Many owners don’t realize that engine problems can trigger ABS and traction lights. The system disables traction control when engine power delivery is unstable.
Common triggers:
– Dirty MAF sensor
– Failing throttle body
– Plugged fuel injectors
– Worn spark plugs or coils
If you’re experiencing rough idle, hesitation, or misfire codes (P0300 through P0308), fix those first. The stability lights may clear on their own.
Quick test: Clear all codes, fix the engine issue, then drive for a few days. If ABS lights don’t return, the problem was engine-related.
Check Suspension and Shock Condition
Worn Shocks Cause Electrical Gremlins
Severe shock absorber wear leads to excessive vibration. This constant movement can:
– Loosen ABS harness connectors
– Cause wires to chafe against the frame
– Trigger intermittent shorts
Signs of worn shocks:
– Bouncy ride
– Nose-diving during braking
– Uneven tire wear
If you have persistent electrical issues, inspect your shocks. Replacing them may stop the vibration-induced faults entirely.
Relearn TPMS After Repairs
Fix 147 PSI Default Readings
After battery disconnects or fuse replacements, the TPMS system may show 147 PSI, which is a default value when sensors lose communication.
To relearn:
1. Turn ignition to ON without starting the engine.
2. Press and hold the remote door lock button for 5 to 10 seconds until the horn chirps.
3. Drive above 20 mph to activate sensors.
If one sensor still shows 147 PSI, that sensor’s battery is dead and needs replacement.
Final Verification and Reset
Complete the Fix Cycle
After completing repairs:
1. Clear all codes with your scanner.
2. Drive the truck through a full cycle:
– Accelerate to 30+ mph
– Make several turns
– Perform hard but safe stops
3. This allows the ABS and Stabilitrak systems to relearn wheel speeds and calibrate.
Monitor for 3 to 5 days. If lights return, rescan for new codes.
Cost-Saving Repair Hierarchy
Don’t replace expensive parts first. Follow this order:
- Check Fuse #9 (225A) – $10, 2 minutes
- Inspect wiring harnesses – Free, 30 minutes
- Clean grounds and connectors – Free
- Replace brake pedal switch – $30
- Replace wheel speed sensor – $30 to $80
- Reprogram or replace EBCM – $100 to $400 (last resort)
Fact: Over 90% of sudden-onset ABS and traction light cases are fixed by fuse or wiring repairs, not module replacements.
Prevent Future Issues
Maintain Electrical Health Long-Term
- Inspect trailer wiring before every tow
- Wrap exposed harnesses with spiral wrap or conduit
- Clean sensor connectors during tire rotations
- Use dielectric grease on all electrical joints
- Keep shocks in good condition to reduce vibration
Frequently Asked Questions About Chevy Silverado ABS and Traction Lights
Why do my ABS, Traction Control, and Stabilitrak lights all come on at the same time?
These systems share data and power sources, so a single fault in the electrical supply, a wheel speed sensor, or module communication can disable all three at once. The most common trigger is a blown 225-amp ABS fuse, especially after towing.
Can I drive my Silverado with the ABS and traction lights on?
Yes, you can drive, but your ABS and stability control features won’t function. Your regular brakes still work, but avoid aggressive driving or towing until the issue is resolved.
How much does it cost to fix ABS and traction lights at a dealership?
Dealerships often charge $150 to $300 just for diagnostics, then recommend module replacements costing $400 or more. Most of these issues can be fixed for under $50 with basic tools and parts.
Will disconnecting the battery clear the ABS light?
Disconnecting the negative terminal for 15 minutes may clear temporary codes, but it won’t fix the underlying problem. If a fault exists, the lights will return after driving.
What scanner do I need to read ABS codes on a Silverado?
You need an advanced scanner that supports ABS, TCM, and body control modules. Options include the Autel MaxiCOM, Snap-On Modis, or the Innova 5160 from Harbor Freight.
Key Takeaways for Fixing Your Silverado’s ABS and Traction Lights
The ABS, Traction Control, and Stabilitrak lights on your Chevy Silverado are warning signs, not death sentences. Most fixes are simple, electrical, and affordable. Always start with Fuse #9, then move to wiring and grounds before considering expensive module replacements. Avoid the dealership trap of “replace the module” until you’ve ruled out the basics.
Your next step: Grab a fuse puller and check Fuse #9 right now. If it’s blown, replace it and see if your lights clear. If not, work through the ground and wiring checks systematically. With patience and the right approach, you can solve this problem yourself and keep your Silverado safe and stable on the road.



