
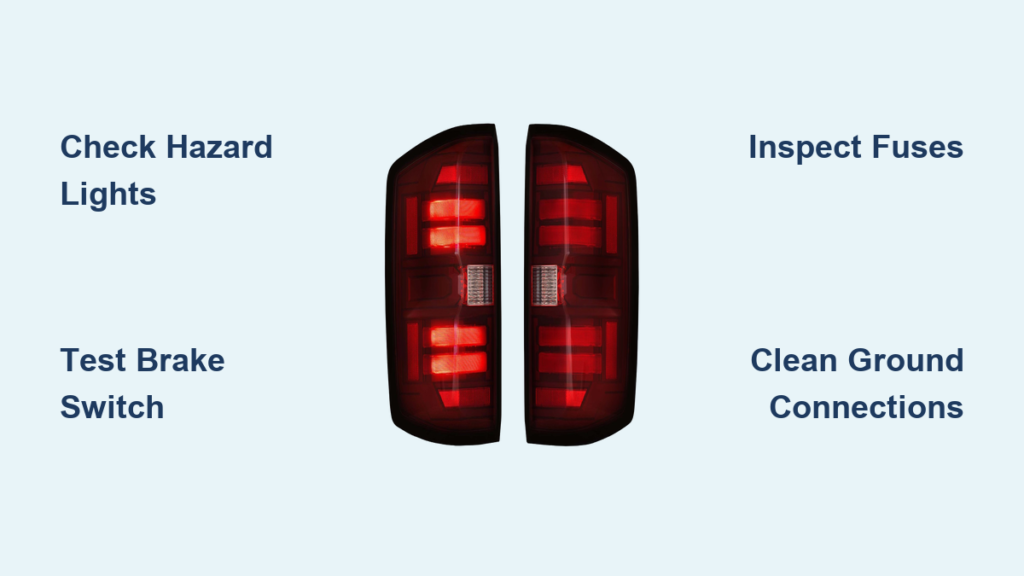
You press the brake pedal and realize nothing happens behind you—no brake lights. This is more than an inconvenience. Silverado brake lights not working creates serious safety risks, including rear-end collisions, failed safety inspections, and potential traffic citations. Most causes are surprisingly fixable with basic tools and a logical approach.
This guide walks you through a precise diagnostic path based on real failure patterns from Silverado owners. Whether you drive a GMT800 or a newer GMT900, you will learn exactly what to test, where to look, and how to avoid wasting time on the wrong components. We focus on the proven failure points: brake light switches, fuses, multi-function switches, ground connections, and corroded harnesses.
Verify Brake Light Symptoms First
Before touching any tools, confirm exactly what works and what does not. This step eliminates half the possible causes in minutes.
Check Hazard Lights and Third Brake Light
Run two quick tests:
– Turn on the hazard flashers. Do all rear lights flash normally?
– Press the brake pedal. Does the Center High Mounted Stop Lamp (CHMSL) illuminate?
Your findings narrow the fault immediately:
– Hazards work, CHMSL works → Bulbs, grounds, and main power are good. The fault lies in the brake switch or multi-function switch.
– Hazards work, CHMSL does NOT work → The problem is upstream: brake switch, fuse, or main power feed.
– No rear lights at all → Likely a shared ground failure, main harness break, or junction block corrosion.
This symptom-based triage is the fastest way to rule out unnecessary work.
Test the Brake Light Switch

If the CHMSL fails to light up, start here. The brake light switch is the most common failure point on Silverados.
Locate and Test the Switch
The switch mounts on the brake pedal arm, near the top of the pedal assembly. It has two wires:
– Input wire (power in): Usually orange with a white stripe, providing 12V with the key on.
– Output wire (power out): Often purple on 2011 models or white on older models.
Use a Test Light or Multimeter
- Turn the ignition to ON.
- Probe the orange/white wire. It should show 12V.
- Press the brake pedal.
- Probe the output wire. It should show 12V only when the pedal is pressed.
If input has power but output does not, the switch is faulty or misadjusted.
Fix Common Switch Issues
Even brand-new switches can fail:
– Defective replacement units: Some aftermarket switches do not activate properly. Choose OEM parts when possible.
– Adjustment problems: The switch plunger must be fully depressed by the pedal. Adjust the gap or check for a broken pushrod.
– Intermittent operation: Wiggle the pedal while testing. If lights flicker, replace the switch.
Pro Tip: If brake lights work only after tapping the switch, it is not making full contact. On some models, drilling a small hole in the pushrod allows deeper engagement.
Check Fuses and the Hazard Flasher Unit
Fuses are quick to check, but never trust your eyes alone. A fuse can look perfect and still be broken internally.
Find the Right Fuses
Check both the under-dash and engine bay fuse boxes:
– STOP or BRK fuse: Usually 15A or 25A. Common locations are Fuse #1 and #3 on 2011 models.
– VHL CHMSL fuse: A 10A fuse dedicated to the third brake light.
Use a fuse tester or multimeter. Replace any suspect fuse, even if it looks fine.
Watch for a Blown Fuse After Replacement
If a new STOP fuse blows immediately, you have a short circuit. The most common culprit is the hazard flasher unit.
The brake light circuit shares a path with the hazard system. A cracked or shorted flasher unit can ground the brake signal, blowing the fuse repeatedly.
Test This:
- Remove the hazard flasher unit (usually under the dash or in the fuse panel).
- Replace the STOP fuse.
- Press the brake pedal.
If the brake lights now work, replace the hazard flasher unit. Many mechanics overlook this step.
Diagnose the Multi-Function Switch
If hazards work but brake lights do not, and the brake switch tests good, the problem is likely the multi-function (turn signal) switch.
Why This Switch Matters
In most Silverados, brake light power flows through the steering column switch before reaching the rear lights. This allows turn signals to override brake lights on the flashing side. When the switch fails internally, the brake signal gets blocked.
Quick Test: Wiggle and Cycle
- Turn on hazards. Do rear lights flash?
- Press the brakes. No response?
- Rapidly cycle the turn signal lever up and down ten times.
If brake lights momentarily come on, the switch contacts are corroded or worn.
Fix: Replace the Switch
There is no reliable repair for a failing multi-function switch. Replacement is the only long-term fix.
⚠️ Warning: This job involves removing the steering wheel and airbag. If you are not experienced, seek professional help.
Inspect Bulbs, Sockets, and Circuit Boards
Even if one light works, do not assume all bulbs are good. Test them under load.
Replace Bulbs with Known-Good Units
Filaments can look intact but fail when powered. Swap in tested bulbs.
Clean and Adjust Sockets
Corrosion is a leading cause of poor contact.
- Remove the taillight assembly (usually two to three screws).
- Spray electrical contact cleaner into each socket.
- Use a straight pin to gently pry up the bottom contact tab so it presses firmly against the bulb base.
✅ Visual cue: Look for green or white crust inside sockets. These are clear signs of corrosion.
Check for Circuit Board Failure
Some Silverados use printed circuit boards behind the taillights instead of traditional wires.
How to Inspect:
- Remove the lens.
- Disconnect the harness.
- Examine the board for burn marks, cracked traces, or green corrosion along copper paths.
If damaged, replace the entire circuit board. Cleaning may work short-term, but cracks will reappear.
Trace Wiring and Grounds
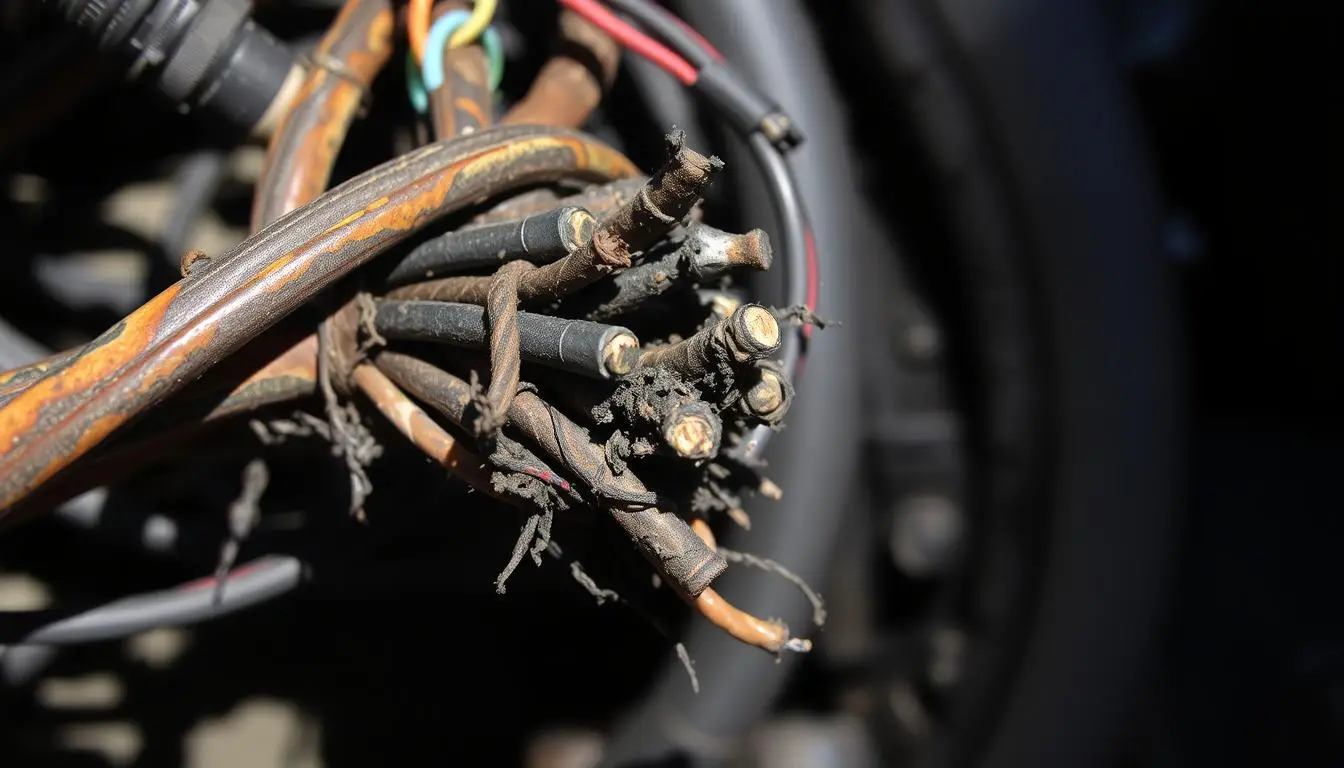
When all other tests pass, the issue is likely in the wiring harness or ground connections.
Find the Main Frame Harness
The primary wire bundle runs along the frame rail from the cab to the rear. Over time, road salt, moisture, and vibration cause wires to rot or break.
Common Failure Points:
- Where the harness passes near the trailer hitch.
- At sharp bends or clamps.
- Through the firewall, where wires can get pinched.
- At the flat connector under the steering column, especially the white brake wire.
Use a test light to check for continuity. Probe the brake signal wire at both ends. If power stops mid-run, cut open the loom and inspect.
🔍 Pro Tip: Look for wires with cracked insulation or green corrosion inside. Repair with solder and heat shrink, never wire nuts.
Test Ground Connections

Poor grounding causes erratic lights, horn honking at startup, or complete brake light failure.
Key Ground Points to Check
- Frame near the trailer hitch (high corrosion risk).
- Tail light housing (clean metal contact under the socket).
- Cab-to-frame ground strap.
- Battery to engine block.
How to Test a Ground:
- Set multimeter to voltage.
- Connect red probe to battery positive.
- Connect black probe to the ground point.
- Press the brakes.
- If you read more than 0.2V, the ground is weak.
Fix Corroded Grounds
- Disconnect the wire.
- Sand both the terminal and chassis point to bare metal.
- Reconnect tightly.
- Apply dielectric grease to prevent future corrosion.
💡 Time-Saver: Run a new ground wire from the tail light assembly directly to the battery negative if original grounding is unreliable.
Inspect the Rear Junction Block (2005+ Models)

On 2005 and newer Silverados, a rear junction block routes power to the left and right taillights. It sits behind the spare tire.
Why It Fails
Water intrusion leads to corrosion inside connectors, breaking the circuit.
How to Check:
- Lower the spare tire.
- Open the junction box.
- Look for white or green corrosion on pins, melted plastic, or moisture inside.
If corroded, replace the entire block and harness section. Apply dielectric grease to new connections.
🛠️ Difficulty: Medium. Requires lifting the truck and lowering the spare. Allow 30 to 45 minutes.
Rule Out Aftermarket Wiring
Trailer hitches and brake controllers often introduce brake light problems.
Look for Spliced Wires
Check under the dash and near the brake switch:
– Are there non-factory wires tapped into the brake circuit?
– Did a previous owner cut or splice the orange/white or purple wire?
Common problems include corroded splices, loose connections, and shorted wires from DIY installations.
Fix:
- Remove aftermarket wiring.
- Repair original wires with solder and heat shrink.
- Use a factory-style harness adapter if adding a trailer system.
Avoid Common Diagnostic Mistakes
Even experienced DIYers make these errors.
Assuming OBD Scanner Shows All Codes
Standard OBD2 scanners cannot read Body Control Module (BCM) lighting faults. No codes does not mean no problem.
The BCM manages lights on 2011+ models. You need a specialized scanner to diagnose it.
Trusting Wire Colors Blindly
GM changed wire colors over the years:
– Brake output equals white on older models, purple on 2011 models, or yellow on some variants.
Always test with a multimeter. Do not rely on color alone.
Replacing Parts Without Testing
Swapping switches or fuses randomly wastes time and money. Follow this order:
1. Test bulbs and hazards.
2. Check fuses.
3. Test brake switch voltage.
4. Verify grounds.
5. Inspect harness and junction block.
Final Fix Checklist
Use this sequence to solve Silverado brake lights not working quickly.
Step-by-Step Diagnostic Flow
-
Hazards work?
→ Yes: Check brake switch and multi-function switch.
→ No: Check fuses, bulbs, grounds. -
CHMSL works?
→ Yes: Fault is in turn signal switch or rear harness.
→ No: Check brake switch, fuses, power feed. -
Brake switch output live?
→ No: Replace switch or adjust plunger.
→ Yes: Trace signal to multi-function switch. -
Power at rear?
→ No: Inspect junction block, frame harness, grounds.
→ Yes: Check sockets, circuit boards, bulbs. -
Fuse blows immediately?
→ Replace hazard flasher unit.
Prevent Future Failures
Keep your brake lights reliable with these habits:
– Apply dielectric grease to all connectors during bulb changes.
– Inspect the frame harness annually, especially if you drive in snowy or coastal areas.
– Clean taillight connectors before winter.
– Use OEM or high-quality replacement parts. Cheap switches fail faster.
– Fix ground issues early. They cascade into other electrical problems.
Frequently Asked Questions About Silverado Brake Lights
Why are my Silverado brake lights not working but my third brake light is?
If the CHMSL works but the side brake lights do not, the brake switch is functional and power is reaching the vehicle. The fault is downstream, most commonly the multi-function switch or a wiring issue between the column and the rear lights.
What fuse controls the brake lights on a 2011 Silverado?
The 2011 Silverado uses Fuse #1 and Fuse #3 in the under-dash fuse box for the brake light circuit. The CHMSL is powered by a separate 10A VHL CHMSL fuse. Always test fuses with a multimeter, since they can fail internally without visible damage.
Can a bad hazard flasher cause brake lights to stop working?
Yes. The brake light circuit shares a path with the hazard system. A shorted or cracked hazard flasher unit can ground the brake signal and blow the STOP fuse repeatedly. Removing the flasher unit and testing is a quick way to confirm this.
How do I know if my brake light switch is bad?
Test the switch with a multimeter. The input wire should show 12V with the key on. The output wire should show 12V only when the pedal is pressed. If input has power but output does not, the switch is faulty or needs adjustment.
Why do my brake lights work intermittently?
Intermittent brake lights usually point to a failing brake light switch, corroded socket contacts, or a loose ground connection. Wiggle the brake pedal and test each socket under load to identify the weak point.
Where is the rear junction block on a 2005 Silverado?
The rear junction block sits behind the spare tire on 2005 and newer Silverados. It routes power to the left and right taillights and is prone to corrosion from water intrusion. Lowering the spare tire gives you access to inspect it.
Key Takeaways for Fixing Your Silverado Brake Lights
Start with the symptoms. Checking hazards and the CHMSL tells you where to look before you touch a single component. The brake light switch and fuses are the most common culprits, but do not overlook the hazard flasher unit, which can silently blow your STOP fuse. Ground connections and the rear junction block cause the most frustrating intermittent failures, especially on older trucks exposed to road salt. Work through the diagnostic sequence methodically, test with a multimeter instead of guessing, and you will find the fault without wasting money on parts you do not need.



