
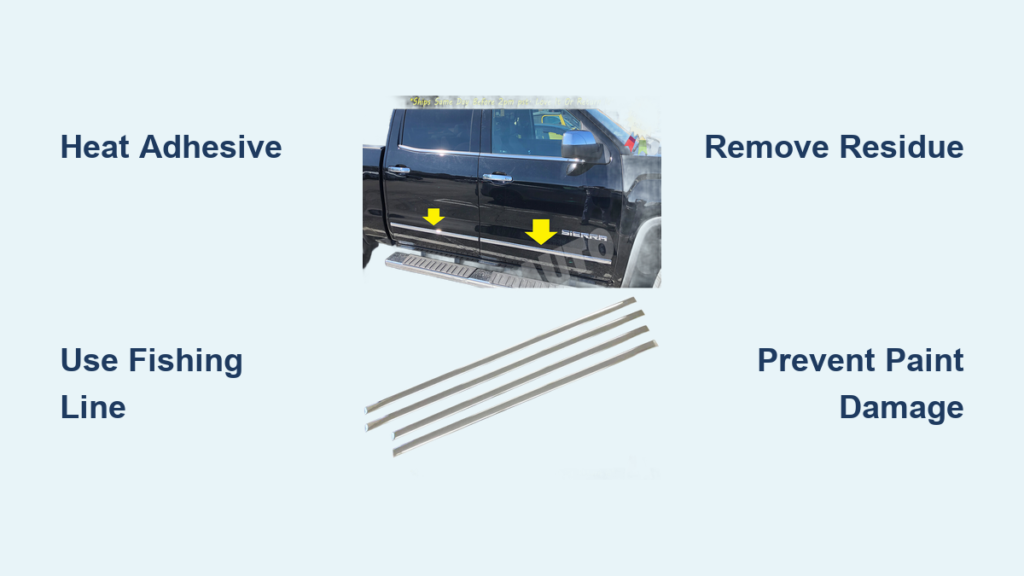
That faded, cracked side molding on your Silverado is making the whole truck look dated. Many owners deal with peeling, oxidized trim that ruins an otherwise clean paint job, and the thought of removing it brings up two big fears: chipped paint and stubborn adhesive residue. The good news is that learning how to remove side trim on Silverado trucks is one of the most rewarding DIY mods you can do in under an hour per side.
This guide walks you through every step, from heating the adhesive to cleaning residue and fixing the inevitable oxidation “tan line.” You’ll learn which tools actually work, which ones damage paint, and how to decide between deleting, replacing, or wrapping your trim once it’s off.
Heat the Trim to Soften the Adhesive

The double-sided foam tape holding your trim in place softens dramatically with heat. Skipping this step is the number one reason people end up with chipped paint and torn adhesive.
Use Sunlight or a Heat Gun
Parking in direct sunlight for 2 to 4 hours on a warm day is the easiest method. Once the door panels feel hot to the touch, the trim often peels off with minimal effort. On cloudy or cold days, grab a heat gun on low or medium and sweep it evenly across the molding for 30 to 60 seconds. A hair dryer works too, but takes longer. Keep the tool moving at all times to avoid blistering the paint or melting the plastic.
Try Hot Water for Quick Activation
No heat gun available? Run hot tap water from a garden hose over a 6-inch section of trim for about 30 seconds, then move to the next area. The thermal shock softens the foam tape enough to start peeling. This trick is especially useful in colder climates where solar heating alone isn’t enough.
Start Peeling From the Edge
Once the trim is warm, you’re ready to begin the actual removal.
Lift With Fingers or a Plastic Tool
Grasp the front or rear corner and pull upward at a 90-degree angle. On older, degraded moldings, the trim may come off in seconds. If it resists, slide a plastic trim wedge under the edge to lift it. Never use a metal screwdriver, as it can chip paint instantly.
Work slowly and maintain heat as you go. If you feel strong resistance, stop and reapply heat before continuing. Yanking too hard stretches the adhesive and leaves more residue behind.
Cut Through Adhesive With Fishing Line
When the molding won’t budge by hand, the adhesive is still too firm. This is where braided fishing line becomes your best friend.
Use Braided Line as a Saw
- Heat the starting edge with your heat gun or hot water.
- Slide a 2-foot length of braided fishing line behind the lifted corner.
- Hold both ends and saw side-to-side, pulling the line through the adhesive.
- Keep heating the section just ahead of the line to maintain a soft bond.
This method cleanly separates the trim without stressing the paint. It works especially well on intact moldings with strong factory tape that refuse to peel by hand.
Clean Stubborn Adhesive Residue

Peeling off the trim leaves behind sticky foam and tape residue, which is the most time-consuming part of the job. The right tool makes all the difference.
Use a Drill-Powered Eraser Wheel
A rubberized decal removal wheel attached to a drill is the fastest solution available.
- Use a 20-volt cordless drill (DeWalt, Ryobi, or similar).
- Attach an ABN or 3M eraser wheel, which costs around $10 to $15.
- Start at one end and use light, sweeping motions, either up and down or side to side.
- Never stop the wheel while spinning on the paint, as friction heat can burn through the clear coat.
The wheel turns residue into fine crumbs that wipe away with a microfiber towel. Expect about 10 to 15 minutes of work per door side with this method.
Apply Goo Gone for Sticky Spots
For extra-sticky patches or if you’re working by hand, soak the area with Goo Gone Automotive or isopropyl alcohol. Let it sit for 2 to 3 minutes to penetrate the foam, then wipe with a cloth or follow up with the eraser wheel. Avoid WD-40 or harsh solvents, which leave an oily film that interferes with new trim or wraps.
Prevent Paint Damage During Removal
The two biggest risks during this project are paint chips and clear coat burns. A few simple precautions keep your finish safe.
Avoid Metal Tools and Hot Spots
- Never use metal scrapers, knives, or screwdrivers unless wrapped in tape, and even then, avoid them.
- Always use plastic trim tools for lifting edges.
- With heat guns or eraser wheels, keep the tool moving at all times.
If you notice white swirls or dull spots after cleanup, you’ve likely overheated the paint. Light polishing with a dual-action polisher can fix minor damage.
Reveal Hidden Paint Differences

After years of sun exposure, the painted area around the trim fades while the part under the molding stays darker. When you remove the trim, you’ll often see a sharp line, almost like a sunburn tan line.
Expect Oxidation “Tan Lines”
This color mismatch is caused by UV exposure. The protected zone looks newer, making the rest of the door appear dull. It’s not damage, but it can be jarring if you’re not expecting it.
Fix Paint Discrepancies After Removal
To eliminate the two-tone effect, you have three solid options depending on your budget and goals.
Buff or Wrap the Door
- Polish the entire door with a dual-action polisher and compound to even out oxidation and blend the colors.
- For severe fading, repaint the door for a perfect match.
- Apply a vinyl wrap (gloss black, matte, or brushed) over the whole panel to hide the difference and modernize the look.
Wrapping is cheaper than paint and fully reversible, making it ideal if you’re not ready to commit to a permanent change.
Consider Alternatives to Full Removal
If you’re happy with the trim’s position but want a new look, skip removal entirely and modify what’s already there.
Wrap or Dip the Existing Trim
Vinyl Wrap the Trim:
– Cut 3M vinyl wrap into 3-inch strips.
– Heat with a hair dryer, then stretch over the molding.
– Trim edges with a fingernail or blade.
– Smooth with a plastic card to remove bubbles.
Spray With Plasti-Dip:
– Apply black Plasti-Dip in even coats.
– Walk while spraying for uniform coverage.
– Add a glossifier topcoat for shine.
– Peel off later to restore original chrome.
Both methods are fully reversible and cost under $20 total.
Mark Alignment for New Trim Installation
If you plan to install new side molding, marking the position before removing the old trim saves you from crooked placement.
Use Tape as a Guide
- Apply blue painter’s tape just above and below the existing trim.
- After removal, the tape shows exactly where to align the new piece.
- Use 3M Molding Tape rather than reused adhesive for a secure bond.
This ensures perfect placement and avoids the frustration of guessing where the trim should sit.
Choose Your Final Look
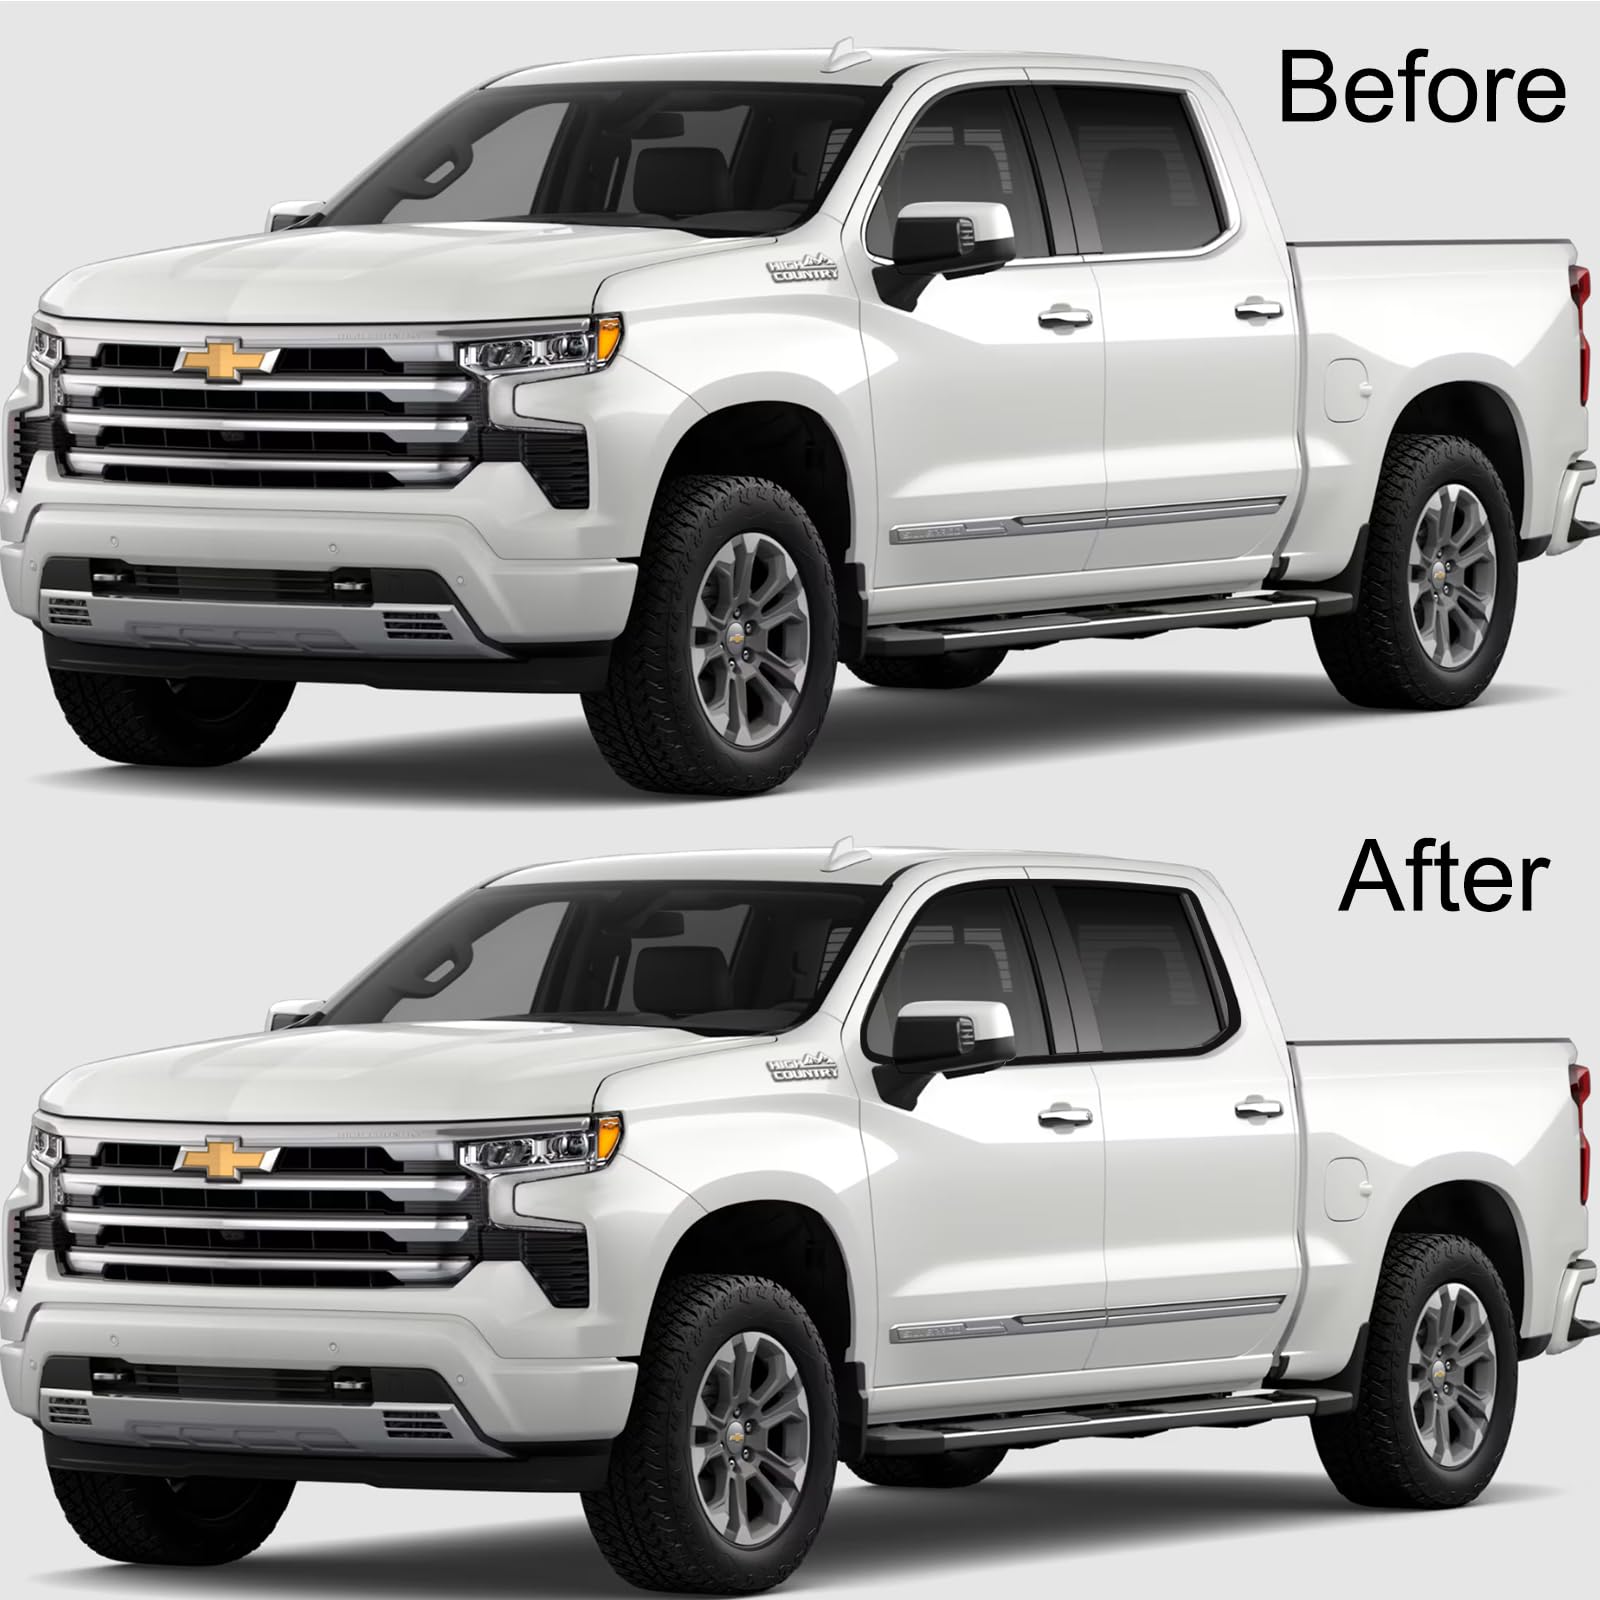
Once the old trim is gone, you’ve got three main paths forward.
Delete, Replace, or Upgrade
- Delete It: Leave it off for a rugged, modern look that’s popular on off-road builds.
- Replace With Black: Swap chrome for OEM-style black molding for a sleeker profile.
- Upgrade With Chrome: Install new chrome strips if the originals were damaged.
Each choice changes the truck’s personality, from work-ready to show-ready.
Troubleshoot Common Removal Issues
Even with the best preparation, you might run into snags. Here’s how to handle the most frequent problems.
Cold Weather Makes Adhesive Rock-Hard
Never attempt removal below 60°F (15°C) without active heating. The trim will snap or leave chunks behind. Use a heat gun or hot water rather than relying on hand strength.
Eraser Wheel Speed Problems
With the eraser wheel, going too slow means ineffective cleanup, while going too fast or stalling causes clear coat damage. Use medium drill speed and keep the wheel moving. Let the rubber do the work.
Residue Still Sticky After Wiping
If goo remains after your first pass, reapply Goo Gone and wait 2 minutes. Use the corner of the eraser wheel for extra leverage on stubborn spots. Finish with isopropyl alcohol to remove any oily residue.
Frequently Asked Questions About Silverado Side Trim Removal
What temperature is best for removing Silverado side trim?
The ideal temperature is around 80°F (27°C) or higher. Park in direct sunlight for 2 to 4 hours, or use a heat gun on low to medium heat to reach this range. Below 60°F, the adhesive becomes too hard to remove cleanly without active heating.
Can I remove side trim without damaging the paint?
Yes, if you use plastic trim tools instead of metal scrapers, keep heat sources moving to avoid burning the clear coat, and never stop the eraser wheel while it’s spinning on the paint. The fishing line method is also paint-safe when done with proper heating.
How long does it take to remove side trim on a Silverado?
Total project time is approximately 35 to 45 minutes per side, including prep and cleanup. The actual trim removal takes 5 to 30 seconds per side if heated properly. Residue cleanup with an eraser wheel takes 10 to 15 minutes per door.
Why is there a color difference after removing the trim?
The area under the molding was protected from UV rays, while the surrounding paint faded over time. This creates an oxidation “tan line” effect. You can fix it by polishing the entire door, repainting, or applying a vinyl wrap to mask the difference.
What’s the best tool for removing adhesive residue?
A rubberized eraser wheel attached to a cordless drill is the most effective option. Brands like ABN and 3M work well and cost around $10 to $15. Pair it with Goo Gone Automotive for the best results on stubborn spots.
Should I wrap, dip, or remove my Silverado trim?
If you want a reversible change without paint risk, wrapping or Plasti-Dipping the existing trim is the safest option. Full removal gives the cleanest look but requires dealing with residue and potential oxidation lines. Choose based on your comfort level with paint correction and your desired final aesthetic.
Key Takeaways for Removing Silverado Side Trim
Learning how to remove side trim on Silverado trucks comes down to three critical success factors: heat, the right tools, and patience. Always soften the adhesive with sunlight, a heat gun, or hot water before attempting to peel. Use braided fishing line as a saw for stubborn moldings, and rely on a drill-powered eraser wheel for residue cleanup. Never use metal tools or stop a spinning wheel on the paint.
For your next step, gather your supplies (heat gun, fishing line, eraser wheel, Goo Gone, and microfiber towels), pick a warm sunny day, and start with one door to build confidence. The transformation from a dated, cluttered look to a clean modern profile makes this one of the most satisfying mods you can do in a single afternoon.



