
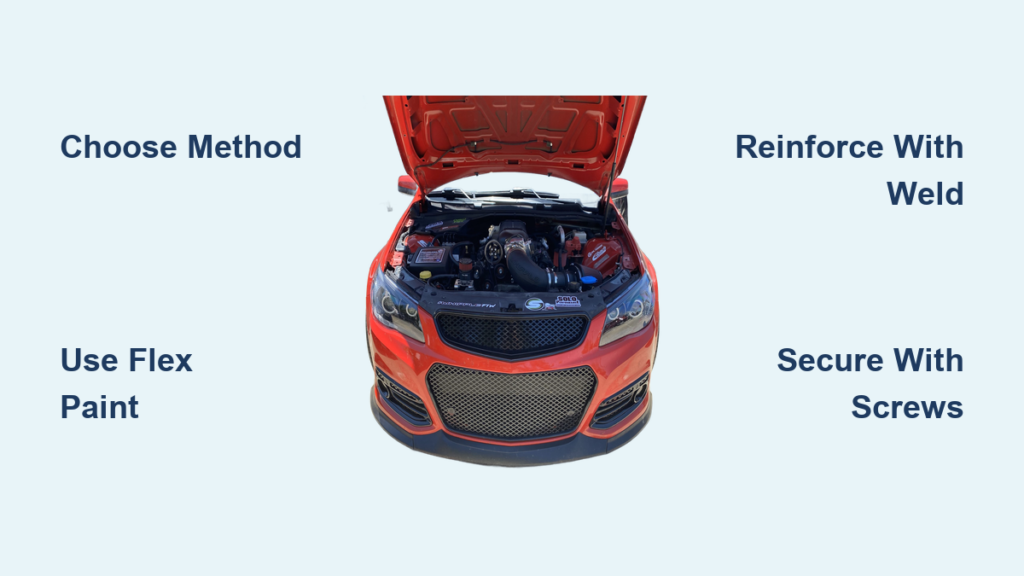
Upgrading your Chevrolet Silverado with an SS-style front bumper is one of the most impactful visual mods you can make. Whether you own a 1999–2006 “Cat-Eye” or a 2007–2015 GMT900 truck, the SS bumper delivers an aggressive, factory-performance look. But the difference between a clean install and a sagging, cracked mess comes down to preparation, method selection, and reinforcement. This guide breaks down every step, from sourcing parts and fixing fitment issues to custom fabrication and long-term durability.
Choose the Right Installation Method for Your Truck
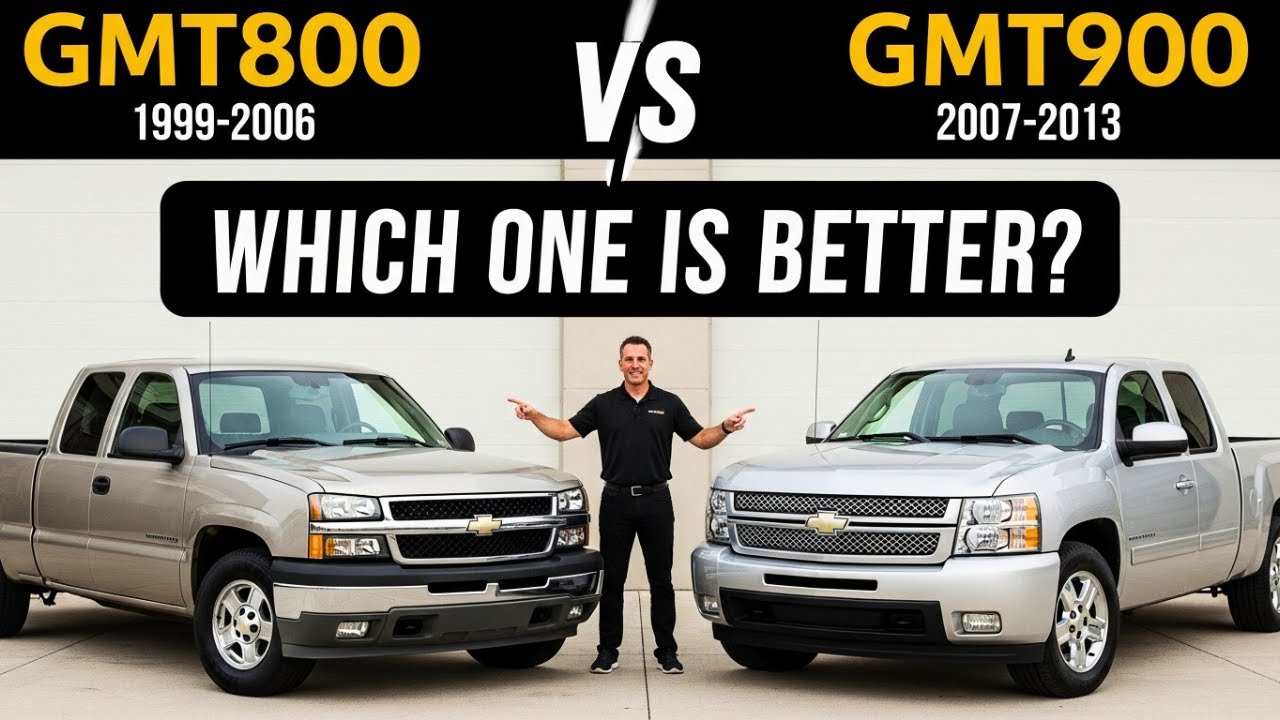
Match the Method to Your Silverado Generation
Your truck’s platform determines which SS bumper installation approach will actually work. The GMT800 (1999–2006) and GMT900 (2007–2015) generations use different mounting systems and require different techniques.
- GMT800 (Cat-Eye Models): Best suited for OEM-style bracket swaps. These trucks use physical brackets (Part #13, #14, #15) that bolt directly to the frame and bumper beam. The SS cover replaces the entire factory fascia.
- GMT900 (2007+ Models): Ideal for custom-fabricated brackets with 3M tape backing. Factory hardware is often skipped in favor of stainless steel Z-brackets and adhesive bonding for a clean, rust-free finish.
Choose overlay kits only if you want minimal disassembly and plan to keep your stock bumper beam.
Compare Overlay vs. Full Replacement

| Type | Pros | Cons |
|---|---|---|
| Overlay (Clip-On) | Retains factory beam, low cost ($100–$180), fast install | Risk of sagging, less structural integrity, potential fitment gaps |
| OEM-Style Swap | Factory-accurate look, solid mounting, better alignment | Requires full bumper removal, more labor, higher hardware cost |
| Custom Fabrication | Maximum durability, rust-proof, perfect fit | Requires welding/drilling skills, 1+ day time investment |
For show-quality results or daily-driven trucks, custom or OEM-style installs are strongly recommended.
Confirm Bumper Compatibility Before Buying
Before purchasing any part, verify fitment for your specific truck.
- For 1999–2006 Silverados: Ensure the SS bumper is designed for GMT800 and includes cutouts for top brackets (Item 14) and side brackets (Item 15).
- For 2007–2015 Models: Confirm compatibility with single cab, crew cab, or extended cab configurations. Test clearance if running large tires (285/45 R22 has roughly 2 inches at full lock).
Mismatched grilles (honeycomb vs. diamond crisscross) are common. Source all mesh pieces together for visual consistency.
Source Quality Parts and Tools
Buy the Right Bumper Components
Aftermarket SS bumpers vary widely in quality and price. Here’s what to expect:
| Part | Cost | Notes |
|---|---|---|
| Full Bumper Cover (eBay) | $100–$180 | Often arrives folded; needs heat settling |
| Complete Kit (Side covers, grille, pad) | $300–$400 | Includes all trim; best value for full install |
| Lower Grille | ~$122 | Honeycomb is rare/expensive; diamond pattern is standard |
| OEM Mounting Brackets | Dealer-priced | Expensive; consider fabrication as cheaper alternative |
Always buy from reputable sellers and inspect for warping before installation.
Gather Essential Tools and Materials
You will need these items for a successful install:
Tools:
– Dremel tool (for rivet removal and hole adjustment)
– Drill with 10mm bit
– Rivet gun
– Plastic welder (~$75 at Harbor Freight)
– Crescent wrenches and vise (for bracket bending)
– Razor blade (for tape and rivet cleanup)
Fasteners and Adhesives:
– 3M 60″ Double-Sided Tape (30 lbs/inch): Primary bonding agent
– Stainless Steel Allen Bolts (10mm): For custom brackets
– Fender and Lock Washers: Prevent loosening
– 8mm x 3/4″ Button-Head Screws: Pull down top edge
– 7/16″ Pushpins: Reattach lower grille (5/16″ preferred if available)
Avoid standard steel hardware. It will rust under the bumper within months.
Fix Shipping Damage Before Installing
Most aftermarket bumpers ship folded to save space. Do not install immediately.
- Unfold and lay flat in direct sunlight for 2–4 hours.
- Place light weights (books or bricks) on edges to help it flatten.
- Check for residual curvature before installation.
Skipping this step guarantees gaps and misalignment.
Prepare Paint and Finish Properly
Use Flex-Additive Paint Only
Plastic bumpers flex with temperature and impact. Standard paint will crack without flexibility.
- Use spray paint with flex additive mixed in.
- Match your truck’s color code (available from GM or body shops).
- Apply 2–3 light coats and let dry 24 hours before installation.
For best results, get a professional paint job (~$200), especially if matching factory gloss.
Repair Cracks With Plastic Welding
Inspect for cracks, especially around mounting points. Repair before painting:
- Heat plastic welder tip.
- Melt base material and apply filler rod.
- Reinforce seams between bumper and side covers.
This prevents future vibration failure and strengthens weak joints.
Buff Out Orange Peel Texture
Spray-can finishes often have orange peel. Fix it post-install:
- Wet-sand with 1500–2000 grit paper.
- Polish with compound.
- Wax for shine.
Avoid dry sanding, which can damage the paint.
Install Using the Overlay Method
Remove Factory Bumper Components
For clip-on overlays, start by removing the existing trim:
- Remove lower grille using a screwdriver.
- Take out fog light vent screws (2 per side).
- Locate hidden screws behind wheel well liners and grille area.
- Cut rivets holding the old cover with a Dremel or razor blade.
Do not pry rivets. Prying damages the underlying beam and creates uneven surfaces.
Clean Surface for 3M Tape Bonding
After removal, prepare the surface:
- Scrape off old tape residue.
- Wipe surface with isopropyl alcohol.
- Lightly sand plastic backing for better adhesion.
A clean surface ensures the 3M tape holds long-term.
Secure Top Edge With Screws
Overlay bumpers often sag at the top. Prevent this:
- Slide new cover over factory beam.
- Align with headlights and grille opening.
- Drill pilot holes into factory bumper.
- Install 8mm button-head screws at top corners and center.
These pull the cover tight and eliminate gaps.
Apply 3M Tape Strategically
- Cut two 60″ strips of 3M tape.
- Apply across the back of the bumper, overlapping seams.
- Do not apply tape to the top edge yet.
- Press firmly for full contact.
Tape provides initial hold; screws and rivets provide permanence.
Perform an OEM Bracket Swap (GMT800)
Remove Factory Fascia Completely
This method replaces the entire bumper cover:
- Remove top step pads and lower valance.
- Unbolt six factory bolts (2 top, 2 side, 2 bottom).
- Slide off old fascia.
Inspect transmission lines on older trucks. They often crack and need replacement.
Transfer SS Mounting Brackets
Use genuine GM brackets for authentic fit:
- Bracket 15: Install one per side at bottom corners.
- Bracket 14: Four total across the top.
- Bracket 13: Two (left/right) for bottom center support.
Bolt securely to frame and bumper beam.
Install Filler Piece and Align Cover
- Attach Item 6 (black filler) between headlight and bumper.
- Slide SS cover over brackets.
- Hand-tighten all mounting points.
- Check alignment and use a Dremel to slightly enlarge holes if brackets are oversized.
Do not force bolts. Adjust holes instead.
Reattach Grille and Vents
- Position lower grille.
- Use 7/16″ pushpins (or 5/16″ if available) at 7 mounting points (2 top, 5 bottom).
- Reinstall fog light vents with factory or new screws.
Pushpins are one-time use, so buy extras.
Build Custom Brackets (GMT900)
Remove Headlights and Trim
For a flush, clean install:
- Remove headlights.
- Take off front trim, headlight area cover, and inner fender hooks.
- Remove bottom front cap.
Tow hooks can stay; they do not interfere.
Fabricate Z-Bend Steel Brackets
Create durable mounts:
- Cut 16-gauge steel into 8″ x 1.5″ strips.
- Use a vise and two crescent wrenches to form a Z-bend.
- Match contour of bumper and frame.
Test fit before drilling.
Drill Holes for Perfect Alignment
- Hold bracket in place.
- Mark center of bumper hole and frame hole.
- Drill frame hole first.
- Drill bumper hole last to ensure alignment even if bumper shifts.
Use a center punch to prevent bit slippage.
Secure With Stainless Hardware
- Insert 10mm stainless Allen bolt through bracket.
- Add fender washer and lock washer.
- Tighten securely.
Repeat for all bracket points. A properly installed bumper should resist being pushed by hand.
Fix Common Fitment Issues
Flatten Outer Edge Bulges
If the outer edge lifts:
- Mark the bulge center.
- Place a washer over the lip as a spacer.
- Drill a 10mm hole through the bumper.
- Insert bolt with washers to pull it flat.
This fixes tape-induced tension or manufacturing warp.
Correct Top Sag With Mechanical Fasteners
Tape alone will not hold long-term:
- Install 3–4 button-head screws along the top edge.
- Drill pilot holes to prevent cracking.
- Use 3M tape underneath for dual retention.
Sagging is the number one failure point in overlay installs.
Align Side Covers With Plastic Welding
Side covers often misalign with factory holes:
- Pre-drill new mounting holes if needed.
- Plastic weld around each mounting point.
- Add a continuous bead along the seam.
This prevents vibration separation and creates a permanent bond.
Match Grille Patterns for Show Quality
Aftermarket kits often mix honeycomb and diamond mesh:
- Buy all grille components from the same supplier.
- Accept visual compromise if parts are mismatched.
- Upgrade later with OEM GM mesh for perfect match.
Function is not affected, only aesthetics.
Reinforce for Long-Term Durability
Weld Side Mounts Permanently
Plastic welding is critical for longevity:
- Heat welder to proper temperature.
- Melt both bumper and side cover edges.
- Apply filler rod directly in front of each screw.
- Run a bead along the seam.
Repeat on both sides to stop freeway vibration from loosening covers.
Rivet Lower Grille for Vibration Resistance
Screws can loosen over time:
- Use rivets at top and bottom edges of lower grille.
- Pre-drill holes if necessary.
- Apply even pressure with rivet gun.
Rivets are permanent and immune to vibration.
Use Stainless Steel Everywhere
The under-bumper environment is wet and corrosive:
- Never use standard steel bolts.
- Stainless Allen bolts with lock washers last for years.
- Fender washers distribute load and prevent pull-through.
Rust here leads to failure and costly rework.
Test and Maintain Your Install
Verify Tire Clearance
If running large tires:
- Test at full steering lock.
- Check for rubbing on suspension travel.
- With 285/45 R22, expect roughly 2 inches of clearance.
Bumpers can shift slightly after install, so recheck alignment after the first drive.
Inspect Fasteners After First Week
Vibration settles components:
- Tighten all screws and bolts.
- Replace any torn pushpins.
- Ensure no movement at mounting points.
Early checks prevent long-term issues.
Clean and Wax Regularly
Protect your investment:
- Wash with mild soap.
- Wax every 3 months to preserve paint.
- Inspect for rock chips and repair early.
Avoid pressure washing near mounting areas, as it can degrade adhesive.
Frequently Asked Questions About SS Bumper Installation
How long does it take to install an SS bumper on a Silverado?
A basic overlay install takes less than a day, mostly waiting for paint to cure and the bumper to flatten. Custom fabrication requires a full day plus additional time for bracket building.
Do I need to paint the bumper before installation?
Yes, if the bumper arrives unpainted. Always use paint with flex additive, or it will crack immediately upon installation or the first temperature cycle.
Can I install an SS bumper without removing the factory bumper beam?
Yes, using the overlay method. The SS cover slides over your existing factory beam and secures with 3M tape and mechanical fasteners. This is faster and cheaper but less structurally solid than a full swap.
What tools do I need for a custom bracket install?
You will need a Dremel, drill with 10mm bit, rivet gun, plastic welder, crescent wrenches, a vise, and a razor blade. Budget around $75 for a plastic welder kit from Harbor Freight.
Will an aftermarket SS bumper fit my 2015 Silverado Single Cab?
Yes, GMT900 models from 2007–2015 are compatible with custom-fabricated bracket installs. Confirm cab configuration (single, crew, or extended) before purchasing, and test tire clearance if running larger wheels.
How do I prevent the SS bumper from sagging?
Use mechanical fasteners, not just tape. Install 8mm button-head screws at the top corners and center, plus 3M tape underneath for dual retention. Sagging is the most common failure point in overlay installs.
Key Takeaways for Installing an SS Bumper on Your Silverado

Installing an SS bumper transforms your truck’s appearance with an aggressive, factory-performance style. Success depends on three critical factors: choosing the right method for your generation, using flex-additive paint, and reinforcing side covers with plastic welding. Never rely solely on tape, and always use stainless steel hardware to prevent rust. With the right tools and techniques, you can achieve a show-quality result for under $400, a fraction of shop prices. Start by sourcing matching parts and flattening your bumper before any paint or installation work.



