
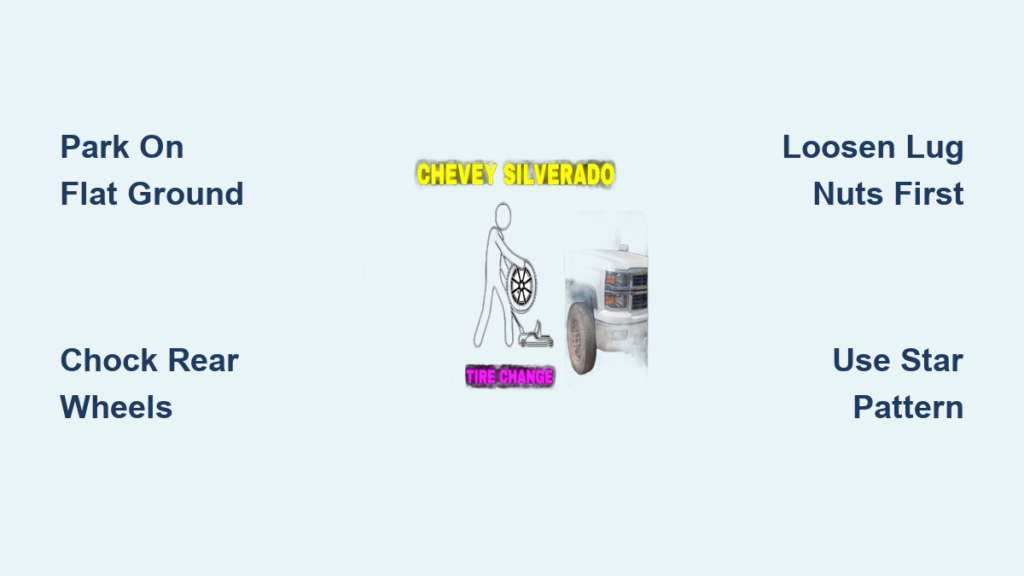
A flat front tire on your Chevy Silverado can stop you in your tracks, but the fix is simpler than most drivers think. Whether you drive a 1500, 2500, 3500, or HD model from 1999 to present, the process stays the same. Knowing how to change a front tire on a Chevy Silverado saves you time, money, and the frustration of waiting for roadside help.
This guide walks you through every step, from pulling the spare tire out from under the bed to torquing the lug nuts to factory specs. You will also learn the safety steps that prevent accidents and the common mistakes that cause problems later.
Essential Tools and Equipment for a Silverado Tire Change
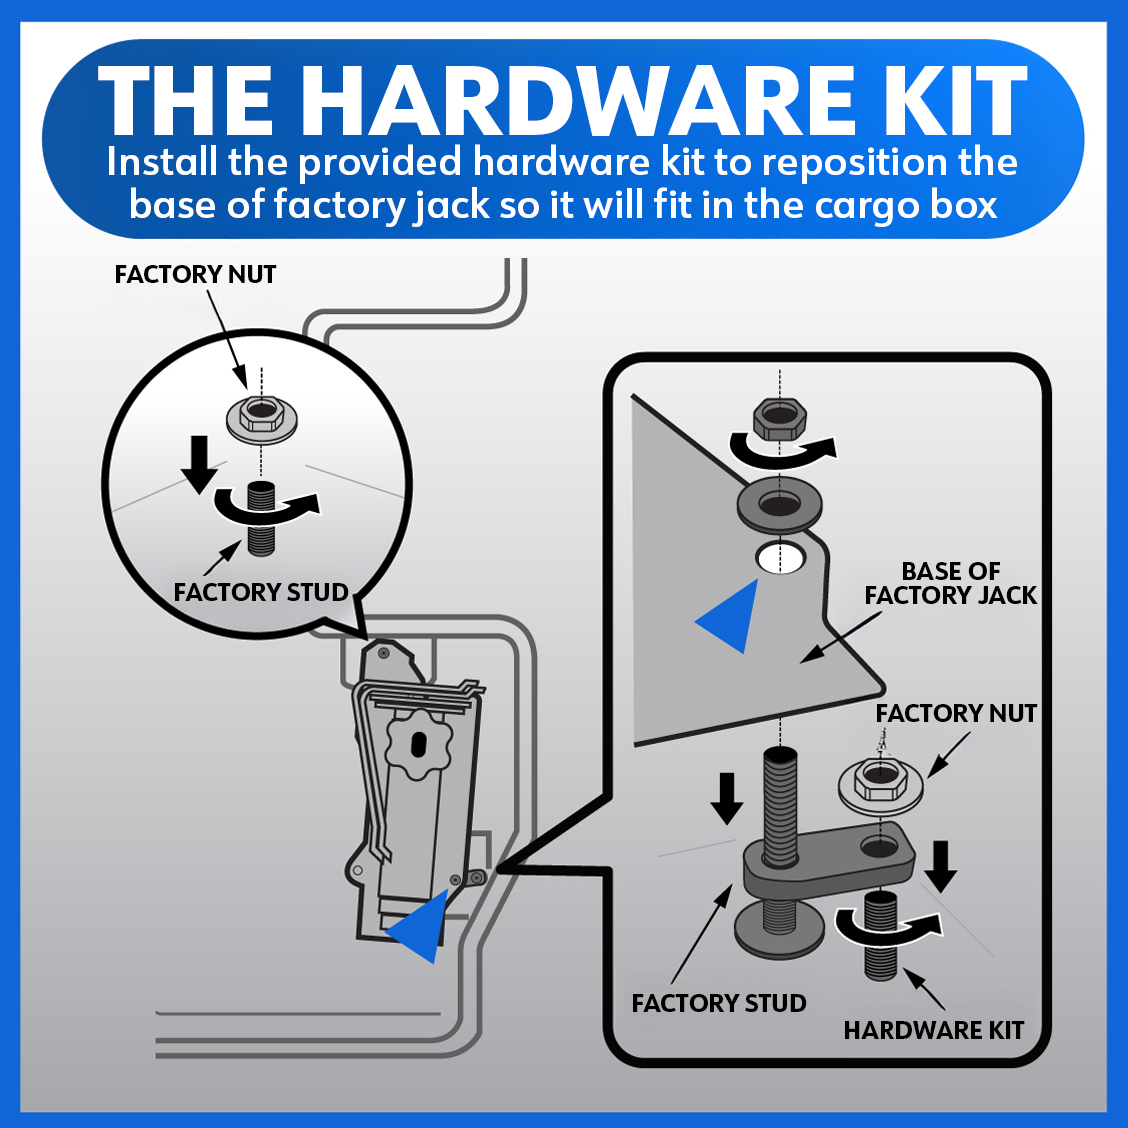
Before you touch a single lug nut, gather your tools. Scrambling for equipment mid-job creates delays and safety risks.
Factory Tools Included with Your Silverado
Your truck ships with a tool kit, usually stored under the rear seat or in a cab compartment. The kit contains:
- Scissor jack or hydraulic jack rated for your Silverado’s weight
- Four-way lug wrench sized for your lug nuts
- Extension rod for lowering the spare from under the bed
- Spare tire stored beneath the truck bed
Recommended Additional Items
- Wheel chocks or heavy blocks for the rear tires
- Tire pressure gauge to verify spare PSI
- Flashlight for low-light access to the spare winch
- Small container to hold lug nuts and prevent loss
- 2×6 inch wood block to stabilize the jack on soft ground
- Flathead screwdriver for prying off hubcaps
- Rubber mallet for loosening stuck tires
Inspect every tool before use. A bent lug wrench or cracked jack handle can fail under the weight of your truck.
Choose a Safe Location Before Changing the Tire
Where you stop matters as much as how you change the tire. A poor location puts you and your truck at risk.
Surface and Terrain Requirements
Park on flat, solid ground such as pavement or compacted gravel. Avoid these conditions:
- Hills or inclines of any grade
- Soft dirt, sand, or mud
- Sharp curves or blind corners
Uneven ground increases the chance of your truck tipping, especially with heavy-duty models like the 2500 and 3500.
Visibility and Traffic Safety
- Pull completely off the roadway
- Turn on your hazard lights right away
- Move behind the guardrail on highways when possible
- Wear a reflective vest if you have one
Make sure you have enough room to open the tailgate, access the spare lowering hole, and work around the front wheel without standing in traffic.
Secure the Vehicle Before Lifting
Lifting an unsecured truck is one of the fastest ways to cause an injury. Take these steps before the jack touches the frame.
Engage the Parking Brake
- Pull the parking brake lever up firmly or press the pedal until it locks
- For manual transmissions, leave the truck in first gear
Chock the Rear Wheels
Since you are lifting the front tire, place wheel chocks or sturdy blocks behind the rear tires. This stops the truck from rolling while the front end is elevated. Always double-check the chocks stay seated when you begin lifting.
Retrieve the Spare Tire from Under the Bed
Chevy Silverados store the spare tire beneath the bed, held by a winch mechanism. You need to lower it before lifting the truck.
Locate the Access Hole
Find the small access hole near the center of the rear bumper. Opening the tailgate gives you a better angle to work.
Lower the Spare with the Extension Rod
- Grab the extension rod from your tool kit
- Insert it into the access hole until it seats in the winch mechanism
- Turn the rod counterclockwise to lower the cable
- Keep turning until the spare tire reaches the ground
- Slide the tire out from under the truck
If the winch sticks, tap the housing gently with a rubber mallet. Never force it with metal tools, which can damage the mechanism.
Inspect the Spare Before Installation
Check the spare for visible cracks, dry rot, or a damaged valve stem. Use your tire pressure gauge to confirm it is properly inflated. A flat or damaged spare cannot be driven on. Call for roadside assistance if the spare is unusable.
Loosen Lug Nuts Before Lifting the Truck
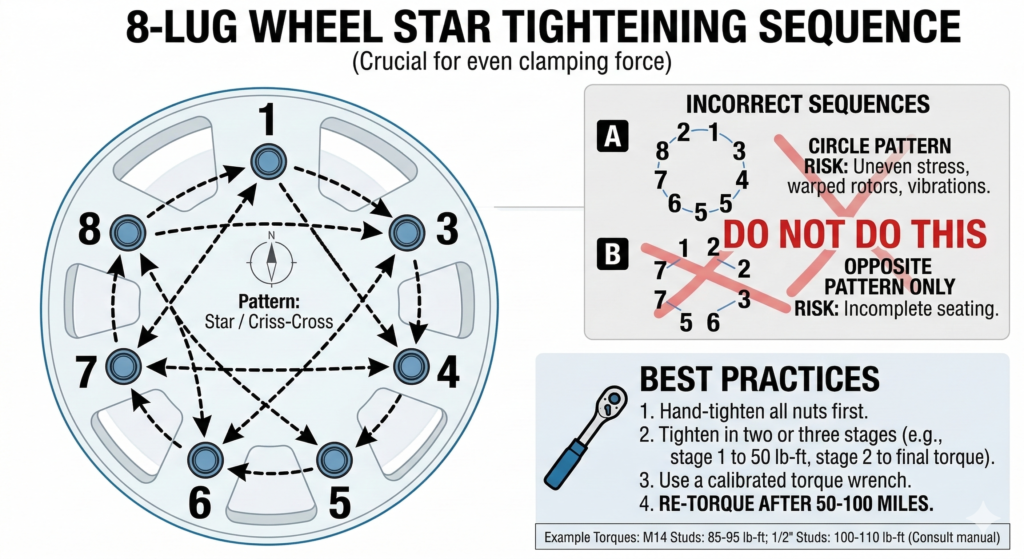
Loosening the lug nuts while the tire is on the ground prevents the wheel from spinning when you apply force.
Remove the Hubcap if Present
Some Silverado wheels have a center hubcap covering the lug nuts. Insert a flathead screwdriver into the notch and twist gently to pop it off. Set the hubcap aside where it will not get scratched.
Break the Lug Nut Tension
- Fit the lug wrench snugly over a nut
- Turn counterclockwise to break it loose
- Use your body weight if needed by stepping on the wrench handle
Follow a Star Pattern
Loosen the lug nuts in a diagonal sequence to release tension evenly across the hub. This prevents warping the brake rotor. The pattern works like this:
- Top nut
- Bottom nut
- Left nut
- Right nut
- Center nut (on 5-lug wheels)
Loosen each nut until it spins freely by hand, but do not remove them yet. The tire needs to stay on the ground to resist the wrench.
Position the Jack and Lift the Silverado
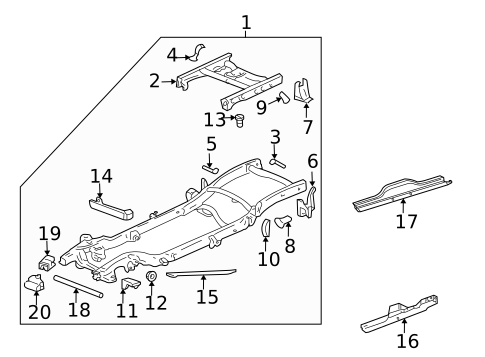
Correct jack placement protects the frame and keeps the truck stable during the lift.
Find the Front Jack Point
Look along the frame rail just behind the front wheel well. You will see a reinforced metal section, often marked with a notch or stamped indicator. Check your owner’s manual if you cannot find it.
Never place the jack on plastic trim, suspension components, or the axle. These areas cannot support the truck’s weight.
Set Up the Jack Base
- Place the jack on flat ground directly under the frame point
- On soft surfaces, set a 2×6 wood block under the jack base to prevent sinking
- Make sure the jack saddle aligns with the frame point
Raise the Vehicle
- Pump the hydraulic jack handle or turn the scissor jack crank steadily
- Lift until the flat tire is about 6 inches off the ground
- This clearance is enough to remove and install the wheel
Test for Stability
Gently shake the truck to confirm the jack is secure. Recheck the wheel chocks behind the rear tires before you crawl under the vehicle.
Remove the Flat Front Tire
With the truck lifted and stable, you can now pull the damaged tire.
Take Off the Lug Nuts
- Unscrew each lug nut the rest of the way by hand
- Place them in your container or pocket immediately
- Losing a lug nut on the roadside means an extra trip to the parts store
Pull the Tire Off the Hub
- Grip the tire by the treads with both hands
- Pull straight toward you until it clears the lug bolts
- If the tire sticks to the hub from corrosion, try these methods:
- Strike the inner lower sidewall with a rubber mallet
- Twist the tire side to side while pulling
- Deliver a firm kick to the bottom tread
Front tires on Silverado 2500, 3500, and HD models are heavy. Lift with your legs, not your back, to avoid strain.
Set the Flat Tire Aside
Lay the flat tire on its side or place it in the truck bed. Keep it out of your work area so it does not become a tripping hazard.
Mount the Spare Tire on the Hub
Installing the spare correctly ensures the wheel sits straight and the lug nuts thread smoothly.
Align the Spare with the Lug Bolts
- Lift the spare and line up the rim holes with the bolts on the hub
- Angle the tire slightly if needed for clearance
- Slide the spare straight onto the hub until it sits flush
Hand-Tighten the Lug Nuts
- Thread each lug nut on by hand, turning clockwise
- Keep tightening until each nut is snug against the rim
- Do not use the wrench yet
Even at this stage, follow a star pattern to keep the tire centered on the hub. Cross-threaded nuts will not seat properly and can fail under load.
Lower the Truck and Final-Tighten the Lug Nuts
This step locks the spare tire in place and ensures safe driving.
Lower the Vehicle Slowly
- Turn the jack handle counterclockwise
- Lower until the spare tire touches the ground and supports the truck’s weight
- Keep the jack slightly loaded to maintain stability
Tighten Lug Nuts in a Star Pattern
- Use the lug wrench to tighten each nut firmly
- Follow the diagonal sequence: top, bottom, right, left, and center (if 5-lug)
- Apply full body weight by standing on the wrench handle if needed
Remove the Jack and Do a Final Check
- Pull the jack out from under the frame
- Confirm the truck sits level
- Tighten each lug nut one more time to be sure none loosened during the final descent
Match the Correct Torque Spec
Use a torque wrench if you have one. The specifications are:
- Alloy wheels: 85 ft./lbs.
- Steel wheels: 100 ft./lbs.
Without a torque wrench, tighten each nut as hard as you safely can with the factory lug wrench.
Clean Up and Stow Your Gear
A clean workspace prevents lost tools and keeps your truck organized.
Reinstall the Hubcap if It Fits
If the spare rim matches the original hubcap, snap it back into place. Otherwise, store the hubcap with the flat tire.
Return Tools to the Kit
- Jack
- Lug wrench
- Extension rod
- Any optional tools you used
Place everything back under the rear seat or in the storage bin so the kit is ready for the next emergency.
Secure the Flat Tire
- If space allows, store the flat under the bed using the winch system
- Otherwise, strap it down in the truck bed with bungees or tie-downs
A loose tire in the bed becomes a dangerous projectile during sudden stops. Always secure it before driving.
Post-Change Actions You Should Not Skip
Your job is not finished once the spare is mounted.
Check the Spare Tire Pressure
- Remove the valve cap
- Press your tire gauge firmly onto the valve stem
- Compare the reading to the PSI listed on the driver’s door jamb sticker
- Inflate the spare at the nearest gas station if it is low
Drive to a Repair Shop Promptly
Spare tires are temporary by design. Follow these guidelines:
- Do not exceed 50 mph
- Avoid long highway trips
- Get the flat tire repaired or replaced as soon as possible
Troubleshooting Common Silverado Tire Change Problems
Even experienced drivers run into snags. Here is how to handle the most common issues.
Lug Nuts Will Not Budge
- Step on the wrench handle with your full body weight
- Use a longer breaker bar if one is available
- Avoid using heat or penetrating oil on the roadside since both create fire and slip hazards
Tire Is Stuck to the Hub
Corrosion often bonds the wheel to the hub over time. Strike the inner lower sidewall with a rubber mallet to break the seal. Never hit the rim directly with a metal hammer, which can bend the wheel and cause vibration.
Jack Keeps Sinking
Place a 2×6 wood block under the jack base to spread the load. If the ground is still too soft, move the truck to pavement before continuing.
Heavy-Duty Models Need Extra Effort
Silverado 2500, 3500, and HD trucks weigh significantly more than the 1500. Use a hydraulic jack for easier lifting, allow extra clearance around the larger body, and lift the heavier spare tire with proper leg technique.
Maintenance Tips to Stay Prepared
A roadside tire change goes much smoother when your equipment is ready to go.
- Check spare tire PSI monthly since temperature swings affect pressure
- Inspect tools once a year and replace anything bent or damaged
- Practice the procedure annually so the steps feel familiar in an emergency
- Carry a tire repair kit in the cab for small punctures
Frequently Asked Questions About Changing a Front Tire on a Chevy Silverado
How long does it take to change a front tire on a Chevy Silverado?
An experienced driver can finish the job in about 30 minutes. First-timers usually take longer because they spend extra time locating tools, lowering the spare, and learning each step.
Do I need special tools for Silverado HD models?
The factory tools work on HD trucks, but the physical effort is greater. A high-quality hydraulic jack rated for your truck’s weight makes the lift much easier.
What should I do if the spare tire is flat or damaged?
Do not drive on a compromised spare. Call for roadside assistance or a tow truck instead. This is why checking the spare’s condition and pressure regularly is so important.
Is changing a tire on a Silverado difficult?
The process is standardized across all Silverado models and requires only basic mechanical skill. Practicing once at home builds the confidence you need for a real roadside emergency.
Can I drive on the spare tire at highway speeds?
No. Spare tires are temporary and rated for speeds up to 50 mph. Drive directly to a tire shop for a permanent replacement.
Where is the jack point on a Chevy Silverado?
The front jack point sits along the frame rail just behind the front wheel well. Look for a reinforced metal section, often marked with a notch. Your owner’s manual shows the exact location if you cannot find it.
Key Takeaways for Changing a Front Tire on a Chevy Silverado
Changing a front tire on a Chevy Silverado is a manageable task when you follow the right sequence. Park on level ground, chock the rear wheels, and lower the spare from under the bed before lifting the truck. Loosen the lug nuts in a star pattern while the tire is still on the ground, then jack from the reinforced frame point until you have 6 inches of clearance.
Mount the spare, hand-tighten the nuts, lower the truck, and torque to 85 ft./lbs. for alloy wheels or 100 ft./lbs. for steel wheels. Check the spare’s pressure, drive under 50 mph, and head to a tire shop for a permanent fix.
Practice this procedure at home once a year so the steps feel automatic when you face a real flat. Your future self on the side of the road will thank you.



