
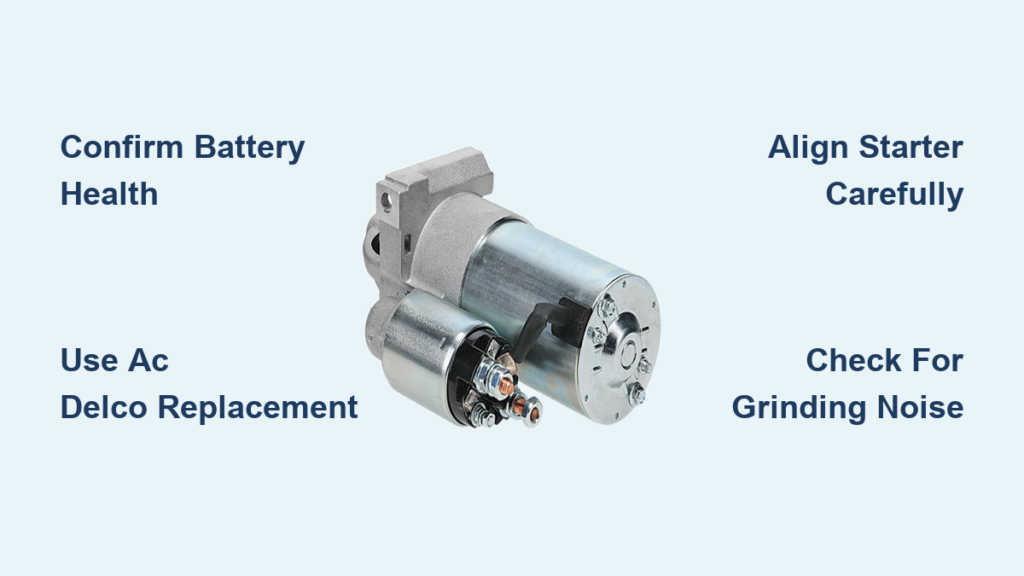
You turn the key and hear only a single click, but the engine refuses to crank. Before you call a tow truck, know that this is one of the most common no-start symptoms on a Chevy Silverado. A failed starter motor is often the culprit, especially when the battery is fully charged and the lights still work bright.
Replacing a starter on a Chevy Silverado (1999–2015+) is a moderate DIY repair that most home mechanics can finish in 1–2 hours with basic hand tools. This guide covers every step for GMT800 (1999–2006) and GMT900 (2007–2014) models, including 1500, 2500 HD, and 3500 trucks with 4.3L V6 or 5.3L V8 engines. You will learn how to diagnose the problem, remove the old unit, install a reliable replacement, and avoid common alignment mistakes.
Confirm Starter Failure Before You Start

Swapping parts blindly wastes time and money. Many no-start conditions look like a bad starter but trace back to the battery or cables.
Test Battery Voltage and Cable Health
Grab a multimeter and check battery voltage with the engine off. A healthy battery reads between 12.4 and 12.6 volts. Clean both battery terminals and the cable ends with a wire brush until the metal shines. If voltage is low or terminals are corroded, charge or replace the battery first.
Identify Classic Starter Symptoms
- No crank, just a click: The solenoid or motor has failed.
- Grinding noise: The starter gear is misaligned or the flywheel teeth are worn.
- Intermittent starting: Works sometimes, fails others, a hallmark of a dying starter.
- Slow cranking when warm: Heat accelerates failure in already weak units.
If these symptoms persist after verifying the battery, the starter is almost certainly the problem.
Gather Tools and Safety Gear
The right equipment makes a 2-hour job feel like 30 minutes and prevents costly mistakes.
Essential Hand Tools
- 8mm, 10mm, 13mm, and 15mm sockets
- Ratchet with extension bars and a swivel joint
- 10mm and 13mm wrenches for tight spots
- Pry bar or flathead screwdriver
- Flashlight or drop light
- Pick tool for retrieving dropped hardware
Safety Equipment
Always disconnect the negative battery cable before touching any wiring. This single step prevents severe electrical shorts and potential injury. Wear safety glasses and gloves to protect against falling debris and sharp undercarriage edges.
Vehicle Support
Park on a level surface and lift the front end with a floor jack under the center crossmember. Secure the truck on jack stands placed under the frame rails. Never work under a vehicle supported only by a jack.
Locate the Starter on Your Silverado

The starter sits underneath the engine on the front passenger side, mounted between the engine block and the transmission bell housing.
Find the Mounting Position
Slide under the truck and look up behind the right front tire. You will see a cylindrical motor bolted to the bell housing. On V8 models, a plastic dust cover may hide the mounting bolts and must come off first.
Use a flashlight to identify three key components:
– Two large mounting bolts (13mm on GMT800, 15mm on some 5.3L engines)
– A thick red battery cable on the solenoid
– A smaller ignition wire plugged into the solenoid
Take a moment to assess clearance before loosening anything. This area is tight and surrounded by wiring harnesses.
Remove the Old Starter
Work methodically to avoid damaging nearby components.
Disconnect the Battery and Wiring
- With the negative cable already off the battery, locate the starter solenoid.
- Use a 10mm wrench to remove the nut holding the large battery cable. Pull the cable off the post.
- Unplug the small ignition wire, usually a push-on connector.
Photograph the wire positions or label them with tape to ensure correct reinstallation later.
Remove the Dust Cover (V8 Models Only)
On V8 engines, two 10mm bolts secure a plastic cover over the bell housing area. Remove these bolts and set the cover aside. V6 models typically do not have this cover.
Unbolt and Extract the Starter
- Identify the two main mounting bolts.
- Use a ratchet with an extension to loosen and remove both bolts completely.
- Wiggle the starter downward and push it toward the front of the truck to disengage it from the flywheel housing.
If the starter feels seized, gently work it loose with a pry bar. Avoid prying against hoses, wiring, or the aluminum engine block.
Maneuver Past Obstructions
The starter must navigate around the frame rail and wiring harness. Pull back the inner fender liner slightly if you need extra clearance. Work slowly and keep both hands on the unit to avoid dropping it or losing bolts in the undercarriage.
Install the New Starter

Proper installation prevents grinding, hard starts, and premature failure.
Choose a Reliable Replacement
AC Delco is the OEM supplier for GM and consistently outperforms budget brands. Users report that Duralast and Carquest starters fail far more often, sometimes within months. AC Delco units often cost the same as premium aftermarket options, making them the smarter long-term investment.
If your old starter has a solenoid protective shroud and the new one does not, transfer the shroud before installation.
Align and Mount the Starter
- Slide the new starter into position, aligning the nose cone with the flywheel opening.
- Insert both mounting bolts by hand to confirm smooth threading.
- Tighten the bolts securely with a socket. The starter should sit flush against the block.
Reconnect Electrical Components
- Reattach the large battery cable to the solenoid post and tighten the 10mm nut firmly.
- Plug in the small ignition wire until it clicks into place.
- Apply a thin layer of dielectric grease to both terminals to block moisture and corrosion.
Reinstall the Dust Cover
If you removed a plastic bell housing cover on a V8 model, reinstall it now with the two 10mm bolts. This shield blocks dirt and road debris from reaching the starter area.
Reconnect the Battery and Test the Start
Final verification ensures everything works reliably.
Restore Power
Reconnect the negative battery cable to the battery terminal. Make sure the connection is tight and free of corrosion.
Perform the Ignition Test
Turn the key to the Start position. The engine should crank smoothly and fire up within a second or two.
If the engine does not crank:
– Recheck both battery connections
– Verify both starter wires are fully seated
– Confirm the mounting bolts are tight
Listen for Grinding Noises
A loud grinding sound after replacement means the starter gear is not aligning with the flywheel. This usually requires shimming the starter or inspecting the flywheel for damage.
Fix Grinding With Starter Shims

Shims adjust the gap between the starter gear and the flywheel teeth.
When Shims Are Necessary
Most OEM and quality aftermarket starters fit correctly without shims. However, some aftermarket units have slightly different casting dimensions and may need adjustment. If you hear grinding, shims are the likely fix.
Install a Shim
- Remove the starter.
- Place a thin metal shim between the starter mounting flange and the engine block.
- Reinstall the starter and test again.
Start with a 0.015-inch shim and adjust as needed. Never force the fit or stack more than two shims.
Inspect the Flywheel First
Before shimming, shine a flashlight into the starter mounting hole and inspect the flywheel teeth. Chipped or missing teeth will destroy a new starter quickly. If the flywheel is damaged, replace it before installing the new starter.
Prevent Future Starter Problems

A few simple habits extend the life of your new starter.
Keep the Mounting Surface Clean
Before installation, wipe the engine block where the starter mounts. Dirt or rust prevents proper grounding and causes poor performance.
Inspect the Battery Cable
Check the thick red cable for fraying, cracks, or corrosion. A damaged cable reduces power to the starter and causes slow cranking. Replace it if needed.
Use Dielectric Grease
Reapply dielectric grease to the terminals during routine maintenance. It seals out moisture and prevents oxidation that leads to voltage drops.
Verify Bolt Torque
Tighten mounting bolts firmly with a torque wrench where possible. Most starter bolts require 30–45 ft-lbs depending on size. Proper torque prevents vibration loosening over time.
Frequently Asked Questions About Changing a Starter on a Chevy Silverado
Where is the starter located on a Chevy Silverado?
The starter is mounted underneath the engine on the front passenger side, between the engine block and the transmission bell housing. You can access it from below by sliding under the truck behind the right front tire.
What size bolts hold the starter in place?
GMT800 models (1999–2006) typically use 13mm mounting bolts. Some GMT900 models and 5.3L engines use 15mm bolts. The electrical connections and dust cover bolts are usually 10mm.
How long does it take to replace a Silverado starter?
Most home mechanics complete the job in 1–2 hours, depending on rust conditions, access, and whether the vehicle needs to be lifted. First-timers should budget closer to 2 hours.
Do I need to shim a new starter?
Most OEM and high-quality aftermarket starters fit correctly without shims. However, some aftermarket units have slightly different dimensions and may require a thin shim if you hear grinding noises after installation.
What brand of starter is best for a Chevy Silverado?
AC Delco is the OEM supplier for GM and offers the best fit, durability, and reliability. Budget brands like Duralast and Carquest have higher reported failure rates and often need replacement within a year or two.
Can I replace the starter without lifting the truck?
Some owners access the starter from above by removing components in the engine bay, but most find it easier to lift the front end. Using jack stands under the frame rails gives you the clearance and safety needed for a smooth job.
Final Thoughts on Replacing Your Silverado Starter
Changing the starter on a Chevy Silverado is a manageable DIY repair that saves hundreds of dollars in shop labor. The three most important steps are confirming the battery is healthy before starting, choosing an AC Delco replacement for long-term reliability, and carefully aligning the new unit to avoid grinding.
Your next step is to gather your tools, pick up an AC Delco starter and a shim kit from your local parts store, and set aside a Saturday morning. With this guide in hand, you will have your Silverado starting reliably again before lunch.



