
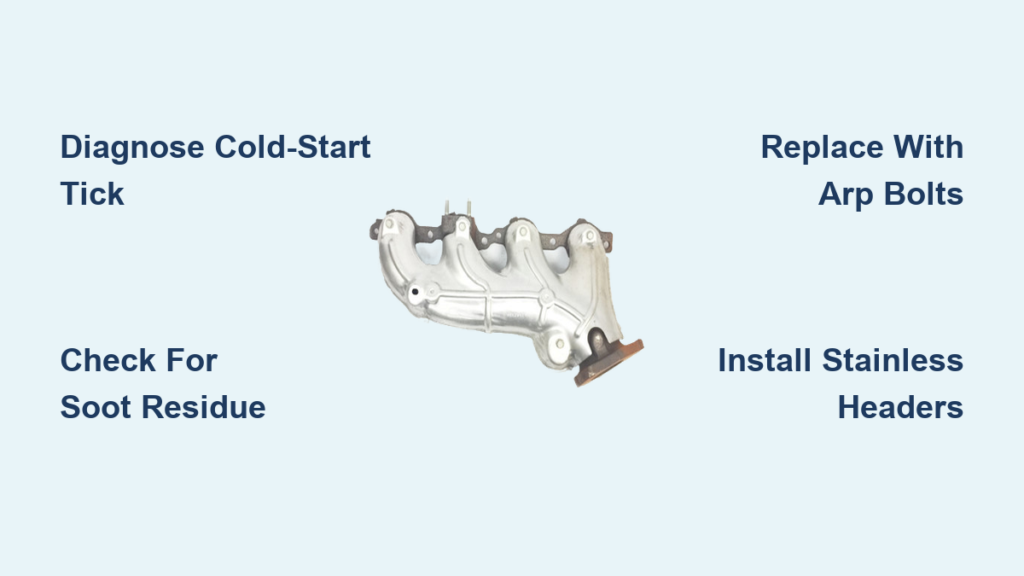
If your Silverado starts ticking on cold mornings and the noise fades after a few minutes, you’re likely dealing with a classic Silverado exhaust manifold leak. This problem is widespread across 4.8L, 5.3L, 5.7L, 6.0L, and 6.2L Vortec V8 engines on GMT800, GMT900, and K2XX platforms. The root cause is factory cast iron manifolds that warp from thermal cycling, pulling away from aluminum cylinder heads and shearing bolts on the rear passenger side.
What sounds like a harmless tick is actually high-pressure exhaust escaping. Left unchecked, this issue triggers poor fuel economy, check engine lights, and even transmission problems. More serious risks include carbon monoxide exposure and fire hazards.
This guide walks you through how to diagnose, repair, and prevent this design flaw. Whether you choose a budget clamp fix or a full header upgrade, you’ll learn the exact steps to make your Silverado exhaust manifold leak fix permanent.
Diagnose the Ticking Noise

The first clue of an exhaust manifold leak is usually sound. Identifying it correctly saves you from chasing the wrong problem.
Cold-Start Tick That Fades
Listen for a sharp, rhythmic tick-tick-tick during cold starts, especially after your truck has sat overnight. This noise syncs with engine RPM and typically diminishes within 5–10 minutes of driving. As the cast iron manifold heats up, it expands slightly, temporarily closing the gap against the cylinder head.
If the sound disappears when warm, it’s almost certainly an exhaust leak, not a failing lifter or rocker arm.
Pro Tip: Use a long screwdriver as a stethoscope. Place the tip near the exhaust manifold bolts and your ear on the handle. The ticking amplifies dramatically if the leak is nearby.
Distinguish From Mechanical Noise
Persistent ticking at operating temperature points to valvetrain issues like collapsed lifters. An exhaust leak is temperature-dependent. If the noise vanishes when the engine warms up, focus your attention on the exhaust manifold, not the top end.
Spot Visual and Olfactory Clues

Beyond sound, physical signs confirm the leak and help pinpoint its location.
Black Soot on Cylinder Head
Shine a flashlight along the seam between the manifold and the engine block. Look for black, powdery residue, which is carbon soot from escaping exhaust gases. It often accumulates on:
- The aluminum cylinder head
- Spark plug heat shields
- Nearby exhaust piping
This soot is a dead giveaway of a failed gasket or warped flange.
Burnt Wiring or Melted Boots
Exhaust gases can exceed 1,200°F. If they’re leaking near spark plug wires, you may find:
- Charred or melted wire insulation
- Cracked or brittle spark plug boots
- Damaged oxygen sensor harnesses
These signs indicate long-term neglect and require immediate attention to prevent misfires or fire hazards.
Smell of Exhaust in Cabin
One of the most dangerous symptoms is smelling exhaust fumes inside the truck, especially when idling. This happens when the leak is on the rear passenger side, where escaping gases get sucked into the HVAC fresh air intake.
⚠️ Critical Warning: Never ignore cabin fumes. Carbon monoxide is odorless and deadly. If you suspect a leak near the HVAC intake, stop driving and repair immediately.
Understand the Root Cause
This isn’t random wear. It’s a design flaw baked into GM’s V8 platforms.
Cast Iron vs. Aluminum Expansion
Factory exhaust manifolds are made of heavy, brittle cast iron, while cylinder heads are aluminum. These materials expand and contract at different rates. Over thousands of thermal cycles, the cast iron shrinks and warps, pulling away from the head and creating gaps.
Sheared Bolts on Cylinder 8
The rear passenger-side bolt (Cylinder 8) bears the brunt of this stress. As the manifold warps, it acts like a guillotine, slowly shearing the bolt heads off flush with the aluminum head. Once one bolt fails, clamping force drops, accelerating the leak.
This failure is so common it’s considered a rite of passage for LS and LT engine owners. It’s not a matter of if, but when.
Fix It With Manifold Clamps
For older trucks or budget-conscious owners, clamps offer a fast, effective stopgap.
Install Dorman or Kral Clamps
Products like Dorman 615-100 or Kral Performance clamps bridge the gap between the manifold and head. They bolt over the leak site, resealing the flange.
- Cost: $30–$70 per side
- Installation Time: 1–2 hours (no manifold removal)
- Longevity: Up to 60,000 miles with proper installation
One verified user reported a clamp lasting 4.5 years and 60,000 miles on a 6.2L engine.
Apply Thread Locker
When installing clamp bolts, use blue or red Loctite to prevent loosening from vibration. Tighten to factory torque specs (usually 22–26 ft-lbs) in a crisscross pattern.
❗ Limitation: Clamps don’t stop other bolts from shearing. They’re a temporary fix, not a structural solution.
Seal Minor Leaks With RTV
For small leaks or tight spaces, high-temp sealant can work, especially on the top of the manifold.
Use Permatex Ultra Copper
Apply a continuous bead of Permatex Ultra Copper RTV along the manifold-to-head interface. Allow it to skin over for 15 minutes before tightening.
- Best For: Top-side leaks where clamps won’t fit
- Cure Time: 24 hours for full strength
- Temperature Rating: Up to 700°F intermittent
⚠️ Don’t Use on Large Gaps: RTV won’t hold under high pressure. It’s only for pinhole leaks or minor warping.
Replace Bolts With ARP Upgrades

For a permanent, cost-effective fix, upgrade the hardware, not the manifold.
Install ARP Exhaust Bolts
Replace factory bolts with ARP 134-1102 (6-point) or 134-1202 (12-point) exhaust manifold bolts. These are made from high-strength alloy steel and resist thermal fatigue far better than OEM hardware.
- Why ARP?: Higher tensile strength, better heat resistance, longer lifespan
- Ideal For: 2500/3500 series trucks with heavier exhaust systems
Extract Broken Studs Safely
If bolts are already sheared, don’t drill blindly. Use one of two proven methods.
Weld a Nut to the Stub
- Clean the broken stud with a ball burr.
- Weld a 5/16″ washer to the stud.
- Weld a 3/8″ nut onto the washer.
- Use a wrench to rock the nut back and forth. The heat and torque usually free the stud.
This method minimizes risk of damaging aluminum threads.
Drill and Extract With a Jig
If welding isn’t possible:
- Use a stud extraction drill jig to ensure perfect centering.
- Drill into the stud with a left-hand bit.
- Insert an EZ-Out extractor and back it out.
⚠️ Warning: This method risks cross-threading or damaging the head. Only attempt with proper tools and experience.
Upgrade to Aftermarket Headers

For the ultimate fix, ditch the factory manifolds entirely.
Choose Stainless Steel Headers
Aftermarket headers from brands like Hooker, Kooks, or Pacesetter use 201 or 304 stainless steel with thick, CNC-machined flanges. They resist warping, eliminate future leaks, and boost performance.
- Material Advantage: Stainless steel handles thermal cycling far better than cast iron
- Flow Benefit: Tubular design improves exhaust scavenging and backpressure control
Pick Shorty or Long Tube
Shorty Headers
- Bolt directly to factory catalytic converters
- No tune required
- Easier installation; fits under stock clearance
- Ideal for daily drivers who want reliability without mods
Long Tube Headers
- Replace manifold and primary tubes
- Require ECU tune to adjust air/fuel ratios
- Maximize horsepower (+20 to +25 HP with tune)
- Best for performance builds
📌 Note: Long tubes trigger rear O2 sensor codes. A tune disables these warnings and optimizes timing.
Replace Both Sides Proactively
If one manifold is failing, the other is on borrowed time.
Avoid Repeat Repairs
Thermal stress affects both sides equally. Fixing only the ticking side means you’ll likely be back under the hood in 12–18 months. Replace both manifolds or upgrade both sides with headers for balanced performance and long-term reliability.
Save on Labor
Removing both manifolds at once cuts total labor time. Whether you’re clamping, bolting, or header-swapping, doing both sides now saves hours later.
Prevent Costly Dealer Repairs
Dealerships charge premium rates for this labor-intensive job.
Expect $600–$1,500 at a Shop
Labor drives the cost:
- $120–$180/hour for 4–8 hours of work
- Higher if bolts are broken (extraction adds 2–3 hours)
- Rear passenger side is hardest to access
💡 DIY Savings: Even with tool rental, DIY saves $400+ on average.
Invest in the Right Tools
Essential tools for a clean repair:
- Stud extraction jig (~$200)
- Right-angle drill for tight spaces
- O2 sensor socket
- Torque wrench (critical for aluminum heads)
Many of these pay for themselves if you own multiple GM trucks.
Avoid Safety Hazards
Ignoring the leak risks more than poor MPG. It risks lives.
Stop Carbon Monoxide Exposure
A leak near the HVAC intake can flood the cabin with odorless, deadly CO. Symptoms include:
- Headaches
- Dizziness
- Nausea
- Loss of consciousness
🚨 Never drive with cabin fumes. Repair before operating.
Prevent Engine and Fire Damage
- Lean codes (P0171/P0174) can lead to burned exhaust valves
- Melting wiring near the leak can cause electrical fires
- Catalytic converter failure from uncontrolled exhaust temps
Maximize Performance and MPG
Fixing the leak restores factory efficiency and unlocks gains.
Regain Lost Fuel Economy
Leaning conditions cause +15% or higher fuel trims, dumping excess fuel. Fix the leak, and you’ll typically gain 2–3 MPG.
Restore Smooth Shifting
False O2 data scrambles torque calculations, leading to:
- Harsh shifts
- Delayed engagement
- Flaring between gears
Once the ECU gets accurate data, transmission behavior returns to normal.
Add Horsepower With Headers
Pairing long tube headers with a tune delivers:
- 20–25+ HP gain
- Improved throttle response
- Aggressive exhaust note
Even shorty headers improve flow over restrictive factory manifolds.
Frequently Asked Questions About Silverado Exhaust Manifold Leak Fix
Can I drive my truck with an exhaust manifold leak?
Short trips are possible, but extended driving risks burning exhaust valves, melting wiring, and severe fuel economy loss. Immediate repair is advised.
Why does the ticking noise go away when the engine is warm?
Thermal expansion causes the cast iron manifold to expand when hot, temporarily closing the gap created by warping. This confirms an exhaust leak rather than a mechanical engine noise.
Do I need to replace the whole manifold to fix the leak?
Not necessarily. If the manifold isn’t cracked, extracting broken bolts and installing ARP studs can permanently fix the leak. However, replacing with stainless headers is the superior long-term investment.
Will an exhaust manifold leak cause transmission problems?
Yes. Incorrect O2 sensor data leads to incorrect torque calculations by the ECU, resulting in poor shift quality and harsh or delayed gear changes.
Is welding a nut onto a broken stud an effective extraction method?
Yes, provided the stud is accessible. Welding a washer and nut onto the remnant allows for controlled removal without damaging the aluminum head threads when using the correct back-and-forth motion.
Final Thoughts on Fixing Your Silverado Exhaust Manifold Leak
The Silverado exhaust manifold leak is a well-documented, preventable failure. The ticking noise, soot stains, and cabin fumes all point to the same design flaw: cast iron manifolds that can’t survive thermal cycling on aluminum heads.
Your best path forward depends on budget and goals. Clamps and RTV offer temporary relief for older trucks. ARP bolts provide a permanent fix without replacing manifolds. Stainless steel headers deliver the ultimate solution with performance gains included.
The smartest move? Address both sides at once and use upgraded hardware. This prevents repeat repairs and ensures long-term reliability. Start by confirming the diagnosis with a cold-start listening test, then choose the repair method that matches your timeline and budget.



