
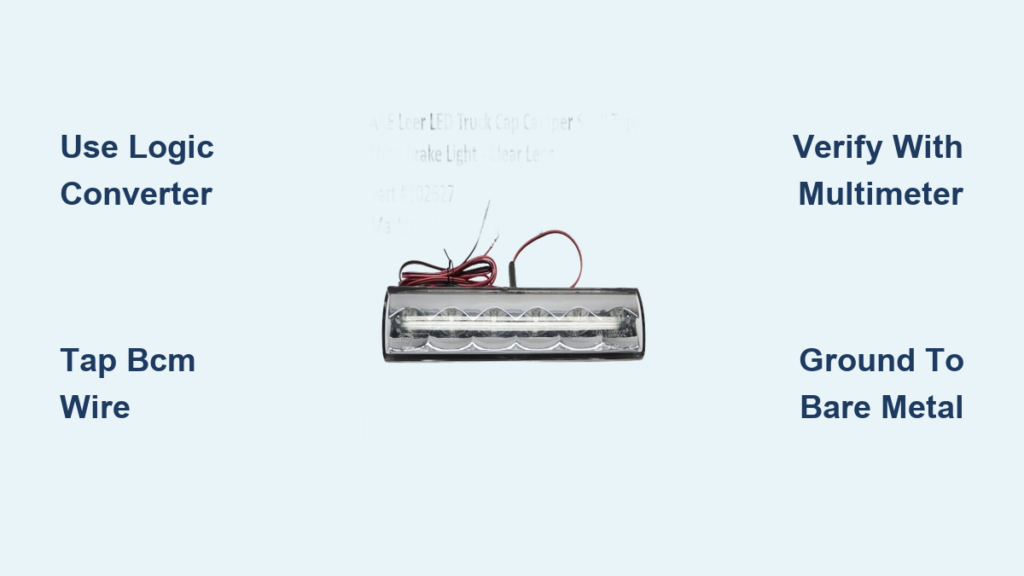
You just bolted a new topper onto your Chevrolet Silverado, but the third brake light either flashes with your turn signals or refuses to work entirely. This frustrating issue stems from a major redesign GM introduced in 2017, when they merged brake and turn signals into a single wire per side. You cannot simply tap into a tail light wire and hope for the best, because the result is an unsafe, non-compliant installation.
The center high-mounted stop lamp (CHMSL) must illuminate only when you press the brake pedal, never during a turn signal. Getting this wrong confuses drivers behind you and can fail state safety inspections. Fortunately, there are proven methods to wire your topper brake light correctly, whether you prefer a plug-and-play converter or a direct factory tap.
This guide walks you through every step of wiring a topper brake light on a 2017–2024 Silverado, including converter installation, under-dash BCM tapping, 2019 model-year quirks, and professional finishing techniques.
Identify Your Silverado’s Combined Signal System
Why the Rear Lights Work Differently Now
Starting with the 2017 model year, Chevrolet Silverado and GMC Sierra trucks use a shared circuit design for the rear lighting. A single wire on each side handles both the brake signal and the turn signal. The left rear circuit pulses for left turns and stays solid during braking, while the right rear circuit does the same independently.
If you connect your topper brake light directly to one of these circuits, it will flash every time you signal a turn. This violates DOT regulations and defeats the purpose of a dedicated third brake light. Any reliable solution must detect when both sides activate (braking) and ignore single-side pulses (turning).
Check for a Factory CHMSL Feed First
Before buying any hardware, check whether your truck already has a dedicated third brake light wire. Some models include a spare wire near the rear bumper, trailer plug, or under the bed rail, often described as a light blue wire.
Do not assume this wire is live. Grab a multimeter or test light, ground the probe, press the brake pedal, and touch the wire. If it powers up only during braking and stays off during turn signals, you have a valid CHMSL feed and can skip the converter entirely. If it pulses with turns or shows no activity, move on to one of the methods below.
Install a Curt C56196 Logic Converter

Why a Converter Solves the Signal Problem
The Curt 2-to-3 Vehicle-to-Vehicle Converter (Part # C56196) is the most popular solution for Silverado owners. This small logic box monitors both left and right rear circuits, interprets the signal pattern, and outputs a clean, brake-only feed to your topper light.
When both circuits activate simultaneously, the converter recognizes braking and sends power out. When only one side pulses, it recognizes a turn signal and keeps the output dark. This method works on all 2017+ Silverados and avoids invasive dash work, making it ideal for most DIY installations.
Connect Both Left and Right Inputs
A critical mistake many installers make is connecting only one input wire. The converter requires signals from both the left and right circuits to function correctly.
Follow these wiring steps:
– Yellow input wire: Tap into the left rear combined circuit, usually accessible behind the driver-side tail light.
– Green input wire: Tap into the right rear circuit behind the passenger-side tail light harness.
– White wire: Connect to a clean, bare-metal ground point on the frame.
Use T-taps for quick, reversible connections. If you must cut factory wires, seal the splices with waterproof butt connectors and heat shrink tubing.
Route the Output Wire and Cap Unused Leads
Run an 18awg red wire from the converter’s red output to your topper brake light. Protect the wire with braided sleeving and split conduit where it passes through metal edges or near moving suspension components.
The Curt C56196 has extra green and yellow output wires that you will not use for a simple third brake light installation. Cap these off and insulate them to prevent short circuits. Only the red output should connect to your topper light.
Mount the converter near the rear axle or inside a protected junction box. Avoid leaving it exposed under the frame where moisture and road debris can damage the electronics.
Test the Converter Before Finalizing
After wiring, perform a quick functional test:
– Press the brake pedal: third light turns on steadily.
– Activate left turn signal: third light stays off.
– Activate right turn signal: third light stays off.
– Press brake while signaling: third light remains steady, no flashing.
If the light blinks with turn signals, recheck that both inputs are connected and receiving signal.
Tap the Factory CHMSL Wire Under the Dash

Access the BCM for a Cleaner Installation
For a more permanent, professional-grade setup, tapping the factory CHMSL signal at the Body Control Module (BCM) is the preferred method. This approach delivers a pure brake-only signal without any external logic box.
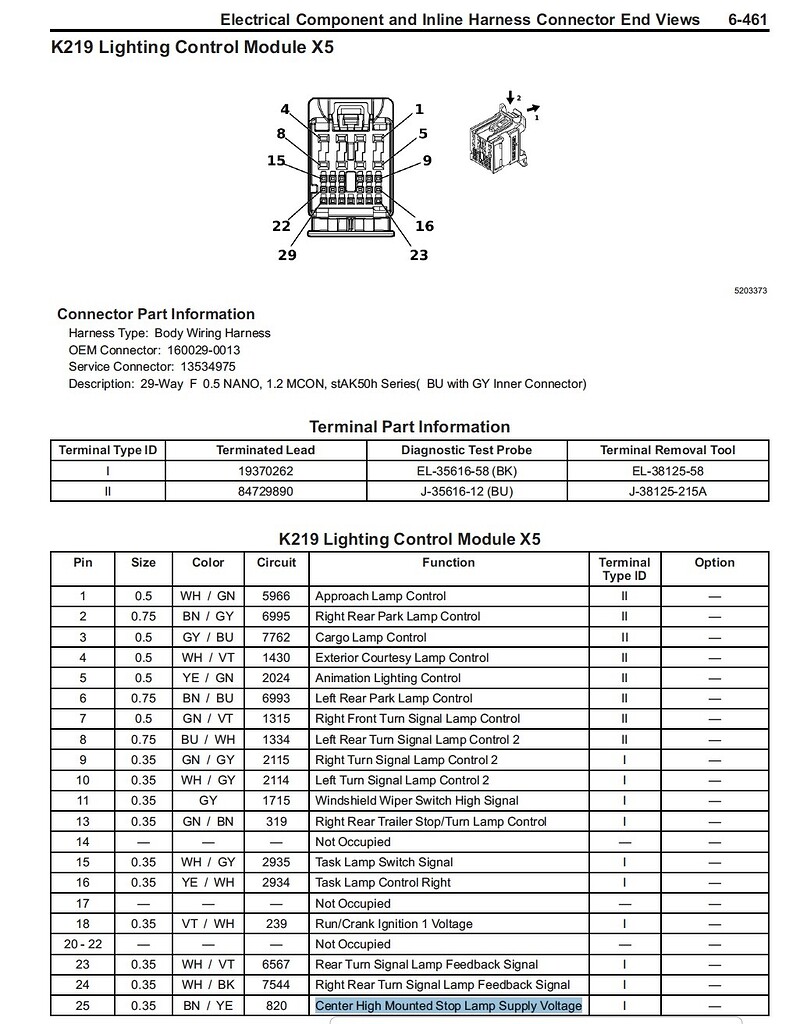
Start by removing the left kick panel cover under the dashboard to expose the BCM or lighting control module connectors. On a 2024 Silverado 1500, look for a blue BCM plug containing a brown wire with yellow stripe at pin 25.
Always verify the wire with a multimeter before cutting or splicing. Wire colors and pinouts vary by model year and trim level, so never rely on generic diagrams alone.
Splice and Route a New Wire to the Bed
Once you confirm the correct CHMSL wire, use a T-tap or butt connector to join an 18awg red wire to the circuit. This new wire will carry pure brake-only power to your topper light.
Route the wire along the cab interior, behind trim panels, through the cab-to-bed grommet, and into the truck bed. Secure the wire with zip ties every 12 inches to prevent sagging or chafing.
This method bypasses turn signal interference entirely and requires no external electronics. It is ideal for installations where space is tight or moisture exposure is a concern.
Handle the 2019 Sierra “Unicorn” Wiring Carefully
The 2019 GMC Sierra 1500 and some late-2018 Silverados present a unique challenge due to mid-year wiring changes that GM never clearly documented. Conflicting technical bulletins create confusion:
– One bulletin from A.R.E. recommends tapping a white with blue stripe wire in the brown block, but suggests pairing it with a logic box, indicating it may not be a true CHMSL feed.
– Another bulletin from TAG recommends the violet/white wire at X4, pin 11 in the black block.
Because of these inconsistencies, multimeter verification is mandatory. Confirm the wire activates only during braking and remains off during turn signals before making any permanent connections.
Select the Right Wiring Components
Use 18awg Wire and Quality Connectors
Stick with 18awg red and black wire for power and ground runs. Thinner gauges risk voltage drop over long distances, while thicker wire is harder to route through tight spaces.
For a factory-style finish, replace basic single-cavity connectors with 2-cavity Weather Pack connectors. Use Pico #5822 flat terminals or compatible round variants. Full pigtail assemblies are available in the Pico Wiring Accessories catalog on pages 43–44.
Protect Wires Against Abrasion and Moisture
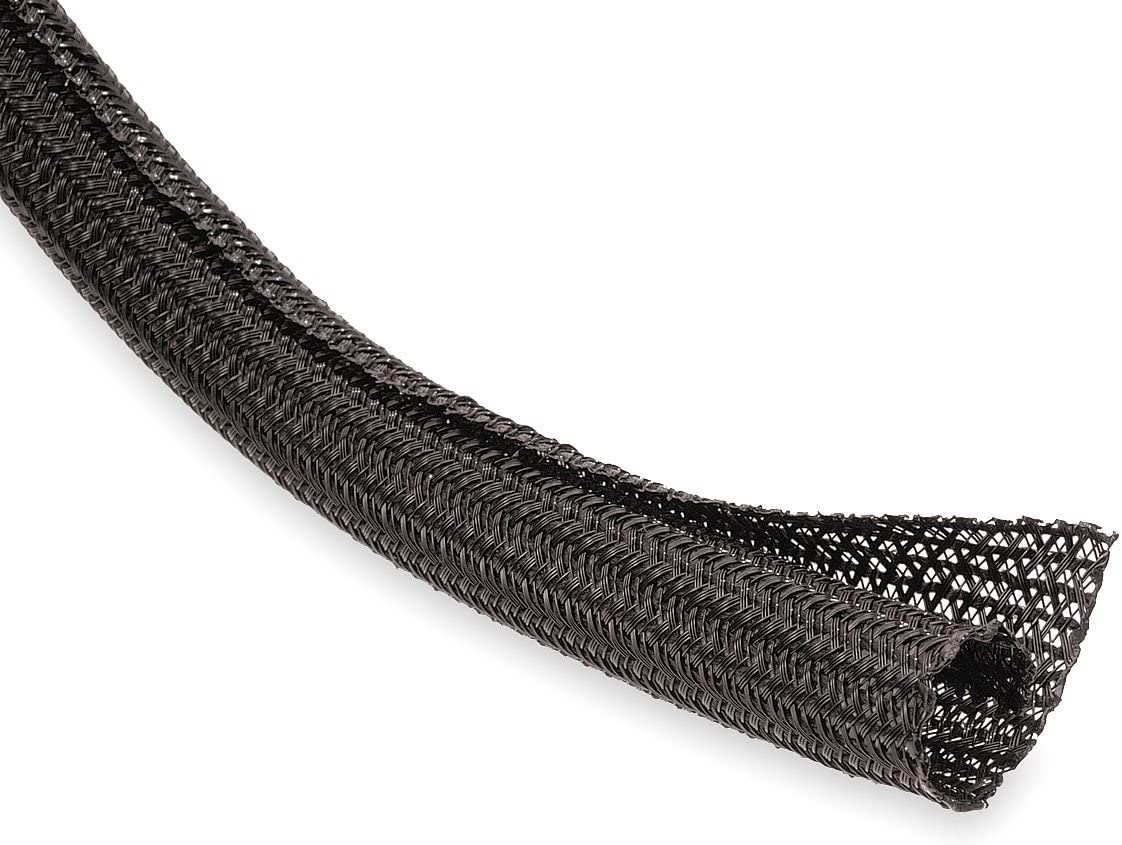
Wrap the entire wire run in braided sleeving for abrasion resistance. Add split conduit where the wire crosses sharp metal edges, such as the bed rail or frame rail.
Seal every splice with heat shrink tubing rather than electrical tape. Heat shrink provides waterproofing and prevents corrosion that can cause intermittent failures over time.
Install an Inline Fuse for Safety
Place a 10A inline fuse on the power line within 18 inches of the power source, whether that is the converter output or the tapped BCM wire. This protects against short circuits that could damage the BCM or create a fire hazard.
Ground Properly to Avoid Common Failures

Prepare a Clean Ground Point
The most frequent cause of third brake light failure is a poor ground. Even a thin layer of paint, undercoating, or rust can block conductivity and prevent the light from working.
Choose a grounding location behind the left rear fender or directly on the truck frame. Sand down to bare metal until the surface shines, then wipe it clean with isopropyl alcohol.
Use a Ring Terminal and Test Continuity
Attach the ground wire using a ring terminal secured with a self-tapping screw or bolt. Do not wrap the wire around a screw or rely on the topper’s mounting hardware for grounding, because these connections loosen and corrode over time.
Test the ground with a multimeter set to ohms. Touch one probe to the ground wire and the other to the battery negative terminal. A reading near 0Ω confirms a solid ground. Any significant resistance indicates a problem that must be corrected before proceeding.
Verify and Test Before Closing Up Panels
Perform a Full Signal Test
Before reinstalling trim panels or securing wires permanently, conduct a comprehensive test:
– Brake only: Light turns on steadily.
– Left turn only: Light stays off.
– Right turn only: Light stays off.
– Brake plus left turn: Light stays on without flashing.
– Brake plus right turn: Light stays on without flashing.
Use a multimeter or test light to confirm signal behavior at each stage. This step takes only a few minutes and prevents the frustration of troubleshooting a finished installation.
Check for Flasher Interference
If the third light flickers or pulses during braking, electrical noise or a faulty converter may be the cause. On 2019 models, this often means the logic box is not interpreting the signal correctly due to pulse variations in the factory wiring.
In such cases, abandon the converter and switch to a direct CHMSL tap under the dash. The direct method eliminates any signal interpretation issues and delivers a clean, steady output.
Avoid Model-Year Pitfalls
Do Not Assume 2019–2020 Compatibility
The 2019 model year is notorious among installers for what they call “unicorn wiring.” GM made mid-year changes without clear documentation, leading to:
– Incompatible plug-and-play adapters, including the Curt 7-pin dongle.
– Logic boxes that fail despite correct wiring.
– Conflicting information from dealers and technical bulletins.
Dealers often cannot help because they must contact GM engineering directly. Your best defense is independent verification with a multimeter and avoiding assumptions based on forums or generic guides.
Prefer Direct Tapping on 2022+ Models
On post-refresh 2022–2024 Silverados, tight underbody packaging makes mounting external converters difficult. Many professional installers now skip the logic box entirely and go straight to the under-dash CHMSL tap.
This approach takes longer but delivers a cleaner, more reliable result with no risk of moisture damage or signal misinterpretation.
Upgrade for Long-Term Reliability
Replace Factory Connectors
Many toppers ship with basic single-wire pigtails that rely on the shell’s frame for grounding. Upgrade to a dual-cavity Weather Pack connector so you can run both power and ground through the same sealed plug.
This eliminates grounding through mounting bolts, which can loosen or corrode over time and cause mysterious failures months after installation.
Trim and Neaten Converter Pigtails
If you use a logic box, cut off excess pigtail length after splicing. Install new connectors instead of leaving long, taped wires dangling under the truck. This reduces snag risk and improves the overall appearance.
Use heat shrink on all final connections and label wires if future access is likely.
Frequently Asked Questions About Wiring a Topper Brake Light on Silverado
Why does my topper brake light flash with my turn signals?
This happens because 2017+ Silverados use combined circuits where a single wire carries both brake and turn signals. Without a logic converter or direct CHMSL tap, the topper light receives the turn signal pulse along with the brake signal. A Curt C56196 converter or under-dash BCM tap solves this problem.
Can I tap into the trailer plug for my third brake light?
Some trucks have a light blue wire near the trailer plug intended for a CHMSL feed, but availability is inconsistent. You must verify with a multimeter that the wire activates only during braking and stays off during turn signals. If it fails this test, it is not a true CHMSL feed.
What is the best wiring method for a 2019 Silverado or Sierra?
The 2019 model year has known wiring anomalies that cause standard logic boxes to fail. The most reliable approach is a direct CHMSL tap at the BCM under the dash, combined with rigorous multimeter verification before making any connections.
Do I need to ground the topper brake light separately?
Yes. Many topper lights ground through the mounting bolts, but this connection can loosen or corrode over time. Run a dedicated ground wire to a clean, bare-metal point on the frame or fender for long-term reliability.
What gauge wire should I use for the topper brake light?
Use 18awg wire for both power and ground runs. This gauge handles the current requirements of a typical CHMSL without significant voltage drop and is easy to route through tight spaces.
Where is the BCM located on a 2024 Silverado 1500?
The BCM is typically accessible behind the left kick panel under the dashboard. On a 2024 Silverado 1500, the CHMSL wire is brown with a yellow stripe at pin 25 of the blue BCM plug, but always verify with a multimeter before splicing.
Key Takeaways for Wiring Your Silverado Topper Brake Light
Wiring a topper brake light on a modern Silverado is not plug-and-play, but it is entirely manageable with the right method. For most owners, the Curt C56196 converter offers the best balance of accessibility and reliability. For long-term performance, especially on 2019+ models, tapping the factory CHMSL wire under the dash remains the professional gold standard.
Always verify your connections with a multimeter, ground to bare metal, fuse the circuit within 18 inches of the power source, and protect every splice with heat shrink. Done correctly, your third brake light will operate flawlessly for years, keeping you safe, visible, and compliant with road regulations.



