
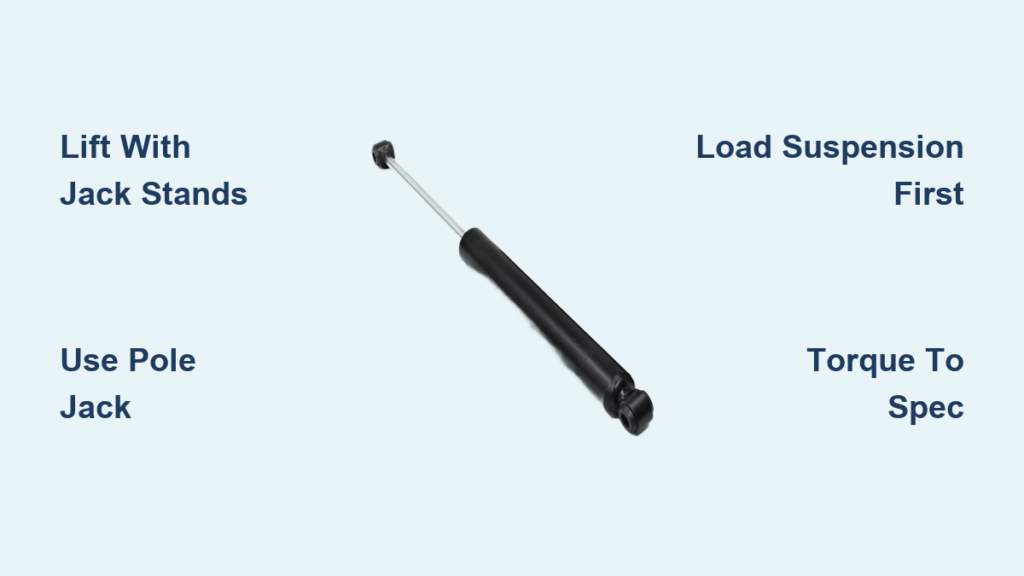
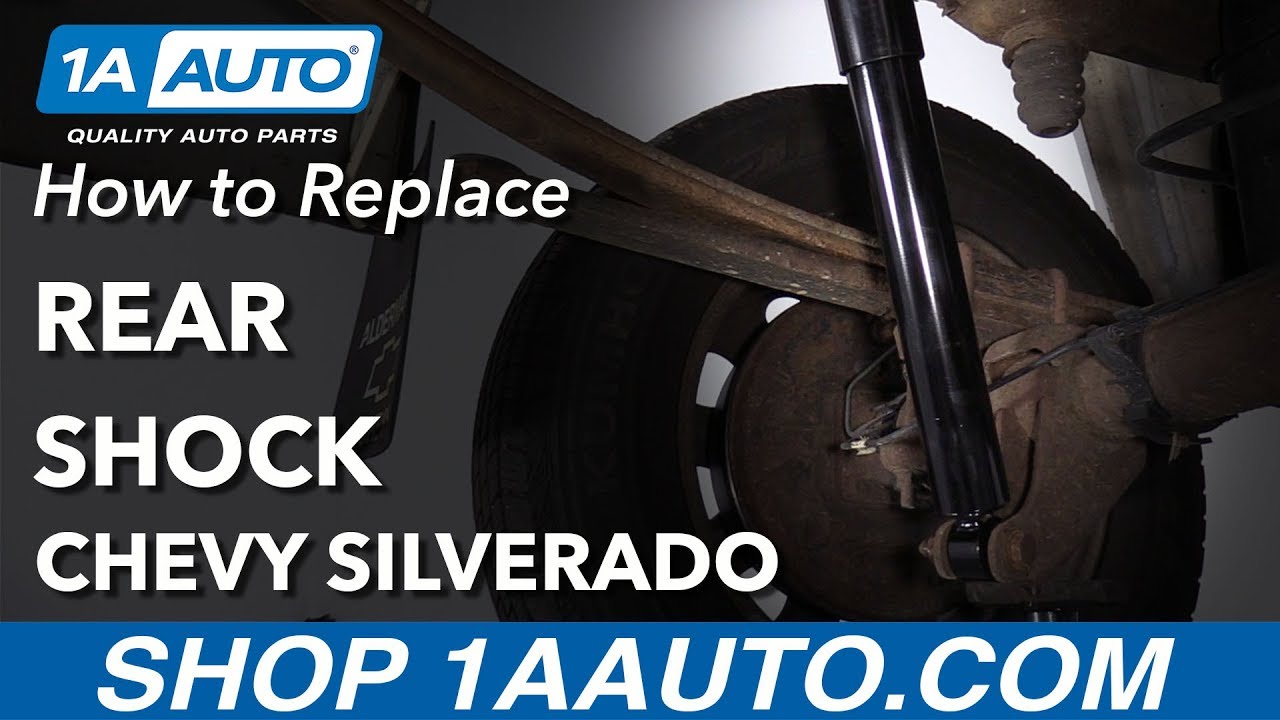
Worn rear shocks can turn your Silverado into a bouncing, swaying ride that struggles to stay planted during braking or cornering. If your truck bottoms out over speed bumps, sways in crosswinds, or shows uneven tire wear, the rear shocks are likely past their service life. Replacing them yourself saves hundreds in shop labor and takes only a few hours with basic tools.
This guide covers how to replace rear shocks on Chevy Silverado models from 1999 through 2025. You’ll learn how to safely lift the truck, remove seized bolts, prevent bushing windup, and torque everything to factory specs for a smooth, stable ride.
Prepare Your Silverado for the Job

Park and Secure the Truck
Always start on a flat, level surface. Engage the parking brake and place wheel chocks firmly against the front tires. Slightly loosen the rear lug nuts while the truck is still on the ground to make removal easier once lifted.
Lift and Support the Rear End
Position a floor jack under the rear lift point and raise the truck until both rear wheels clear the ground. Immediately place jack stands under the frame rails. Never work under a vehicle supported only by a hydraulic jack.
Set a pole jack or secondary floor jack under the rear differential or axle tube. This independent axle support lets you control suspension height during shock removal and prevents stress on brake lines. Remove the rear wheels completely to expose the shock absorbers.
Confirm Shock Compatibility for Your Model Year
Match the Part to Your Truck
Rear shocks vary by generation, so verifying fitment before purchase prevents wasted time and returns. Use this breakdown:
- 1999–2006: GMT800 platform
- 2007–2018: GMT900 and early K2XX platform
- 2019–2025: Latest K2XX platform
Part numbers like Monroe 911533 are confirmed for 2007–2018 models. Always verify fitment using your VIN or consult the manufacturer’s compatibility chart before buying.
Choose the Right Shock Type
Stock replacements restore original ride quality. For improved control on trucks with a higher center of gravity or those used for towing, consider Monroe Reflex® shocks with ASD (Automatic Sensing Damping) technology. These adjust damping force automatically to reduce roll and dive.
Pro Tip: If your shocks are monotube (like Monroe Reflex), do not prime them before installation. They come pre-pressurized and ready to mount.
Gather the Required Tools
Essential Equipment Checklist
Before you start, make sure you have everything on hand:
- Floor jack
- Jack stands (2)
- Pole jack for axle support
- Wheel chocks
- 21mm socket and wrench
- Ratchet with extensions
- 3/8″ impact gun (optional, for rusted bolts)
- Torque wrench
- Wire brush
- Rust penetrant (such as PB Blaster)
- Safety glasses and gloves
The 21mm socket fits both upper and lower mounting bolts on most 1999–2018 models. For 2019+ trucks, double-check bolt size with your service manual.
Avoid These Common Prep Mistakes
Skipping the pole jack risks improper suspension alignment during reassembly. Not using rust penetrant can lead to stripped bolts. Skipping the wire brush may result in poor torque retention due to corroded threads. Always wear safety glasses and gloves because rust, grease, and sharp metal edges are common under the rear axle.
Remove the Old Rear Shocks

Loosen Both Mounting Bolts
With the wheel off and axle supported, locate the upper mount on the frame and the lower mount on the axle bracket. Apply rust penetrant to both 21mm bolts if they appear corroded. Let it soak for 10–15 minutes for best results.
Use a 21mm wrench to hold the bolt head and a ratchet or impact gun to break loose the nut. Start with the upper bolt, then remove the lower bolt. Keep all washers and bushings for inspection.
Extract the Old Shock
Once both bolts are out, carefully wiggle the shock out of the wheel well. You may need to adjust the pole jack slightly by raising or lowering the axle to create enough clearance.
Inspect the old shock for oil leaks, dents, or worn bushings. These are clear signs of failure and confirm the need for replacement.
Install the New Rear Shocks
Position and Secure the Lower Mount
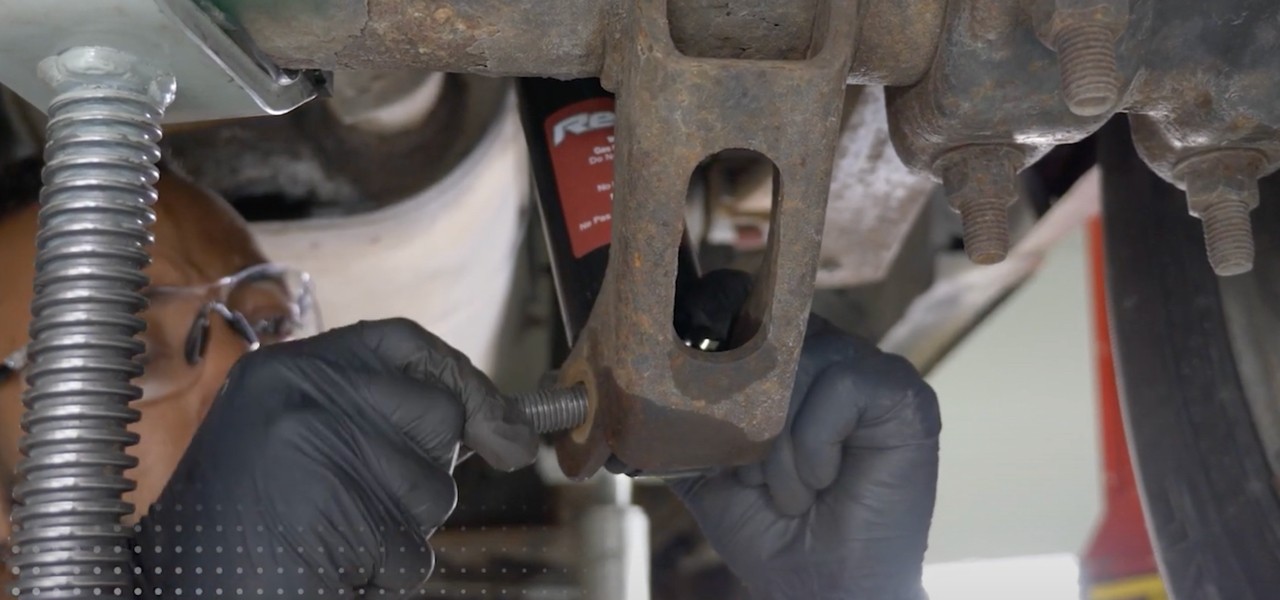
Fully extend the new shock by hand if it came compressed. Slide it into place through the wheel well, aligning the lower eyelet with the axle bracket. Insert the lower mounting bolt first and hand-tighten the nut to hold it temporarily. Do not torque yet.
Attach the Upper Mount
Align the top of the shock with the frame bracket. Insert the upper 21mm bolt and hand-tighten. Make sure the shock is seated properly and not twisted. At this stage, both mounts should be snug but not fully tightened.
Load the Suspension Before Final Torquing
Prevent Bushing Windup
This is the most critical step in the entire job. Use the pole jack to slowly raise the rear axle until the suspension reaches normal ride height. You’ll see the wheels begin to lift slightly off the ground. Stop when the truck sits as it would under its own weight.
This relieves tension on the control arms and ensures the rubber bushings in the shock mounts sit in their natural position. Tightening while the suspension hangs (drooped) causes bushing windup, which leads to premature wear, clunking noises, and a harsh ride.
Torque the Mounting Bolts to Spec
Final Tightening Procedure
With the suspension loaded at ride height, torque the upper mounting bolt to factory specification. Then torque the lower mounting bolt to spec. Exact torque values vary by model year and trim, so always consult your vehicle’s service manual for the correct number.
Use a torque wrench and never guess. Under-torquing risks loosening over time. Over-torquing can strip threads or crush bushings.
Recheck After Lowering
After reinstalling wheels and lowering the truck, perform a final torque check on both bolts. Suspension settling may slightly alter tension.
Reinstall the Wheels and Lower the Truck
Mount Tires Properly
Place the rear wheels back onto the hubs. Hand-tighten the lug nuts in a star pattern to ensure even seating. Lower the truck completely using the floor jack.
Once the full weight is on the tires, use a torque wrench to tighten the lug nuts to manufacturer specification in a star pattern. This prevents warped brake rotors and loose wheels.
Test and Verify the Installation

Inspect for Clearance and Leaks
Before driving, visually inspect both new shocks. Check that mounting bolts are tight and secure, bushings are seated without twisting, and there is no interference with brake lines, wiring, or suspension arms. Look for oil leaks that indicate internal damage.
Bounce each rear corner of the truck. It should settle smoothly without excessive rebound, which confirms proper damping.
Take a Short Test Drive
Drive slowly at first on a smooth road. Listen for clunks, squeaks, or rattles. Test light braking and gentle turns to assess stability. If you hear noise or feel instability, recheck bolt tightness and bushing alignment.
Troubleshoot Common Problems
Free Stuck or Rusted Bolts
If a bolt won’t budge, reapply rust penetrant and wait at least 20 minutes. Tap the bolt lightly with a hammer to break corrosion. A 3/8″ impact gun delivers pulsing force that often frees seized fasteners without rounding heads.
If the bolt spins but won’t come out, the nut may be stripped. You may need to cut it off or use a nut splitter.
Address Incorrect Fitment
If the new shock is too short or long, confirm the part number matches your model year and suspension type (such as Z71, lifted, or stock). Check whether your truck has a factory rear coil spring or leaf spring setup, because shocks are not interchangeable between these configurations.
Using the wrong shock can cause bottoming out, loss of control, or damage to suspension components.
Replace Damaged Hardware
While original bolts can be reused if undamaged, replace any that are corroded, stretched, or have stripped threads. New hardware ensures proper clamping force and long-term reliability. Clean old bolts with a wire brush before reuse to remove rust and debris from threads.
Frequently Asked Questions About Replacing Rear Shocks on Chevy Silverado
How long does it take to replace rear shocks on a Silverado?
For a DIYer with basic experience, the job typically takes 1.5 to 3 hours per side, depending on rust levels and bolt condition. Seized bolts can add significant time.
Do I need to replace both rear shocks at the same time?
Yes. Replacing shocks in pairs ensures balanced damping and even tire wear. Mixing a new shock with a worn one creates uneven handling and unpredictable braking performance.
What size socket do I need for Silverado rear shock bolts?
A 21mm socket fits both upper and lower mounting bolts on most 1999–2018 models. For 2019+ trucks, verify the bolt size in your service manual, as specifications may differ.
Can I replace rear shocks without a pole jack?
A pole jack is strongly recommended because it supports the axle independently and lets you simulate ride height before torquing. Without it, you risk bushing windup, which causes premature failure and a harsh ride.
How do I know if my Silverado rear shocks are bad?
Common signs include excessive bouncing after bumps, swaying in crosswinds, nose-dive during braking, uneven tire wear, and visible oil leaks on the shock body. A bounce test (rocking the corner of the truck and watching for more than 1–2 rebounds) also reveals worn dampers.
Should I prime new shocks before installation?
Only prime twin-tube shocks if the manufacturer instructions specify it. Monotube shocks like Monroe Reflex are pre-pressurized and should never be primed before installation.
Key Takeaways for a Successful Rear Shock Replacement
Replacing rear shocks on your Chevy Silverado is a manageable DIY job that improves safety, comfort, and vehicle longevity. The most important steps are supporting the axle independently with a pole jack and loading the suspension to ride height before final torquing. These two actions prevent bushing windup, which is the leading cause of premature shock failure after installation.
Always refer to your specific model’s service manual for torque specs and unique configurations. Once the job is done, you’ll enjoy better handling, shorter stopping distances, and the confidence of knowing your suspension is in top condition.



