
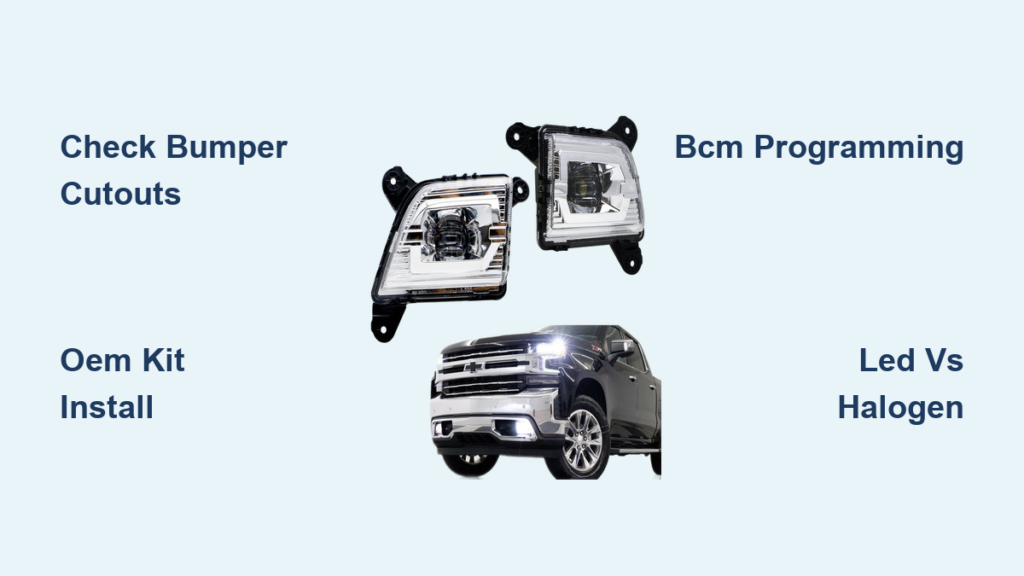
Driving a Silverado through heavy fog or a snowstorm without proper fog lights feels like navigating blind. Many Silverado owners, especially those with lower trims like Custom or Custom Trail Boss, discover their truck shipped without fog lights entirely. Whether you drive a 2007–2013 GMT900 or a 2019–2025 T1XX, adding fog lights to Silverado is absolutely possible with the right approach.
This guide covers every installation path: OEM kits with BCM programming, bumper trim swaps for trucks without cutouts, aftermarket wiring for older models, and budget-friendly LED pod mounts. You’ll learn which method fits your truck, your skill level, and your climate, plus how to avoid common pitfalls like glare, dealer overcharges, and BCM activation headaches.
Inspect Your Silverado’s Bumper for Fog Light Cutouts
Before purchasing any parts, check whether your bumper has the physical openings for fog lights. This single step determines your entire installation path.
What to Look For
Examine the lower corners of your front bumper for smooth, round cutouts. Shine a flashlight into the bumper cavity to spot mounting tabs or threaded inserts behind the plastic.
- Cutouts Present: Some Custom Trail Boss models (especially 2022+) ship with molded openings but no lights installed. You only need the OEM kit and BCM programming.
- No Cutouts: Many 2019, 2022, and 2025 Custom trims have solid plastic. You’ll need to replace the lower bumper trim or mount lights externally.
Pro Tip: If you see mounting tabs or threaded inserts behind solid plastic, your truck was designed for fog lights but never received them. A trim swap is your cleanest option.
OEM Fog Light Kit Installation for 2019–2025 Silverados
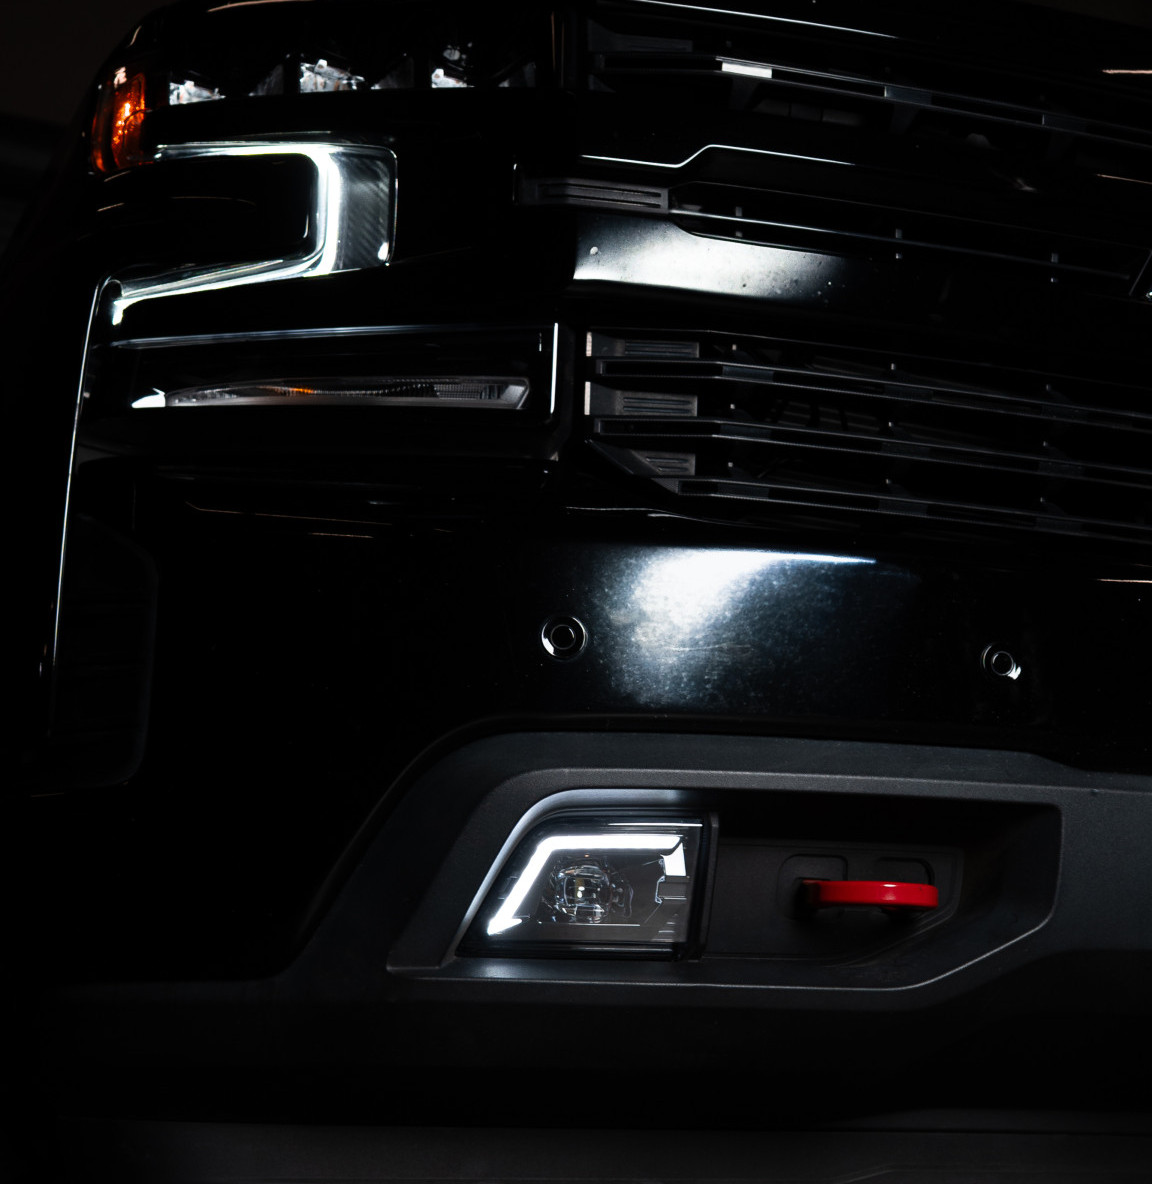
For a factory look with full integration, GM’s official fog light kit is the gold standard. This method works best when your bumper already has cutouts.
Kit Contents and Part Numbers
The official GM kit includes everything needed for a complete install:
- Fog lamp assemblies (halogen)
- Dashboard switch (replaces blank panel)
- Wiring harness with relay and connectors
- Under-hood fuse
Common Part Numbers:
– 84125494: Front Fog Lamp Kit
– 84280752: Alternate configuration
Cost: Approximately $300 online, $400+ at dealerships.
Step-by-Step Mechanical Installation
- Remove the lower bumper trim using a trim tool. Start at the sides and work inward. Remove any screws along the top edge.
- Insert the fog lights into the cutouts. Twist or clip them into place per kit instructions. Ensure the rubber gasket seals tightly against the bumper.
- Route the wiring harness through the bumper opening, up along the inner fender, and into the engine bay. Keep wires away from moving parts and hot surfaces.
- Connect to the fuse box by installing the included fuse in the designated slot. Connect the harness to power and ground points as specified in your kit guide.
- Replace the dashboard switch by popping out the blank panel and inserting the new fog light switch. Plug the harness into the back.
BCM Programming: The Mandatory Final Step
Your lights will not function without Body Control Module reprogramming. The dealer must request an activation code from GM using your VIN.
- The process takes anywhere from 15 minutes to several days, depending on dealer workload.
- Some dealers charge $135–$150 per hour for 1–2 hours of labor.
- Total dealer fees can reach $300–$400, even though the mechanical install takes roughly one hour.
Warning: Shop around or negotiate. Many users report being overcharged for what amounts to a straightforward software update.
Replace the Bumper Trim When Cutouts Are Missing
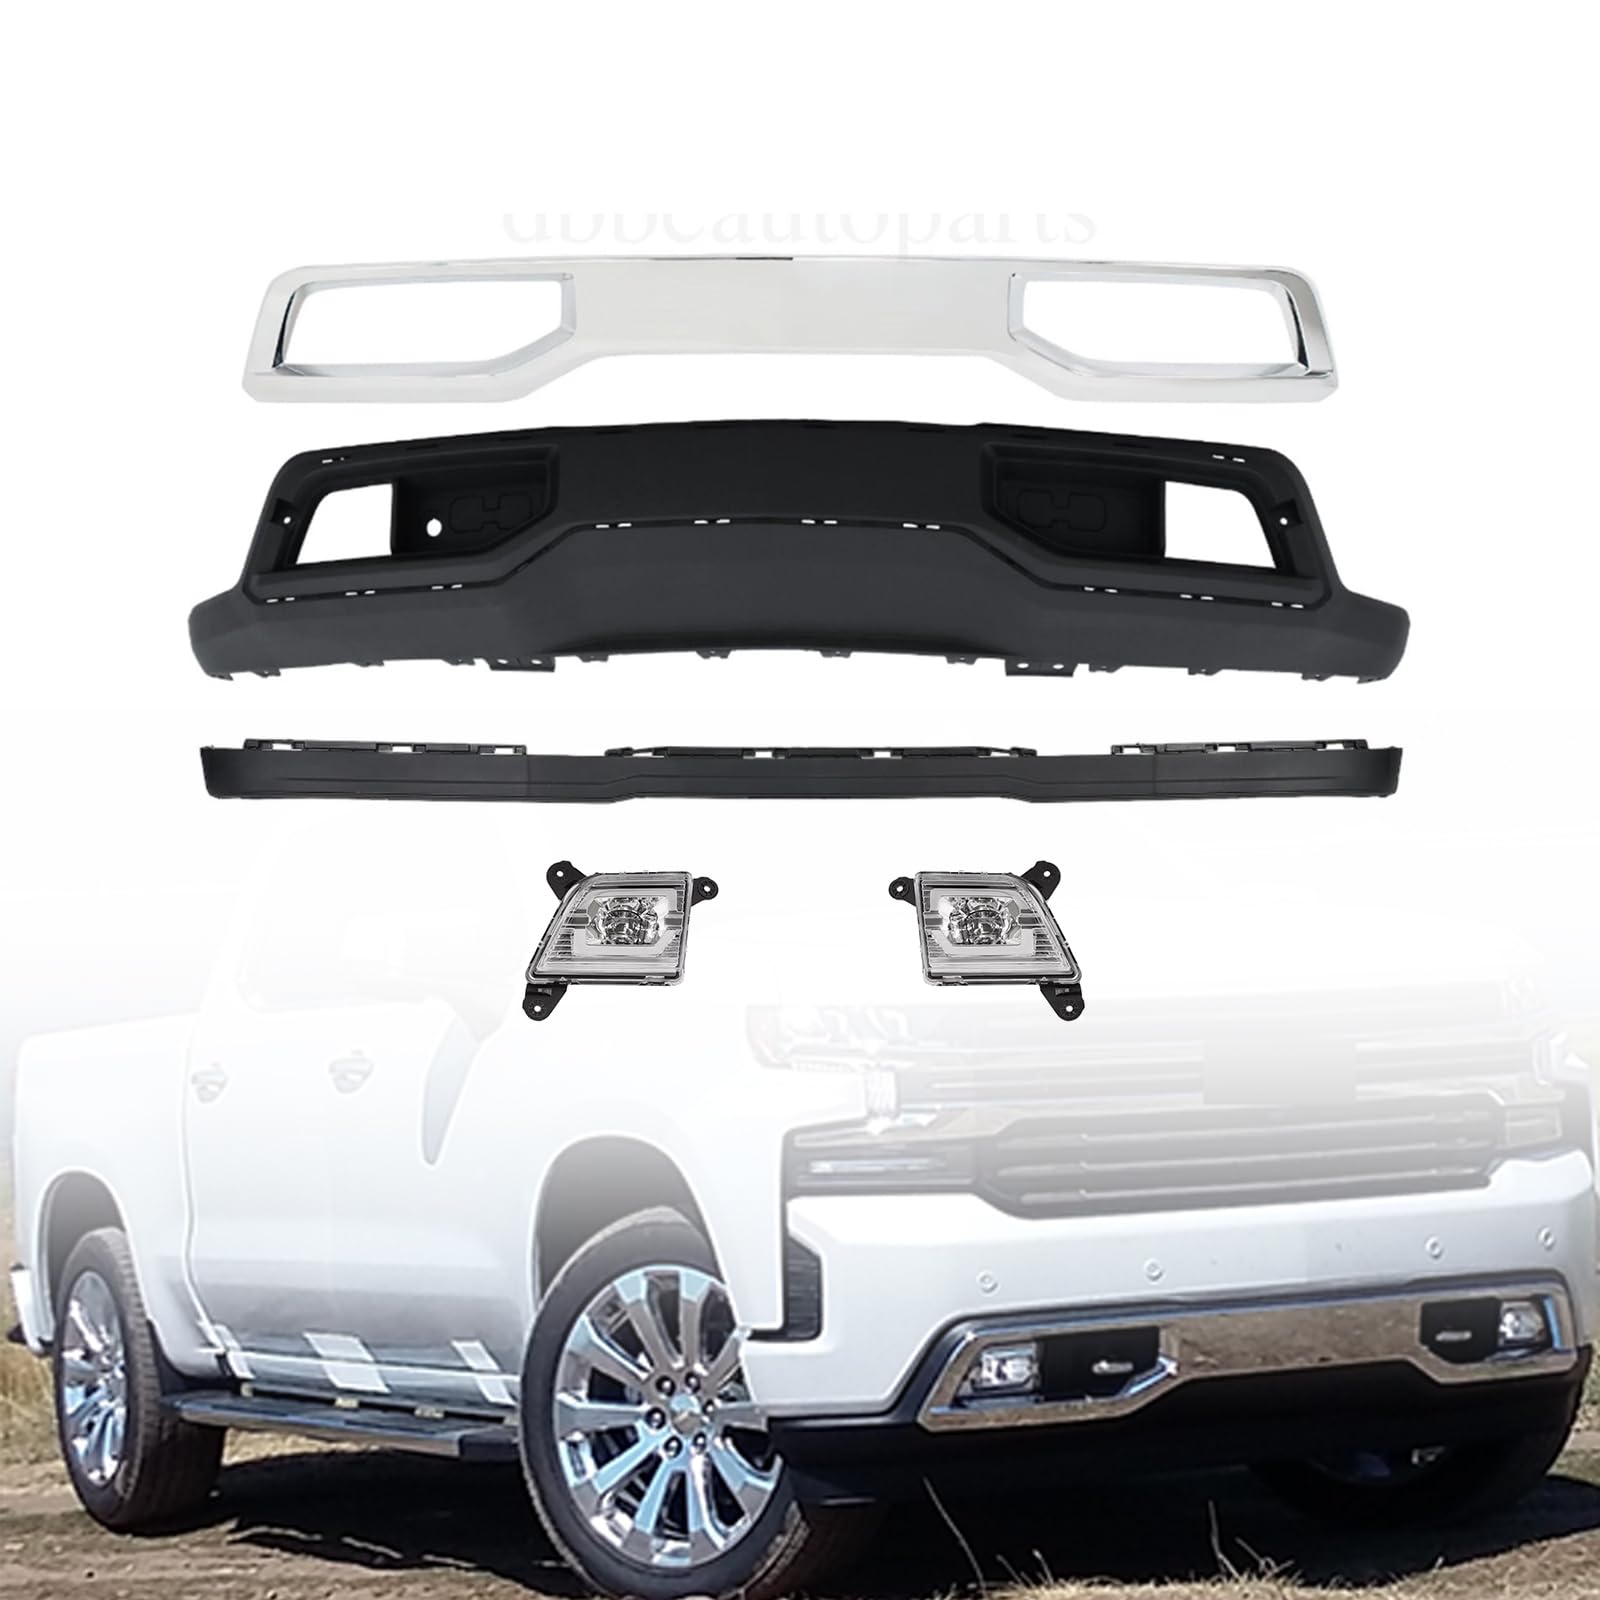
If your Custom or Trail Boss lacks openings, don’t cut the plastic. Replace the entire lower fascia section with one from a higher trim.
Sourcing the Correct Trim
Find a lower bumper trim from an LT, LTZ, or High Country model that includes fog light cutouts. Match your model year and grille design (pre-refresh versus post-refresh).
- Used parts: $150–$300
- New parts: $400+
Trim Swap Procedure
- Remove the entire lower fascia following the same steps as the OEM install.
- Transfer any parking sensors, brackets, or wiring from the old piece to the new one.
- Install the new trim with cutouts and secure all clips and screws.
- Proceed with the OEM fog light kit installation and BCM programming.
Expert Note: This is a body panel swap, not a simple bolt-on. Take your time during removal to avoid cracking the plastic. Label all clips and screws for reassembly.
Aftermarket Wiring and Switch Kits for Any Model Year
For 2007–2013 Silverados or budget-conscious owners, aftermarket kits bypass factory limitations entirely. No BCM programming required.
Components You’ll Need
- Aftermarket fog light wiring harness with relay and fuse
- Toggle or rocker switch for dash mounting
- LED or halogen fog lights
- Mounting brackets (if your bumper has no cutouts)
Total Cost: $100–$200
Wiring the System
- Mount the lights in paint-matched caps or universal brackets. Secure tightly to prevent vibration damage.
- Install the relay near the battery. Connect the terminals as follows:
– Terminal 30: Constant 12V from battery (via inline fuse)
– Terminal 87: To fog light positive wire
– Terminal 85: Ground
– Terminal 86: Trigger wire (tapped into low-beam headlight circuit) - Run the switch between the trigger wire and the headlight circuit. When low beams are active, the switch can power the fog lights.
- Ground the lights by connecting negative wires to clean, bare metal on the chassis.
Visual Cue: Place the inline fuse within 18 inches of the battery. Wrap all connections with electrical tape or heat shrink tubing for weather protection.
Mount LED Pods Without Bumper Cutouts
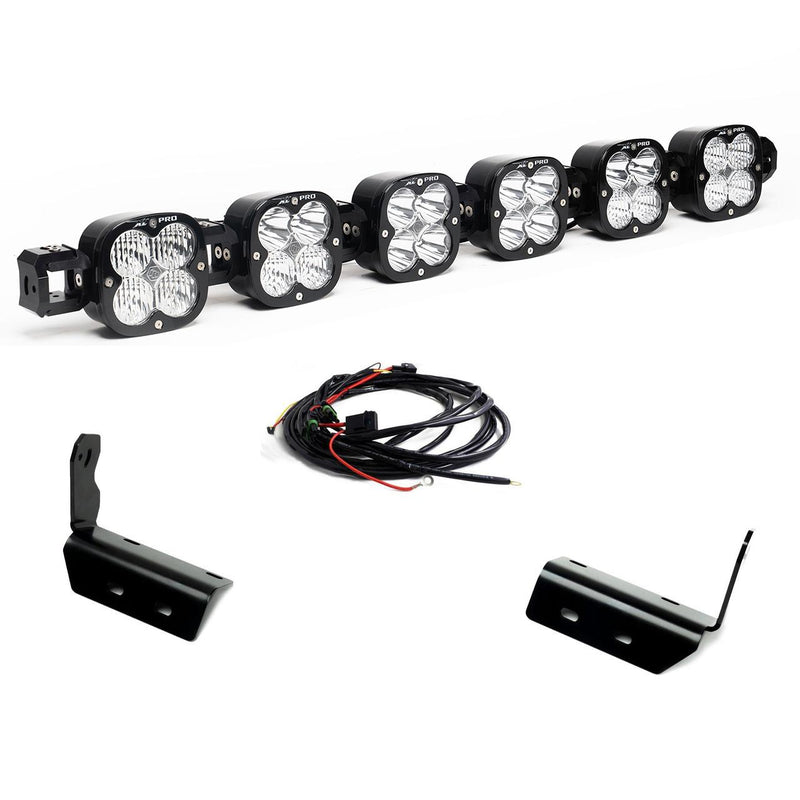
Want aggressive lighting without swapping body panels? External mounting brackets offer a clean solution for any Silverado.
LTW Motorsports Brackets
These brackets are designed specifically for Silverado 1500 and 2500 bumpers. They bolt into existing fog light locations or grille mounts and accommodate 2-inch, 3-inch, or 4-inch LED pods.
- Cost: $60–$120
3D-Printed Custom Brackets
For unique placements like grille inserts or skid plate mounts, design or download STL files from platforms like Printables or Thingiverse. Use UV-resistant PLA or ABS filament for long-term durability.
Pro Tip: Angle LED pods slightly downward to avoid blinding oncoming traffic. Never aim above the horizontal plane.
Halogen vs. LED: Choosing the Right Bulb Type

Your lighting choice affects performance, safety, and winter maintenance.
Halogen (OEM Standard)
- Melts snow and ice from the lens
- Meets legal beam pattern standards
- Easy and cheap to replace
- Dimmer output than LED
- Shorter overall lifespan
Best for: Cold climates with heavy wet snow.
LED (Aftermarket)
- Extremely bright output
- Energy efficient with low power draw
- Long-lasting performance
- Snow sticks to lens (no heat generation)
- Cheap units cause dangerous glare
Best for: Dry climates or drivers willing to clear lenses manually before driving.
User Tip: Upgrade halogen bulbs to Sylvania SilverStar for roughly 30% more brightness without sacrificing snow-melting capability.
Troubleshoot Common Installation Problems
Even correct installations sometimes hit snags. Here’s how to diagnose the usual suspects.
No Power After Installation
- 2019+ models: BCM has not been programmed. Visit the dealer for activation.
- Aftermarket kits: Check the fuse, relay, and ground connection. Test the relay with a multimeter for continuity.
Switch Doesn’t Illuminate
Some aftermarket switches require a separate illumination wire for the indicator light. Verify all connections behind the dash panel.
Lights Stay On Constantly
A faulty relay or trigger wire connected to constant power causes this. Verify that terminal 86 only receives power when the low beams are active.
Excessive Glare for Oncoming Traffic
Misaligned lights are the most common cause. Re-aim using the method below.
Aim Your Fog Lights the Right Way
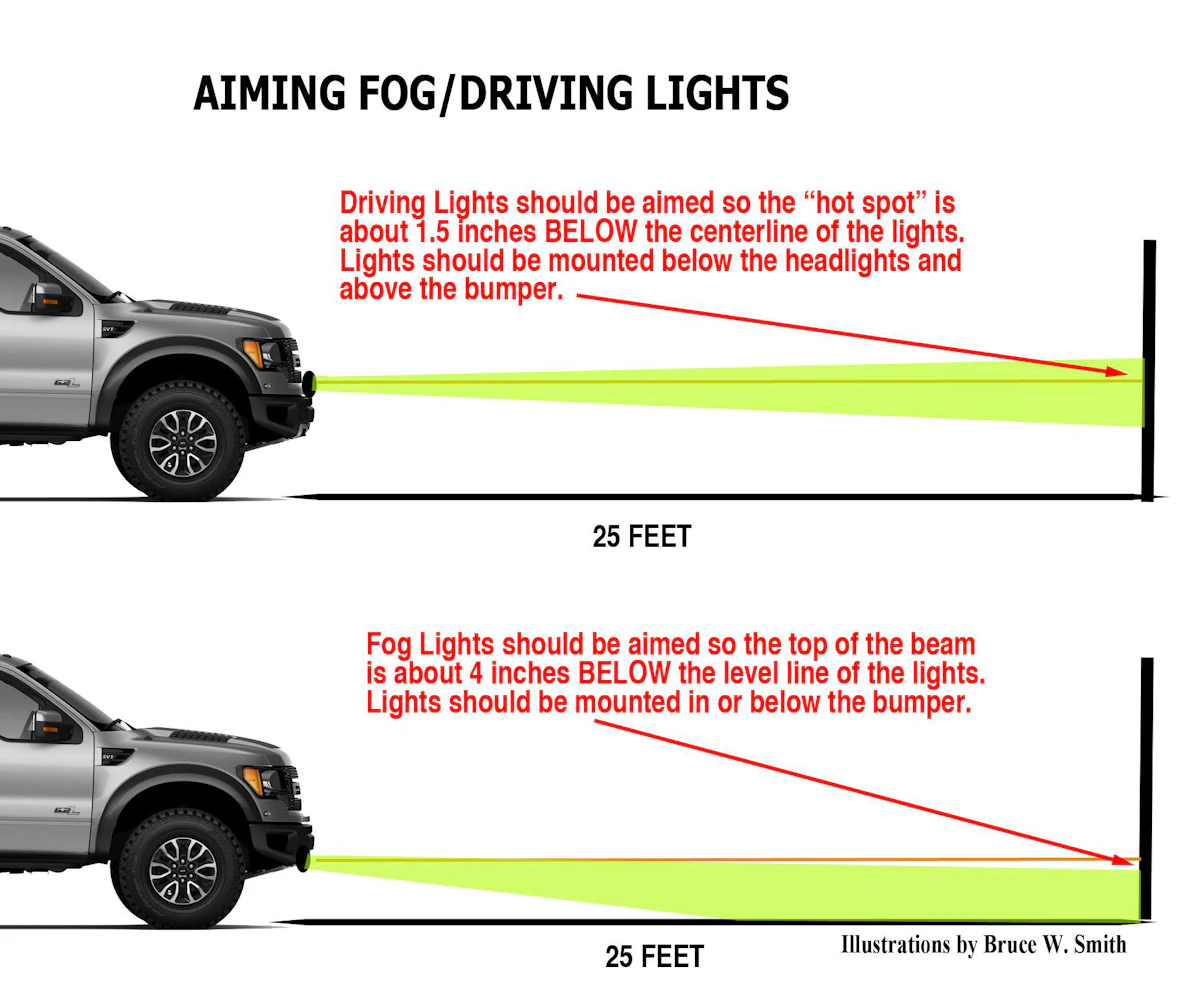
Improper aim creates dangerous glare that blinds other drivers. Follow this DIY method for correct alignment.
- Park on level ground, 25 feet from a flat wall.
- Measure the height from the ground to the center of each fog light.
- Mark that exact height on the wall with tape.
- Adjust the lights so the top edge of the beam hits 4 inches below the mark.
- Confirm the beam pattern is wide and low, not focused like your headlights.
Rule of Thumb: Fog lights should illuminate the road edges and lane markings, not the center of the road ahead.
Cost Comparison: DIY vs. Dealership Installation
| Installation Method | Parts Cost | Labor Cost | Total | Time Required |
|---|---|---|---|---|
| OEM Kit (Cutouts Present) | $300 | $150 | $450 | 1.5 hours |
| OEM Kit + Bumper Swap | $600 | $300 | $900 | 3+ hours |
| Aftermarket Kit (DIY) | $150 | $0 | $150 | 2 hours |
| LED Pods + Brackets | $200 | $0 | $200 | 1.5 hours |
Savings Tip: DIY installation saves $300–$700. Even purchasing a basic tool set, the return on investment is immediate.
Frequently Asked Questions About Adding Fog Lights to Silverado
Can I install fog lights on a Silverado that didn’t come with them?
Yes. For 2019+ models, you need bumper cutouts (or a trim swap) plus the OEM kit and BCM programming. For 2007–2013 models, aftermarket wiring kits work without software activation.
Do I need to program the BCM after installing OEM fog lights?
Yes, for 2019 and newer Silverados. The Body Control Module must be reprogrammed with an activation code from GM, which requires a dealer visit. Without this step, the factory switch will not function.
How much does the dealer charge for BCM fog light activation?
Costs vary widely. Some dealers charge $135–$150 per hour for 1–2 hours of labor. Total charges range from $150 to $400. Shop around or negotiate, since the mechanical portion takes about one hour.
What if my Silverado bumper doesn’t have fog light cutouts?
Replace the lower bumper trim with one from an LT, LTZ, or High Country model that includes the cutouts. Alternatively, use aftermarket brackets like LTW Motorsports or 3D-printed mounts to attach LED pods externally.
Are LED fog lights better than halogen for snow?
No. LEDs do not generate enough heat to melt snow and ice from the lens, so accumulation can block light output. Halogen bulbs are better for heavy, wet snow conditions. In dry climates, LEDs offer superior brightness.
Will aftermarket fog lights void my warranty?
OEM kits preserve full factory warranty coverage. Aftermarket electrical components could theoretically affect warranty claims on related systems if they cause damage, though this is uncommon.
Key Takeaways for Your Silverado Fog Light Install
Adding fog lights to your Silverado comes down to three critical decisions. First, verify whether your bumper has cutouts before buying anything; this determines whether you need a simple kit install or a full trim swap. Second, choose halogen bulbs if you face heavy winter weather, since LEDs won’t melt snow off the lens. Third, consider DIY installation to save $300–$700, especially on 2007–2013 models where no programming is required.
For 2019+ trucks, plan for a dealer visit to handle BCM activation, but negotiate the labor rate or shop around. With the right parts and a few hours of work, you’ll cut through fog, rain, and snow with confidence. Start by inspecting your bumper tonight, then choose the path that matches your truck and budget.



