
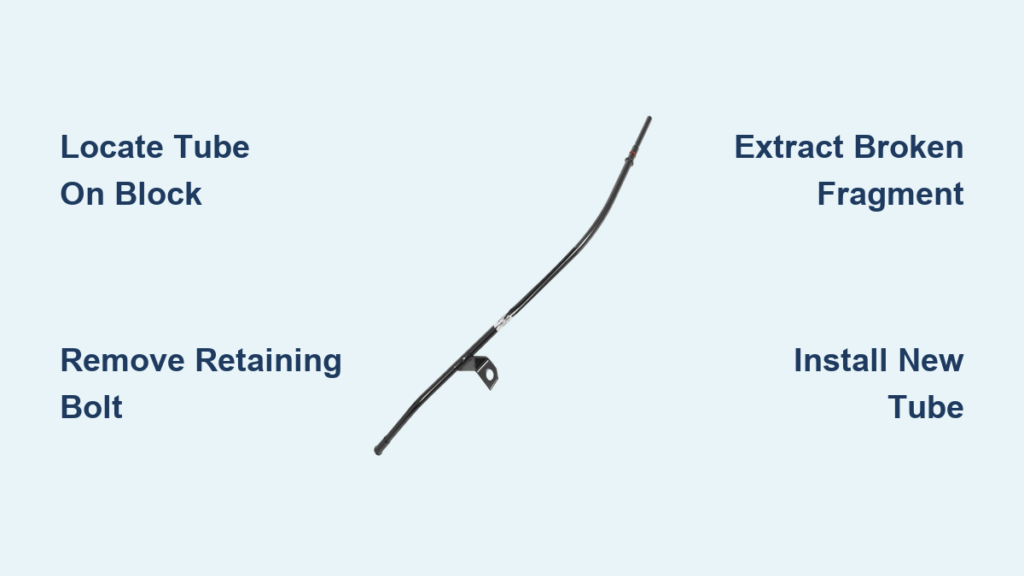
If your Chevy Silverado is leaving oil spots under the engine or the dipstick refuses to slide in smoothly, a damaged dipstick tube is a likely cause. On 1999 to 2013 models, road salt, heat cycles, and engine vibration frequently corrode or snap the tube right at the block. The repair looks intimidating, especially when the tube breaks flush, but most Silverado owners can handle it with basic tools and patience. This guide explains how to replace dipstick tube on Chevy Silverado for both intact and broken tubes across GMT800 (1999–2006) and GMT900 (2007–2013) trucks.
You will learn exactly where the tube sits, how to remove it without breaking it further, how to extract stubborn fragments, and how to install a new tube that seals properly the first time.
Locate the Dipstick Tube on Your Silverado
Identify the Yellow-Handled Dipstick
Open the hood and find the engine oil dipstick, which always has a bright yellow handle. Do not confuse it with the transmission dipstick, which usually has a red handle. The oil dipstick tube runs from this handle straight down into the engine block and ends inside the oil pan.
Trace the Tube Down to the Block
Follow the tube by hand from the top of the engine bay downward. On most Silverados, the tube enters the block on the passenger side near the rear of the engine. Look closely for the single retaining bolt that clamps the tube bracket to the block. This bolt is your main reference point for everything that follows.
Spot Early Warning Signs
Before grabbing any tools, inspect the visible portion of the tube for cracks, rust, or wet oil around the base. If the tube has already snapped, you will see only a small hole or a tiny metal stub where it enters the block. Catching these signs early saves you from debris falling into the oil pan during removal.
Prepare Your Workspace and Tools
Stabilize the Truck Safely
If you need under-engine access, lift the front of the truck with a floor jack and lower it onto jack stands rated for the vehicle’s weight. Always engage the parking brake and block the rear wheels. Never work under a truck held up only by a jack.
Gather Tools and Supplies
Lay out everything before you start:
– 15mm socket
– 3/8″ ratchet with extension bars
– Swivel joint (saves frustration in tight spots)
– Locking pliers (Vise Grips)
– Penetrating oil such as WD-40
– Replacement dipstick tube matched to your model year
– Fresh engine oil for lubrication
– Optional: heat gun, large wood screw, or Easy Out tool for broken tubes
Clear Access on 1999–2006 Models
On GMT800 trucks, removing the rearmost spark plug on the passenger side gives your hands and tools much more room near the dipstick bracket. Use a spark plug socket, set the plug aside carefully, and keep the area clean.
Remove an Intact Dipstick Tube

Pull the Dipstick Out First
Remove the yellow-handled dipstick completely and set it somewhere safe. This prevents damage to the dipstick and keeps it out of your way during the tube removal.
Soak the Base with Penetrating Oil
Spray penetrating oil generously where the tube enters the engine block. This joint collects road grime and salt, which bonds the tube to the block over time. Let the oil soak for 5 to 10 minutes. For heavily corroded tubes, reapply and wait longer.
Remove the 15mm Retaining Bolt
Fit your 15mm socket onto the ratchet and extension. Remove the single bolt holding the tube bracket to the engine block.
- On 1999–2006 Silverados, the bolt sits on the passenger side just above the spark plug area.
- On 2007–2013 Silverados, the bolt is in a similar location but may require a swivel joint because the engine bay is tighter.
Keep the bolt in a safe spot for reinstallation later.
Wiggle and Twist the Tube Free
Grip the tube as low as possible, ideally right above the bracket, for maximum leverage. Use a steady combination of side-to-side wiggling and gentle twisting to break the O-ring seal and corrosion bond. Pull straight out with even pressure. Avoid sudden yanks, which can snap the tube at the block and turn a simple job into a major extraction project.
Pro Tip: If the tube refuses to move, reapply penetrating oil and tap lightly around the base with a rubber mallet. The vibration helps shock the corrosion loose.
Extract a Broken Dipstick Tube from the Block
Clamp with Locking Pliers (Stub Protruding)
If even a small portion of the tube sticks out of the block, clamp locking pliers onto it as close to the engine as possible. Apply steady twisting and pulling force at the same time. Twisting breaks the corrosion seal far more effectively than pulling alone.
Warning: A heat gun can expand the metal and break the corrosion bond, but keep flames and heat away from wiring harnesses, sensors, and plastic components.
Use a Wood Screw or Easy Out (Flush or Below Surface)
When the tube is broken flush or recessed, you need an internal extraction method:
- Wood Screw Method: Drive a large wood screw into the inner wall of the broken tube at a slight angle. The threads should bite firmly into the metal. Slowly twist the screw. As the screw rotates, the tube fragment will loosen. Once free, pull the entire piece out.
- Easy Out Tool: Insert a reverse-threaded extractor bit into the hollow center of the tube. Tap it lightly with a hammer to seat it, then turn counterclockwise with a wrench to back the tube out.
Weld a Handle (Last Resort)
For tubes that simply will not budge, welding may be your only option:
- Select a long metal rod or large screw to act as a handle.
- Weld it securely to the top edge of the remaining tube fragment.
- Let the weld cool just slightly, then twist the rod to break the corrosion bond.
- Pull the tube out once it loosens.
Critical: Immediately after extraction, clean the dipstick port thoroughly. Use compressed air or a lint-free cloth to remove metal shavings and debris. Foreign material falling into this hole goes straight to the oil pan.
Install the New Dipstick Tube

Lubricate the O-Ring and Shaft
Before installation, coat the O-ring on the new tube with a thin layer of fresh engine oil or penetrating oil. Also lubricate the lower shaft that slides into the block. This step prevents the O-ring from rolling or tearing during insertion.
A dry O-ring is the number one cause of leaks and poor seating. Never skip lubrication.
Insert and Align the Tube
Line up the new tube with the dipstick port on the engine block. Push it in with firm, even pressure until it seats fully. You should feel it bottom out smoothly. If it binds, pull it out, re-lubricate, and try again. Make sure the mounting bracket lines up perfectly with the bolt hole in the block.
Secure the Retaining Bolt
Slide the 15mm bolt through the bracket and into the block. Tighten it with a socket and ratchet until snug. Do not over-tighten, since excessive torque can crack the bracket.
Torque Tip: Hand-tight plus about a quarter turn with a ratchet is usually sufficient.
Reassemble and Test for Leaks
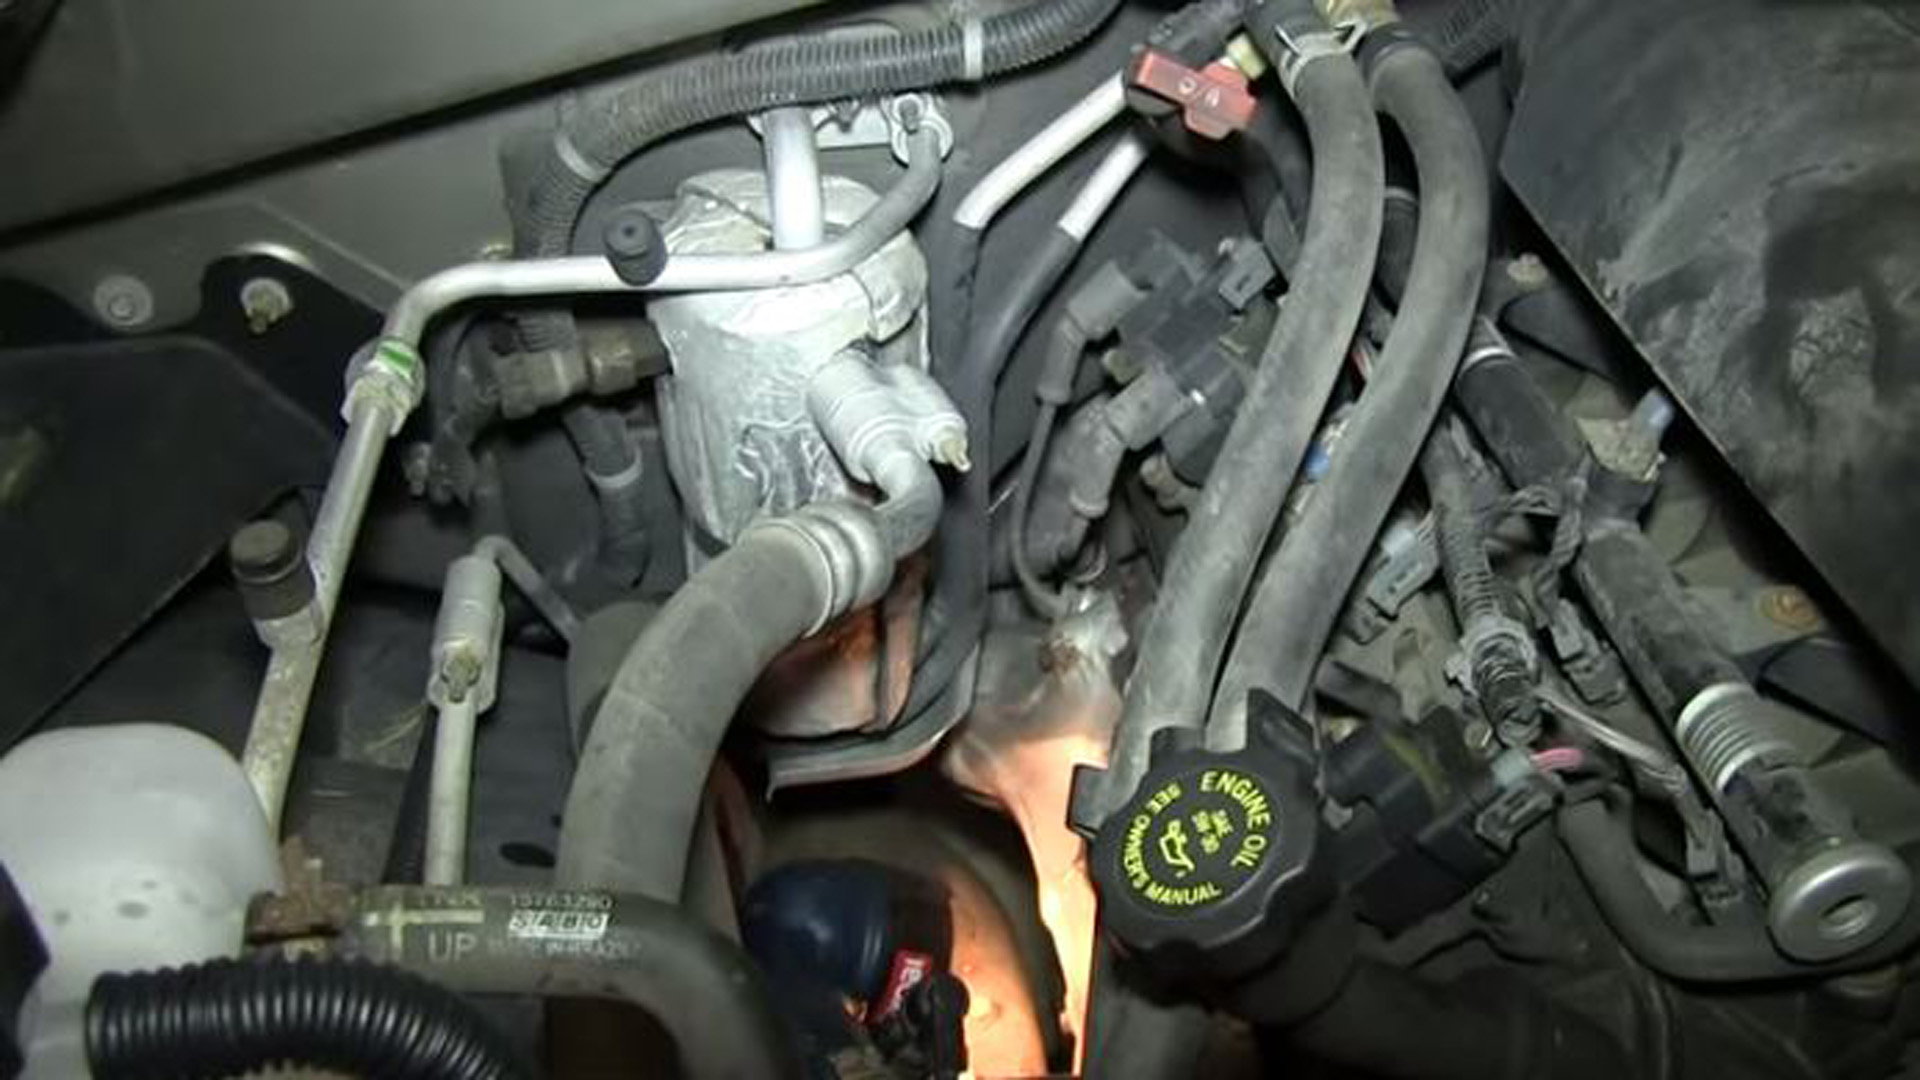
Reinstall the Spark Plug (GMT800 Models)
If you removed the rearmost spark plug on a 1999–2006 truck, reinstall it now using a spark plug socket. Tighten to manufacturer specifications if available, or hand-tight plus an eighth to quarter turn with a torque wrench.
Reinsert the Dipstick
Slide the yellow-handled dipstick back into the new tube. It should drop in smoothly and reach the bottom of the oil pan. If it sticks or fails to seat, the tube may not be fully inserted or could be slightly kinked.
Run the Engine and Check for Leaks
Start the engine and let it idle for 2 to 3 minutes. Shut it off and wait about 5 minutes for oil to settle back into the pan. Wipe the base of the new tube clean, then inspect for any seepage. A slow leak is much easier to spot on a clean surface.
Pro Tip: Slide a piece of cardboard under the engine overnight. It will catch even the smallest drips and confirm whether your seal is holding.
Prevent Future Dipstick Tube Failures
Protect Against Corrosion
Road salt and moisture destroy dipstick tubes over time. During oil changes or under-hood washes, inspect the lower portion of the tube closely. Applying a rubberized undercoating or dielectric grease to the base can dramatically slow corrosion.
Lubricate the O-Ring During Routine Maintenance
Whenever you pull the dipstick for an oil check, wipe it clean and place a small drop of oil on the O-ring. This keeps the rubber supple and prevents dry friction from degrading the seal.
Add the Tube to Your Inspection Routine
Make the dipstick tube part of every under-hood check. Look for:
– Cracks or brittleness in the tube walls
– Oil residue around the base
– A loose or damaged mounting bracket
Catching problems early avoids emergency repairs and costly engine contamination.
Troubleshoot Common Replacement Problems
Tube Will Not Budge After Soaking
Reapply penetrating oil and let it sit for several hours or overnight. Tap around the base with a soft hammer to vibrate the corrosion loose. Reserve heat for true emergencies, and always shield nearby wiring.
Dipstick Sticks in the New Tube
This usually points to one of three causes:
– The O-ring was not lubricated
– The tube is not fully seated
– Debris is lodged inside the tube
Remove the tube, clean the interior thoroughly, re-lubricate the O-ring, and reinstall.
Oil Leaks After Replacement
Most post-installation leaks come down to:
– An over-tightened or under-tightened bolt
– A damaged or pinched O-ring
– A dirty sealing surface on the block
Pull the tube, inspect the O-ring and the port, clean both surfaces carefully, and reinstall with fresh lubrication.
Model-Specific Tips for Chevy Silverado
1999–2006 Silverado (GMT800)
- Removing the rearmost spark plug greatly improves access to the dipstick bracket.
- The retaining bolt sits above the spark plug area, so a swivel or universal joint is often necessary.
2007–2013 Silverado (GMT900)
- The engine bay is noticeably tighter, so lifting the truck or using a low-profile swivel socket often helps.
- Spark plug removal is usually unnecessary, but plan for limited hand space.
Frequently Asked Questions About Replacing the Dipstick Tube on a Chevy Silverado
How long does it take to replace a dipstick tube on a Silverado?
For an intact tube, most DIYers finish the job in 1 to 2 hours. A broken tube that requires extraction can stretch the repair to 3 or more hours, especially if welding becomes necessary.
What size socket do I need for the dipstick tube bolt?
A 15mm socket is required for the single retaining bolt on both GMT800 and GMT900 Silverados.
Can I drive with a broken dipstick tube?
Driving with a broken tube is risky. Oil can leak onto hot engine components or the ground, and debris can enter the oil pan through the open port. Replace the tube as soon as possible.
Why does the dipstick tube keep corroding on my Silverado?
Road salt, winter moisture, and under-hood heat create a perfect corrosion environment at the block entry point. Regular cleaning and a protective coating on the lower tube slow this process significantly.
Do I need to drain the oil before replacing the dipstick tube?
No. The tube sits above the oil pan, so a small amount of oil may spill from the port during removal, but a full drain is unnecessary. Keep rags handy and plug the hole briefly during extraction to prevent debris entry.
Final Thoughts on Replacing Your Silverado’s Dipstick Tube
Learning how to replace dipstick tube on Chevy Silverado saves you money and gets your truck back on the road without a shop visit. The three keys to success are patience during removal, choosing the right extraction method if the tube breaks, and never letting debris fall into the open port. Lubricating the O-ring and snugging the bolt (without over-tightening) ensures a leak-free seal that lasts.
Pick up a replacement tube matched to your model year, set aside a weekend afternoon, and work methodically from the top down. Once the new tube is installed and tested, add a quick visual inspection to every oil change so you catch corrosion early and avoid another emergency repair.



