
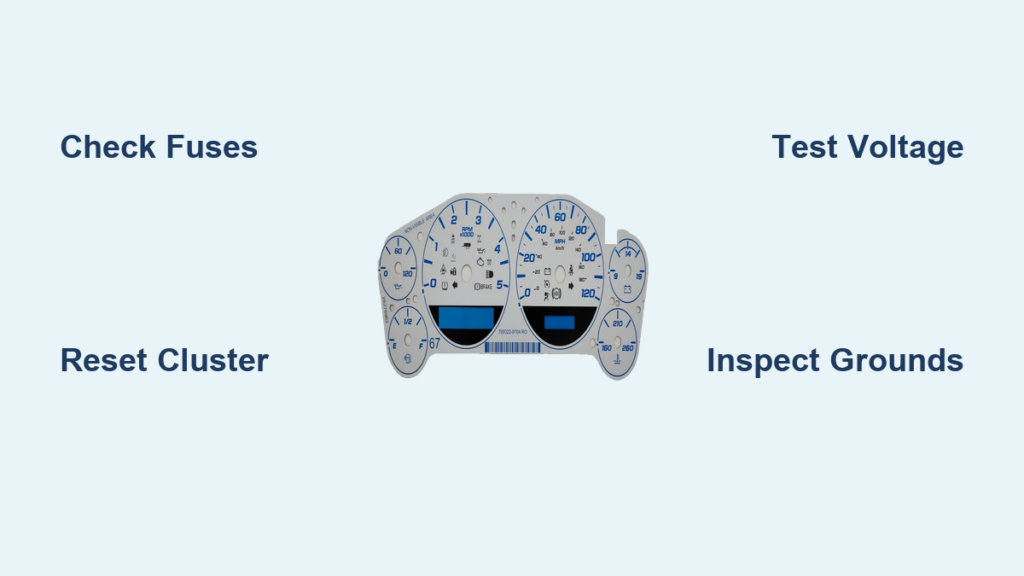
If your Silverado gauge cluster not working, you’re not alone. Thousands of owners have faced sudden failures—gauges dropping to zero, warning lights blinking randomly, or the odometer showing “RI” with no mileage. These issues can leave you stranded or guessing your speed, fuel level, or engine temperature. The root cause might be something as simple as a blown fuse or as complex as a failing Body Control Module (BCM) or damaged wiring harness.
The good news? Most problems are diagnosable with basic tools and a step-by-step approach. Whether your truck is a 2003 model under recall or a 2007 with intermittent flickering, this guide walks you through proven fixes—fast. You’ll learn how to pinpoint electrical faults, test critical grounds, and avoid costly replacements if a $5 fuse is all that’s wrong. Let’s get your dash back online.
Check Fuses First
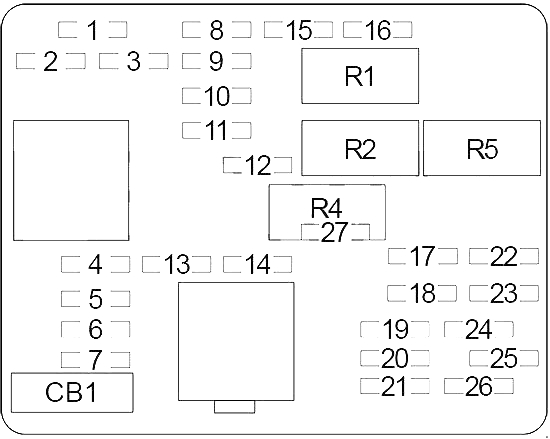
Before tearing into dash panels, verify the simplest cause: blown fuses. A single dead fuse can kill the entire cluster.
Locate Critical Fuses
Head to both fuse boxes—under the hood and inside the cabin. Focus on these:
- Fuse 48 (under-hood): Powers the Instrument Panel Cluster (IPC)
- IPC.DIC (10A, SEOB1): Keeps display and gauges active
- IGN E (10A): Supplies ignition power to the cluster
- SEO IGN (10A): Special Equipment Option ignition circuit
- Cigarette Lighter Fuse: Powers the OBD2 port; if dead, scanners won’t connect
Use the fuse box diagram to find them. Pull each with a fuse tester or visual inspection. Look for broken filaments or darkened metal.
Replace and Retest
Swap any blown fuses with the correct amperage. Turn the ignition ON (don’t start), wait 15 seconds, then check the gauges. If they work, the issue was likely a surge or short. If the new fuse blows immediately, there’s a short in the circuit—proceed to wiring checks.
✅ Pro Tip: Always carry spare 10A fuses. A failing alternator can blow them repeatedly.
Reset the Instrument Cluster
Sometimes, the cluster locks up due to a voltage glitch. A reset can restore function without any part replacement.
Perform a Hard Reset
- Turn the ignition OFF.
- Wait 10 seconds (lets modules power down).
- Turn the key to ON (engine off).
- Wait 15 seconds—this allows the IPC to reinitialize.
- Start the engine.
Observe if gauges sweep normally. This often fixes temporary communication hiccups after battery swaps or electrical work.
⚠️ Note: If gauges flicker during startup but die after 10 seconds, the cluster is receiving partial power—check grounds and voltage supply next.
Test Cluster Voltage Supply

No power? Test the cluster’s main feed to rule out wiring or BCM issues.
Remove and Disconnect Cluster
- Disconnect the negative battery terminal.
- Remove dash trim around the cluster.
- Unbolt the cluster and gently pull it out.
- Disconnect the wiring harness plugs from the back.
Probe the White Power Wire
Set your multimeter to 20V DC. Reconnect the battery. Turn ignition ON.
- Place the black probe on bare metal (ground).
- Touch the red probe to the white wire in the connector (verify with wiring diagram).
Interpret Results
- 12V Present: Power is reaching the cluster. Problem may be internal or in the ground.
- No Voltage: Check Fuse 48 again. If good, inspect wiring from fuse to cluster for breaks or corrosion.
- Low Voltage (<11V): Indicates resistance—check connections, splices, or failing BCM.
🔍 Visual Cue: Look for melted insulation or green corrosion in connectors.
Inspect Ground Connections

Poor grounding causes flickering, partial failure, or total cluster blackout.
Locate Key Ground Points
Two primary grounds control dash electronics:
- G200: Right side of dash, near A-pillar, in HVAC harness
- G203: Left side of dash, in instrument panel harness
Both are under the top dash cover. Also check the right headlight mounting ground—a known failure point that affects dash stability.
Clean and Tighten
- Disconnect battery.
- Remove screws securing ground wires.
- Scrape away corrosion from wire terminals and mounting points.
- Apply dielectric grease to prevent future moisture damage.
- Reattach tightly.
Reconnect battery and test gauges. Many intermittent issues vanish after grounding fixes.
✅ Pro Tip: Use a star washer for a solid metal-to-metal connection.
Diagnose BCM and Data Bus Errors
When multiple systems fail (gauges, windows, HVAC), the fault often lies in communication.
Check OBD2 Port Power
Pin 16 of the OBD2 port must show 12V. No power? The cigarette lighter fuse is likely blown—replace it.
Test Serial Data Communication
If scan tools can’t connect:
1. Unplug the BCM (under dash, left of steering wheel).
2. Unplug other modules one at a time (ECM, IPC).
3. Reconnect OBD2 scanner after each.
If communication returns after unplugging one module, that unit is shorting the data bus.
Identify BCM Failure Signs
- Gauges dead, but engine runs
- Power windows and locks inoperative
- High current draw when BCM fuse is pulled
A failing BCM may need replacement or professional resoldering.
⚠️ Warning: A bad BCM can mimic cluster failure—don’t replace the IPC until you rule this out.
Examine Wiring Harness and Splice Packs
A hidden wiring fault can kill multiple dash functions.
Find the 12-Pin Splice Pack
Behind the headlight switch, look for a 12-pin connector. If loose or missing, it disrupts power to:
- Instrument cluster
- Power windows
- Door locks
- Mirrors
Reconnect and secure it. Wrap with electrical tape to prevent vibration.
Inspect Harness for Damage
Check for:
– Chafing against sharp metal edges
– Heat damage near HVAC ducts
– Rodent chew marks
– Corrosion in multi-pin connectors
Repair damaged wires with solder and heat shrink—never use wire nuts.
✅ Pro Tip: Wiggle test the harness while watching gauges. Flickering means a broken wire or loose pin.
Assess Instrument Cluster Internally

If power and grounds are good, the cluster itself is likely faulty.
Recognize Internal Failure Signs
- All needles stuck at zero
- Odometer reads “RI” or blank
- High beam indicator stays on with key OFF
- Gauges work only after hitting bumps
These point to cracked solder joints, failed stepper motors, or circuit board burns.
Try the “Bumpy Road” Test
Drive over rough terrain. If gauges suddenly work, internal connections are loose—common in older clusters. This is a temporary fix; permanent repair requires resoldering.
Decide: Repair or Replace?
| Option | Cost | Pros | Cons |
|---|---|---|---|
| Used Cluster | $200 | Cheap, immediate | May need programming; unknown lifespan |
| OEM New | $1,500 | Plug-and-play, warranty | Expensive |
| Aftermarket | $50 | Low cost | Inaccurate readings, poor fit |
| Professional Rebuild | $200–$400 | Reliable, retains original mileage | Shipping required |
🔧 DIY Note: Replacing the cluster is easy—just don’t skip reprogramming. Without VIN/mileage sync, the truck may not start or display errors.
Address Model-Specific Issues
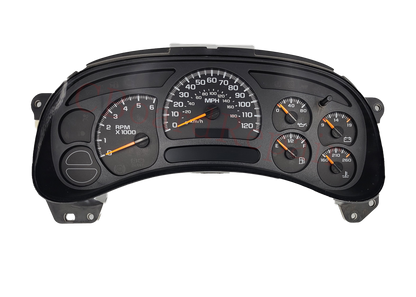
Certain years have known defects. Know your truck.
2003 Silverado: Recall Alert
- Issue: Gauges and dash lights fail suddenly; only check engine light works
- Recall: GM issued a recall for instrument cluster failure
- Action: Contact your dealer. Even with high mileage, labor-only cost replacements are sometimes approved
Call with your VIN—don’t assume you’re out of luck.
2004–2007: High Beam Drain and Intermittent Failure
- Symptom: High beam indicator stays on with key off → drains battery overnight
- Cause: Internal cluster short
- Fix: Replace or rebuild the cluster immediately
Also common: gauges fail while driving, return after restart. Points to thermal expansion in a failing cluster—replace before it dies completely.
Prevent Future Failures
Avoid repeat issues with simple maintenance.
Protect Against Electrical Surges
- Always disconnect the battery before stereo or electrical work
- Test alternator output annually—should be 13.5–14.8V. Overcharging kills clusters
- Install a surge protector fuse in the IPC circuit
Use Dielectric Grease
Apply to all dash connectors and ground points during reassembly. Prevents moisture and corrosion.
Monitor for Early Signs
- Flickering backlight
- Delayed gauge sweep on startup
- Inconsistent fuel or temp readings
Address these early—don’t wait for total failure.
Final Fixes for Post-Repair Failures
Some cluster deaths happen after simple jobs—here’s why.
After Battery Replacement
- Issue: Gauges dead post-swap
- Cause: System didn’t reboot, or surge during installation
- Fix: Disconnect battery for 10 minutes. Reconnect and perform cluster reset
After Stereo Installation
- Issue: Cluster dead, fuses blown
- Cause: Sparking while wiring—sent surge through the IPC fuse
- Fix: Replace Fuse 48 and IPC.DIC. If gauges still dead, the cluster logic board is likely fried
⚠️ Critical: Never install audio gear with the key ON.
Frequently Asked Questions About Silverado Gauge Cluster Problems
What causes a Silverado gauge cluster to stop working suddenly?
The most common causes are blown fuses (especially Fuse 48), corroded ground connections at G200 or G203, a failing BCM, or internal cluster damage from electrical surges. Start by checking fuses before assuming the cluster itself is bad.
How do I reset my Silverado instrument cluster?
Turn the ignition OFF and wait 10 seconds. Turn the key to ON (engine off) and wait 15 seconds. Then start the engine. This clears voltage glitches and often restores gauge function without any part replacement.
Where is Fuse 48 located on a Silverado?
Fuse 48 is in the under-hood fuse block. It supplies power directly to the Instrument Panel Cluster. Always check this fuse first when the gauge cluster stops working.
Why does my high beam indicator stay on with the key off?
This is a documented symptom of an internal cluster short in 2004–2007 Silverados. The cluster keeps circuits active even when the key is removed, which drains your battery overnight. Replace or rebuild the cluster immediately.
Can a bad BCM cause the gauge cluster to fail?
Yes. The BCM controls many cluster functions, and a failing BCM can mimic cluster failure. Symptoms include dead gauges plus inoperative windows, locks, or HVAC. Test the BCM before replacing the IPC.
Is there a recall for 2003 Silverado gauge cluster failure?
Yes, GM issued a recall for certain 2003 models with instrument cluster failure. Even if your mileage exceeds the standard limit, dealers sometimes approve labor-only replacements. Call with your VIN to check eligibility.
Key Takeaways for Fixing Your Silverado Gauge Cluster
A Silverado gauge cluster not working is rarely a mystery—it’s a trail of power, ground, and communication. Start with fuses, reset the system, test voltage, and verify grounds before assuming the cluster itself is bad. Most fixes cost under $50 and take under an hour.
If the cluster itself is faulty, weigh your options carefully. Used units are cheap but may need programming. OEM replacements are reliable but expensive. Professional rebuilds offer a middle ground with retained mileage data. And if you drive a 2003, call your dealer first—your fix might be nearly free.
Next step: Grab a multimeter and a handful of 10A fuses, then work through the fuse and ground checks outlined above. You’ll likely have your gauges back online before lunch.



