
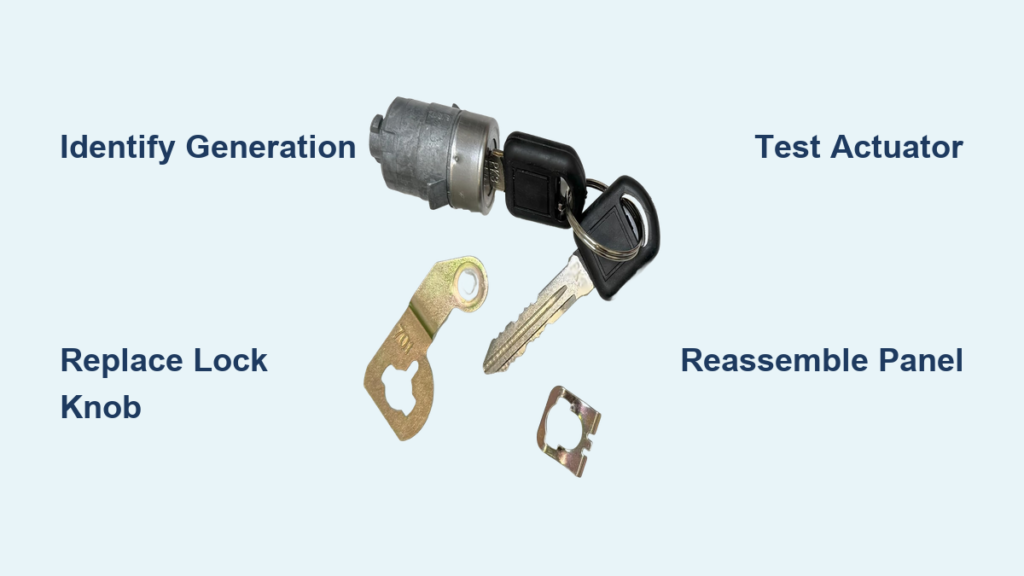
A faulty door lock on your Chevy Silverado can leave you stranded outside your truck or compromise your vehicle’s security. Whether your key fob won’t respond or the manual lock knob is stuck, the fix depends on your truck’s generation. This guide breaks down the two main repair paths for Silverados from 1999 to 2013, helping you choose the right parts and avoid unnecessary expenses.
You’ll learn how to identify your truck’s platform, gather the correct tools, and complete either a lock knob replacement or a lock actuator swap. With the right approach, you can restore full lock function in under two hours without visiting a dealership.
Identify Your Silverado’s Generation
Before touching any tools, confirm your truck’s model year. The repair method changes completely between the GMT800 (1999–2006) and GMT900 (2007–2013) platforms.
1999–2006: Actuator-Based System
Silverados from this era rely on an internal door lock actuator—a small electric motor that drives the lock linkage. When this component fails, the door won’t respond to electronic commands, though manual operation may still work. The good news: you can replace just the actuator without swapping the entire latch assembly.
2007–2013: Exterior Knob Design
Starting in 2007, GM redesigned the locking mechanism with a prominent exterior door lock knob. This physical button pops up and down to indicate lock status. If it’s loose, snapped off, or stuck, replacing the knob alone often solves the problem.
Cross-Model Compatibility
Both repair types apply across multiple GM vehicles, including:
– Chevrolet: Silverado 1500/2500/3500 HD, Tahoe, Suburban, Avalanche
– GMC: Sierra, Yukon, Yukon XL
– Cadillac: Escalade, ESV, EXT (2007–2013)
This shared platform means parts and procedures are interchangeable. Use this compatibility to source affordable replacements or find reference repair videos.
Replace Door Lock Knob (2007–2013)

This repair targets the external lock button that rises when you unlock the door. If it’s damaged or won’t move, replacement is straightforward with minimal tools.
Remove Door Panel Safely
Start by disconnecting the negative battery terminal to prevent electrical shorts. Use a trim tool to pry off the door handle cover and remove the screw beneath it. Take out additional screws near the armrest and at the bottom of the panel.
Gently pry the panel upward until the plastic clips release. Avoid excessive force, which can crack the trim. Unplug the window switch and door speaker connectors before setting the panel aside.
Pro Tip: Place the panel face-up with the window switch protected to avoid damaging the wiring.
Access and Replace Lock Knob
Peel back the moisture barrier carefully to access the inner door structure. Locate the lock knob shaft connected to the latch mechanism. Disconnect the linkage rod from the knob using needle nose pliers.
From the outside of the door, unscrew the knob retaining nut (typically 7mm). Pull the old knob out and insert the new one. Reattach the linkage rod and secure the retaining nut.
Visual Cue: The new knob should sit flush against the door and move smoothly up and down without wobbling.
Reassemble and Test
Reconnect all electrical connectors and reinstall the moisture barrier using duct tape to maintain a water-tight seal. Snap the door panel back into place until all clips engage fully, then reconnect the battery.
Test the lock using your key fob, interior switch, and manual handle. Confirm smooth operation in both directions.
Time Estimate: 45–60 minutes
Difficulty: Easy to Moderate
Diagnose Lock Actuator Failure (1999–2006)

For older Silverados, the problem is likely the door lock actuator inside the latch assembly. Here’s how to confirm the failure before starting teardown.
Symptoms of a Bad Actuator
Watch for these warning signs:
– Door locks don’t respond to the remote or interior switch
– You hear a faint click but no movement
– Manual lock and unlock still work fine
– One door fails while others operate normally
Quick Test: With the door panel removed, activate the lock switch. If the actuator buzzes but doesn’t move the rod, it’s failing.
Why Replace Only the Actuator?
Many guides recommend replacing the entire latch assembly, but that’s often unnecessary. The mechanical latch (bolts, striker, and springs) typically remains functional. Only the electric actuator motor wears out over time.
Replacing just the actuator saves over $100 compared to a full latch assembly. It also preserves your OEM-quality mechanical components, which are built to last.
Expert Note: Aftermarket actuators from brands like ACDelco and Dorman are widely available and tested across Tahoe, Yukon, and Sierra models. Use this interchangeability to find affordable options.
Gather Required Tools
Having the right tools on hand prevents damage to trim pieces and stubborn fasteners during actuator replacement.
Essential Tool List
Prepare these items before starting:
– Safety glasses and gloves to protect against sharp metal edges inside the door
– Trim removal tools for safely prying off plastic clips
– 3/8-inch drive ratchet and extensions for reaching recessed bolts
– 7mm socket for door panel and bracket screws
– T30 Torx driver for latch assembly screws
– Needle nose pliers for disconnecting linkage rods and clips
– Pick tool for separating tight connectors or retrieving dropped parts
– Duct tape for securing rods during reassembly
Warning: A T30 bit is non-negotiable. Don’t substitute it with a Phillips screwdriver, which will strip the bolt head and create costly complications.
Remove Door Panel (1999–2006)
Accessing the actuator requires full door panel removal. Follow these steps carefully to avoid broken clips or torn wiring.
Step-by-Step Removal
- Disconnect the negative battery terminal.
- Remove the screw behind the door handle cover using a trim tool to pop it off.
- Take out screws at the armrest and door base.
- Insert a trim tool at the bottom edge and gently pry upward.
- Work around the perimeter until all plastic retainers release.
- Lift the panel upward to free it from the window track.
- Unplug the window switch, door lock switch, and speaker wires.
Warning: Don’t yank the panel away from the door. Wires can snap easily. Support the panel as you disconnect each plug.
Replace Lock Actuator
With the panel removed, you can now access and swap the faulty actuator motor.
Disconnect Linkage Rods
Peel back the moisture barrier carefully to expose the latch assembly near the door edge. Use needle nose pliers to remove the C-clip or plastic retainer from the lock rod. Detach the rod from the actuator lever, then repeat for the outside handle rod if you need extra clearance.
Pro Tip: Use duct tape to hold the rods in place so they don’t fall inside the door cavity.
Unbolt and Remove Latch Assembly
Remove three 7mm bolts securing the latch to the door. Next, unscrew two T30 Torx bolts holding the actuator to the latch. Carefully pull the entire latch assembly through the access hole and place it on a clean workbench.
On the bench, fully separate the actuator from the latch body. The actuator is a small rectangular motor with a gear that drives the lock lever.
Install New Actuator
Attach the new actuator to the OEM latch using the T30 bolts. Ensure the gear aligns properly with the lock lever, then test movement by hand. Reinsert the latch into the door and secure it with the 7mm bolts.
Reconnect the lock rod and handle rod using their clips, then plug the electrical connector back into the actuator.
Expert Note: OEM actuators typically last longer, but quality aftermarket units perform reliably at a lower cost.
Reassemble and Test
The final steps ensure everything operates correctly and stays sealed against moisture.
Secure Panel and Wiring
Reconnect all electrical plugs and position the door panel against the frame. Press firmly until all clips snap into place. Reinstall screws at the armrest, handle, and base, then replace the handle cover. Reconnect the battery.
Full Function Test
Test every locking method to confirm success:
– Press the key fob lock and unlock buttons
– Use the interior door switch
– Manually lift and push the lock knob
– Open the door with both inside and outside handles
Success Indicator: Smooth, quiet operation with no grinding, clicking, or hesitation.
Time Estimate: 90–120 minutes
Difficulty: Moderate
Prevent Future Lock Failures
Keep your door locks reliable with simple maintenance every six months.
Lubricate Moving Parts
Spray white lithium grease on the lock actuator gear, latch mechanism, and linkage rods. Avoid silicone spray, which attracts dust and creates gummy residue.
Check Electrical Connections
Moisture causes corrosion over time. Inspect the actuator harness annually, unplug it, and look for green buildup or bent pins. Clean with electrical contact cleaner if needed.
Replace in Pairs
If one actuator fails, the other may follow soon—especially on high-mileage trucks. Consider replacing both front actuators at once to avoid a second teardown.
Frequently Asked Questions About Chevy Silverado Door Lock Replacement
What tools do I need to replace a Silverado door lock actuator?
You need safety glasses, trim removal tools, a 3/8-inch drive ratchet with extensions, a 7mm socket, a T30 Torx driver, needle nose pliers, a pick tool, and duct tape. The T30 driver is essential for the latch assembly screws.
Can I replace just the actuator instead of the whole latch?
Yes. On 1999–2006 Silverados, the mechanical latch usually remains functional while only the electric actuator wears out. Replacing just the actuator saves over $100 and preserves your OEM latch components.
Which Silverado years use the exterior lock knob design?
The exterior door lock knob design applies to 2007–2013 Silverado models, along with GMT900 platform vehicles like the Tahoe, Suburban, Avalanche, Sierra, Yukon, and Escalade.
How do I know if my door lock actuator is bad?
Common symptoms include no response to the key fob or interior switch, a faint clicking sound without movement, working manual locks, and one door failing while others work normally.
Is the door lock repair the same for GMC Sierra models?
Yes. The GMT800 and GMT900 platforms share parts and procedures across Chevrolet, GMC, and Cadillac models. A repair validated for a Silverado generally applies to the Sierra, Yukon, and Tahoe of the same vintage.
Key Takeaways for Replacing Your Chevy Silverado Door Lock

Replacing a door lock on your Chevy Silverado doesn’t require an expensive dealership visit or a full latch assembly swap. For 2007–2013 models, replacing the exterior lock knob solves most issues quickly with basic tools. For 1999–2006 trucks, focus on the actuator motor—a targeted repair that saves money and keeps your OEM latch intact.
Start by confirming your truck’s generation and gathering the correct tools, including the critical T30 Torx driver. Follow the step-by-step removal and installation process carefully, and always test all locking methods before finishing. Your Silverado’s security and convenience are back in your hands.



