
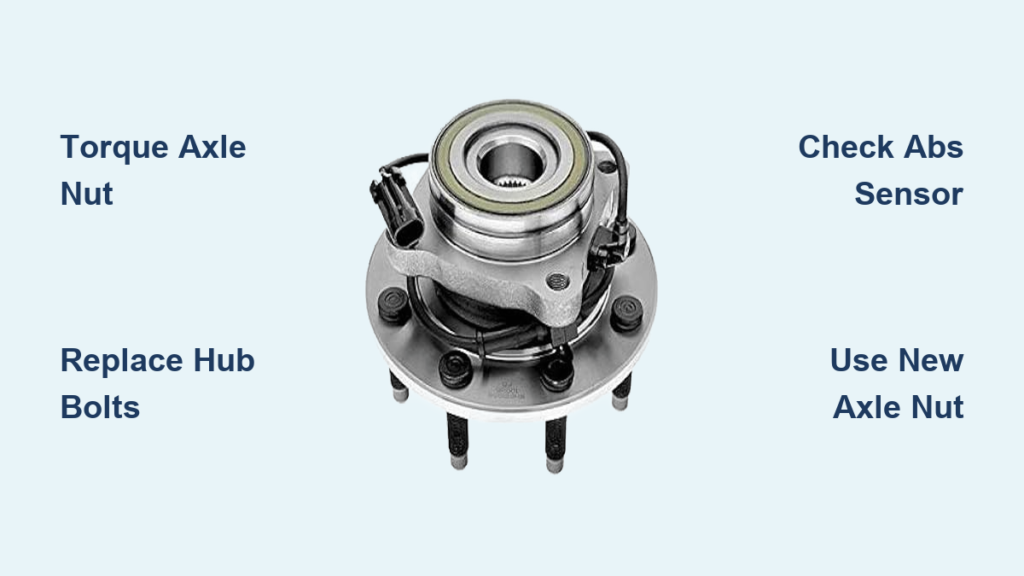
A rhythmic grinding noise that intensifies when you turn, steering wheel vibration that grows with speed, or an ABS warning light glowing on your dash could all point to a failing front hub assembly. Ignoring these signs risks far more than a rough ride; it risks the wheel itself detaching. The good news is that replacing a Chevy Silverado hub assembly (1999–2026) is a DIY-friendly job with the right tools and a methodical approach.
This guide walks you through diagnosing the problem, identifying your truck’s generation, removing the worn hub, installing the new one, and torquing every fastener to factory spec. You will also learn the lubrication mistakes that cause premature failure and the multi-step torque procedure required for 2019 and newer models.
Diagnose a Failing Hub Assembly

Before pulling parts, confirm the hub is truly the culprit. Front-end symptoms often overlap with other issues, and a proper diagnosis saves time and money.
Listen for Wheel Bearing Noise
A worn hub bearing produces distinctive sounds that change with driving conditions. A low-frequency hum or growl typically increases with vehicle speed. Clicking or grinding often becomes more pronounced during tight turns. Pay close attention to steering direction: noise that grows louder when turning left usually points to a bad right-side hub, since that side carries more load. If the sound quiets when turning right, suspect the left hub.
A simple road test confirms this. Drive at 30–40 mph and gently swerve left and right. Whichever side makes the noise louder is your failing hub.
Check for Wheel Play and Vibration
With the truck safely on the ground, grab the tire at 12 and 6 o’clock and shake firmly. Any up-and-down play indicates bearing wear. Side-to-side play (3 and 9 o’clock) usually points to tie rods or ball joints, but combine vertical play with noise and the hub is almost certainly bad.
Also note speed-sensitive vibration in the steering wheel, a wobbling sensation at highway speeds, or an illuminated ABS warning light. Many modern hubs include integrated sensors that trigger ABS faults when failing.
Confirm Mileage and Risk Factors
Most Silverado hub assemblies fail between 110,000 and 140,000 miles, though corrosion, potholes, or off-road use can accelerate wear. If your truck falls in this range and shows the symptoms above, replacement is likely overdue.
A severely worn hub can seize or detach. If you feel excessive play or hear loud grinding, do not drive the vehicle.
Identify Your Silverado Generation
Torque specs and minor procedures vary by model year. Knowing your generation ensures correct fitment and prevents stripped threads.
1999–2006 (Generation 1)
Covers Silverado 1500 and 2500 models. Key differences include six-stud hubs on 1500 models and eight-stud hubs on 2500 HD models. Axle nut torque is 175–177 ft-lbs in a single step, and hub bolts torque to 133 ft-lbs.
2007–2013 (Generation 2)
Includes Silverado 1500, Tahoe, Suburban, Avalanche, and Sierra 1500. Compatible with both 2WD and 4WD. Hub design and torque specs match Generation 1.
2014–2018 (Generation 3)
Continues the prior design. Some models add a fourth hub bolt, so verify visually before starting. Torque specs remain unchanged.
2019–2026 (Generation 4)
Introduces a multi-step axle nut procedure: torque to 133 ft-lbs, back off 45 degrees, then retorque to 199 ft-lbs. Uses a 36mm axle nut and may include 10mm ABS sensor bracket bolts requiring replacement clips.
These procedures also apply to GMC Sierra, Tahoe, Suburban, and Yukon models of the same years.
Gather Required Tools and Parts
Having everything on hand prevents mid-job frustration and keeps you safe.
Essential Tools List
You will need a 22mm socket for lug nuts, an 18mm socket or wrench for caliper bolts, a 15mm socket or wrench for hub retaining bolts, and a 35mm or 36mm socket for the axle nut. A 10mm socket handles ABS sensor brackets on 2019+ models. Add a breaker bar and ratchet for stubborn fasteners, a torque wrench capable of 200 ft-lbs for final assembly, a pry bar or trim tool for clips, and a drift pin to hold the rotor while breaking the axle nut.
An impact wrench (air or electric) is strongly recommended. A floor jack and jack stands are mandatory; never work under a truck supported only by a jack. Finish with safety gear: gloves, eye protection, and earplugs.
Replacement Parts Checklist
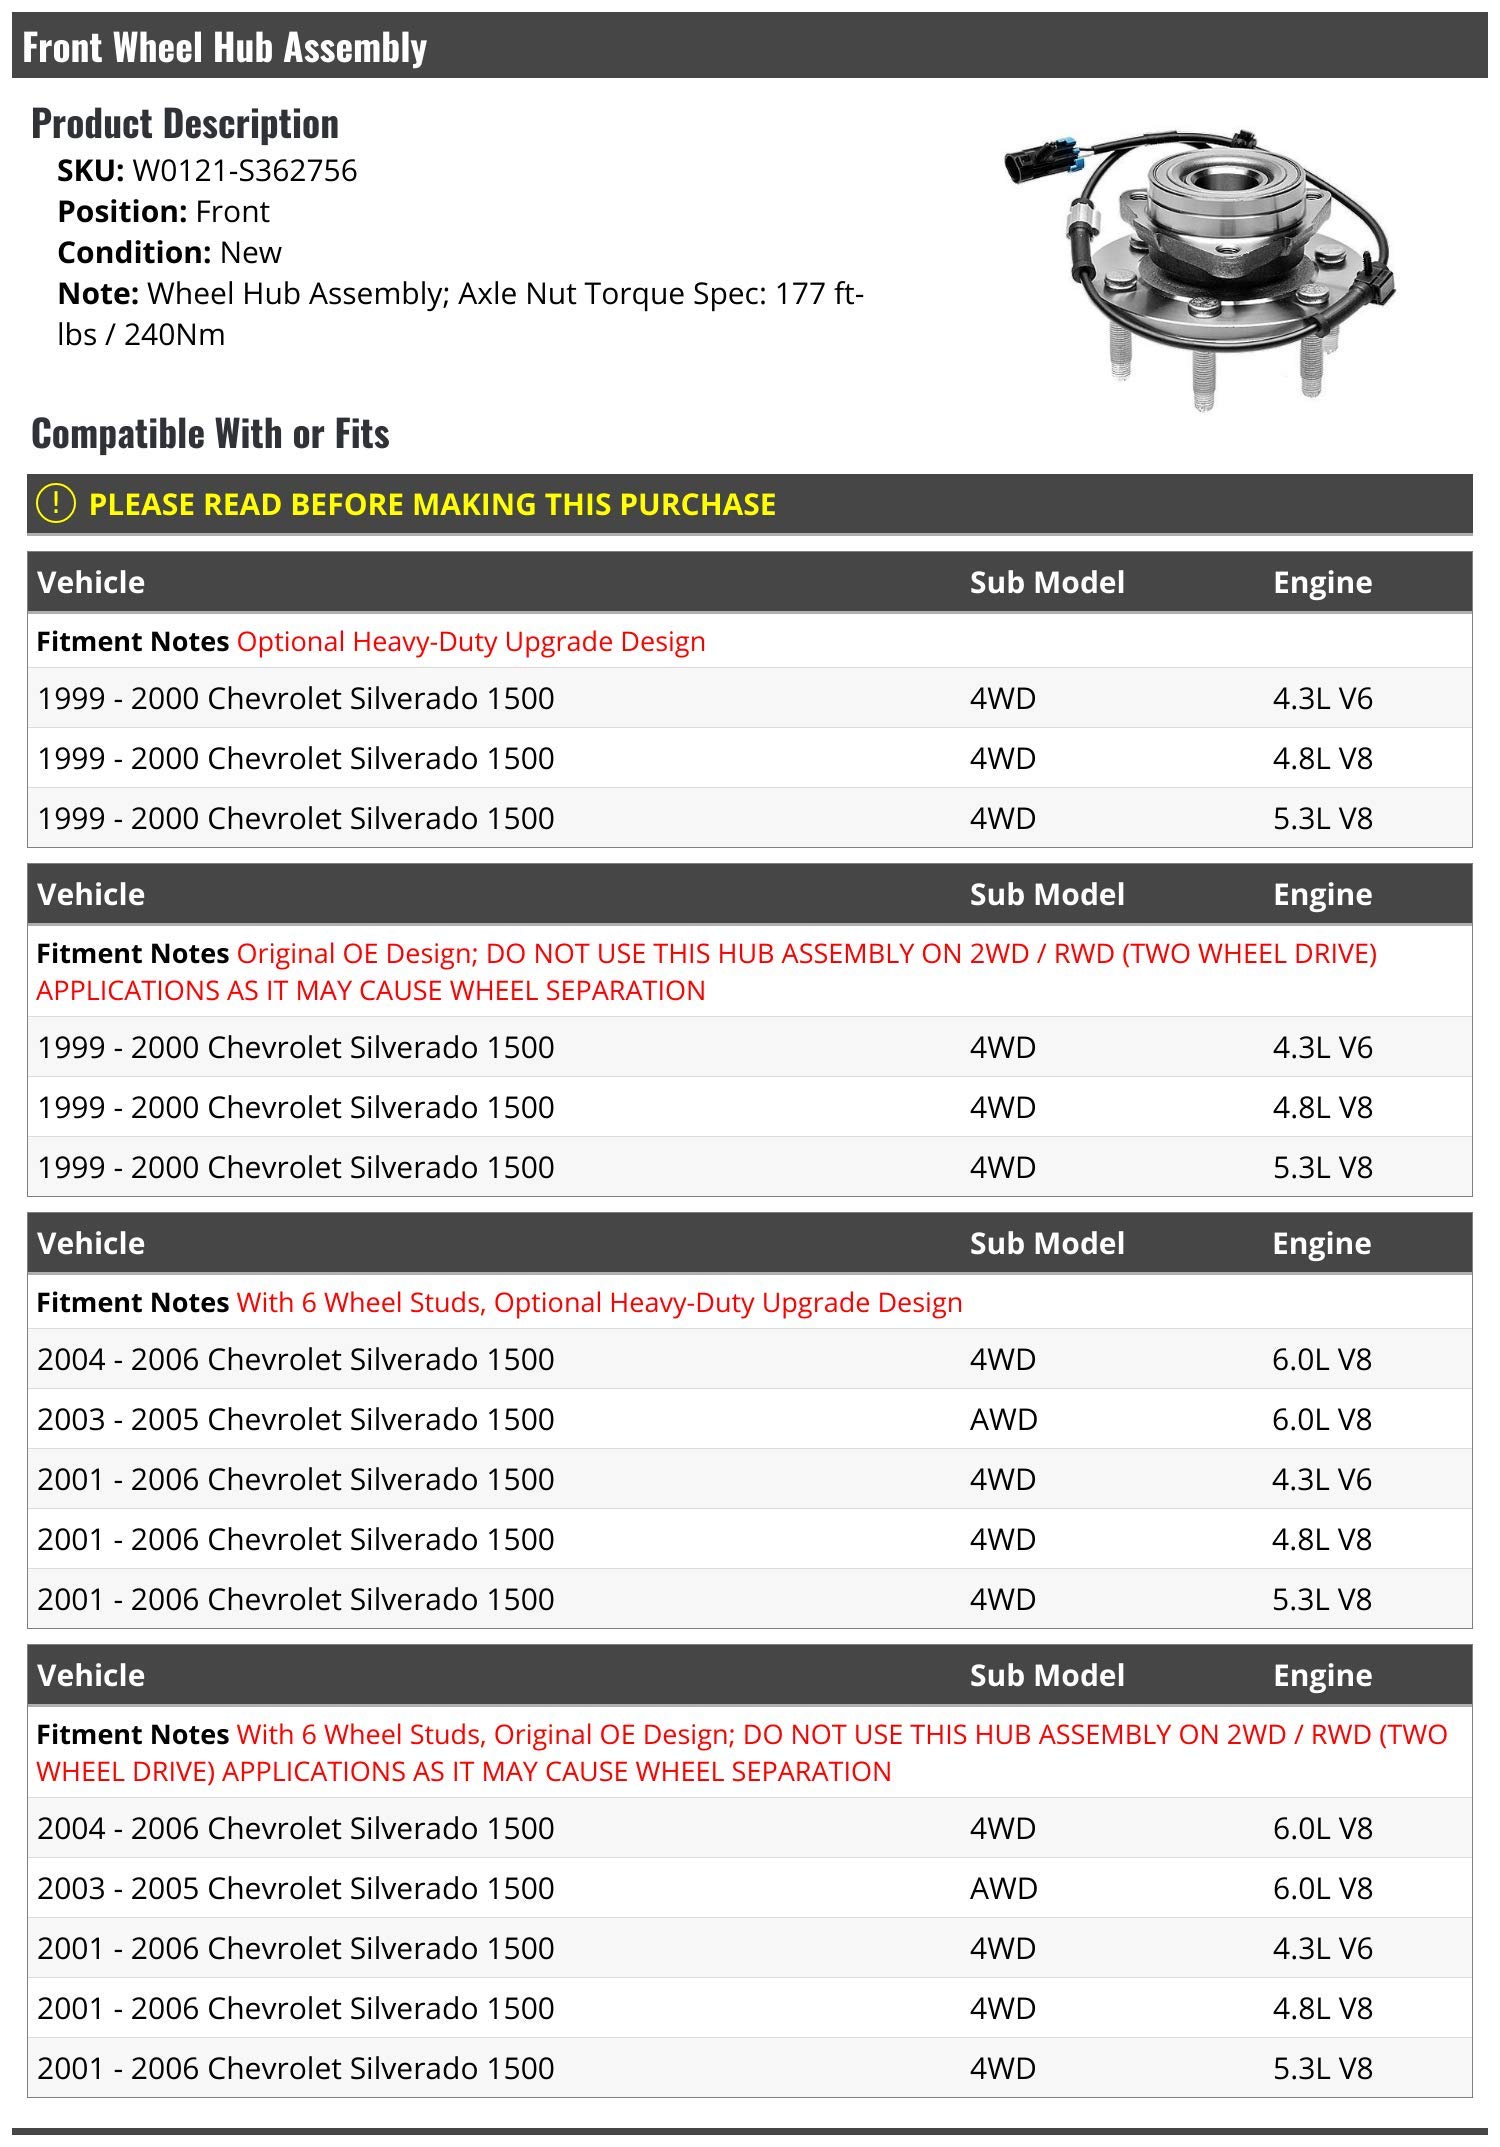
Match the new hub assembly to your model year, drivetrain (2WD or 4WD), and stud count (6 or 8). Recommended brands include Moog, Duralast, Timken, and TRQ. Always replace the axle nut; it is a Torque-to-Yield (TTY) fastener and cannot be reused. Replace the three or four hub bolts as well, since old bolts stretch and corrode.
The new hub includes an ABS sensor harness; do not reuse the old one. Use the included O-rings and gaskets, not the originals. Pick up anti-seize compound for bolt threads and axle splines, plus lithium grease or silicone paste for the hub bore.
Expect to spend around $120–$150 on the hub and $25 on bolts, keeping total DIY cost under $175.
Remove the Old Hub Assembly

With the truck safely lifted, work methodically to avoid damaging surrounding components.
Remove Wheel and Brake Components
Loosen lug nuts slightly while the truck is on the ground. Lift the front end with a floor jack and secure on jack stands. Remove the wheel and set aside.
Remove the two 18mm caliper bolts using an impact wrench. Hang the caliper with a bungee cord or wire; never let it dangle by the brake hose. Slide the rotor off the hub. If it sticks, tap the edges with a rubber mallet or apply penetrating oil. Remove the T30 Torx screw if your model has one.
Break and Remove the Axle Nut
Use a 35mm or 36mm socket with a breaker bar. Prevent the axle from spinning by inserting a drift pin through the rotor fins (if the rotor is still mounted) or by placing a tire on the ground for initial breakaway. Break the nut loose; it is often torqued past 175 ft-lbs.
Remove the nut and washer, then discard the nut. Do not reuse it.
Disconnect the ABS Sensor and Remove Hub Bolts
Locate the ABS connector on the upper control arm. Push the red tab back, press the black center tab, and pull the connector apart. Remove any clips securing the wire.
Access the hub bolts from behind the knuckle using a 15mm socket. Remove all three (or four) bolts. One may require an offset wrench to reach.
Free the Stuck Hub
Corrosion often welds the hub to the knuckle. Try these methods in order.
The hammer and chisel method works by inserting a flat chisel between the hub flange and knuckle, then tapping gently around the perimeter to break the rust seal. Keep the axle nut threaded on loosely to prevent a sudden drop.
The bolt push-off method is usually most effective. Remove one lug stud, insert a long 1/2-inch bolt through the hole, thread a nut onto the bolt, and tighten. This pushes the hub off the flange. Repeat with other stud holes if needed.
An air hammer with a blunt tip can vibrate the hub loose with even pressure around the flange.
Once free, slide the hub off the axle spline and set it aside.
Prepare the Knuckle and Install the New Hub

Clean surfaces and proper lubrication prevent future seizure and ensure correct fit.
Clean Mounting Surfaces
Use a wire brush or die grinder to remove rust from the knuckle bore and spindle face. Wipe clean with brake cleaner. Do not apply grease or anti-seize to the bearing seat; this surface must stay dry for proper heat transfer and fit.
Lubricate Correctly
Apply a thin layer of lithium grease or silicone paste to the inner bore of the new hub, where the axle passes through. Apply anti-seize to the threads of the new hub bolts and axle splines. Never apply lubricant to the outer bearing race or spindle seating surface.
Install New Gasket and Align Hub
Place the new O-ring or gasket on the knuckle or hub flange as designed. Align the new hub with the axle spline; you may need to rotate slightly to engage the internal splines. Slide the hub on by hand, tapping gently with a soft-face mallet if needed. Avoid hitting the sensor or studs.
Secure the Hub and Reconnect the ABS
Proper torque and connection prevent noise and ABS errors down the road.
Torque Hub Bolts to Spec
Insert the new 15mm hub bolts from the back of the knuckle. Hand-tighten first, then torque to 133 ft-lbs in a crisscross pattern. Always use new bolts.
Reconnect the ABS Sensor
Plug in the new harness and push until you hear a distinct click. Engage the red locking tab. Reinstall clips or brackets to secure the wire. Make sure the wire is not pinched between the hub and knuckle.
Reassemble Brakes and Axle
Now rebuild the front end with precision.
Reinstall Rotor and Caliper
Slide the rotor onto the hub and reinstall the T30 hold-down screw if equipped. Position the caliper over the rotor and install the 18mm caliper bolts. Torque to 129–133 ft-lbs, verifying the exact spec for your model.
Install and Torque the Axle Nut
Place the new axle nut on the shaft and hand-tighten until it contacts the hub.
For 1999–2018 models, torque to 175–177 ft-lbs in one step.
For 2019–2026 models, follow the multi-step TTY procedure: torque to 133 ft-lbs, back off 45 degrees, then retorque to 199 ft-lbs. This procedure is critical; reuse of the old nut risks failure.
Final Steps and Post-Installation Checks
Finish strong to confirm safety and performance.
Reinstall Wheel and Lower Truck
Mount the wheel and hand-tighten lug nuts. Lower the truck until the tires touch the ground but the weight is not fully applied. Torque lug nuts in a star pattern to 140 ft-lbs for 1500 models or 150–160 ft-lbs for 2500 HD models.
Test Before Driving
Pump the brake pedal five or six times to seat the pads. Check for a firm pedal feel. Start the engine and verify the ABS light turns off after a few seconds.
Take a low-speed test drive at 10–15 mph. Listen for grinding, clicking, or humming, and feel for vibration or wobble. If noise persists, recheck axle nut torque, hub bolt tightness, ABS connection, and correct hub model for your drivetrain.
Troubleshoot Common Post-Replacement Issues
Even careful work can have hiccups. Here is how to resolve them quickly.
ABS Light Stays On
A loose connector or pinched wire is the usual cause. Unplug and reconnect, listening for the click. Inspect wire routing and clear codes with a scanner if needed.
Noise Returns After Replacement
Check axle nut torque first; under-torqued nuts cause bearing preload issues. Verify hub bolts are at 133 ft-lbs. Confirm you installed the correct hub for your drivetrain; 2WD and 4WD hubs differ and using the wrong one causes noise and fit problems.
Hub Stuck During Removal
Use the bolt push-off method for stubborn hubs. Apply penetrating oil overnight if corrosion is severe. Heat the knuckle (not the bearing) with a torch to expand the metal slightly.
Prevent Future Hub Failures
Extend the life of your new hub with these habits.
Apply Anti-Seize Strategically
Use it on axle splines and the hub bore interior to prevent corrosion. Never apply it to the bearing seat, where it would compromise fit and heat dissipation.
Use OEM-Spec Replacement Parts
Choose Moog, Timken, or Duralast for proven reliability. Avoid no-name brands with poor seals that allow water ingress and early failure.
Inspect During Tire Rotations
Check for play at the 12 and 6 o’clock positions every 10,000 miles. Listen for new noises after road trips or winter driving, when salt and moisture accelerate corrosion.
Frequently Asked Questions About Chevy Silverado Hub Assembly Replacement
How long does it take to replace a front hub assembly on a Silverado?
Most DIYers complete the job in 1.5 to 3 hours per side, depending on rust and tool availability. Severe corrosion can extend this significantly.
Can I drive with a bad wheel bearing on my Silverado?
You should not. A failing bearing can seize or cause the wheel to detach, creating a serious safety hazard. Replace it as soon as symptoms appear.
Do I need to replace the axle nut every time?
Yes. The axle nut is a Torque-to-Yield fastener designed for single use. Reusing it risks improper clamping force and potential wheel detachment.
What is the difference between 2WD and 4WD hub assemblies?
The internal splines, ABS sensor configuration, and mounting design differ between 2WD and 4WD hubs. Installing the wrong one causes noise, vibration, and premature failure.
Why does my ABS light stay on after replacing the hub?
The most common causes are a loose connector, a pinched wire, or an incorrect sensor seating. Unplug and reconnect the harness, inspect the routing, and clear the codes with a scanner.
How do I know which generation my Silverado is?
Generation 1 covers 1999–2006, Generation 2 covers 2007–2013, Generation 3 covers 2014–2018, and Generation 4 covers 2019–2026. The axle nut torque procedure changed in Generation 4, so confirming your year is essential.
Key Takeaways for a Successful Hub Assembly Replacement
Replacing a Chevy Silverado hub assembly is a manageable DIY project that saves hundreds in shop labor. The most critical steps are using the correct torque specs, especially the multi-step procedure for 2019 and newer models, and never reusing the axle nut or hub bolts. Clean mounting surfaces, proper lubrication, and correct hub selection for your drivetrain ensure a safe, long-lasting repair.
Before your next drive, grab your torque wrench, verify every fastener, and take a short test drive to confirm a smooth, quiet ride. Your Silverado is ready for another 100,000 miles of reliable service.



