
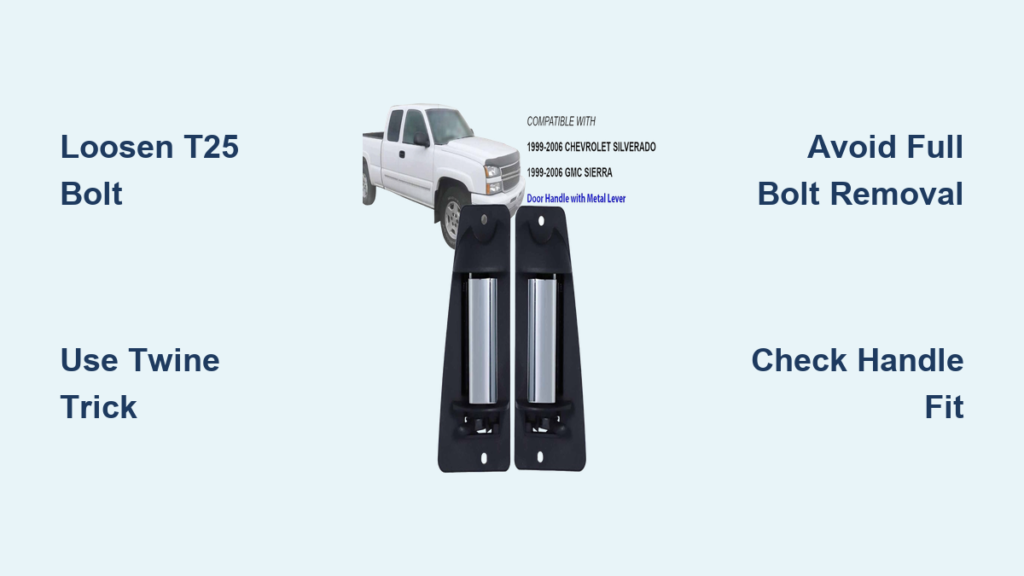
A broken or loose exterior door handle on your Chevrolet Silverado can leave you stranded or scratching your head about an expensive dealer visit. The good news is that learning how to remove Silverado door handle components takes less than 20 minutes with basic tools and the right technique.
This guide walks you through the exact steps to safely remove and reinstall your front door handle. You will learn the hidden trap that turns a simple job into a nightmare, plus the clever twine trick that experienced DIYers use to beat the most common mistakes.
Access the Torx Retention Bolt

Remove the Black Rubber Plug
Locate the small black rubber plug on the edge of the door handle assembly. This plug covers the T25 Torx bolt that secures the handle. Use a flat blade screwdriver or a small pick to gently pry it out. Avoid forcing it because the plug snaps in and can tear if over-pressed. Once removed, set it aside safely because it is reusable and keeps dirt out after reassembly.
Insert the T25 Torx Bit
Take a ratchet with a T25 Torx bit and insert it into the exposed bolt head. This is the only specialized tool you will need. Ensure the bit is fully seated to prevent stripping the bolt. Many replacement handle kits include the correct bit, but most mechanics already have one in their set.
Loosen the Retention Bolt Safely
Back Out the Bolt Only Partially
Slowly turn the T25 bolt counter-clockwise to loosen it. The critical rule here is to never remove the bolt completely. Back it out just 2–3 turns, enough to release pressure on the handle but not so much that the internal captured nut disengages. If that nut drops into the door cavity, you will be forced to remove the entire interior door panel to retrieve it, turning a 10-minute job into a 45-minute ordeal.
GM’s official warning states: “Do not remove cylinder lock handle screw past hard stop.” In practice, this means stop turning as soon as the bolt feels loose and no longer holds the handle tight against the door.
Remove the Small Side Handle Piece
Slide Out the Front Segment
With the Torx bolt loosened, try to slide the smaller side piece of the handle straight out. This is the front segment near the mirror. If it does not move, loosen the bolt one more turn and try again. This piece is held in place by the bolt’s tension, so once that is released, it should slide free with light pressure.
If you are replacing the handle, keep this piece safe. On OEM-style replacements, it often reuses the original trim. For color-matched handles, ensure your new kit includes a matching front segment.
Extract the Main Door Handle

Pull and Listen for the “Pop”
Now that the small piece is out, grip the main handle body and pull it straight outward. Angle it slightly toward the side where the small piece was removed as you pull.
You will hear a distinct “pop” sound. This is the internal spring clip releasing from the handle’s pivot point. That sound means success because the handle is now free. Continue pulling it out the rest of the way. The entire main handle should come out in one piece.
Visual cue: Inside the cavity, you will now see a shiny metal clip with three fingers. This is the spring mechanism that holds the handle in place. Do not touch it yet because that step comes during reinstallation.
Install the New Handle Correctly
Insert the Pivot Side First
Take your new or replacement handle and identify the pivot side, which is the end that slides into the inner door opening first. Insert this end into the door frame and make sure it aligns with the internal mounting slot. It should slide in smoothly. If it binds, double-check the alignment before forcing it.
Use Twine to Engage the Spring Clip
This is the most crucial step and where most DIYers fail without the right technique.
- Locate the metal clip: Look into the large opening on the side where the main handle sits. You will see a shiny, forked spring clip with three fingers.
- Loop the twine: Take a 12-inch piece of thin twine and loop it around the middle fork of the clip.
- Pull and slide: Hold tension on the twine, pulling it toward you. This lifts the clip slightly and opens the gap.
- Slide the handle under: While maintaining tension, slide the side of the main handle under the lifted clip.
It may take 2–3 tries to get the angle right. Once the handle catches under the spring, you will feel it lock into place. That is the reverse of the “pop,” now it is clicking in.
Reattach the Small Handle Segment
Slide in the Front Piece
With the main handle secured under the spring clip, slide the small front segment back into position. It should fit snugly against the main handle with no gaps. Ensure it is flush with the door surface because any misalignment will make the handle feel loose or bind when used.
Secure and Finalize Installation
Tighten the Torx Bolt
Reinsert the T25 Torx bit and slowly tighten the retention bolt. Snug it down until it feels firm, but do not over-tighten. The goal is to secure the handle without stripping the threads or compressing the internal mechanism too hard. Stop as soon as the handle feels solid and does not wobble.
Replace the Rubber Plug
Snap the black rubber plug back into the hole to cover the bolt. It should click into place. This protects the bolt from corrosion and keeps water out.
Test Handle Operation
Pull the handle several times to confirm proper function. It should:
– Move smoothly
– Return to the resting position without sticking
– Operate the door latch correctly
If it feels stiff or does not return, the spring clip may not be fully engaged. Repeat the twine step in that case.
Avoid Common Installation Mistakes

Never Fully Remove the Bolt
The number one mistake is unscrewing the T25 bolt all the way. Once the captured nut detaches, it drops into the door cavity and is nearly impossible to retrieve without removing the interior panel. If this happens, you will need to:
– Remove all screws and clips holding the door panel
– Peel back the moisture barrier
– Fish the nut out with a magnet or grabber tool
Prevent this by only loosening the bolt and never extracting it.
Always Use the Twine Trick
Skipping the twine leads to frustration. Without it, the spring clip stays in a relaxed position, making it nearly impossible to slide the handle under it from the outside. The twine gives you external control over an internal part, which is simple, brilliant, and essential.
Confirm Handle Compatibility
If upgrading to color-matched or aftermarket handles, verify they include:
– The threaded front segment
– Compatibility with the T25 retention system
– Proper fit for 2014–2018 Silverado models
Some cheap clones do not include the correct hardware, forcing you to reuse OEM parts or modify the install.
Troubleshoot Handle Issues Fast

Handle Won’t Release
If the handle will not come out after loosening the bolt:
– Cause: Bolt not loose enough
– Fix: Back it out one more turn, but do not remove
Handle Won’t Seat Under Spring
If the main handle will not lock under the clip:
– Cause: Clip not lifted, wrong angle
– Fix: Use twine on the middle fork, pull tension, and slide handle in slowly
Nut Fell Inside the Door
If you hear a metallic clink after removing the bolt:
– Cause: Captured nut detached
– Fix: Full door panel removal required. Use a magnetic pickup tool to retrieve the nut from the bottom of the door.
Handle Feels Loose After Install
If the handle wobbles:
– Cause: Bolt not tight enough or misaligned
– Fix: Loosen, reseat handle, and retighten. Ensure the small front piece is fully seated.
Tools You Actually Need
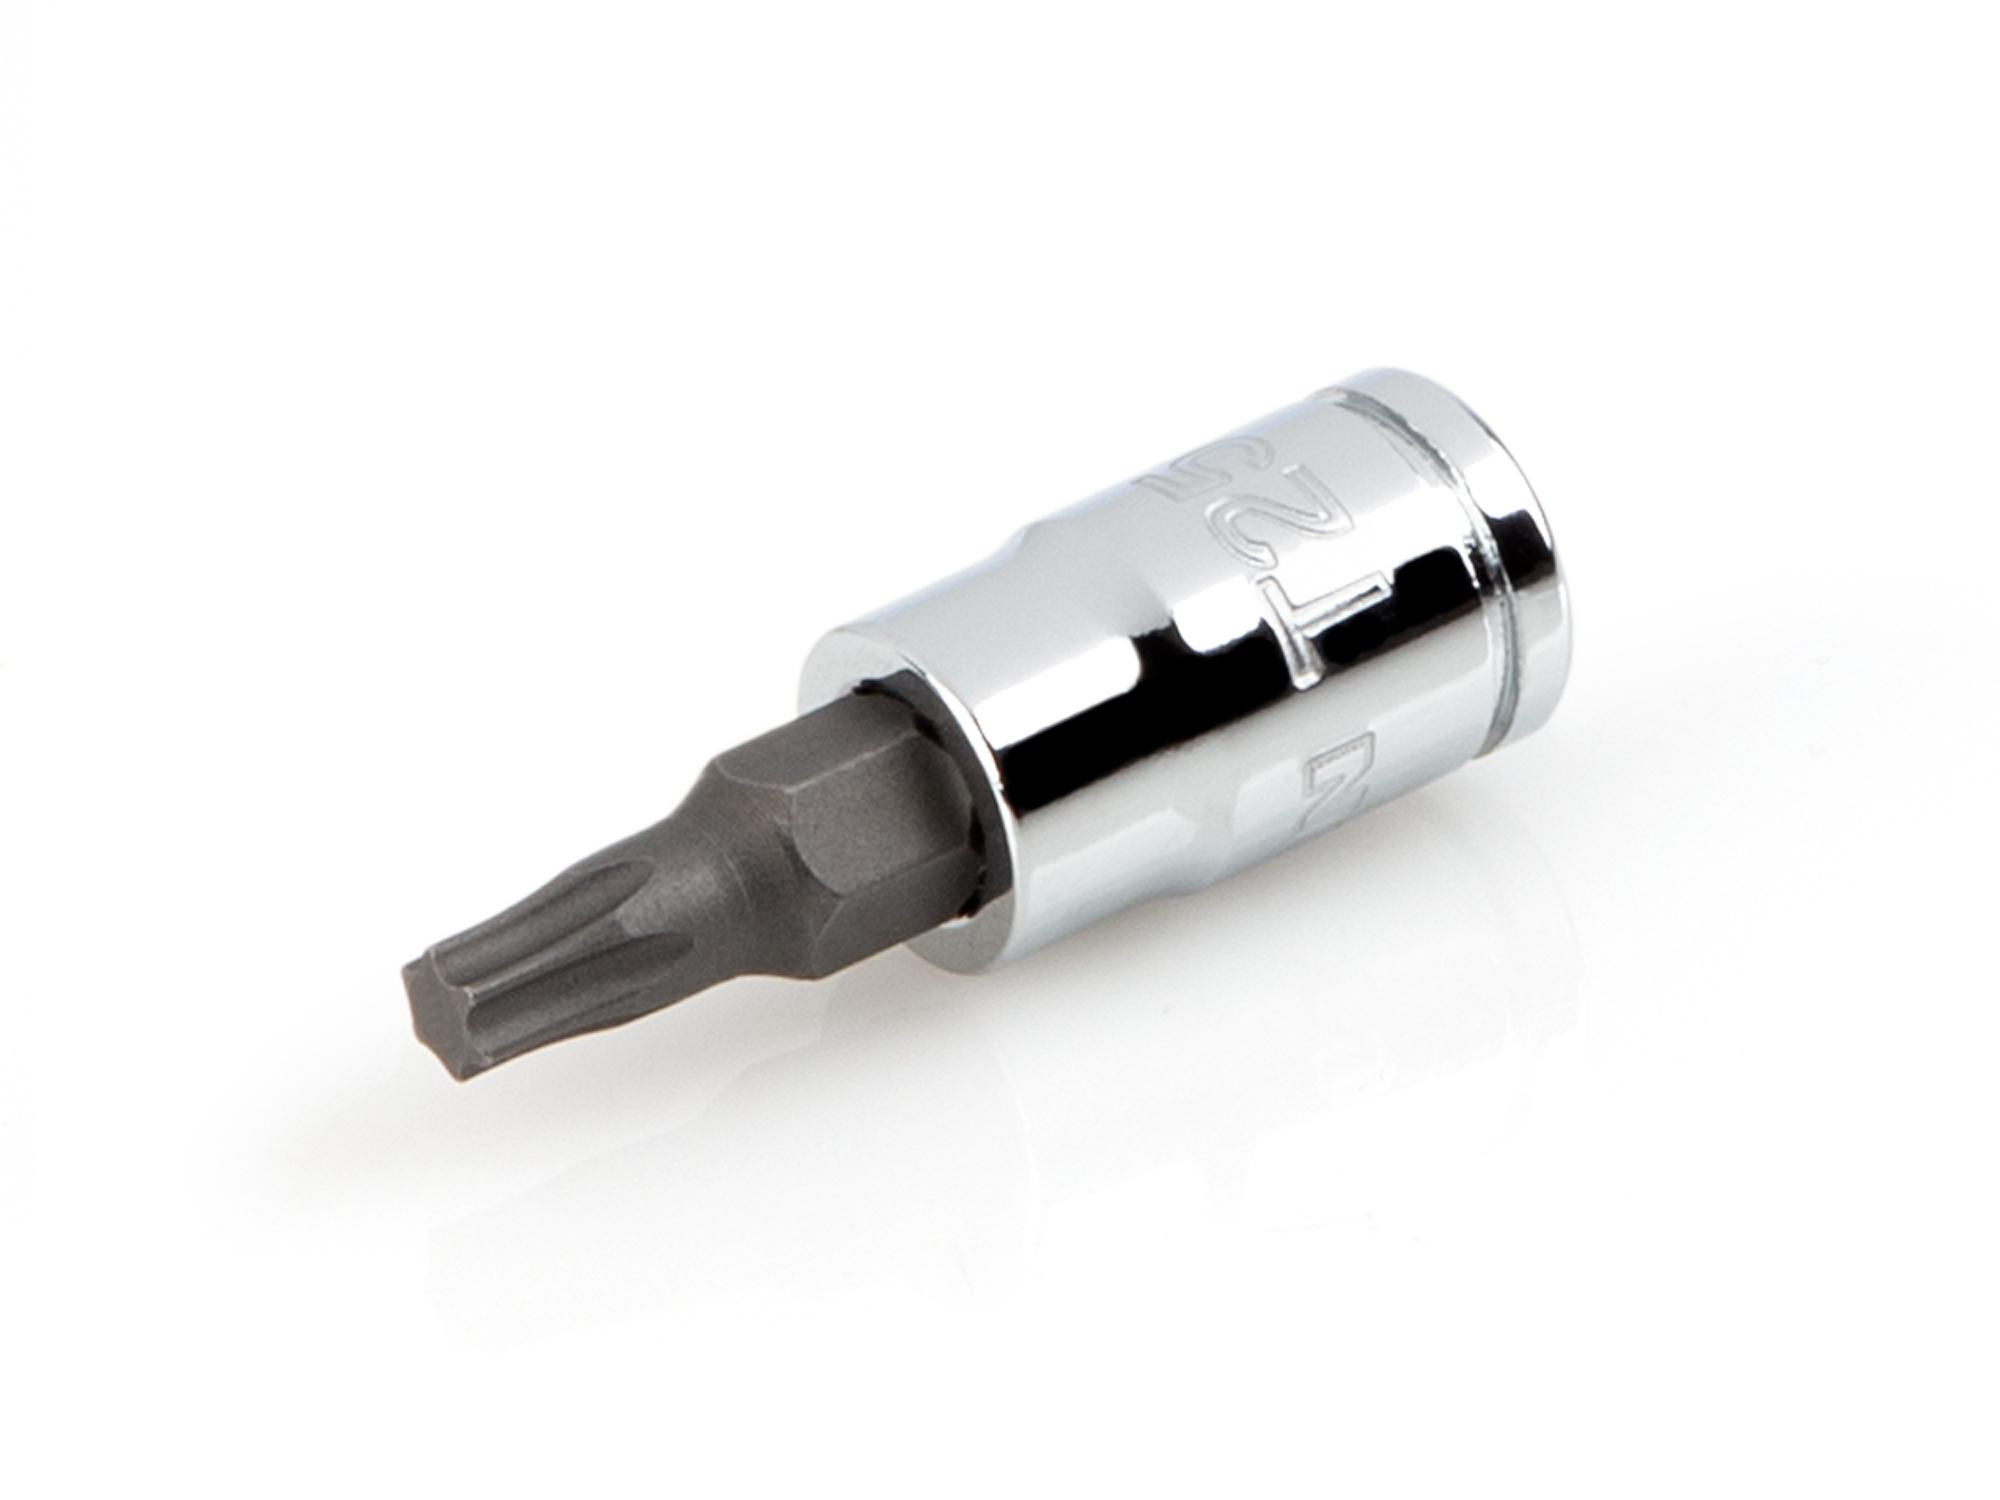
T25 Torx Bit (Essential)
This is non-negotiable. The retention bolt is T25 Torx, so a regular screwdriver will not work. Use a 1/4″ drive ratchet for better control in tight spaces.
Thin Twine (12 Inches)
Any thin string or dental floss works. It must be strong enough to pull the clip but thin enough to fit through the gap. Avoid thick rope or paracord.
Small Angled Pick
Used to remove the rubber plug and help guide the handle during install. A dental pick or bent paperclip can substitute in a pinch.
Flat Blade Screwdriver
Helps pry the plug and gives leverage when sliding parts. Use a plastic trim tool if you are worried about scratching paint.
Compatible Silverado and GM Models
2014–2018 Silverado 1500
This procedure applies directly to all trims including WT, LS, LT, LTZ, and High Country.
Also Works On:
- Silverado 2500 HD / 3500 HD (2015–2019)
- GMC Sierra 1500 (2014–2018)
- GMC Sierra HD (2015–2019)
- Chevrolet Tahoe / Suburban (2015–2020)
- GMC Yukon / Yukon XL (2015–2020)
All these models share the K2XX platform and identical door handle mechanism.
Time and Difficulty Breakdown
First-Time Install: 15–20 Minutes
Expect this if you are learning the twine technique. Most of the time is spent figuring out the clip engagement.
Experienced DIYer: 5–10 Minutes
Once you know the trick, it is faster than changing a headlight.
Skill Level: Beginner (With Guidance)
Rated “super easy” by users who know the method. The only real risk is dropping the nut, so avoid that and you are good to go.
Frequently Asked Questions About Silverado Door Handle Removal
How long does it take to remove a Silverado door handle?
Most DIYers complete the job in 15–20 minutes on their first attempt. Experienced users can finish in 5–10 minutes once they master the twine technique for the internal spring clip.
What size Torx bit do I need for a Silverado door handle?
You need a T25 Torx bit for the retention bolt. A standard screwdriver will not work, and using the wrong size risks stripping the bolt head.
Can I remove the Silverado door handle without taking off the door panel?
Yes, you can remove the handle without removing the door panel as long as you only loosen the T25 bolt 2–3 turns. If the captured nut falls inside, you will need full panel removal to retrieve it.
Why does my Silverado door handle feel loose after installation?
A loose handle usually means the bolt is not tight enough or the small front piece is not fully seated. Loosen the bolt, reseat the handle, and retighten to fix the wobble.
Does this method work on GMC Sierra trucks?
Yes, the same procedure works on 2014–2018 GMC Sierra 1500 models and 2015–2019 Sierra HD trucks because they share the K2XX platform with the Silverado.
What happens if I drop the captured nut inside the door?
You will need to remove the interior door panel, peel back the moisture barrier, and retrieve the nut with a magnetic pickup tool. This turns a quick job into a 45-minute project, so always loosen the bolt only partially.
Key Takeaways for Removing Your Silverado Door Handle
Learning how to remove Silverado door handle components comes down to respecting three critical rules. First, never fully remove the T25 Torx bolt because the captured nut will fall into the door cavity. Second, always use the twine trick to lift the internal spring clip during reinstallation. Third, confirm your replacement handle matches the T25 retention system before starting.
Your next step is to gather your T25 Torx bit, a 12-inch piece of twine, and a small pick. Set aside 20 minutes for your first attempt, and you will save over $150 in dealer labor costs while gaining a skill you can use again on any K2XX platform truck.



