
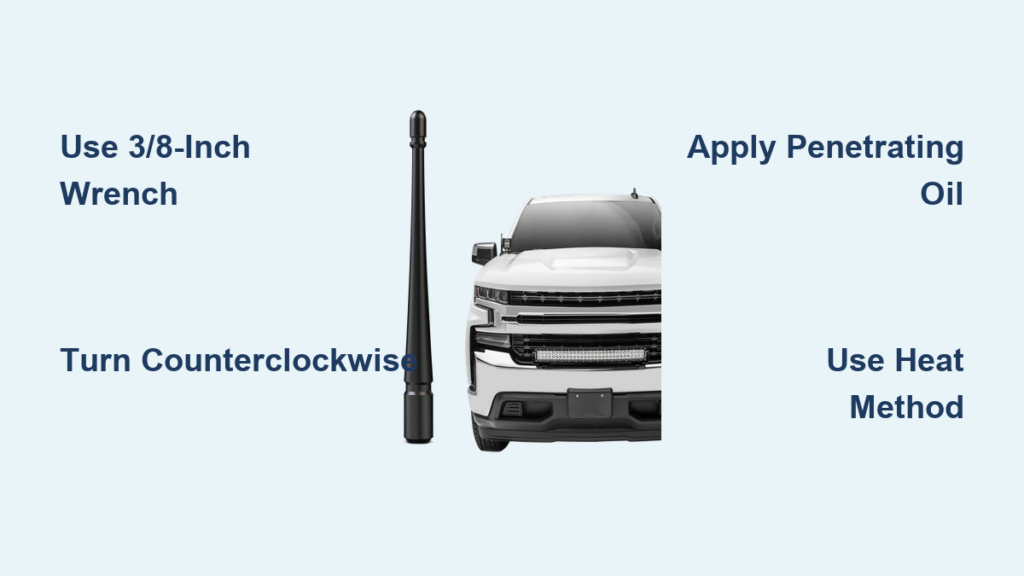
You pull on your Silverado’s antenna and nothing happens. You grab pliers, twist harder, and still nothing. Many Silverado owners face this exact moment, especially on 2014–2018 models where factory thread locker bonds the mast to the base. Whether you’re dealing with a seized unit, a spinning base, or just want to swap to a stubby antenna, learning how to remove a Silverado antenna the right way saves you from broken studs, stripped threads, and unnecessary dashboard disassembly.
This guide covers the tools, techniques, and troubleshooting steps used by mechanics and experienced owners. You’ll learn how to handle stuck antennas, replace internal cables without ripping apart your dash, and avoid the most common mistakes that turn a 5-minute job into an all-day repair.
Use the Right Tool for the Job

Grab a 3/8-Inch Box-End Wrench
The antenna base on most Silverado models features flat sides machined specifically for a 3/8-inch box-end wrench. This single tool handles nearly every standard removal.
- A box-end wrench grips the flats securely and prevents rounding
- Open-end wrenches and pliers tend to slip and damage the housing
- The connection uses a fine thread, so expect many rotations before full release
Turn Counterclockwise to Remove the Mast
Follow the Correct Rotation Direction
Once your wrench is seated on the base flats, turn counterclockwise to unthread the antenna mast.
- Normal behavior: the mast unscrews while the base stud stays fixed
- Time estimate: under 5 minutes on non-corroded units
- Apply steady, gentle pressure rather than brute force
Pro Tip: If the mast refuses to budge, try the tighten-to-loosen trick. Apply slight clockwise pressure first to break the thread locker seal, then reverse to loosen.
Handle Seized or Stuck Antennas
Why Silverado Antennas Get Stuck
Many Silverados roll off the assembly line with blue thread locker (Loctite) applied to the base threads. When road salt, moisture, or age enters the picture, that chemical bond turns into something close to a weld.
Common causes of seized antennas:
- Factory or dealer-applied Loctite
- Corrosion from road salt exposure
- Over-torqued installation at the dealership
- Age-related thread binding
Break Free with Penetrating Oil
Penetrating oil works best when given time to soak into the fine threads.
- Spray WD-40 or a similar lubricant around the base where the mast meets the fender
- Let it dwell for 10–15 minutes to creep into the threads
- Tap the base lightly with a hammer to help the oil penetrate
- Attempt to turn the wrench again
Warning: Avoid spraying excess oil on painted surfaces, as it can dull the finish over time.
Use Heat to Expand the Base
Heat expands the outer metal housing, loosening its grip on the threaded stud.
- Warm the antenna base with a propane torch for 20–30 seconds
- Focus heat on the metal housing, not the plastic grommet
- Immediately attempt to turn counterclockwise before the metal cools
Caution: Keep the flame away from rubber, plastic, and paint. A heat shield adds extra protection.
Try the Tighten-Loosen Oscillation Method
Before forcing anything, work the threads back and forth.
- Turn gently clockwise to break corrosion or thread locker
- Reverse to counterclockwise to loosen
- Repeat with light hammer taps if needed
This oscillation wears down resistance without shearing the mast.
Fix a Spinning Antenna Base

Diagnose the “Spins Forever” Problem
If the entire assembly spins in place without unthreading, the internal cable has disconnected from the base stud.
- Symptoms: The wrench turns endlessly with no upward movement
- Cause: The stud inside the base has broken free from the coaxial cable, often due to dealer over-torque or internal failure (common on ZR2 models)
Replace the Entire Cable Assembly
A spinning base means normal unscrewing is impossible. You must replace the full antenna cable to fix the problem.
- Continued spinning risks damaging the firewall grommet or radio connection
- The fix requires accessing the cable from inside the truck, not just the exterior
Replace the Cable Without Removing the Dashboard
Use the Fishing Method (Easier Alternative)
Skip the factory dash-removal nightmare. The glove box access method is the preferred technique among mechanics and seasoned Silverado owners.
Remove the Glove Box
- Open the glove box and remove all contents
- Squeeze the sides inward to release the retaining clips
- Let the box hang down or remove it completely
This exposes the firewall junction where the antenna cable connects to the radio extension.
Disconnect and Fish Out the Old Cable
- Locate the antenna connector behind the glove box
- Disconnect the old cable from the extension wire
- Tie a sturdy fishing line or string to the end of the old cable
- From the outside, pull the antenna base and cable out through the fender
- The string gets pulled through the body channel as the cable exits
Leave the string inside the truck. You’ll use it to pull the new cable into place.
Pull in the New Antenna Cable
- Tie the new antenna cable securely to the fishing line
- From inside the vehicle, pull the string to draw the new cable through the body
- Feed it until the base emerges at the fender hole
- Reconnect to the extension wire behind the glove box
- Secure the grommet and test the fit
Time required: 30–60 minutes with no dashboard disassembly.
When Dashboard Removal Becomes Necessary
Factory Procedure (Last Resort Option)
GM’s official method involves removing the entire dashboard, but it’s rarely the right call.
Why this approach is discouraged:
- Takes several hours to complete
- Requires removing airbags, trim panels, sensors, and sometimes the battery
- High risk of interior damage during reassembly
- Overkill for a straightforward antenna swap
Only consider full dash removal if:
- The old cable is fused inside the body channel
- The fishing method fails due to a blocked path
- You’re already rebuilding the dash for other reasons
Most owners agree: avoid full dash removal unless absolutely unavoidable.
Install a Stubby Antenna After Removal

Swap to a Shorter Mast
Many Silverado owners install a stubby antenna after removal to prevent car cover damage and clean up the truck’s profile.
- Same thread pattern: screws directly into the existing base
- No wiring changes required
- Preserves radio reception better than deleting the antenna entirely
Pro Tip: Measure your cover’s antenna pocket or modify it to fit the new height before installation.
Delete the Antenna for a Clean Look
Remove the Mast Permanently
Some owners prefer a completely antenna-free profile.
- Unscrew the mast fully
- Leave the base stud in place or remove it if possible
- The truck still receives FM and AM signals, just at reduced strength
Trade-off: Expect noticeably weaker reception, especially in rural areas.
Modify Your Truck Cover for Antenna Clearance
Prevent Antenna Damage During Cover Use
If you’re keeping any antenna installed:
- Install the cover without the antenna first
- Mark where the mast pierces the fabric
- Carefully cut or drill a hole at that exact spot
- Reinstall the cover with the mast passing through the hole
Warning: Misaligned cuts stress the antenna mount or tear the cover fabric.
Inspect the Base After Removal
Check for Hidden Damage
Once the antenna comes off, take a few minutes to inspect the mounting area.
- Inspect the rubber grommet for cracks, dry rot, or deformation
- Examine the base threads for damage or corrosion
- Look for bent studs, which indicate past over-tightening
Replace the grommet or base if worn to prevent water leaks and poor radio grounding.
Model-Specific Tips for Silverado Owners

Know Your Year and Trim Level
- 2014–2018 Silverado 1500: Prone to blue thread locker; use heat and oil for removal
- 2017 Silverado 1500: Fine threads require gentle handling to avoid snapping
- ZR2 Variants: Reports of dealer over-torque leading to spinning bases
- Older Models (2004, 2008, 2012): Same removal method applies with no major design changes
Even older 2008 models can use the fishing method. Don’t assume dash removal is required.
Prevent Future Antenna Removal Problems
Maintain the Antenna Base Properly
- Apply dielectric grease to the threads when reinstalling
- Avoid over-tightening; finger-tight plus a quarter turn is enough
- Periodically remove and clean the base if you live in a salt-heavy region
Expert Note: Reapply thread locker only if specified. Most factory units use it, but excessive amounts create removal nightmares down the road.
Frequently Asked Questions About Silverado Antenna Removal
What tool do I need to remove a Silverado antenna?
A 3/8-inch box-end wrench is the standard tool for most Silverado models. The antenna base has flat sides machined to fit this exact size, giving you the grip needed to turn the fine-threaded connection without slipping.
Which direction do I turn to remove the antenna?
Turn the antenna base counterclockwise to unthread it from the mounting stud. The stud stays fixed while the mast and base assembly unscrew upward.
What if my Silverado antenna is stuck and won’t come off?
Apply penetrating oil around the base and let it dwell for 10–15 minutes. If that fails, warm the base with a propane torch for 20–30 seconds, then try the tighten-loosen oscillation method before applying more force.
Why does my antenna spin without unscrewing?
A spinning base indicates the internal cable has disconnected from the stud. This usually results from dealer over-torque or internal component failure. The fix requires replacing the entire antenna cable assembly, not just the mast.
Can I replace the antenna cable without removing the dashboard?
Yes. The glove box access method lets you disconnect the cable behind the glove box, tie a fishing line to the old cable, and pull a new cable through the body channel from the exterior. This approach takes 30–60 minutes and avoids dash disassembly entirely.
Should I install a stubby antenna or delete the antenna completely?
A stubby antenna threads into the existing base, preserves radio reception, and prevents car cover damage. Deleting the antenna entirely gives a cleaner look but noticeably weakens AM and FM signal strength, especially in rural areas.
Key Takeaways for Removing Your Silverado Antenna
Removing a Silverado antenna doesn’t have to turn into a battle. The right tool (a 3/8-inch box-end wrench) and the right direction (counterclockwise) handle most standard removals in under five minutes. Stuck units respond to penetrating oil, propane heat, and the tighten-loosen method when applied with patience. A spinning base signals internal cable failure and requires full cable replacement through the glove box access point, not dashboard removal.
Start by grabbing your 3/8-inch wrench and testing gentle counterclockwise pressure. If resistance hits, work through the oil, heat, and oscillation steps before considering cable replacement. Your dashboard, paint, and weekend will all stay intact.



