
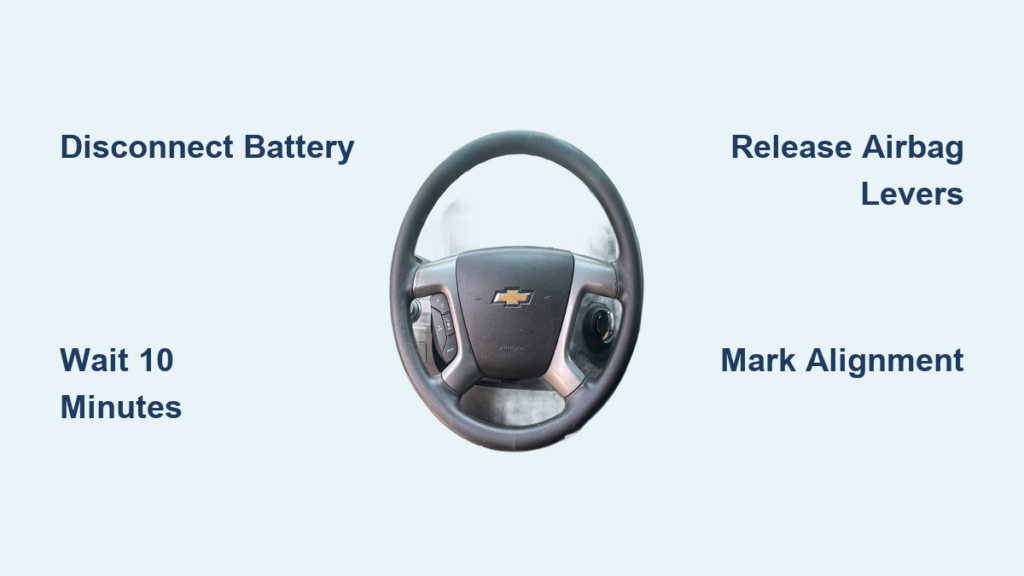
Removing the steering wheel on a 1999–2002 Chevrolet Silverado is a common DIY job for replacing the airbag, swapping a worn horn pad, or upgrading accessories. Because the airbag system sits directly behind the wheel, safety must come first. The biggest risk is accidental airbag deployment, which can cause serious injury. This guide walks you through disabling the Supplemental Restraint System (SRS), removing the airbag module, and extracting the steering wheel using the correct rear-access method specific to GMT800 trucks.
You will learn how to disconnect the battery properly, release the airbag levers, mark alignment for reinstallation, and pull the wheel off the column without damaging components. Every step is based on verified procedures for this generation of Silverado.
Disconnect the Battery and Discharge the Airbag Capacitor
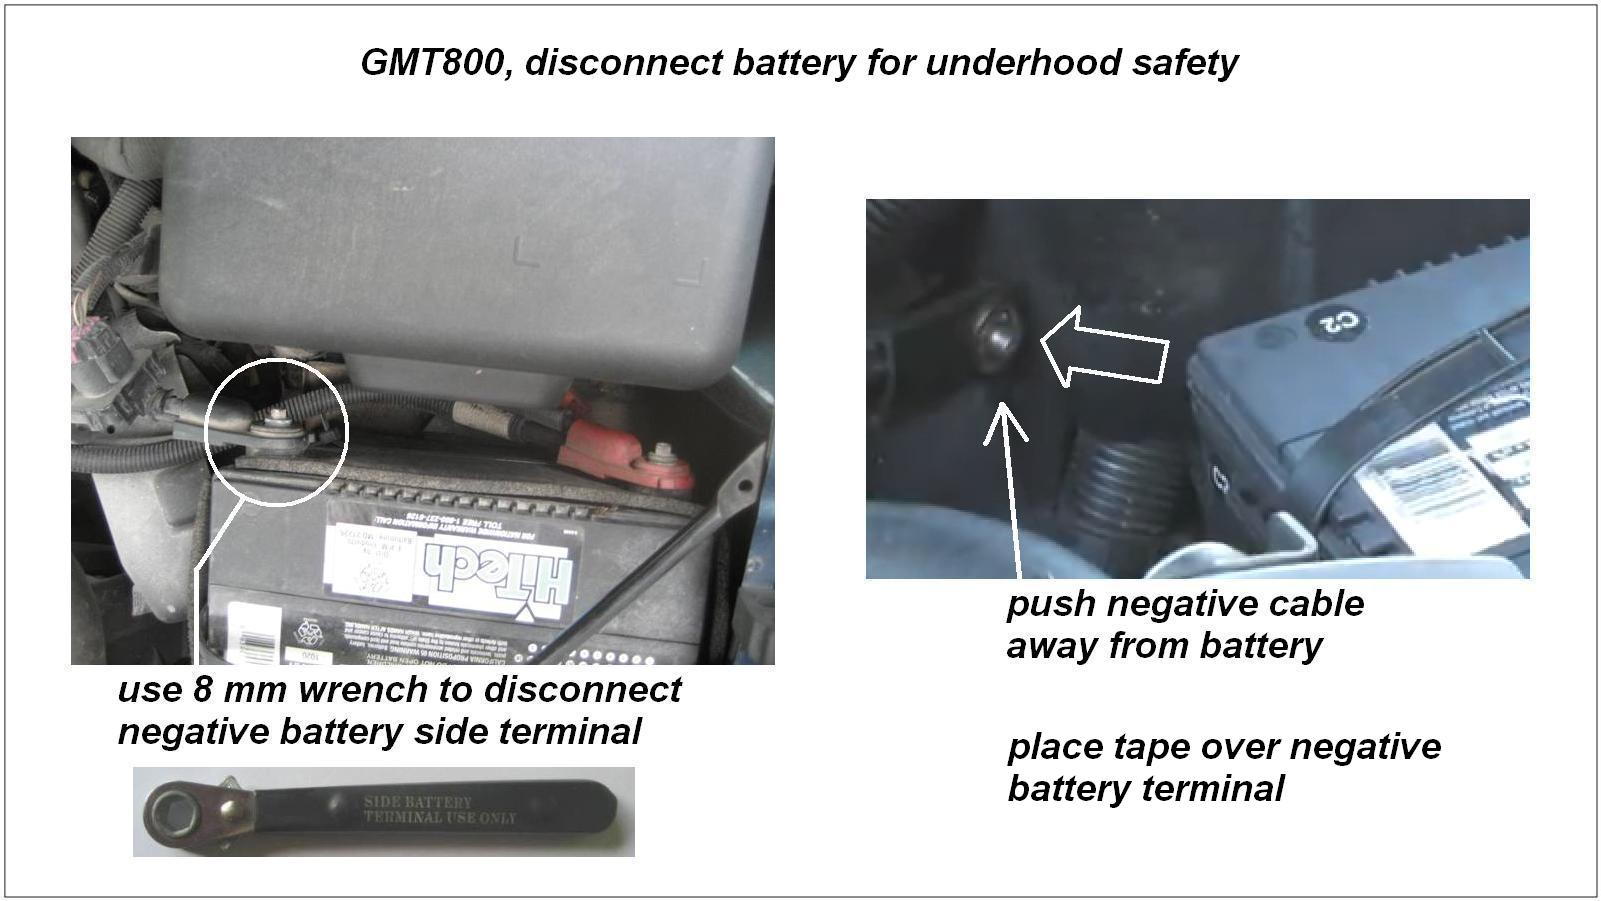
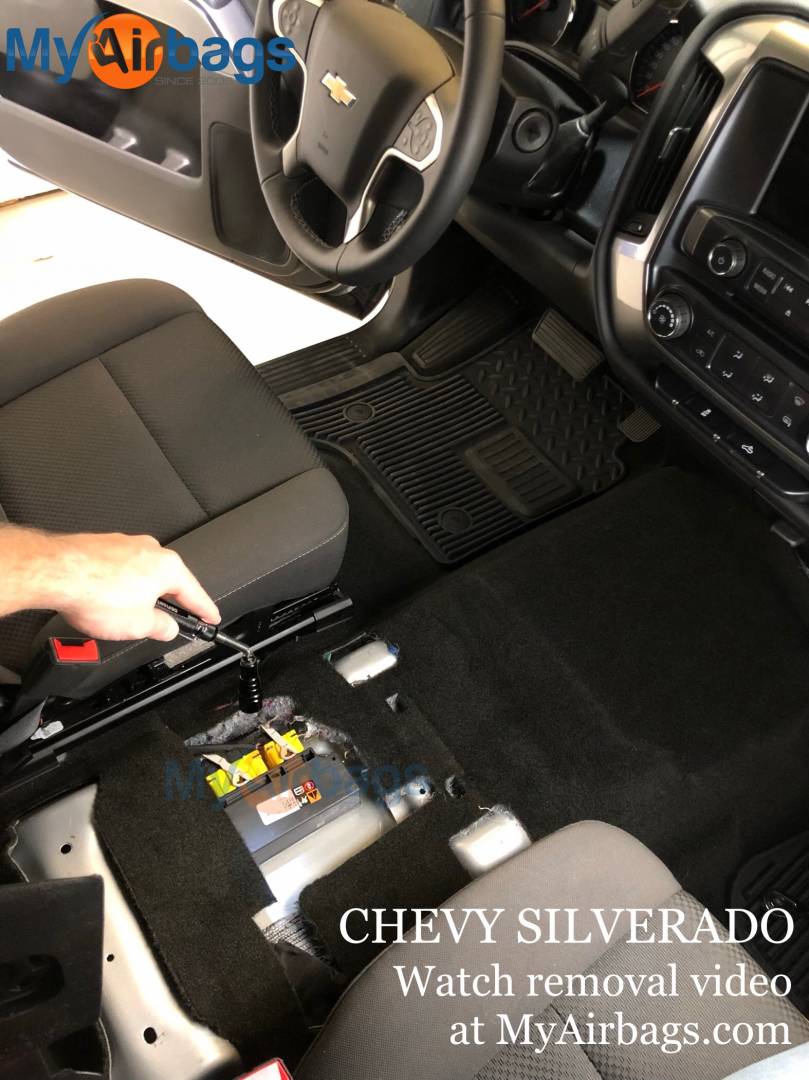
Before touching anything, you must cut power to the airbag system. Skipping this step can result in the airbag deploying while your hands are on the wheel.
Remove the Negative Battery Cable
Use a socket wrench to disconnect the negative battery terminal. This breaks the circuit to the airbag control module and disables the SRS system. Always start with the negative cable to avoid short circuits.
Wait for the Capacitor to Fully Discharge
Even after the battery is disconnected, the airbag module retains energy in a backup capacitor. You must wait before proceeding:
- Minimum wait: 5 minutes
- Standard recommendation: 10 minutes
- Conservative maximum: 1 hour
Use this time to gather tools and review each step. Never assume the system is safe immediately after pulling the cable.
Access the Airbag Release Levers from the Rear
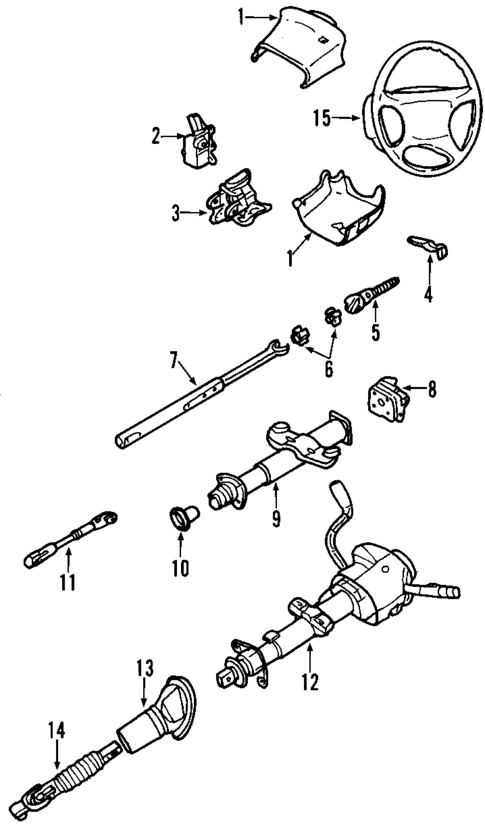
The 1999–2002 Silverado does not have side access holes like newer trucks. The release levers are hidden inside vertical grooves on the back of the steering wheel.
Rotate the Wheel for Clear Access
Turn the steering wheel 90 degrees to the left or right. This exposes the rear portion of the wheel above the steering column, giving you direct access to the release points.
Locate the Vertical Grooves
Inspect the backside of the steering wheel cover. You will see vertical grooves or slots molded into the plastic. These grooves house the internal release levers that lock the airbag in place.
Insert a Screwdriver to Release the Levers
Take a small flathead screwdriver and insert it into each groove. Gently pry the internal levers to disengage them.
- Work one side at a time or both simultaneously.
- Apply firm but controlled pressure; some resistance is normal.
- On some models, a small screw secures a retaining clip. Remove it first if present.
Remove the Airbag Module Safely
Once both levers are disengaged, the airbag module will loosen and can be pulled free.
Pull the Module Straight Out
Gently tug the airbag module straight back from the steering wheel. It may be held by plastic retaining clips, so pull evenly to avoid breaking them. Do not twist or yank.
Disconnect the Electrical Connector
With the module loose, locate the electrical connector at the rear. Use a small flathead screwdriver to release the safety lock tab, then unplug the connector.
- Never pull by the wires. Grip the plastic housing only.
- Disconnect fully before moving the module.
Place the Airbag Face-Up Immediately
Set the removed airbag on a flat surface with the logo facing up. If accidental deployment occurs, the force will push the module into the air rather than launching it like a projectile across the room. This single step prevents serious injury.
Mark the Wheel Position and Remove the Retaining Nut
With the airbag out of the way, the central retaining nut is now visible. Proper alignment here is critical for reinstallation.
Mark the Wheel-to-Column Alignment
Use a marker or scribe to draw a line across the steering wheel hub and the steering column shaft. This ensures you reinstall the wheel in the exact same position.
- Misalignment by even one spline can prevent turn signals from canceling automatically.
- Double-check the mark before loosening the nut.
Remove the Central Retaining Nut
Use the correct socket wrench (typically 21mm or 22mm) to loosen and remove the nut completely. Hold the steering wheel steady to keep it from spinning.
- Keep the nut in a safe place. Do not drop it into the column.
- Set the nut aside where you will not lose it.
Extract the Steering Wheel from the Column
Most Silverado steering wheels are press-fitted onto splined shafts and will not come off by hand.
Attempt a Gentle Pull First
Try pulling the wheel straight off the column with steady force. If the splines are clean and uncorroded, it may slide free. However, most wheels are stuck due to age and friction.
Use a Steering Wheel Puller
If the wheel does not budge, attach a steering wheel puller:
- Thread two bolts into the opposing threaded holes on the front of the wheel.
- Position the puller’s center bolt against the end of the steering shaft.
- Gradually tighten the center bolt with a wrench.
Tighten slowly. Sudden release can damage the puller or injure your hands. The wheel should pop free with a solid click.
Lift the Wheel Off the Column
Once released, carefully lift the steering wheel straight off the column. Avoid tilting or scraping the splines.
Reinstall the Steering Wheel Correctly

Proper reassembly ensures safe operation and correct turn signal function.
Align with the Marked Position
Match the alignment mark on the wheel to the mark on the column. Slide the wheel straight onto the splined shaft.
- It should seat fully without force. If not, rotate slightly to align the splines.
- Never hammer the wheel onto the shaft. This damages the splines and column bearings.
Tighten the Retaining Nut
Reinstall the central nut and tighten it securely to manufacturer specification. Use a torque wrench if available to avoid over-tightening.
Reconnect the Airbag Module
- Plug the electrical connector back in until it clicks.
- Press the airbag module into the wheel until you hear two distinct clicks, confirming both sides are locked.
- Reconnect the negative battery terminal only after the airbag is fully seated.
Troubleshoot Common Problems
Even careful work can lead to issues. Here is how to resolve the most frequent problems.
Airbag Will Not Release
If the module feels stuck after prying:
- Rotate the wheel slightly to align the grooves with the internal pins.
- Recheck both release levers; one may not be fully engaged.
- Confirm you are using the rear-access method. Side holes do not exist on 1999–2002 models.
Steering Wheel Stuck on the Splines
Never strike the wheel or column with a hammer. Instead:
- Verify the retaining nut is fully removed.
- Ensure the puller is centered and the bolts are tight.
- Apply penetrating oil to the shaft interface and wait 10 minutes before retrying.
SRS Light Stays On After Reassembly
This usually indicates one of three issues:
- The airbag connector is not fully seated.
- The safety lock tab did not click into place.
- The battery was not disconnected long enough, causing a residual code.
Clear codes with a scan tool or disconnect the battery again for 10 minutes to reset the system.
Prevent Damage and Maintain Safety
Avoid these common mistakes that can lead to injury or component failure.
Never Skip the Discharge Wait
The capacitor can still fire the airbag minutes after the battery is disconnected. Wait at least 10 minutes every time.
Do Not Handle the Airbag by the Wires
Always grip the module by its housing. Pulling on wires can damage connectors or cause electrical shorts.
Avoid Prying Aggressively on Plastic
Use plastic trim tools when possible. Metal screwdrivers can crack the wheel cover or scratch the airbag housing.
Use OEM Parts for Replacements
Aftermarket airbags or connectors may not fit correctly or function reliably. Stick with OEM or certified components.
Frequently Asked Questions About Silverado Steering Wheel Removal
Do 1999–2002 Silverado steering wheels have side holes for Allen wrenches?
No. The 1999–2002 GMT800 models use a rear-access lever system, not the side holes found on 2003 and newer trucks. Attempting to insert an Allen wrench into the sides will fail because the holes do not exist.
How long should I wait after disconnecting the battery before removing the airbag?
You should wait at least 5 minutes, though 10 minutes is the standard recommendation. For maximum safety, especially if you are nervous, wait a full hour to ensure the capacitor fully discharges.
Why must the airbag be placed logo-side up after removal?
If the airbag accidentally deploys while sitting on a surface, the force will propel the module in the opposite direction. Placing it logo-side up directs any deployment energy upward into the air rather than launching the module across the room like a projectile.
What happens if I reinstall the steering wheel one spline off?
If the wheel is misaligned by even one spline, the turn signal cancellation mechanism will not function correctly. The signals may fail to cancel automatically after completing a turn, requiring you to remove and realign the wheel.
Can I use a hammer to remove a stuck steering wheel?
No. Hammering the wheel or column can damage the steering shaft bearings, the splines, and the clock spring mechanism. Always use a dedicated steering wheel puller for safe removal.
What should I do if the airbag light stays on after reassembly?
First, verify the electrical connector is fully seated and the safety lock tab clicked into place. If the light remains, disconnect the negative battery terminal for 10 minutes to clear residual codes, or use an OBD-II scan tool to read and clear SRS fault codes.
Key Takeaways for Removing Your Silverado Steering Wheel
Removing the steering wheel on a 1999–2002 Silverado is a manageable DIY task when you respect the airbag system and follow the correct rear-access method. The three most important points are: always disconnect the battery and wait at least 10 minutes, use the vertical grooves on the back of the wheel to release the airbag levers, and mark your alignment before removing the retaining nut.
Your next step is to gather your tools, clear your workspace, and set aside a full hour for the job. Work slowly, double-check each connection, and place the airbag logo-side up the moment it comes off the wheel. If at any point you feel uncertain, a professional mechanic can complete the job quickly and affordably.



