
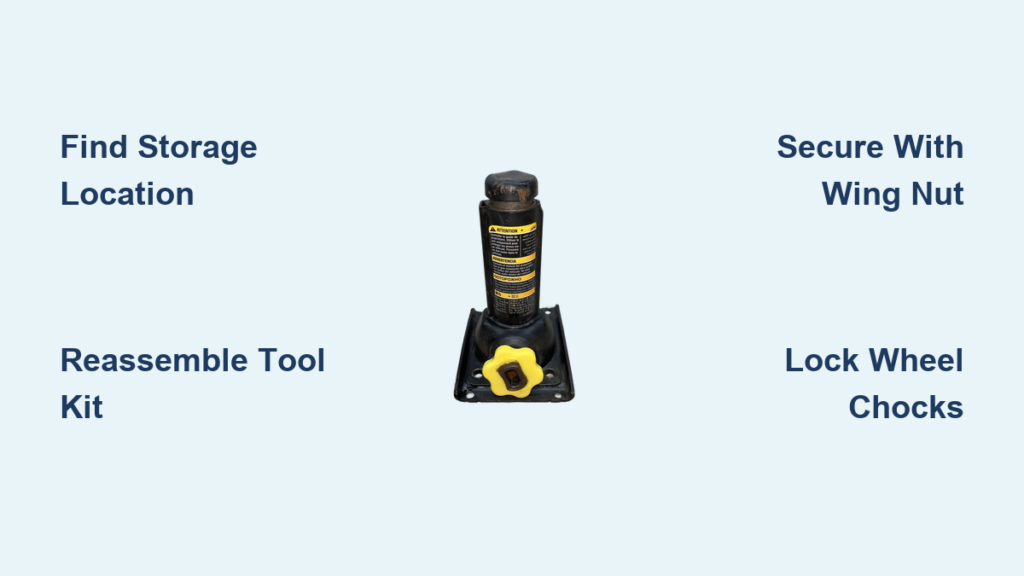
You just finished changing a flat tire, and now you’re staring at a scissor jack, loose rods, and a tool tray wondering how to put the jack back in your Silverado without it rattling for the next 1,000 miles. This is one of the most common frustrations Silverado owners face, especially after interior modifications like subwoofer installs. Getting it wrong leads to squeaks, lost tools, or even dangerous projectiles if chocks come loose.
In this guide, you’ll learn exactly where your jack belongs based on your model year, how to reassemble the tool kit properly, and the correct fastening method to keep everything silent and secure. Whether you drive a 2007 Classic or a 2024, these steps will get your truck back to factory-original storage in under 10 minutes.
Find Your Silverado’s Jack Storage Location
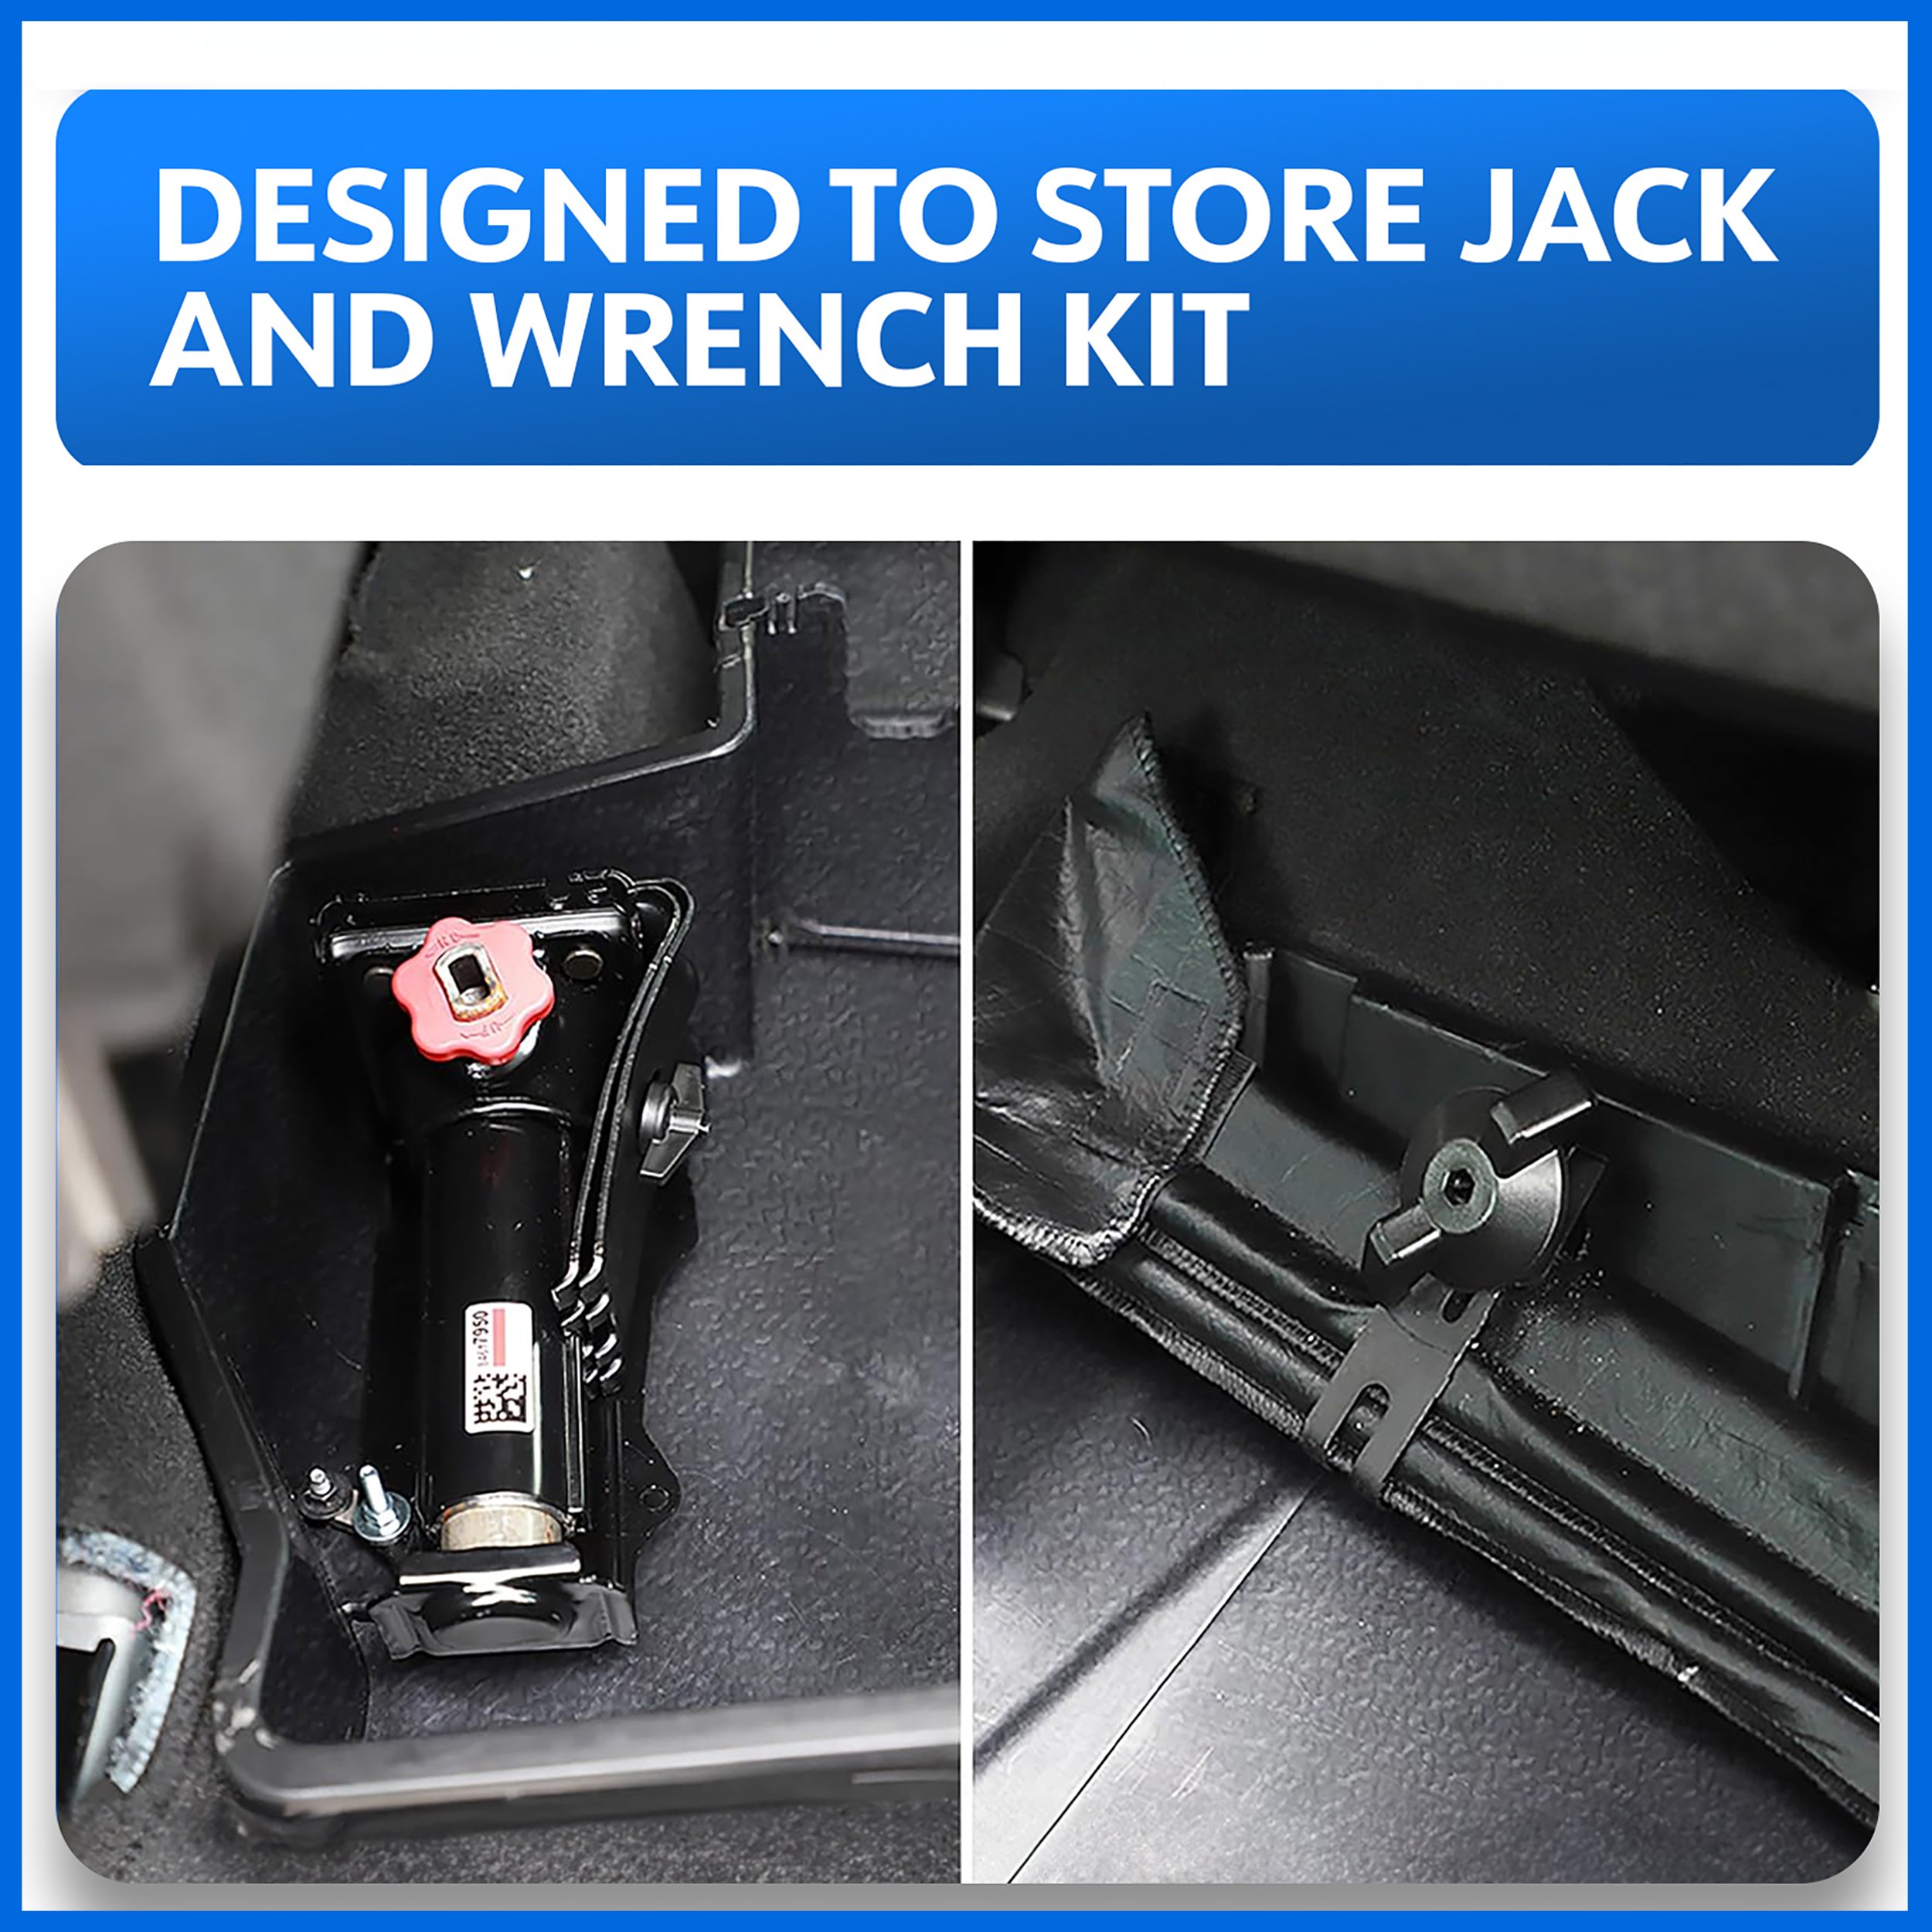
Before reinstalling anything, confirm where your jack actually lives. Chevrolet changed the location across generations, and using the wrong spot can damage brackets or leave tools unsecured.
2024 Models: Under the Driver’s Seat
Starting in 2024, Chevrolet moved jack storage beneath the driver’s seat to free up rear cargo space. To access this hidden compartment, lift the front edge of the driver’s seat cushion and slide it forward slightly. The jack and tool tray sit in a built-in channel directly underneath.
2019–2023 Models: Behind the Rear Passenger Seat
Crew Cab and Double Cab trucks from this era store the jack on the shelf behind the rear passenger seat. Flip up the bottom portion of the rear seat cushion to expose the mounting area. The jack mounts on the passenger side, while the tool tray typically sits on the driver’s side of the same shelf. Regular Cab models follow the same logic behind the single passenger seat.
2007–2018 Models: Under the Rear Passenger Seat
Older generations keep the jack under the rear passenger seat cushion. Lift the cushion upward to reveal a floor bracket where the jack is secured by a wing nut. A separate tool bag with the lug wrench and rods usually sits on the driver’s side, held down by another wing nut and clamp.
Reassemble the Tool Kit Before Mounting

Never reinstall loose tools. Organizing the kit first prevents rattling and ensures everything fits back into the tray correctly.
Insert Rods and Lug Wrench in the Correct Pockets
The tool tray has shaped pockets designed for each component. Place the main jack rod in the outermost pocket, then slide the two extender rods into the adjacent inner pockets. The lug wrench fits into the middle pocket, which is contoured to match its profile. Push each tool until it sits flush with the tray surface.
Secure the Tray with the Velcro Strap
Fold the tray cover over the tools and wrap the Velcro strap tightly. Press firmly to engage the adhesive. A loose tray is the number one cause of cabin noise, so if the Velcro is worn, replace it with heavy-duty hook-and-loop tape before reinstalling.
Reinstall the Jack Using the Correct Fastening Method
The securing mechanism varies by model year. Using the wrong method can strip threads or leave the jack unstable.
Wing Nut Models (2007–2018)
Older Silverados use a simple wing nut to hold the jack in place.
Align and Slide the Jack Into Place
Position the jack so its top fits into the upper metal bracket, then align the two holes at the base with the floor bracket. Lift the jack slightly to engage the mounting points before threading the fastener.
Tighten the Wing Nut by Hand
Turn the wing nut clockwise until snug. Do not over-tighten, because the plastic bracket can crack under excess force. The goal is to eliminate movement, not to crush the mount.
Hook-and-Tension Models (2019–2023)
Newer models use a spring-loaded hook system for quieter stowage.
Engage the Tension Hook
Slide the jack into position, then pull the hook forward and guide it into the slot on the bracket. You should feel a distinct click when it seats properly.
Reattach and Tighten the Securing Nut
Reinstall the securing nut, typically 13mm or 15mm, and tighten it clockwise with a socket or wrench. Hold the jack down slightly while tightening to keep it level. A loose nut here is the most common cause of squeaking, especially after subwoofer installations.
Knob Rotation Models (Select Variants)
Some trims use a rotating knob instead of a wing nut or hook.
Turn the Knob Clockwise to Lock
Insert the jack into the bracket and rotate the knob clockwise until the mechanism locks. This action lowers the jack head slightly to create tension against the mount.
Verify the Jack Doesn’t Move
Gently wiggle the jack after locking. If it shifts, give the knob another quarter-turn. Never force a stripped knob, because replacements are hard to source.
Lock the Wheel Chocks to the Jack

Wheel chocks are not stored separately. They attach directly to the jack assembly using a J-hook and plastic wing nut.
Wrap the J-Hook and Tighten the Wing Nut
Wrap the J-hook (attached to the chocks) around the jack body, then slide the chocks into their resting groove. Tighten the plastic wing nut clockwise until the chocks are locked in place. Unsecured chocks vibrate independently and can become dangerous projectiles during sudden stops.
Reinstall the Tool Tray on the Driver’s Side
The tool tray mounts separately from the jack and lives on the opposite side of the storage shelf.
Position and Clip the Tray Into Place
Place the assembled tool tray on the driver’s side shelf behind the rear seat. Push until the C-clip or plastic latch snaps into place. Some models also use a retaining nut that should be tightened clockwise until snug.
Stow the Jack Under the Driver’s Seat (2024 Models)

The 2024 redesign requires a slightly different approach.
Slide Into the Hidden Compartment
Lift the driver’s seat cushion and slide the jack and tool tray into the under-seat channel. Align everything with the built-in bracket before securing.
Secure with the Integrated Fastener
Depending on your trim, this location may use a push-pin latch, hook, or small wing nut. Confirm the jack does not shift when you adjust the seat forward or backward.
Prevent Squeaks and Rattles
A noisy cabin after a tire change almost always traces back to improper reinstallation.
Common Causes of Cabin Noise
The most frequent culprits include a loose mounting nut, a misaligned tension hook, unsecured wheel chocks, and worn Velcro on the tool tray. Aftermarket audio installations amplify these vibrations, making proper hardware tension even more critical.
Quick Noise Fix Checklist
Run through these steps if you hear squeaking over bumps:
- Retighten all wing nuts and securing bolts
- Confirm the tension hook is fully engaged
- Verify chocks are locked to the jack with the wing nut
- Replace worn Velcro or cracked plastic components
- Ensure the tool tray is clipped in completely
Troubleshoot Common Reinstallation Problems
Sometimes the jack just will not go back the way it came out.
Jack Won’t Fit Back In
Confirm the seat cushion is fully flipped back down and the jack is oriented correctly with the handle facing forward. Aftermarket equipment like subwoofer boxes often blocks the original bracket. If storage is permanently obstructed, consider relocating the jack under the bed using a universal mount rated for the weight.
Spare Tire Tools Don’t Fit in the Tray
Check that all rods and the wrench are fully inserted. Heat and weight can warp plastic trays over time, making pockets too tight. Compare your tray to a dealership photo or owner’s manual diagram to confirm you have the correct part.
Can’t Find the Locking Key
The spare tire key typically lives inside your key fob. Slide it out for use, then push it back in until it clicks when you’re done. Replacing a lost key requires your VIN and a dealership visit, so keep it secured.
Maintain Your Jack After Reinstalling
A little yearly care keeps your jack ready for the next emergency.
Lubricate the Jack Screw Annually
Apply a thin coat of light grease to the scissor threads. This prevents seizing and ensures smooth operation when you need it most.
Protect the Spare Tire Cable
Spray the spare tire lowering cable with a corrosion inhibitor like WD-40 Specialist. Moisture under the truck causes rust that can jam the mechanism at the worst possible time.
Inspect Plastic Parts for Damage
Check wing nuts, J-hooks, and tray clips for cracks or brittleness. UV exposure and temperature swings degrade plastic over time. Replace any components that feel fragile or look faded.
Final Verification Before Driving

Before you close everything up and hit the road, confirm each step is complete.
Make sure the jack is tightly secured with no wiggle, all tools are fully stowed in their correct pockets, and the wheel chocks are locked to the jack body. The tool tray should sit snug and clipped in, and the protective cap should cover the spare tire lock.
Lower the seat cushion and take a short test drive over a bumpy road. Silence means you’ve done it right.
Frequently Asked Questions About Silverado Jack Reinstallation
Where is the jack stored in a 2024 Silverado?
In 2024 models, the jack is stored beneath the driver’s seat. Lift the front edge of the seat cushion and slide it forward to access the hidden compartment.
Why does my Silverado squeak after reinstalling the jack?
The most common cause is a loose securing nut or an improperly engaged tension hook. After subwoofer installations, vibrations amplify any loose hardware, so retighten all fasteners and confirm the hook is fully seated.
Can I store the jack under the truck bed instead?
Yes, universal under-bed mounts are available if your original location is blocked by aftermarket equipment. Ensure the mount is rated for the jack’s weight and that the jack remains accessible in emergencies.
How do I stop the tool tray from rattling?
Replace worn Velcro straps with heavy-duty hook-and-loop tape and confirm the tray is fully clipped into its bracket. A loose tray allows tools to shift and create noise over bumps.
What tools come with the Silverado jack kit?
The standard kit includes one main jack rod, two extender rods, a lug wrench, wheel chocks, and a locking key for the spare tire mechanism. All components fit into a designated tool tray.
Key Takeaways for Reinstalling Your Silverado Jack
Putting the jack back in your Silverado correctly comes down to three essentials: knowing your model year’s storage location, reassembling the tool kit before mounting, and tightening every fastener snugly without overdoing it. Spend the extra two minutes to verify alignment and tension, and you’ll avoid the squeaks, rattles, and safety risks that come from a rushed job.
Bookmark this guide for your next tire change, and you’ll never wonder where the jack goes again.



